When you’re making jewelry, center crimp cord ends are an easy way to cleanly finish the ends of a wide variety of jewelry cord including but not limited to leather, silk ribbon, and chain.
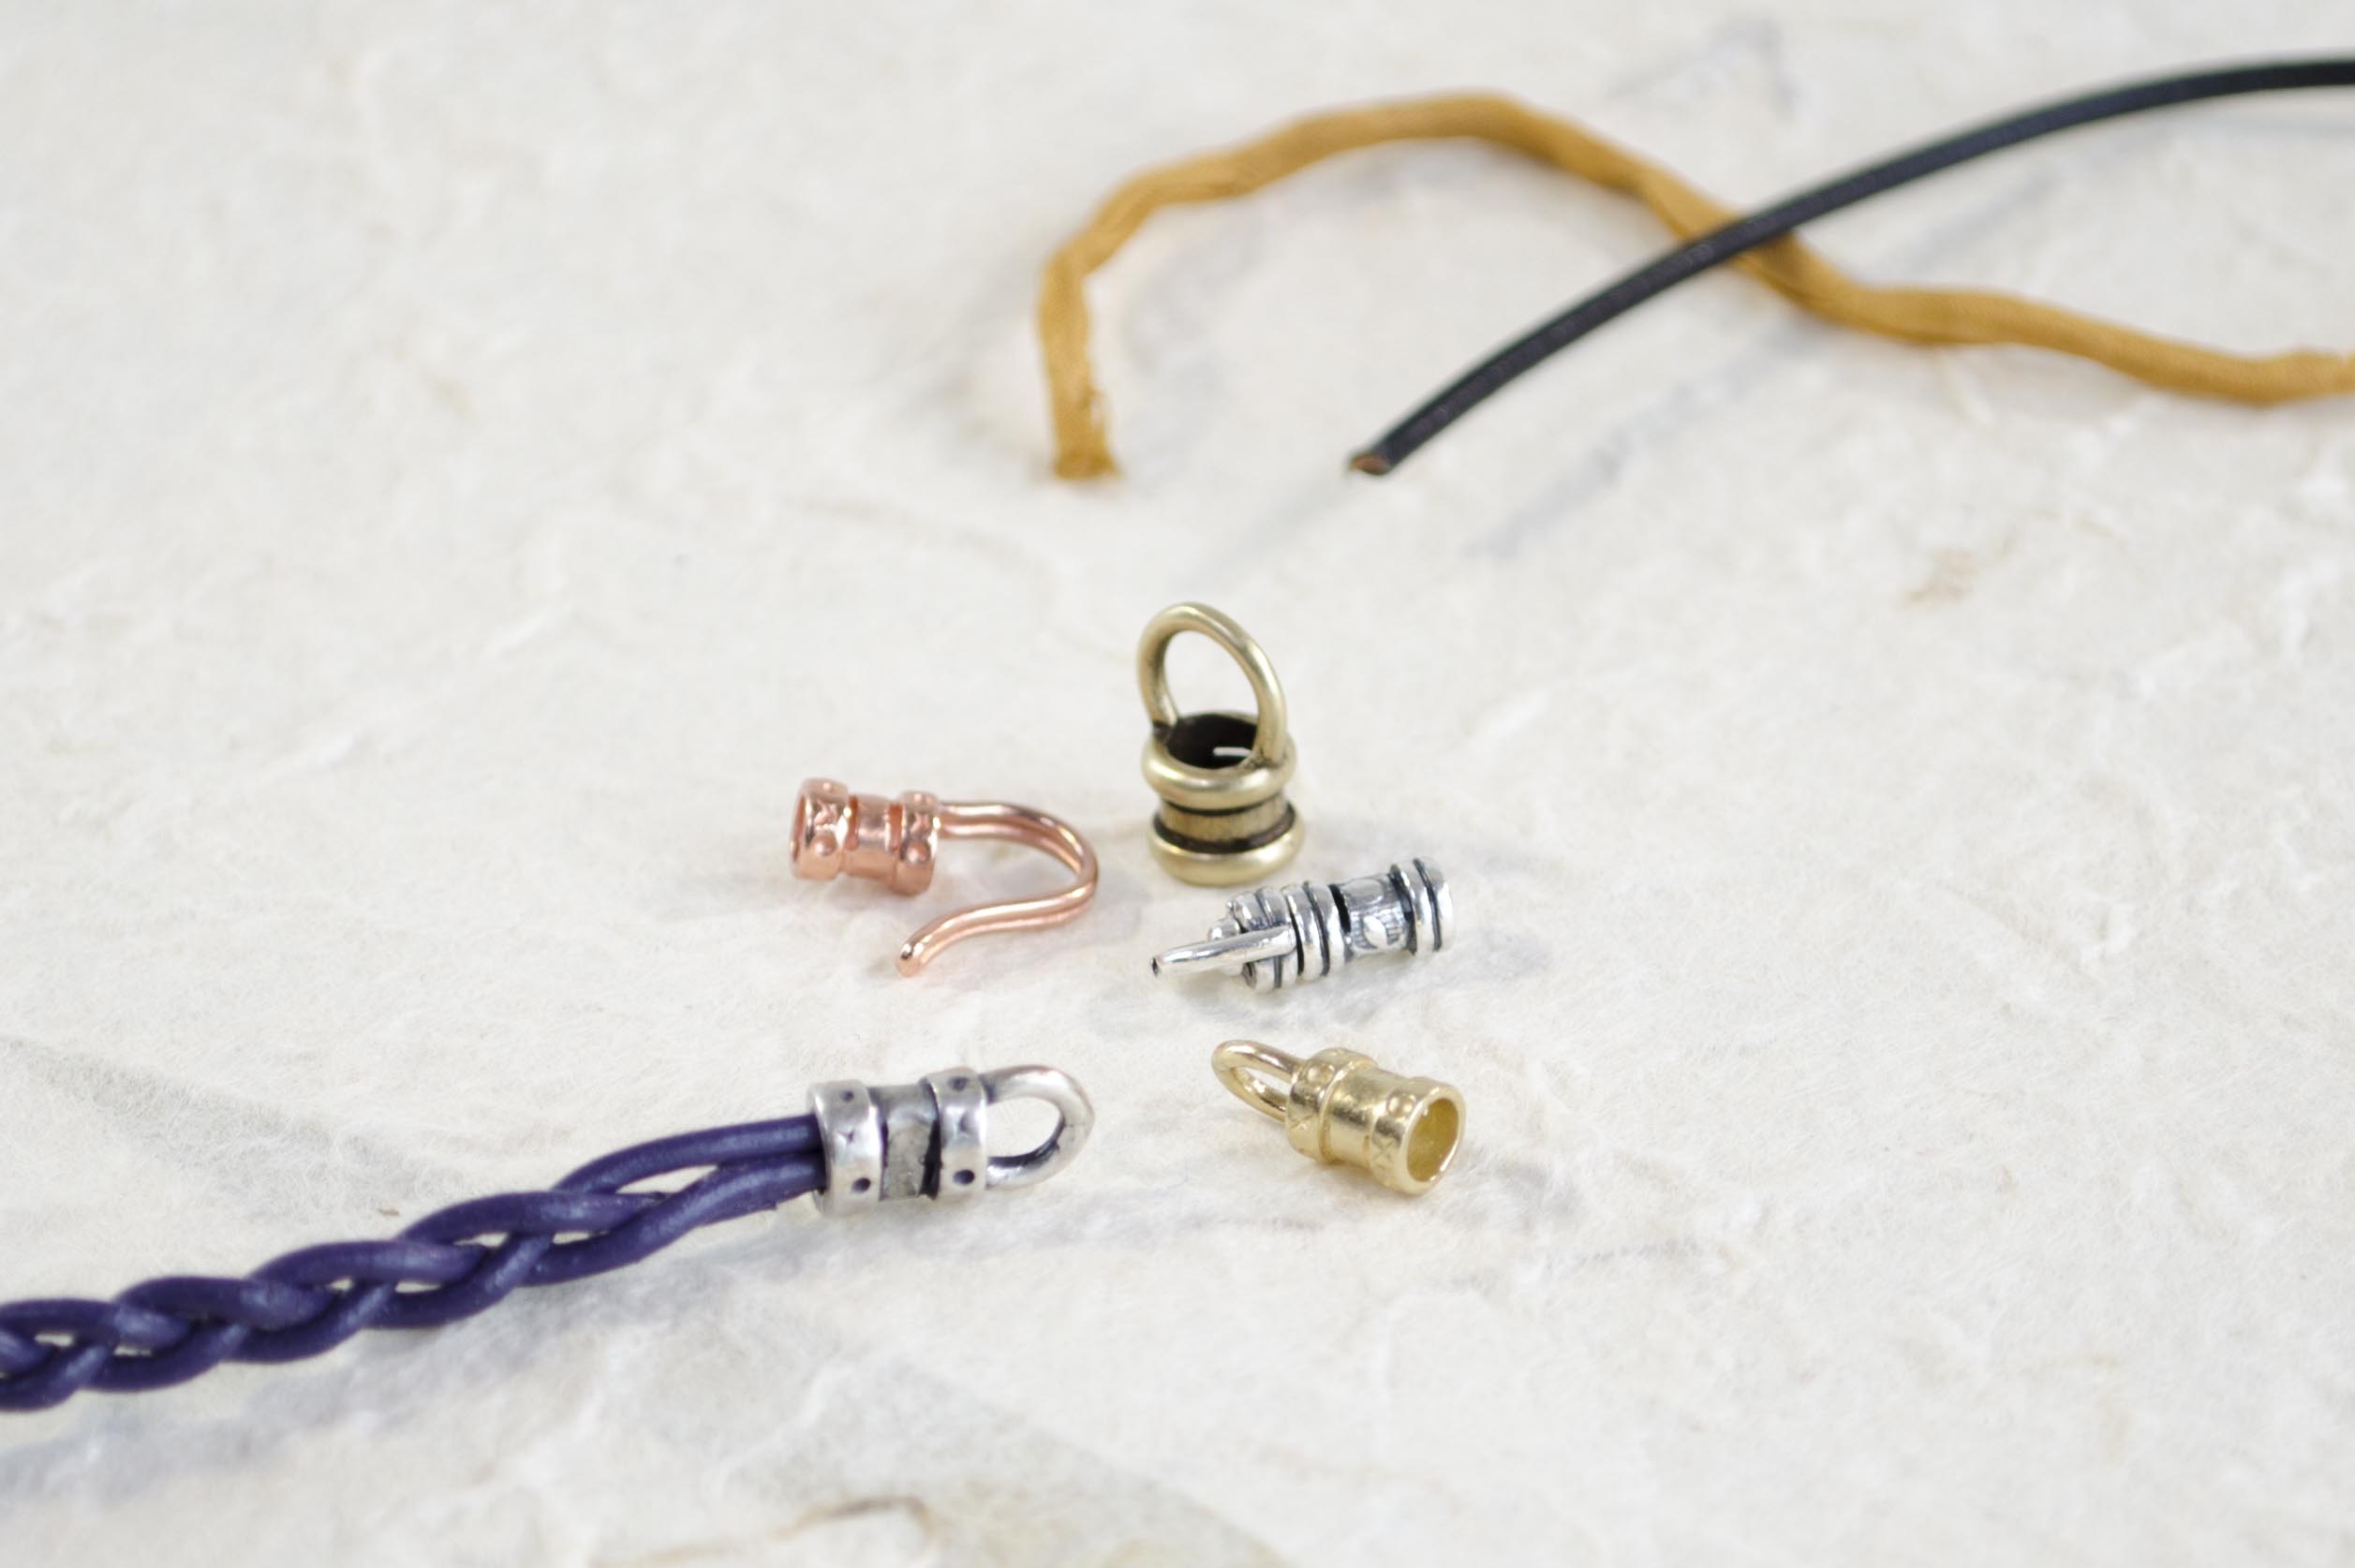
Center crimp cord ends are an easy way to cleanly finish the ends of a wide variety of jewelry cord.
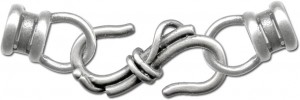
You can finish your necklace or bracelet with a loop and a hook:
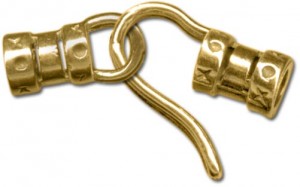
Use loop and hook center crimps together.
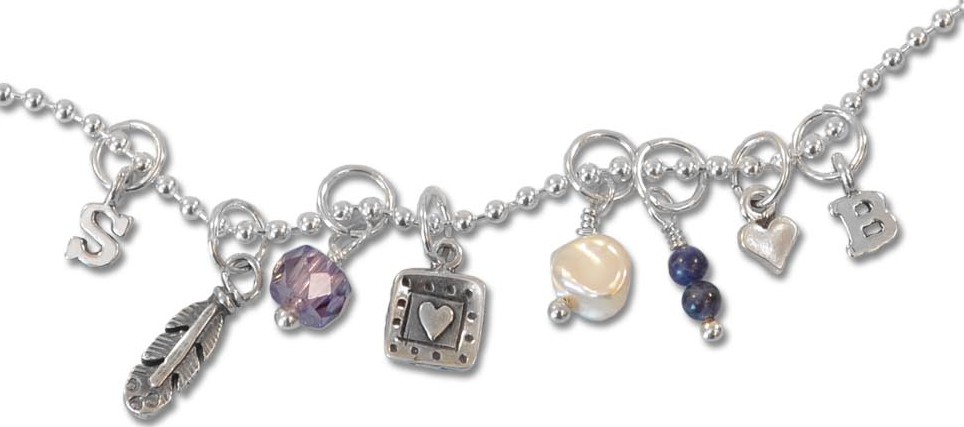
Or, use two loops and the clasp of your choice (shown here is an “S” hook clasp):
Using two loop crimp ends and a clasp.
Here is how to apply the crimp ends:
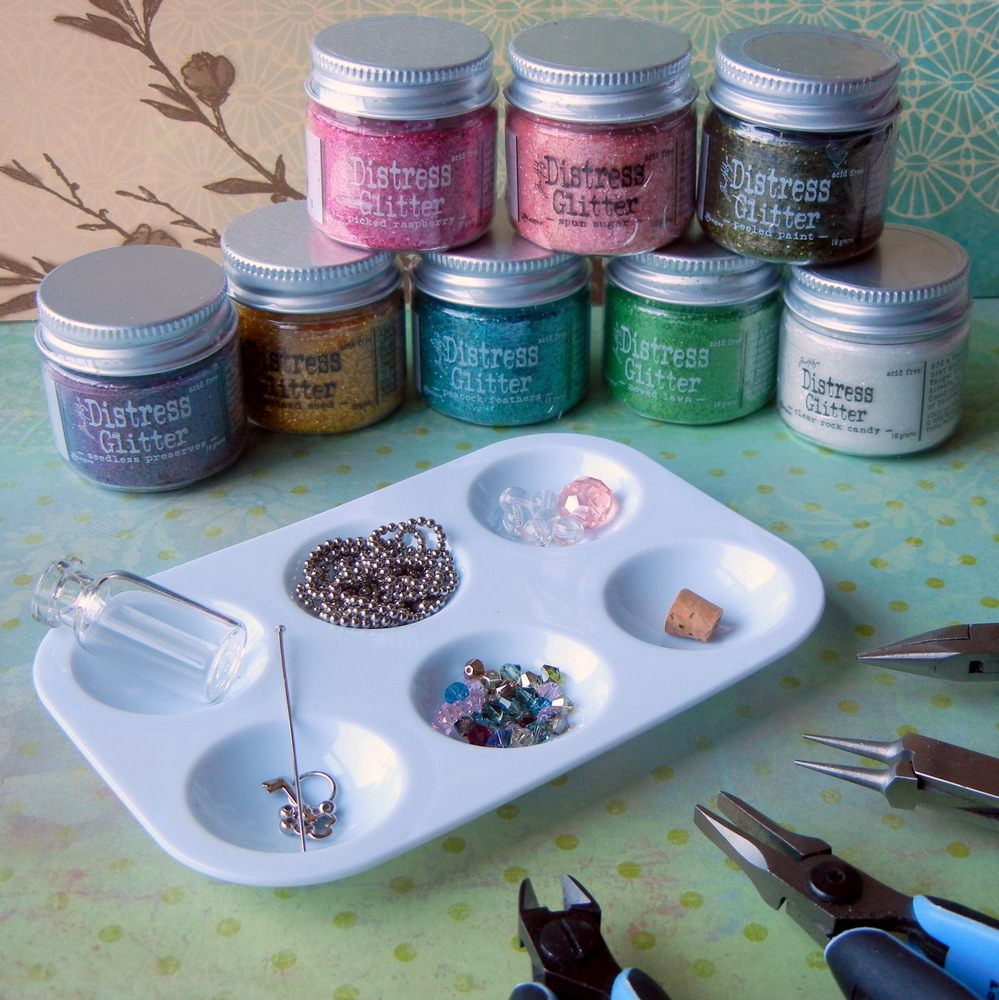
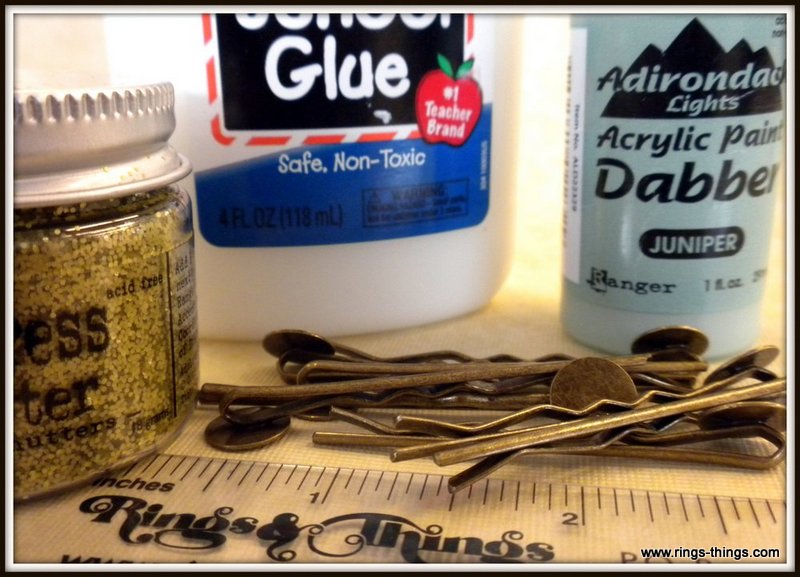
1. Gather your supplies. All you really need are the crimp ends, some round nose pliers (or non serrated chain nose pliers) and of course your cording material. Super glue is optional, but adds extra security.

Supplies for applying center crimp ends: Crimp ends, pliers, cording & Glue.
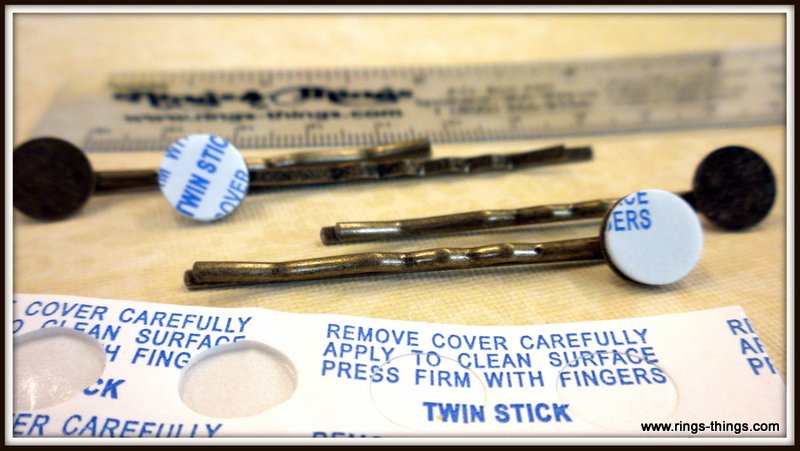
2. For added security, put a dab of super glue inside the crimp end. Slide the cording end(s) into the crimp end. Do this quickly before that dab of glue dries.

Insert the cording into the center crimp end. A dab of glue will offer added security to your clasp.
3. Holding the crimp in place over the cording, use your pliers to firmly squeeze the center portion of the crimp and clamp it down on the cording.

Firmly squeeze the center of the crimp end.
4. Once crimped, the center of the end piece will be flattened down on the cording. Crimping the metal on top of the glue will ensure a secure connection for jewelry designs.
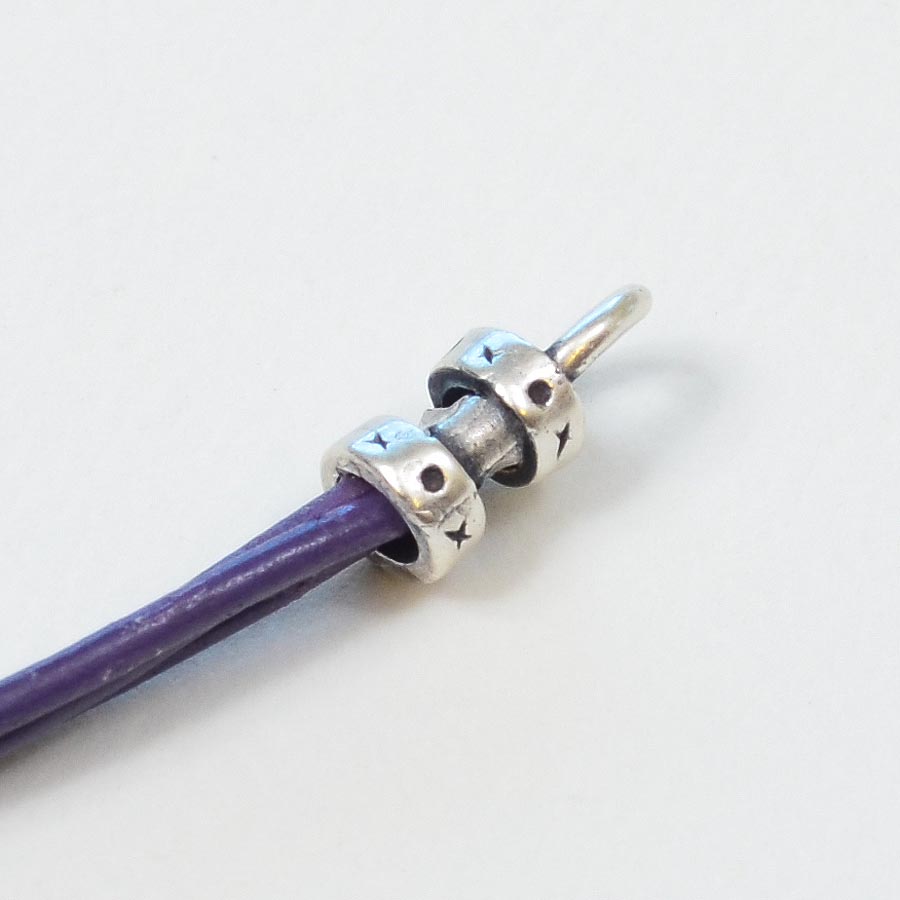
A crimped end piece.
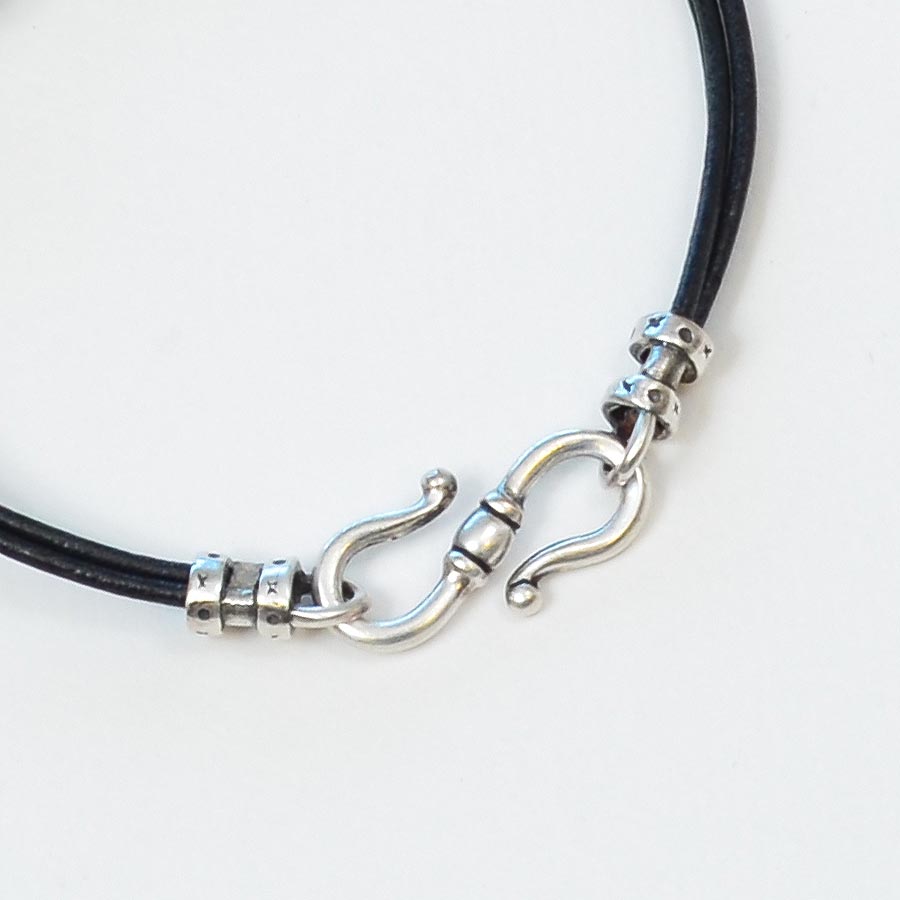
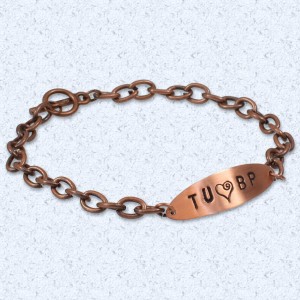
Center crimp ends with loops combined with an “S” clasp and leather cording make a simple yet stylish bracelet.

Crimp ends shown using a variety of cording and clasp options.
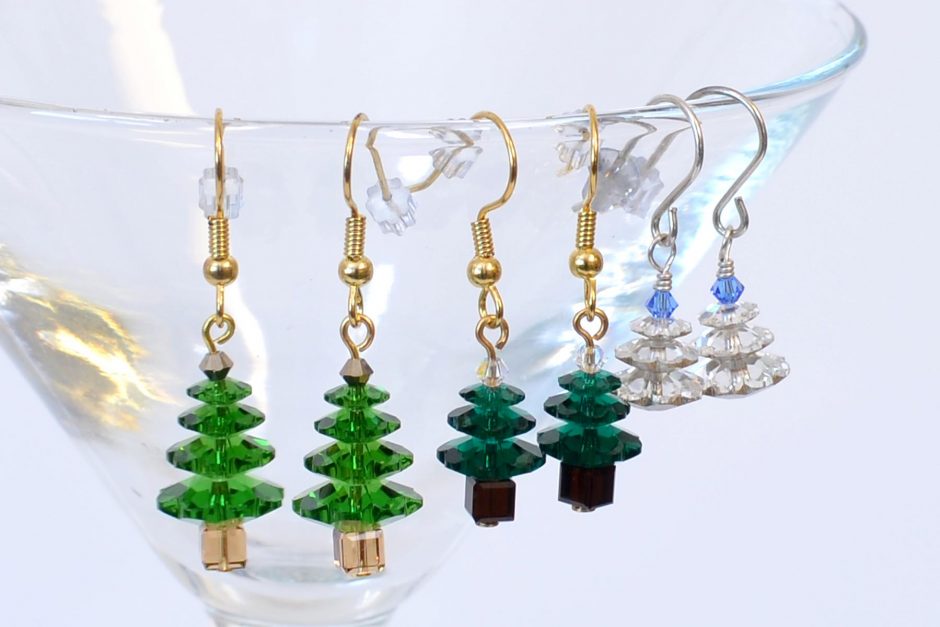
Here are some jewelry inpirations that incorporate the use of center crimp ends. These designs and more can be found in our Jewelry Design Gallery where you will find the complete supplies list as well as tips from the designer. Click on the images to take you there.
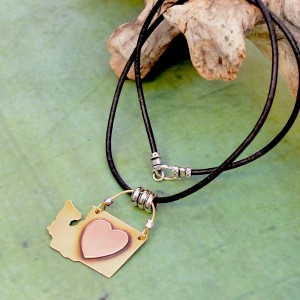
Go West Necklace Tutorial by Mollie Valente
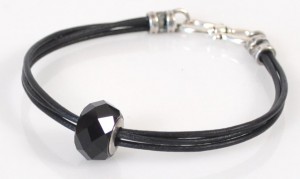
Basic Black Bracelet Tutorial by Rita Hutchinson
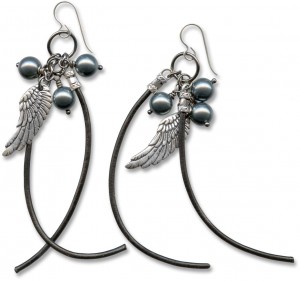
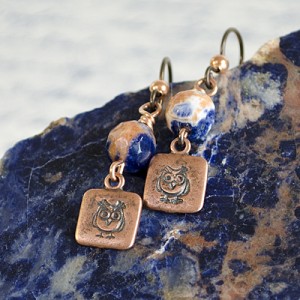
Bastian’s Earrings Tutorial by Lindsey Green
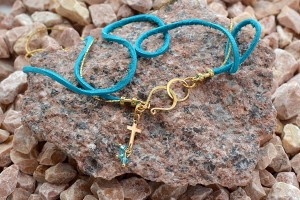
New Connection Necklace Tutorial by Karin Davis
Now that you know what to do with center crimp cord ends, don’t be shy! Use them to make bracelets, necklaces, earrings and more.
Did you know? You can Shop for center crimp cord ends here.
Happy creating! ~ Val