
I like chandelier earrings. I like tassel earrings. So of course, I love combining these two styles into some dramatic long chain tassel chandelier earrings! And because I always have to have a little “bling” (do people still say that?), I added some sparkly Swarovski crystals to them to finish the look! They are quite easy to create. Learn how below!
You don’t need too many items to make these earrings yourself!
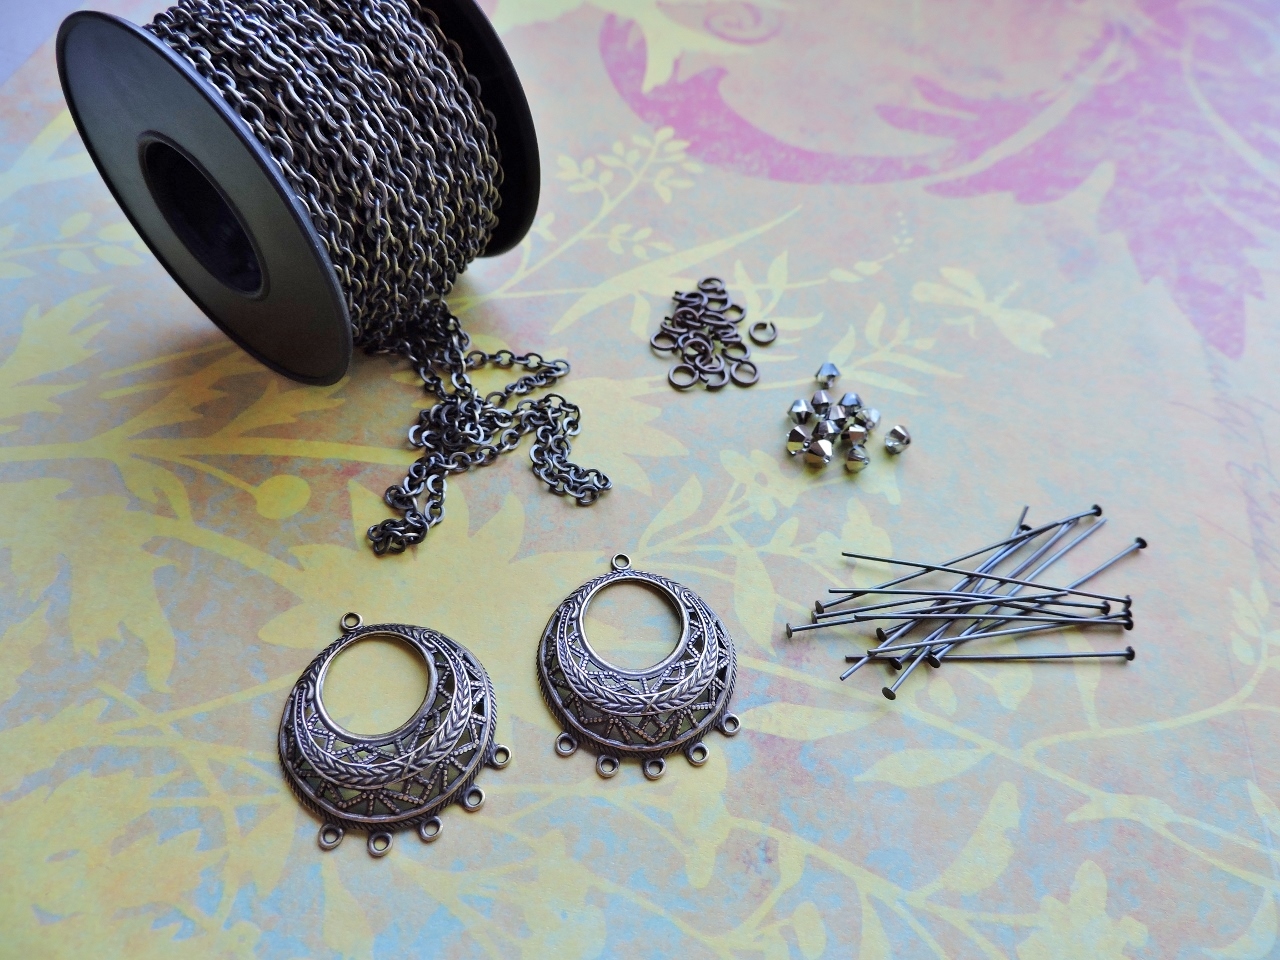
Supplies needed:
- 5 loop chandelier findings, I used antique brass
- 1 1/2 inch headpins in antique brass
- Small cable chain in antique brass
- 4mm jump rings in antique brass
- 4mm Swarovski crystal bicones, I used the Tabac
- Bronze niobium earring wires
- Basic Jewelry Pliers Tool Kit
Steps to create these earrings:
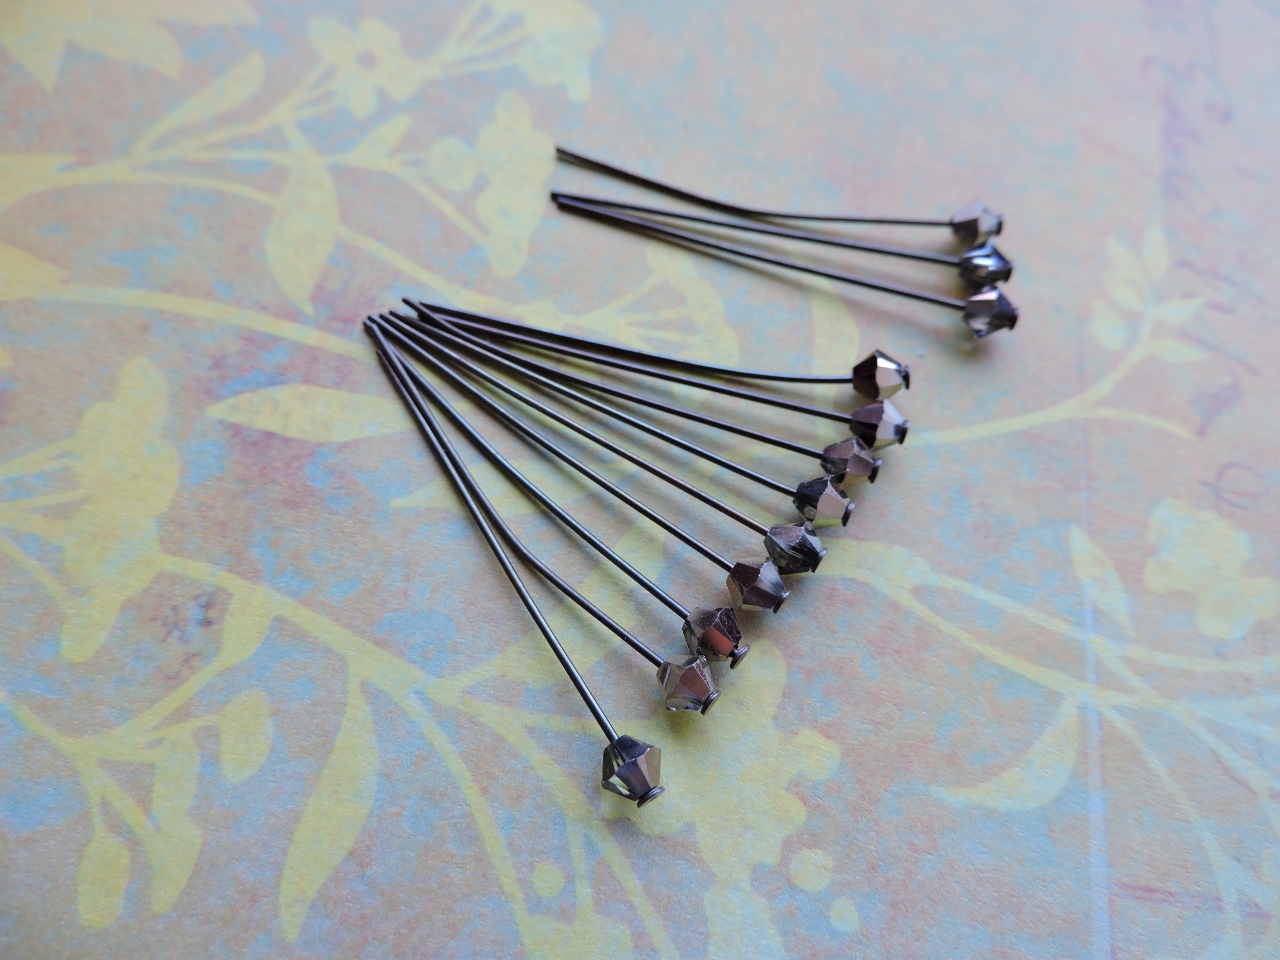
Place the Swarovski crystal bicones onto the head pins.

Using your round nose pliers, make a wrapped loops with each head pin. Wrap the headpin around several times for extra security.
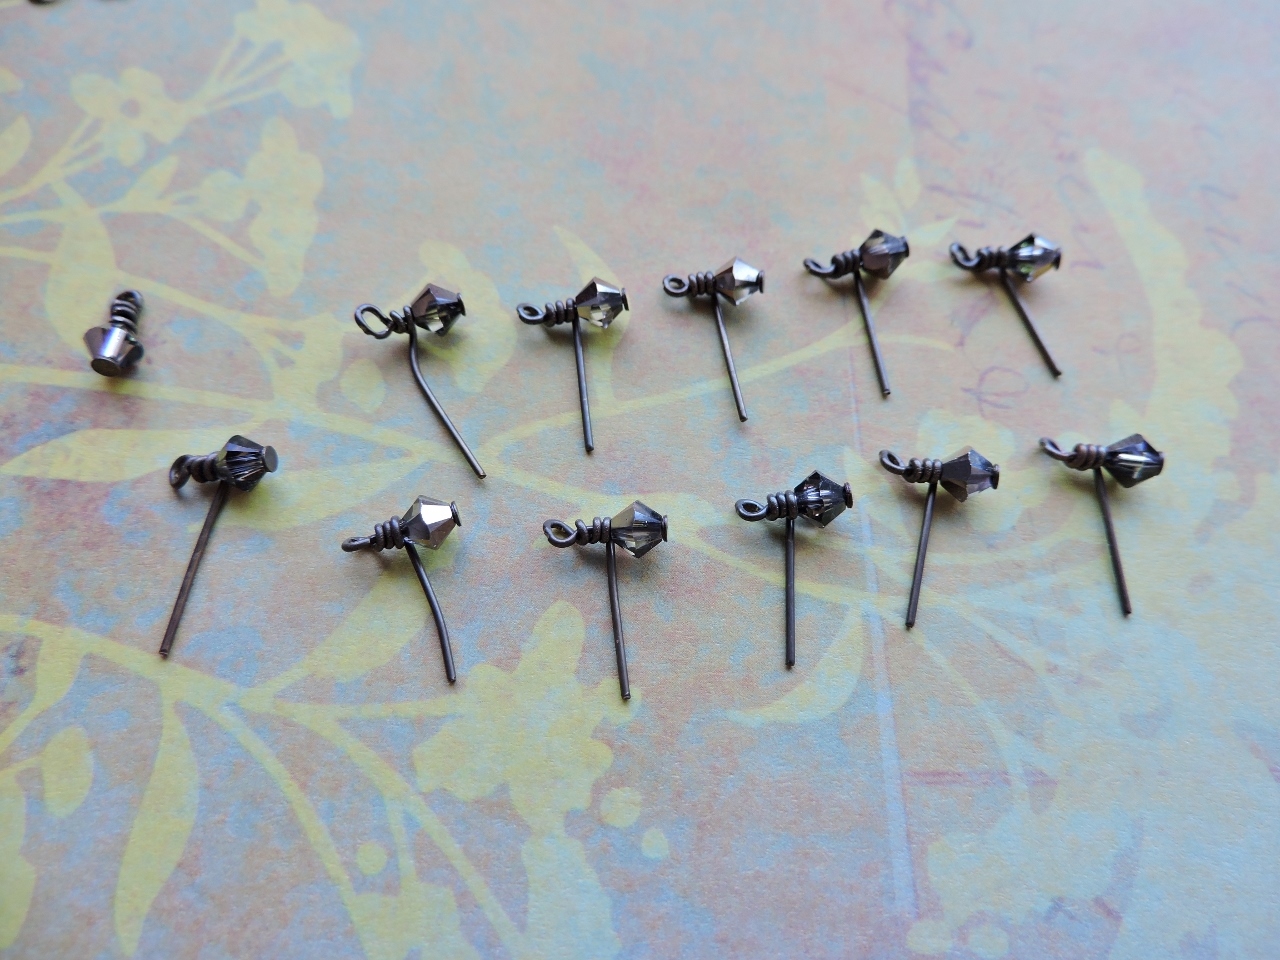
Wrap all the crystals onto the headpins. You will need a total of ten for this project (I did a couple extra).
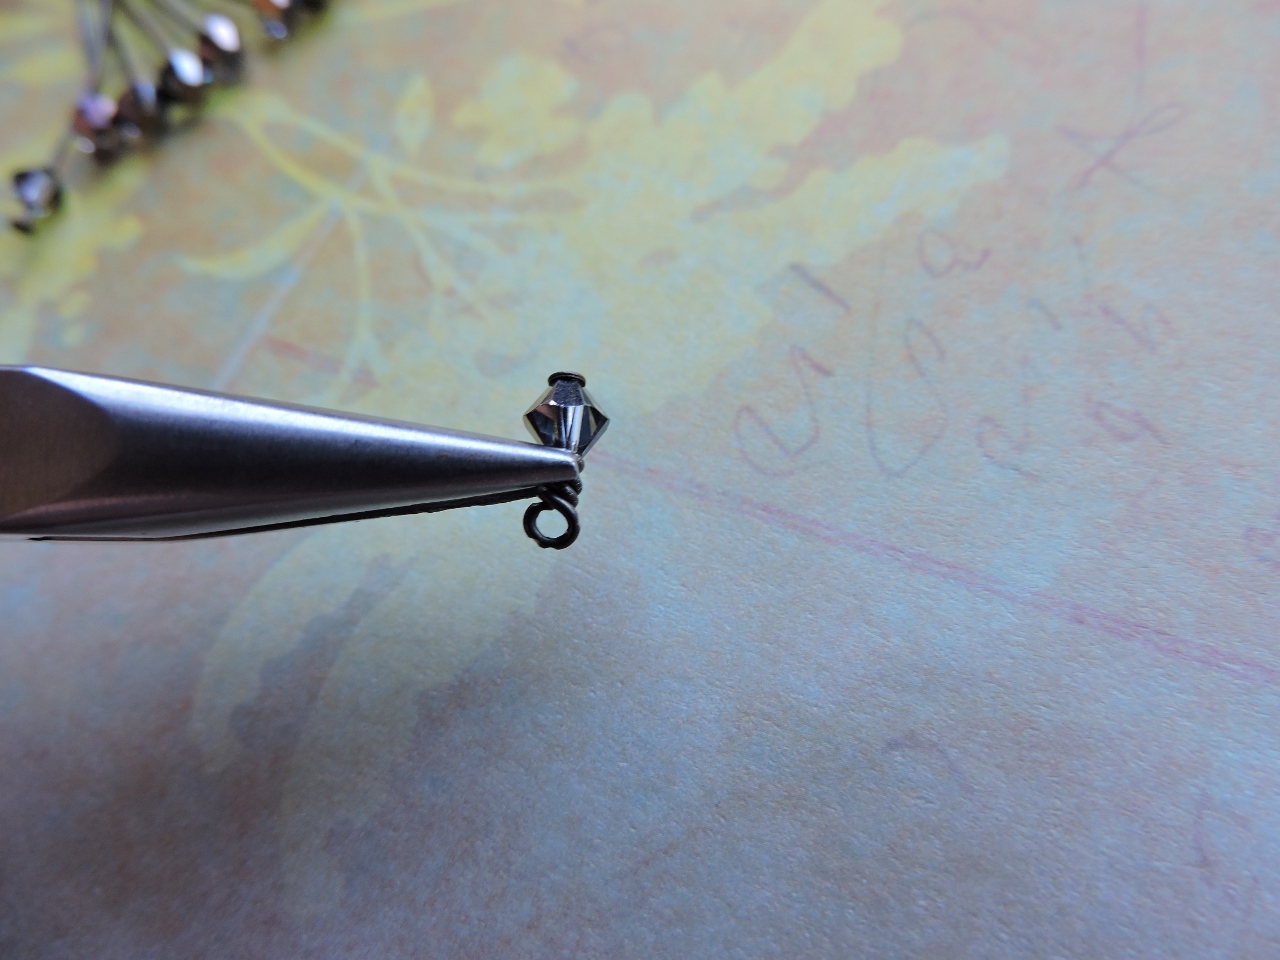
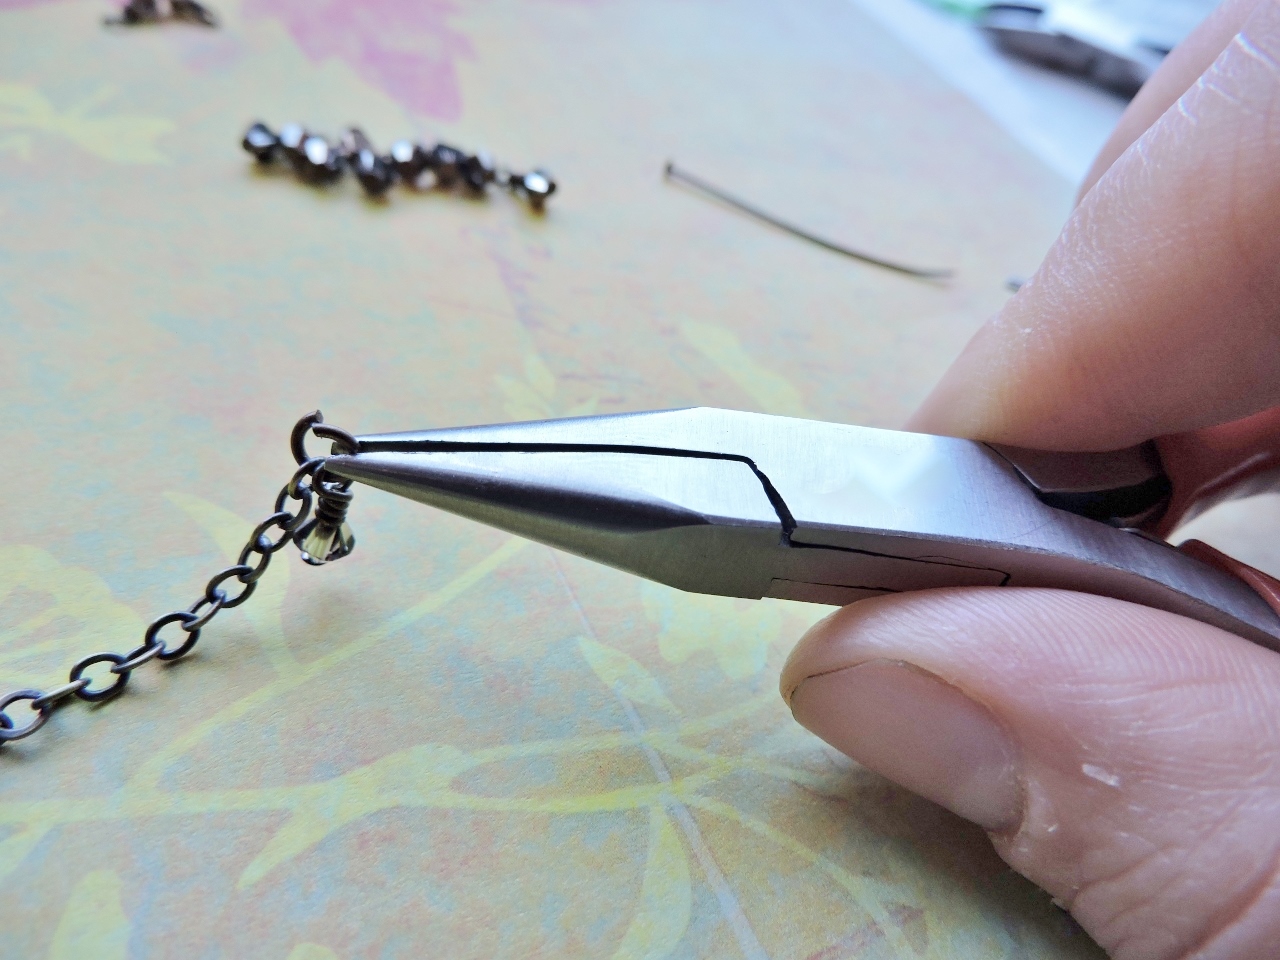
Use your wire cutters to clip the extra wire, then use your chain nose pliers to tuck in the excess tail so that there is no sharp edge.
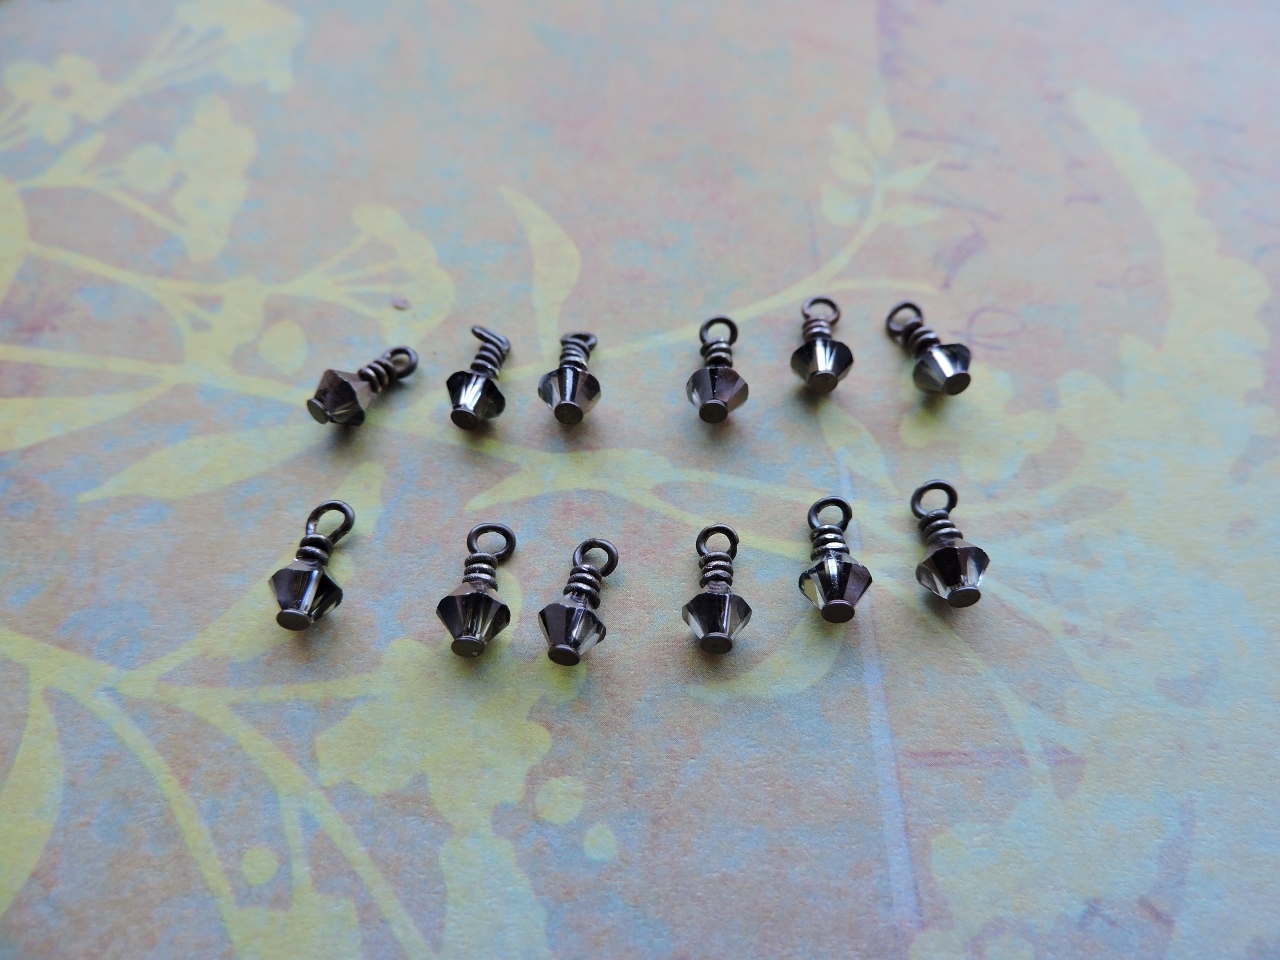
Tuck the wire on all the headpins.
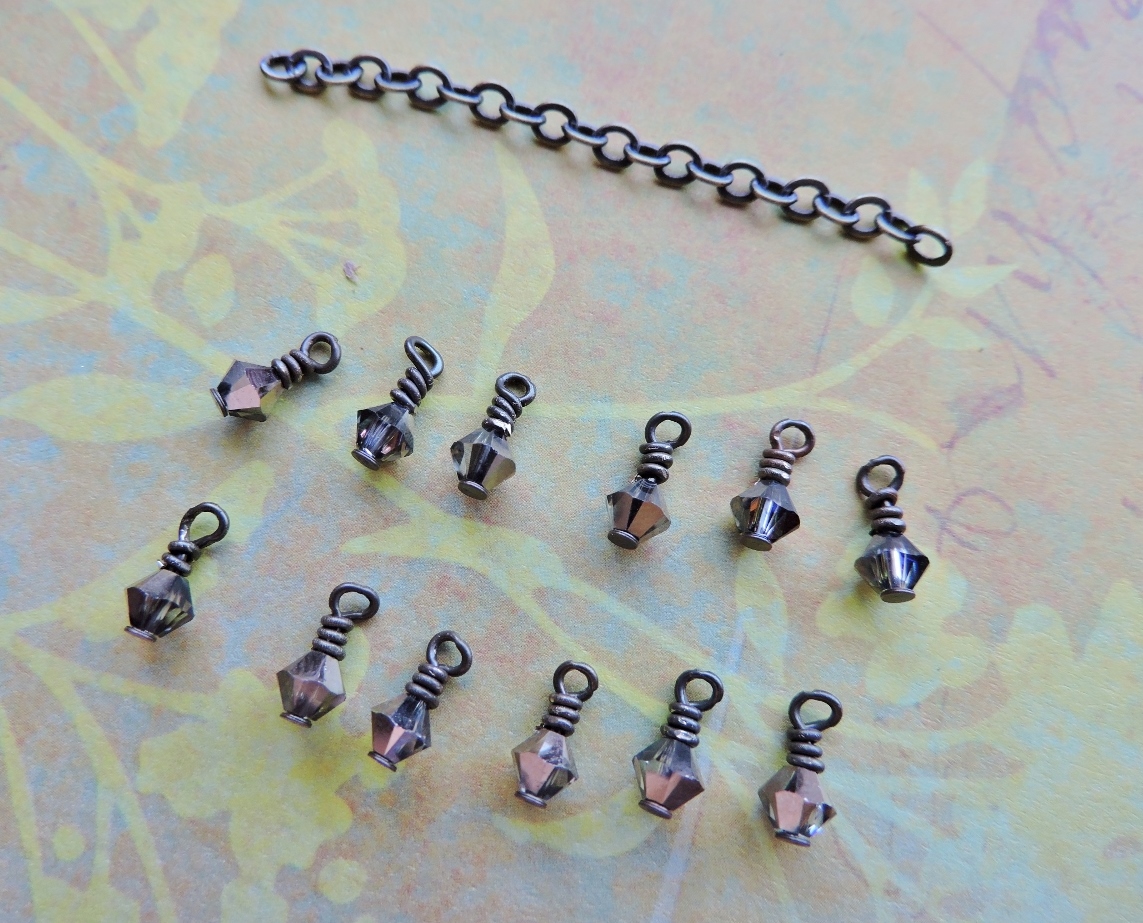
Cut a segment of the chain. I cut my segment at 1 3/4 inch.
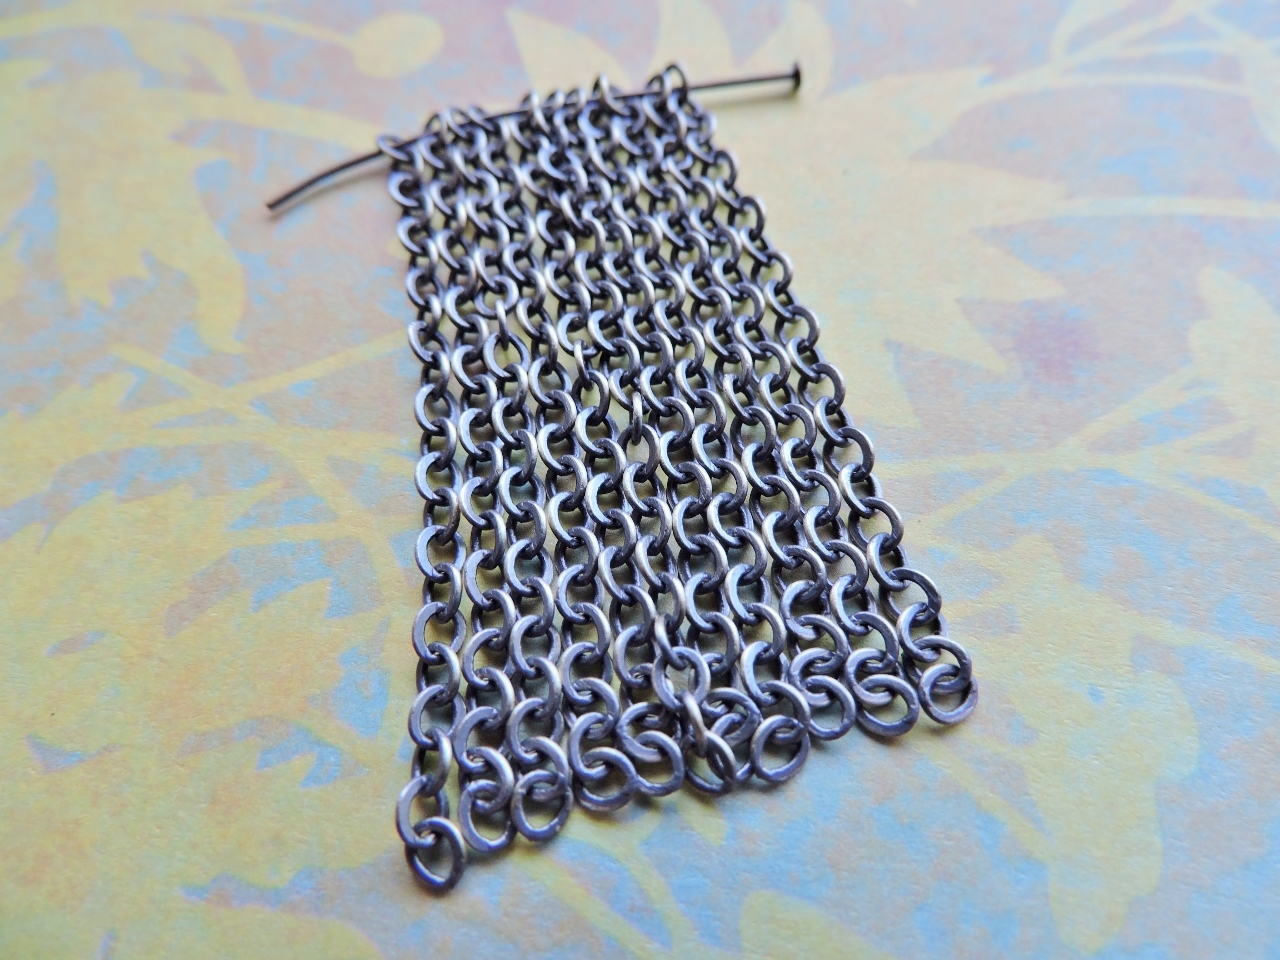
You will want a total of 10 chain segments. The easiest way to cut multiple chain segments the same length is to string them onto a headpin. Cut each segment the same length as the previous segment. This way you don’t have to count individual links.
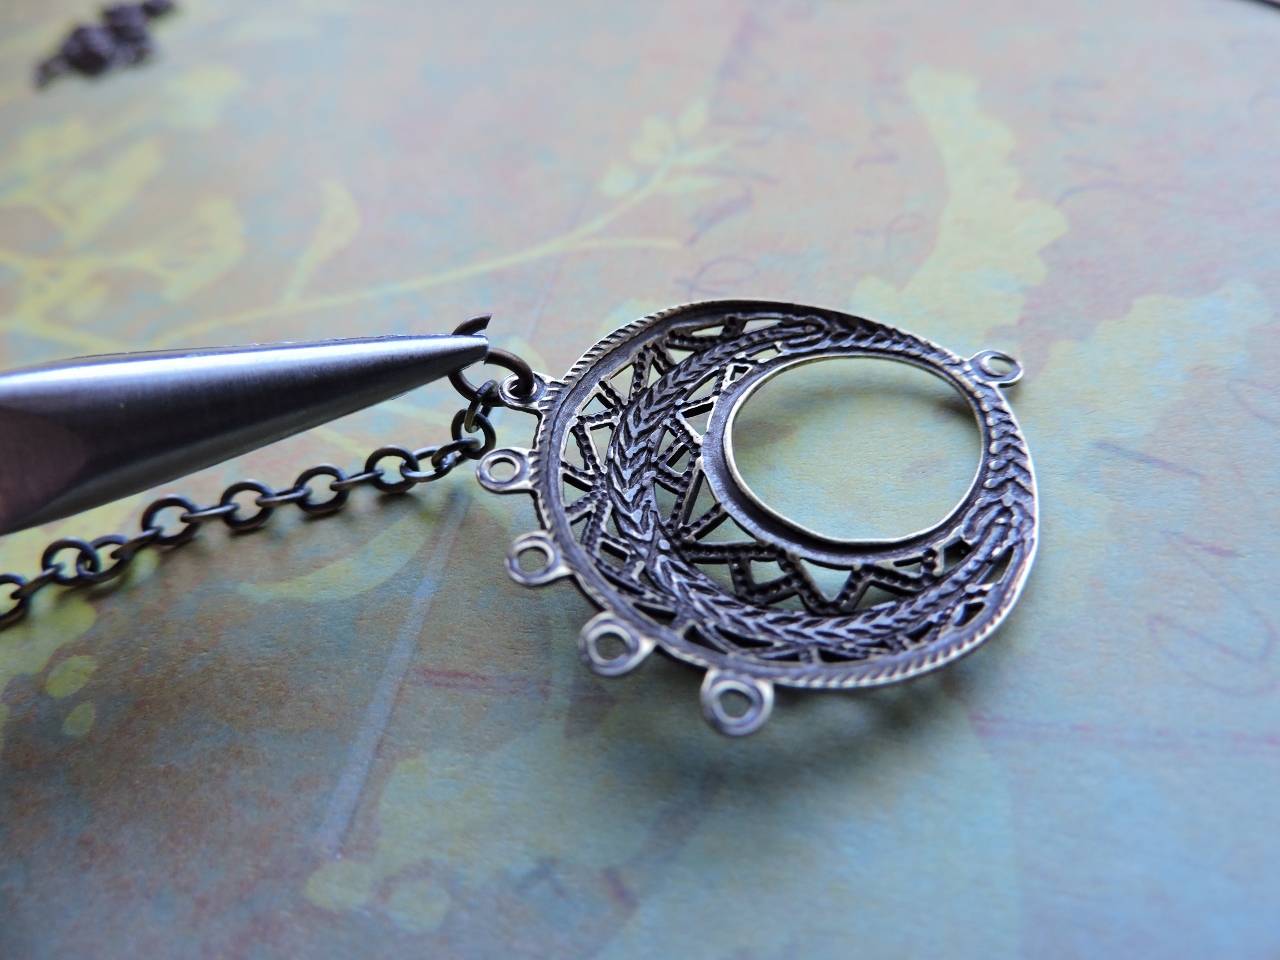
Attach the chain segments to the chandelier findings using the jump rings. Remember when opening jump rings to twist them open, side to side, rather than pry them directly apart.
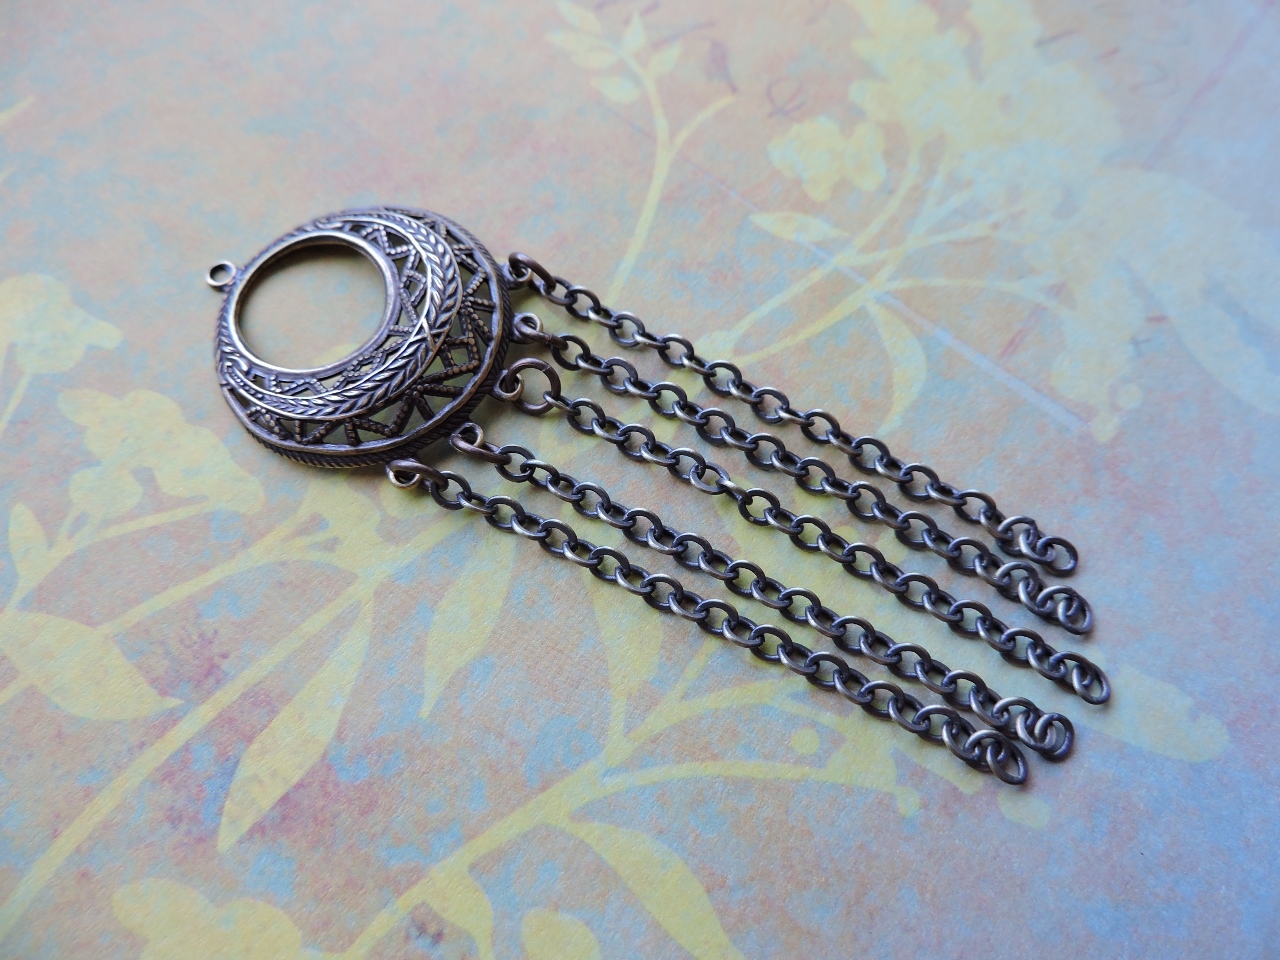
Add all five chain segments to the chandelier findings using jump rings.
Now add one of the crystal dangles to the end of each chain segment using the same jump rings.
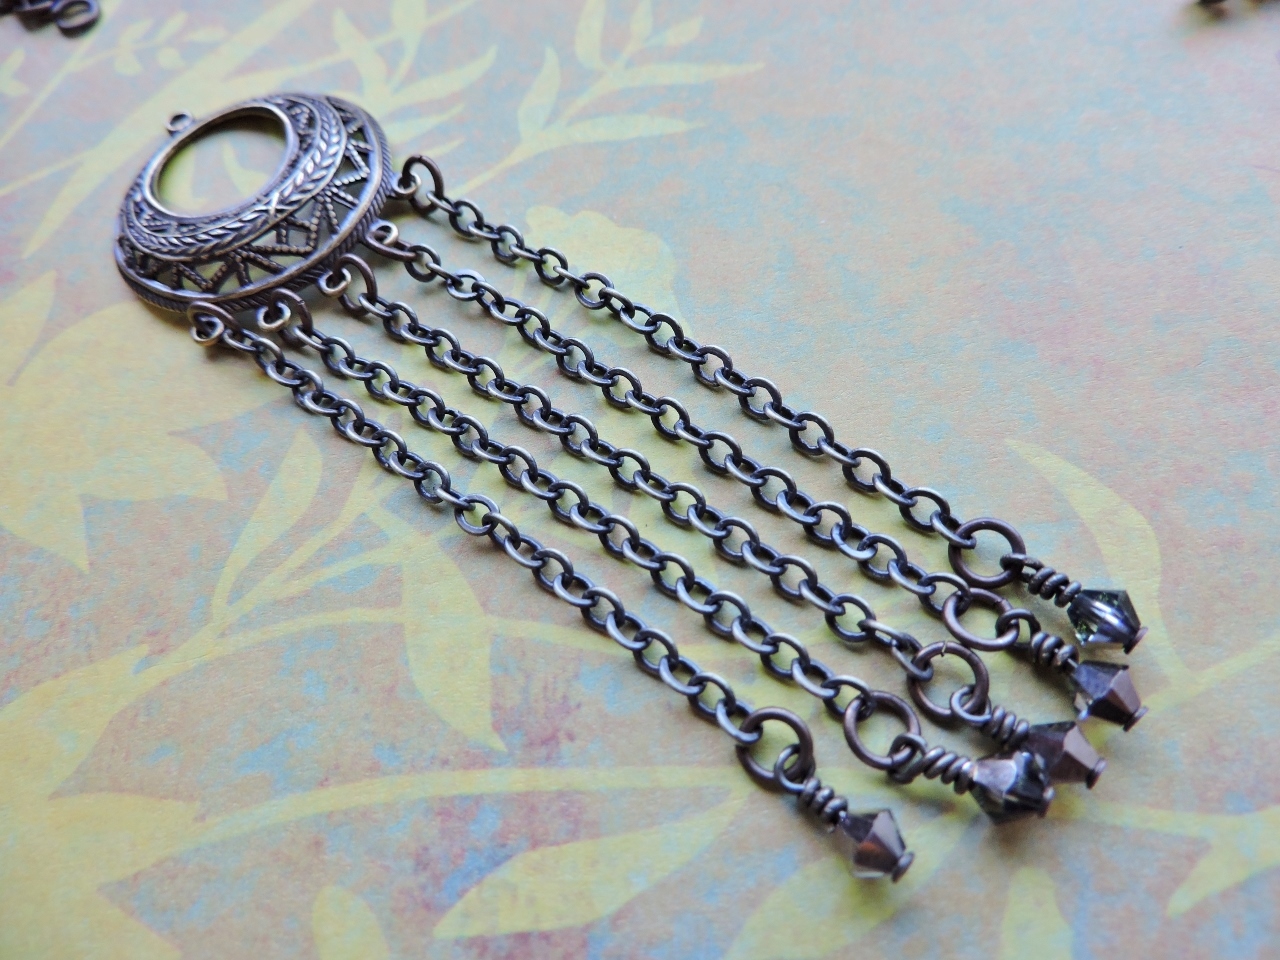
Add crystals to the bottom of all the chain segments.
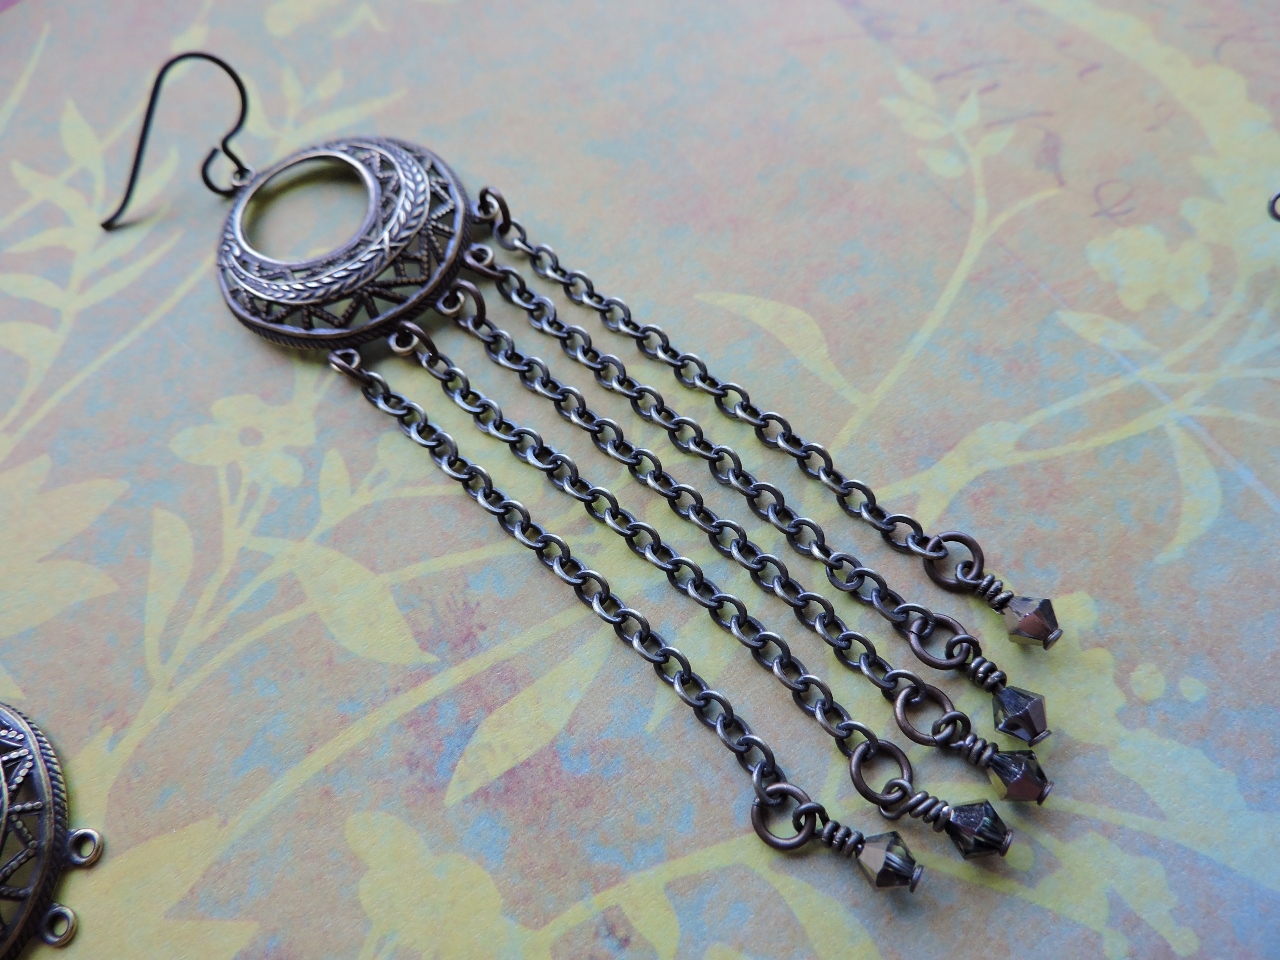
The last step is to simply add bronze niobium earring wires to the chandelier findings. I like to use the bronze niobium earring wires because they match the antique brass well, and are hypoallergenic for sensitive ears.
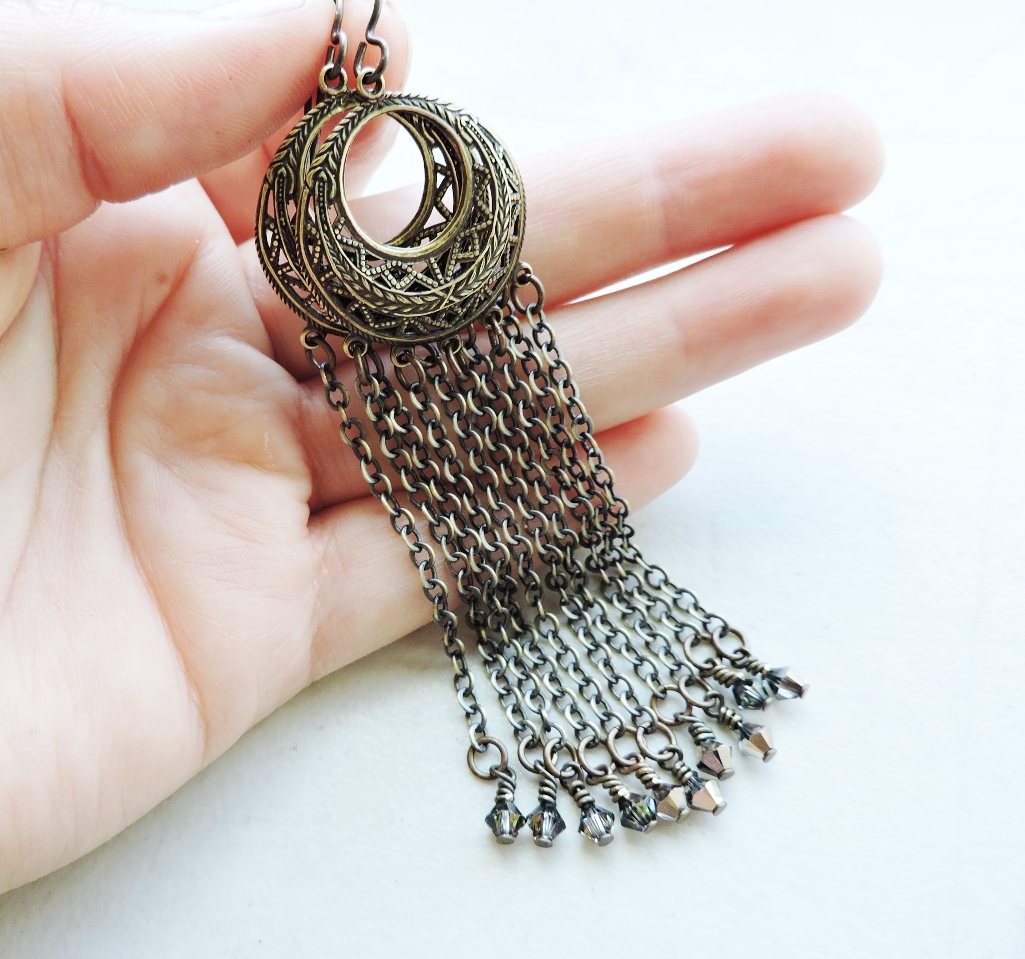
Completed earrings! I love the long and exotic feel of these!
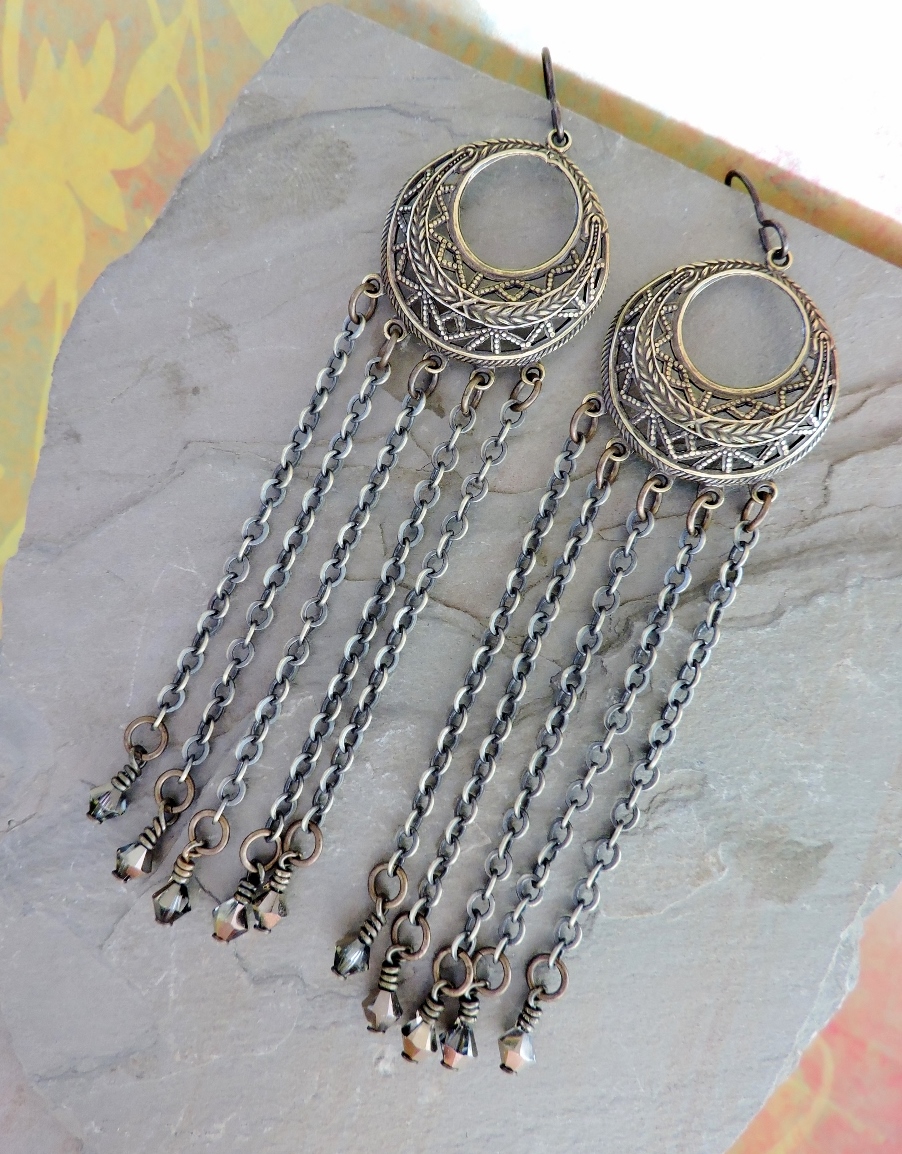
Long Exotic Antique Brass Chandelier Chain Tassel Earrings
.
~***~
Want more filigree-inspired jewelry projects?
Visit the Rings & Things Design Gallery!

“Southwest Chandelier Earrings Tutorial” created by Rings & Things designer Rita Hutchinson.
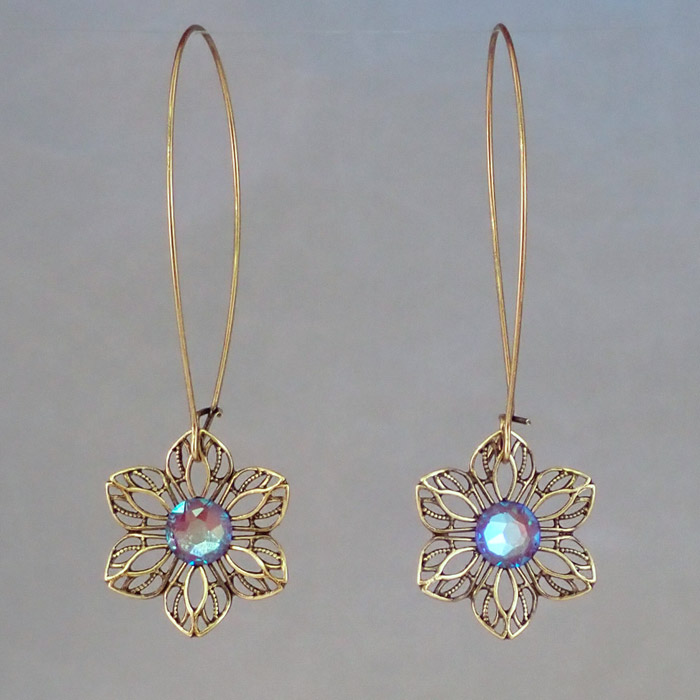
“Pretty Posy Filigree Earrings Tutorial” created by Rings & Things designer Mollie Valente.
“Chandra Shimmer Earrings Tutorial” created by Rings & Things designer Polly Nobbs-LaRue.
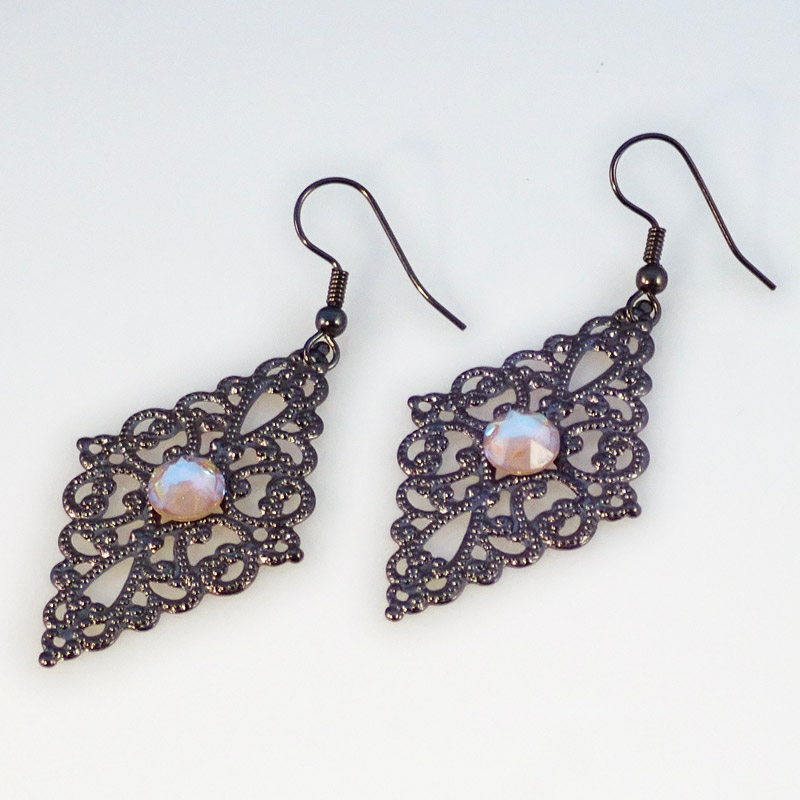
“Diamonds and Lace Filigree Earrings Tutorial” created by Rings & Things designer Mollie Valente.


No Comments