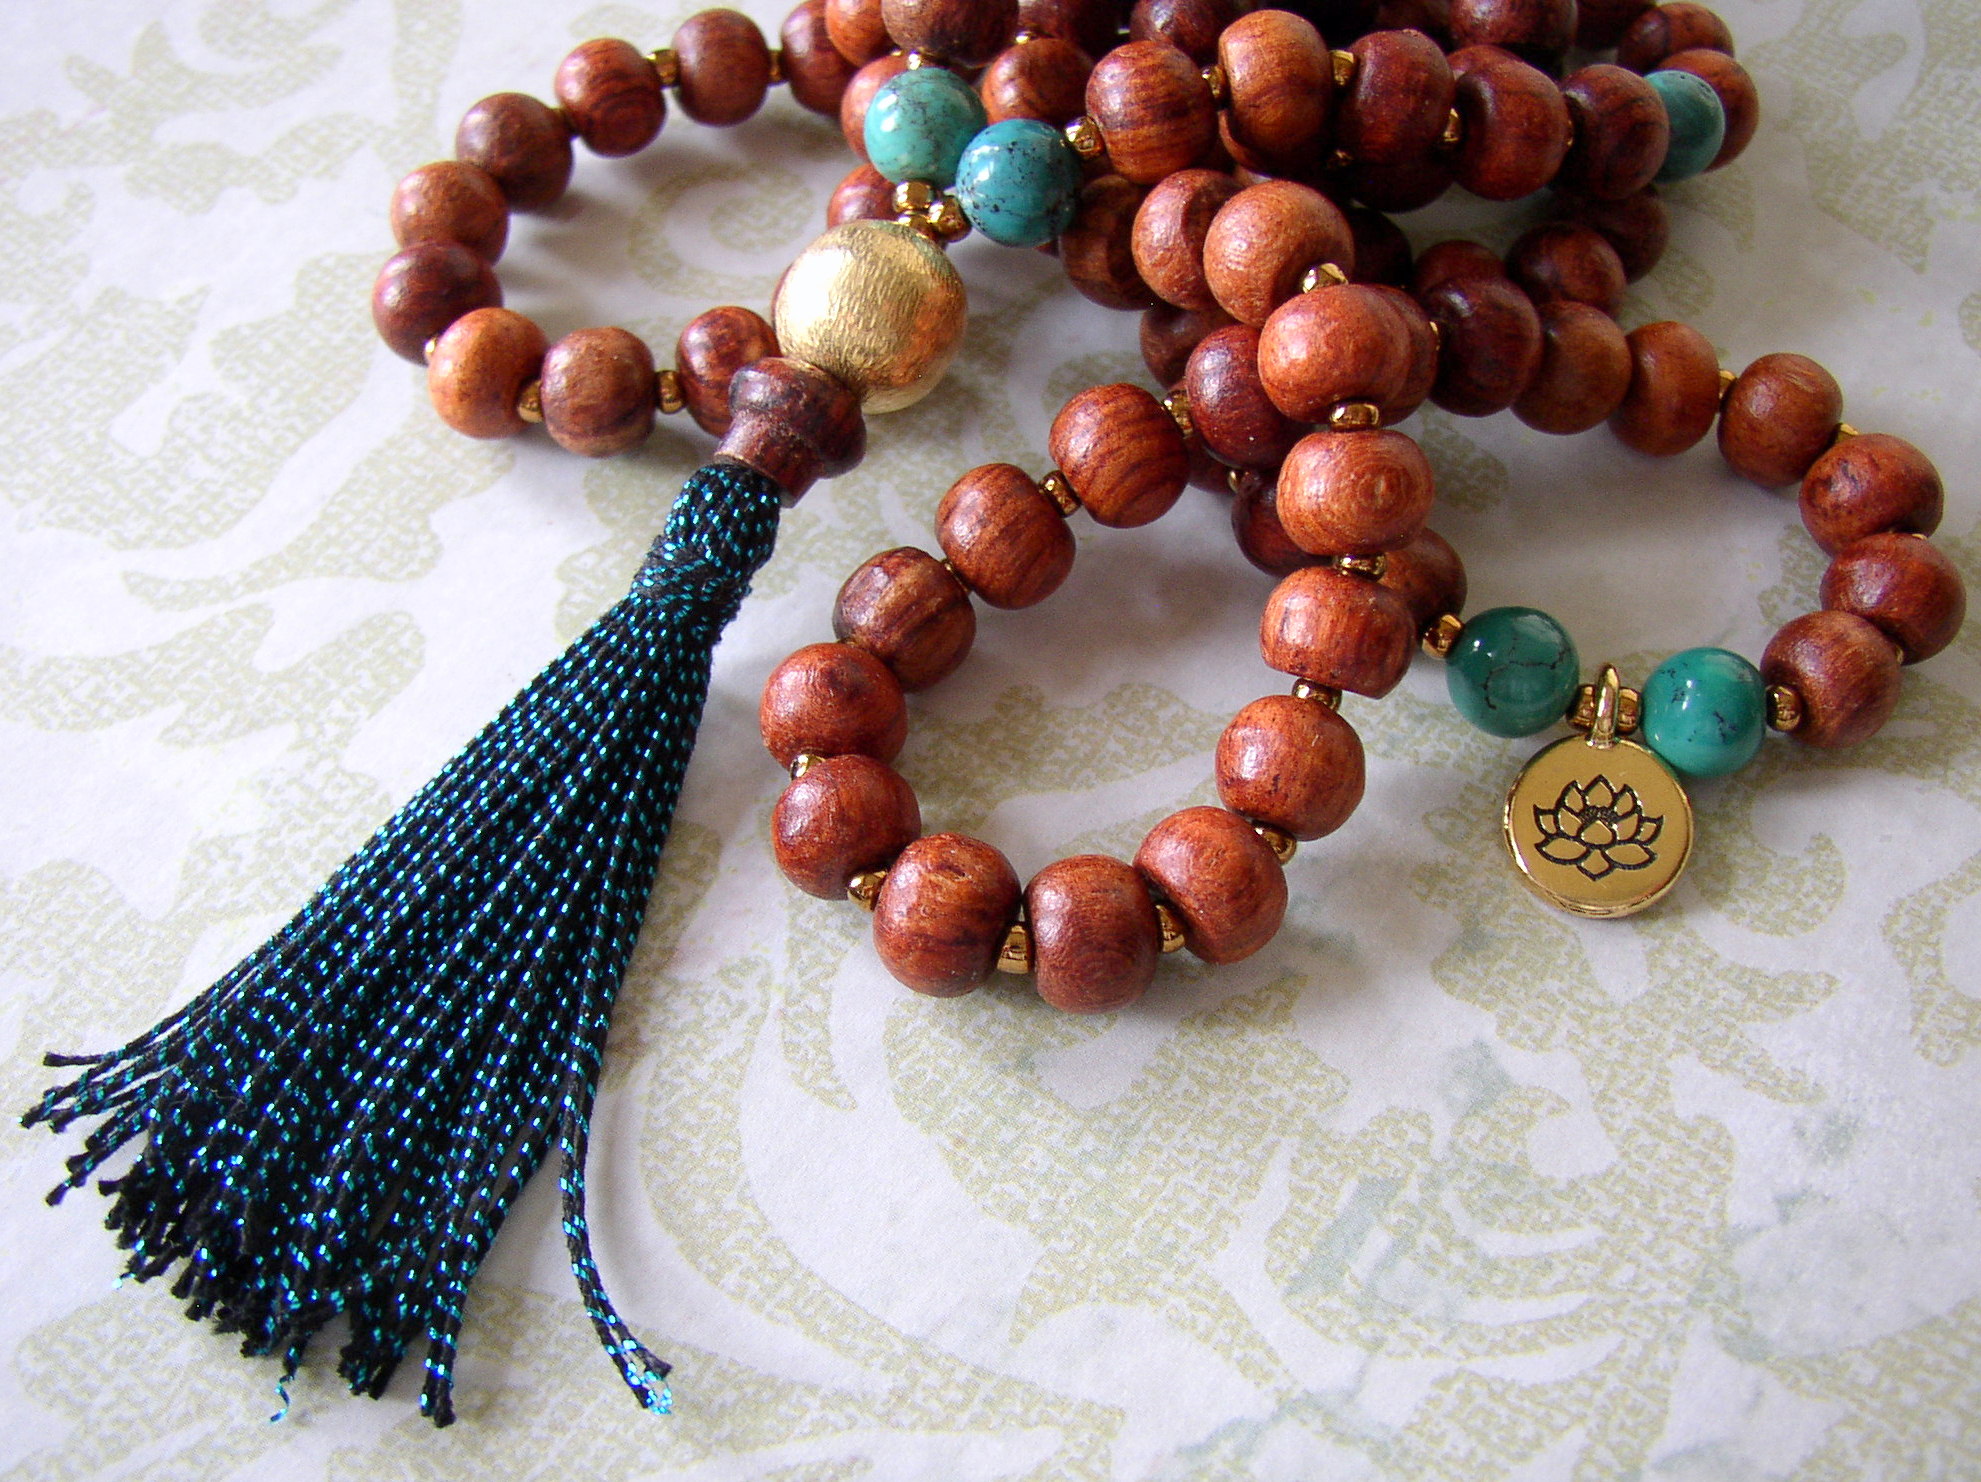
People use Mala necklaces for both spirituality and fashion, and making a Mala tassel necklace with prayer beads can be easy and fun! The use of Malas or “meditation garlands” in prayer dates back 3,000 years. Traditional Malas consist of 108 prayer beads, including “marker” beads, plus a larger “summit” or “guru” bead. During meditation, a mantra or prayer is recited 108 times — once per bead. The marker beads serve as a point to re-focus, if necessary, and the summit bead is a beginning and ending point. When you make your own DIY Mala necklace, you can incorporate gemstone beads with properties that benefit you (or your family, friends, and customers). You can also use charms with symbols of your choice and colors with special meanings. Read on for full instructions.

First, gather the following supplies:
- 42 inches of BeadSmith Super-Lon bead cord (I used #61-710-007)
- 111 each of size 8 TOHO seed beads (I used #20-225-221)
- 100 each of rosewood Mala beads (I used #29-580-08)
- 1 each of brushed-finish gold-plated bead (I used #26-816-205)
- 1 each of TierraCast symbol charm (I used #49-958-52-AG)
- 8 each of 7-8mm round gemstone beads (I used #21-888-002-00)
- 4 meters of Beadalon cotton tassel cord (I used #61-919-941)
- Optional: 1 necklace shortener (I used #30-672-4)
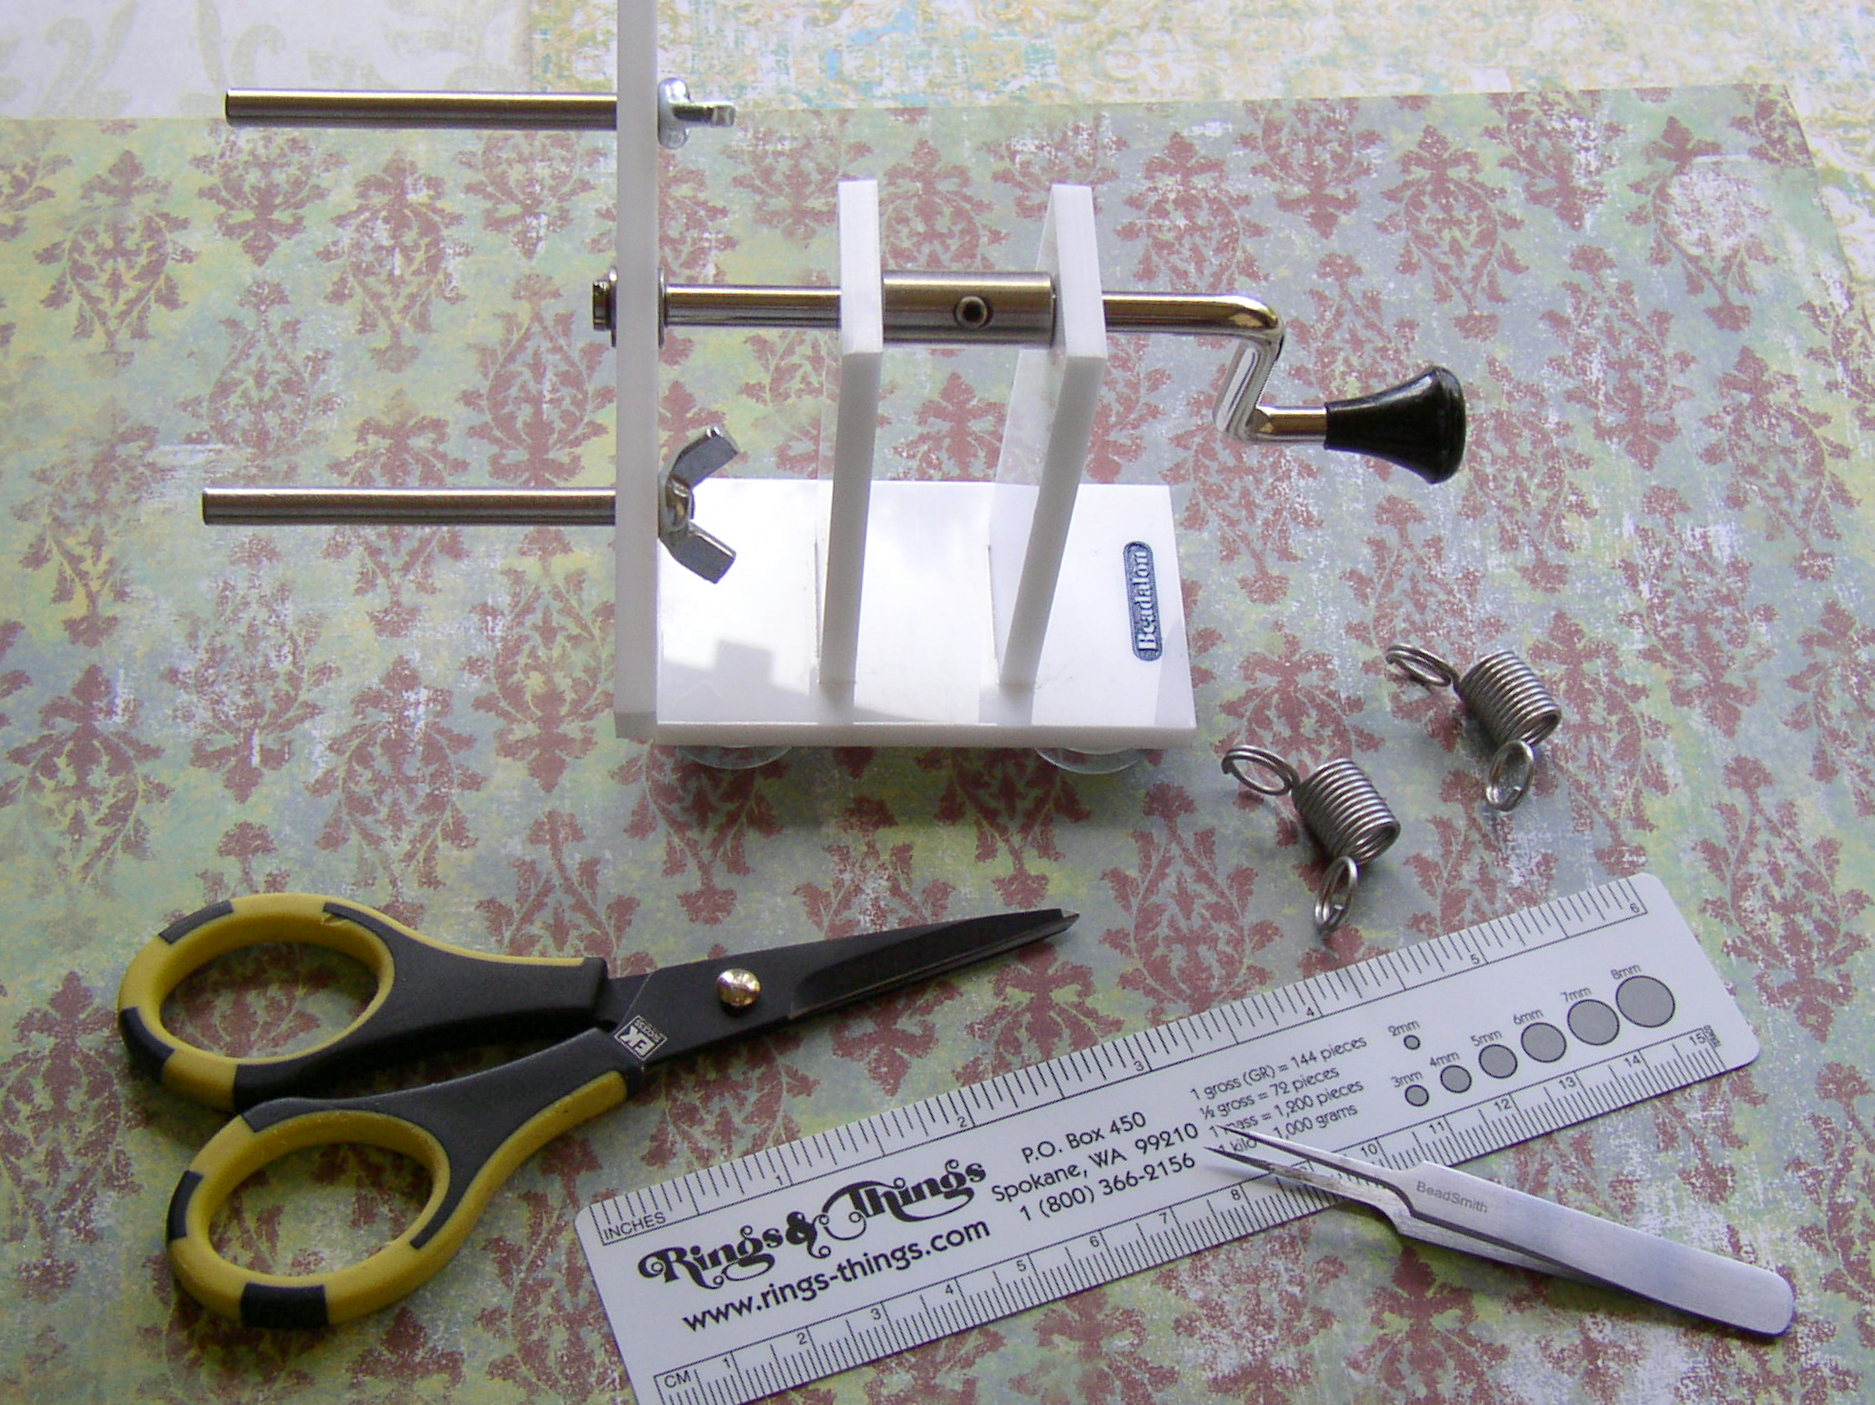
You’ll also want the following tools:
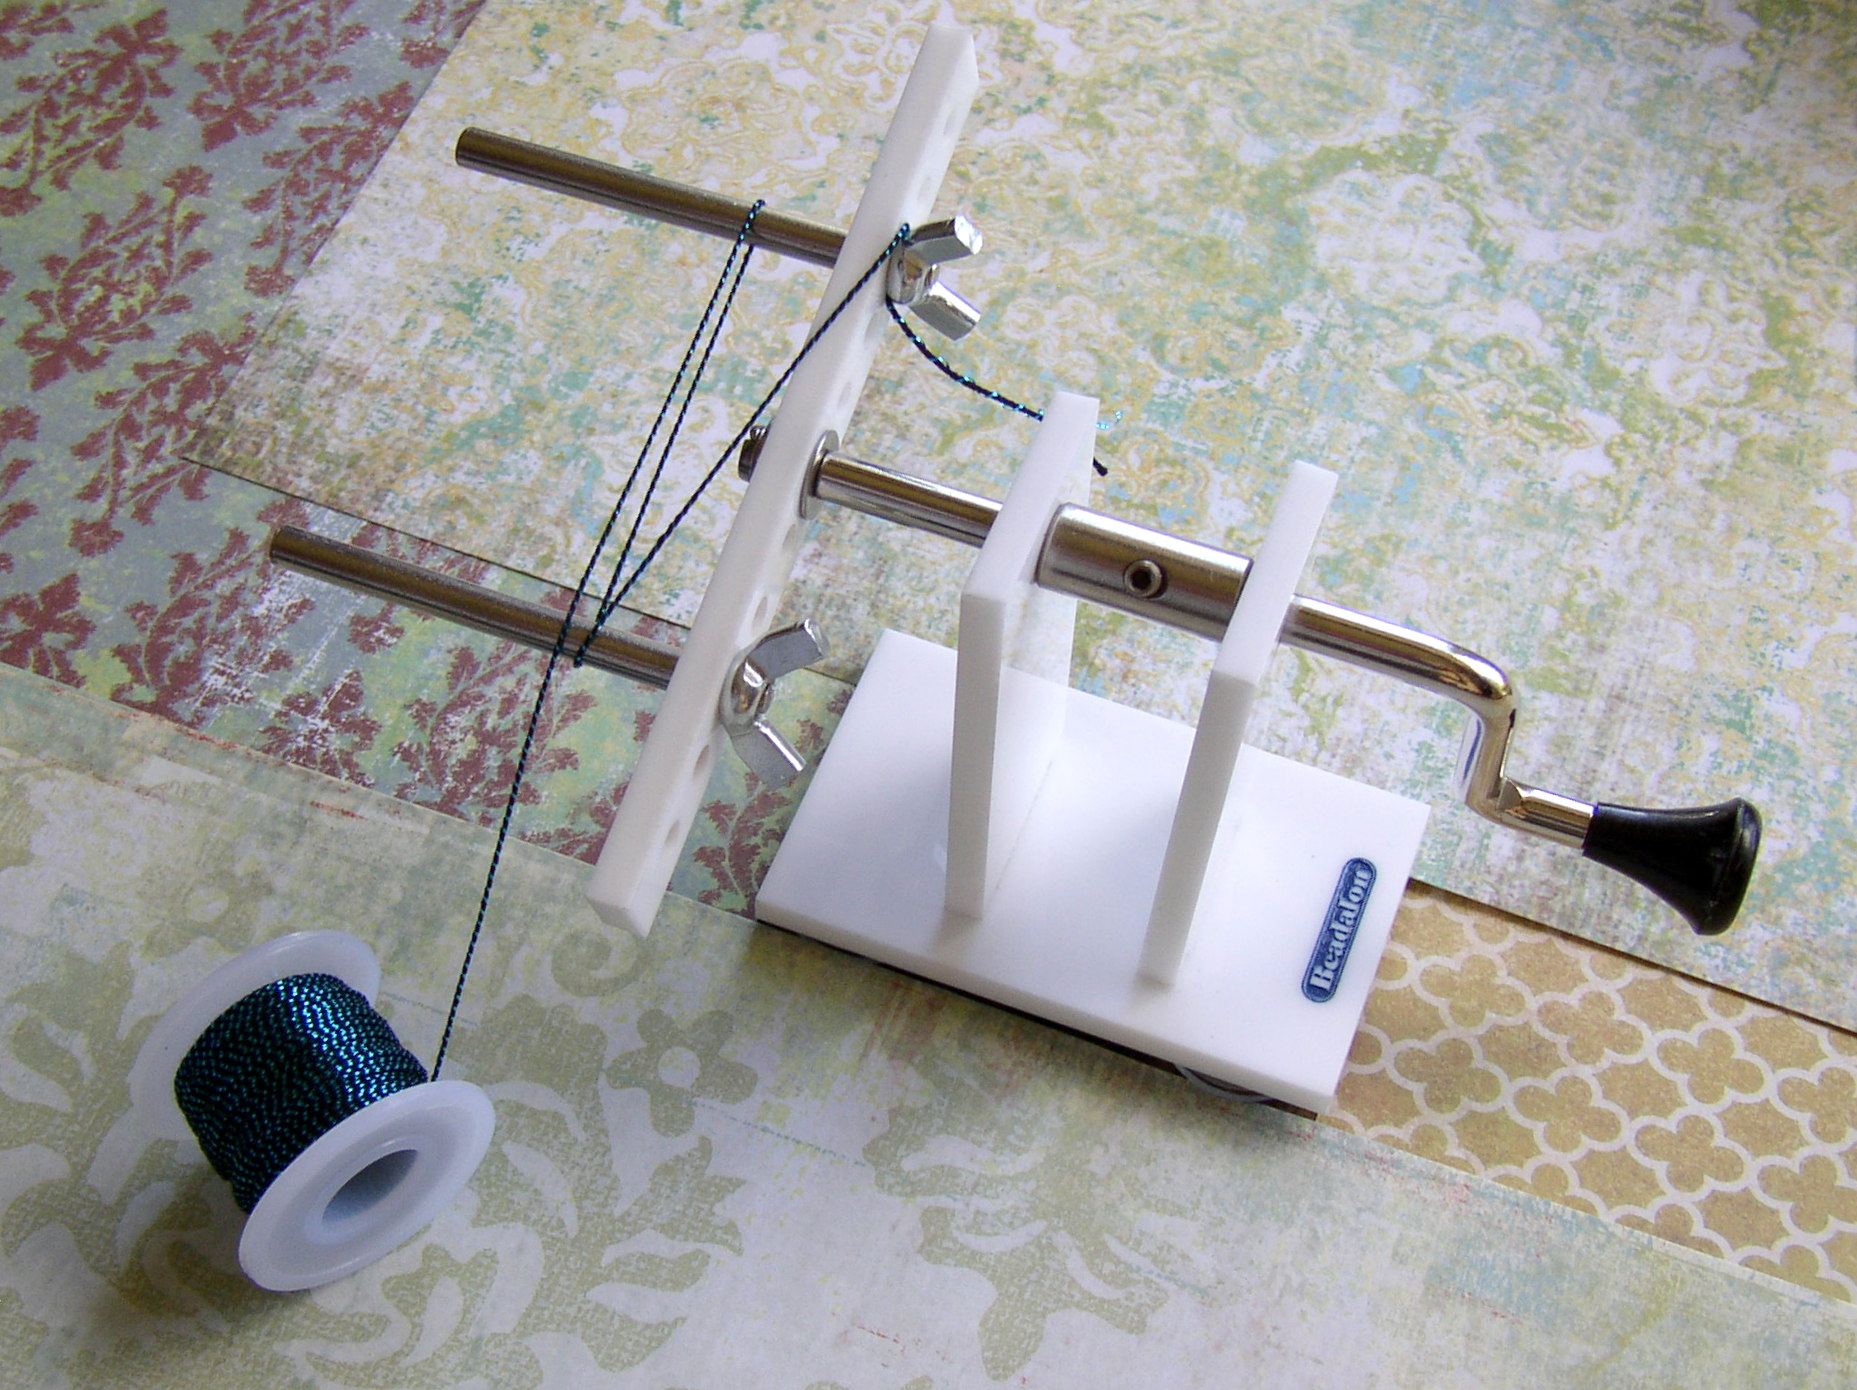
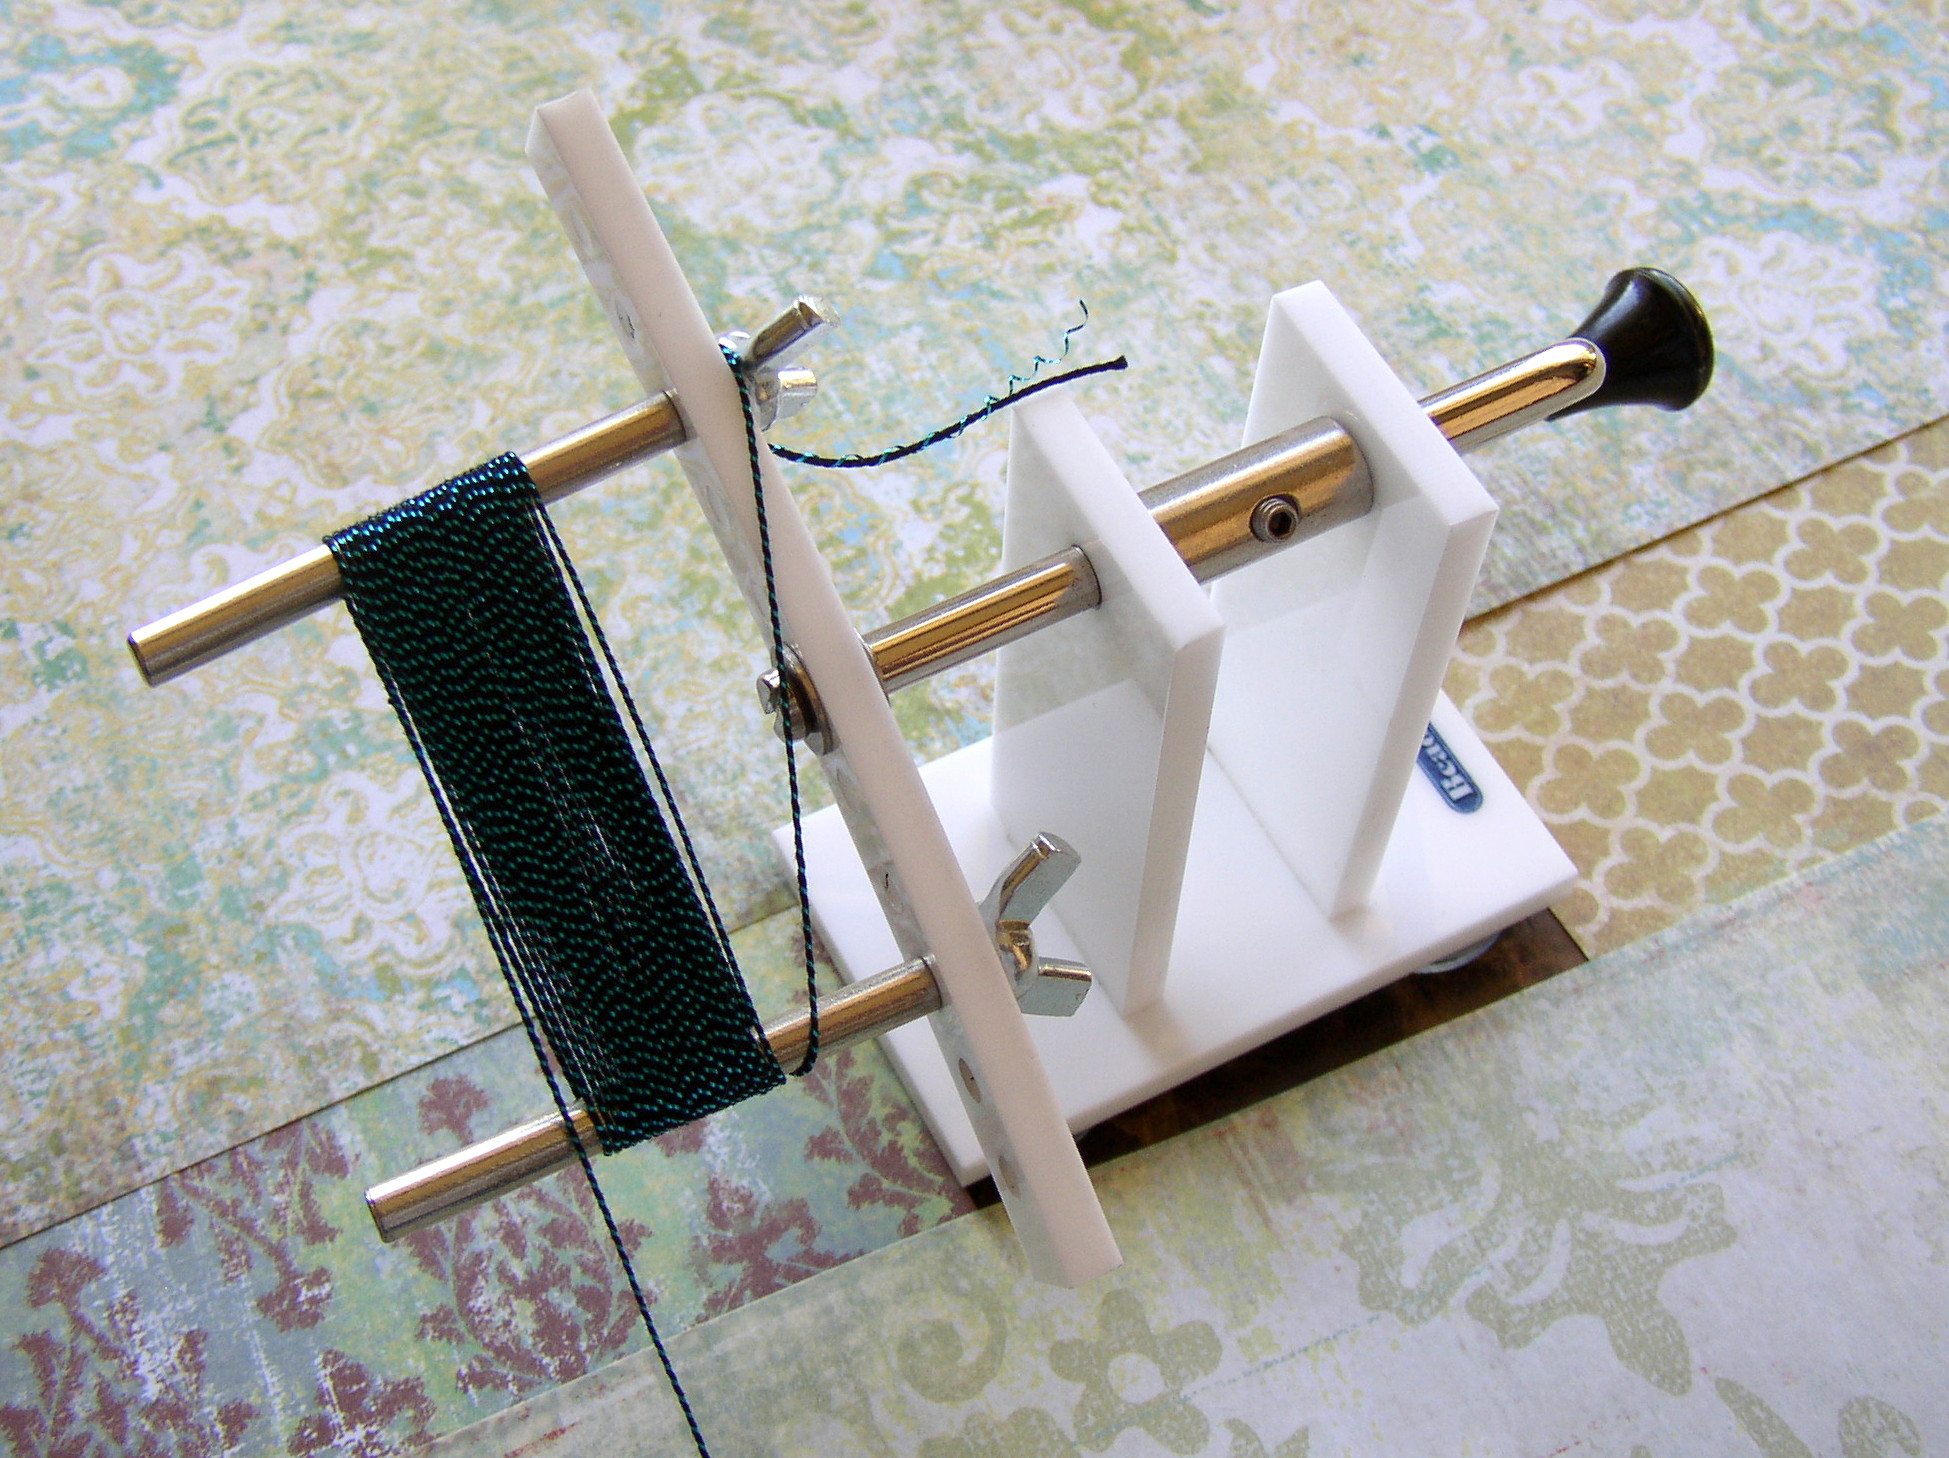
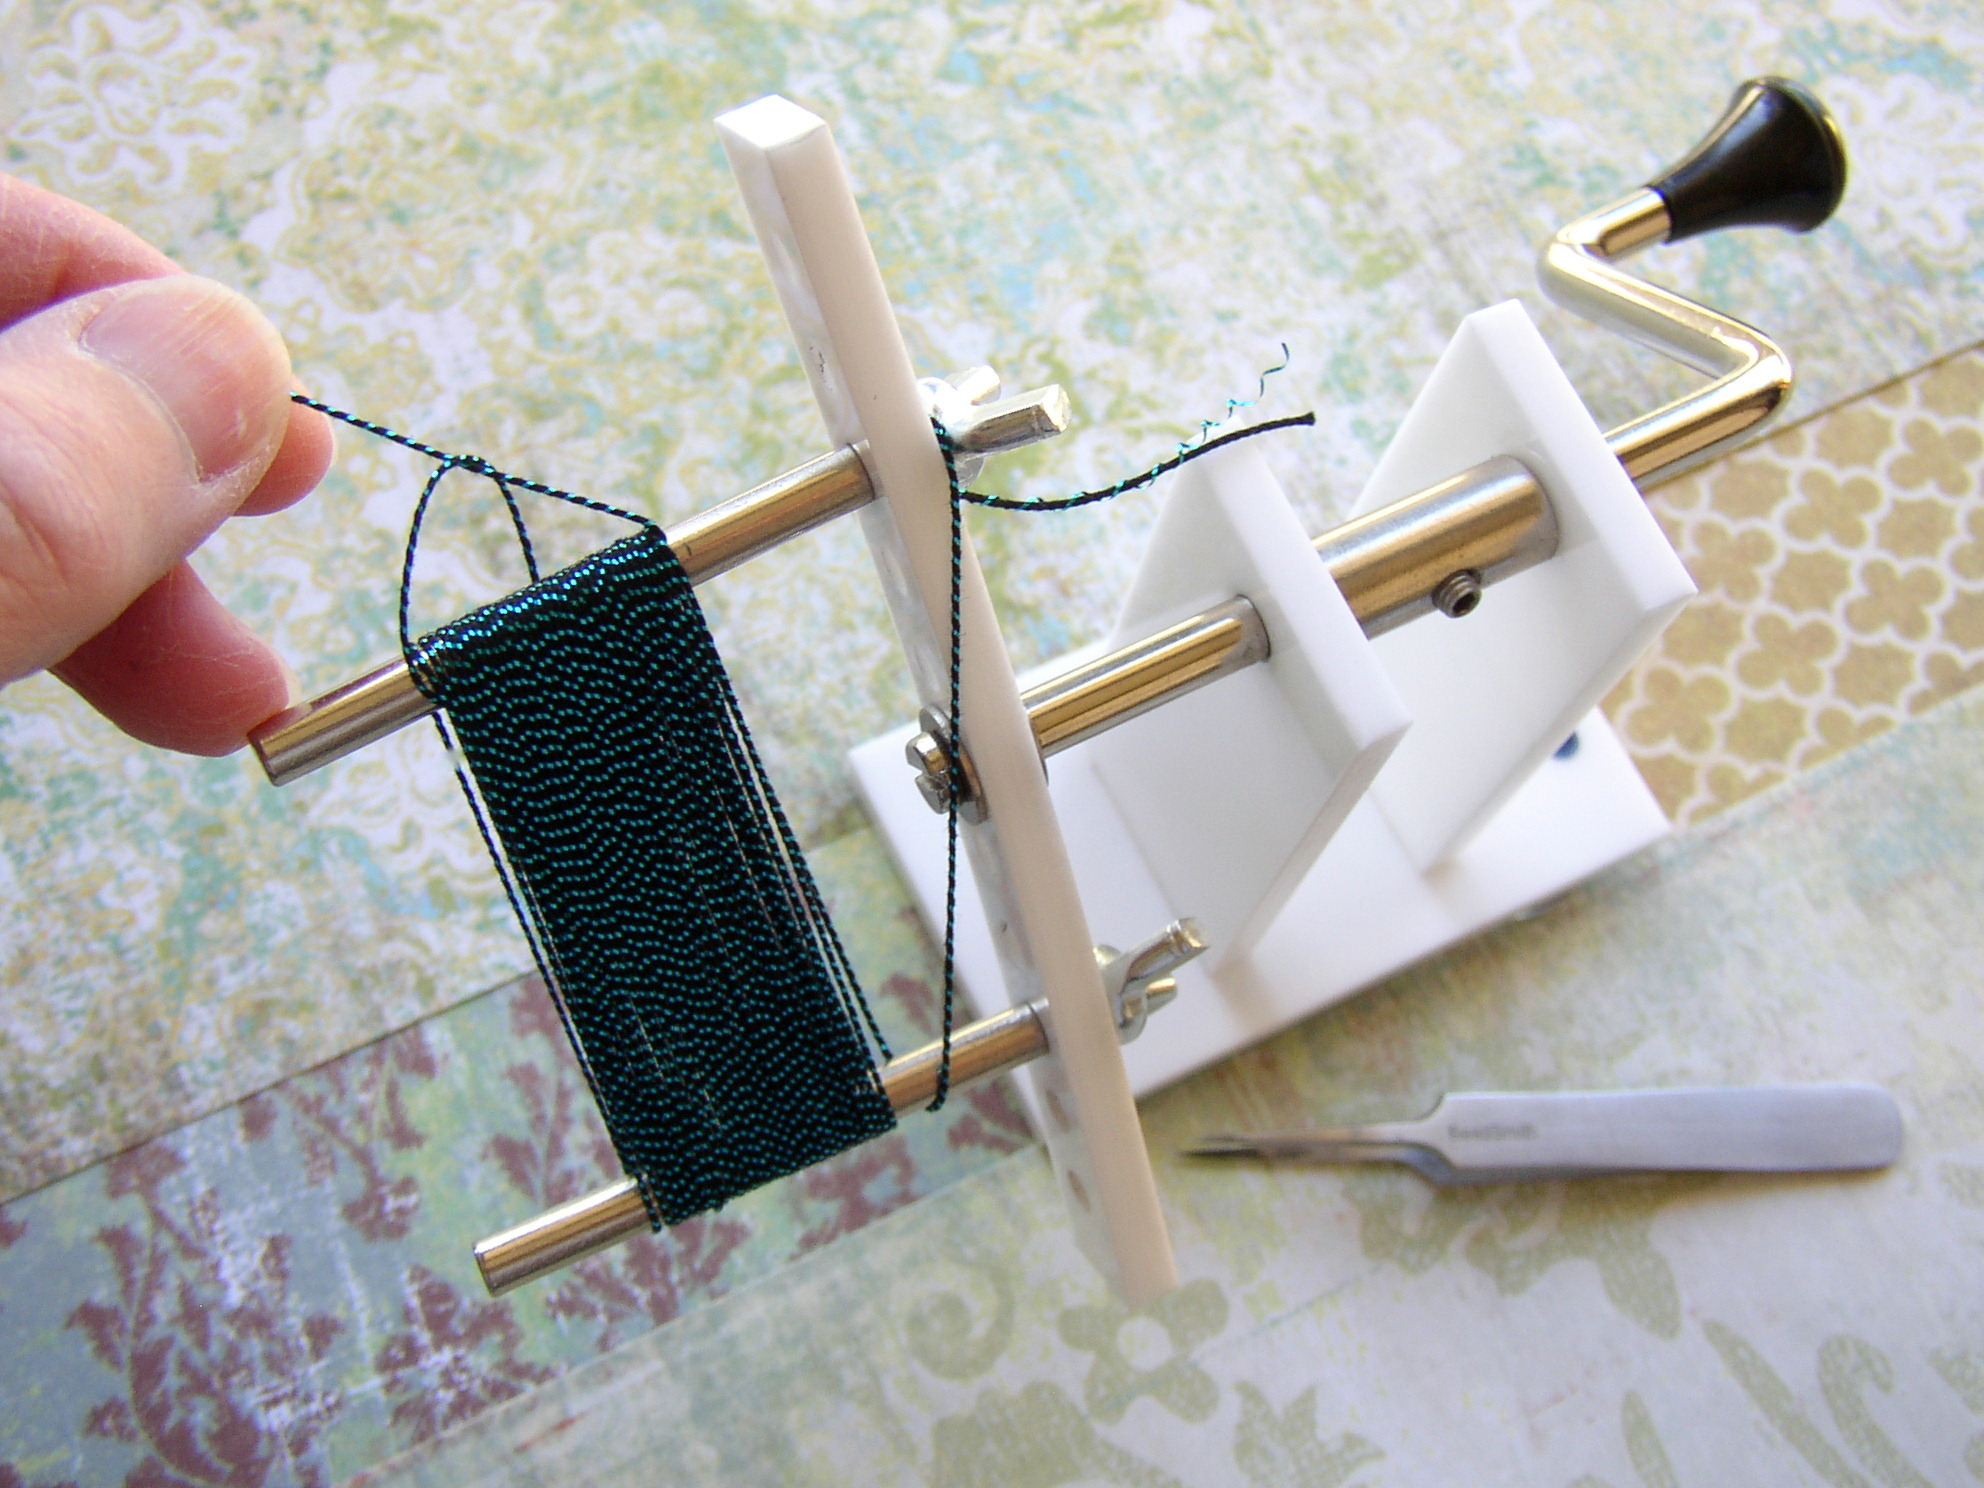
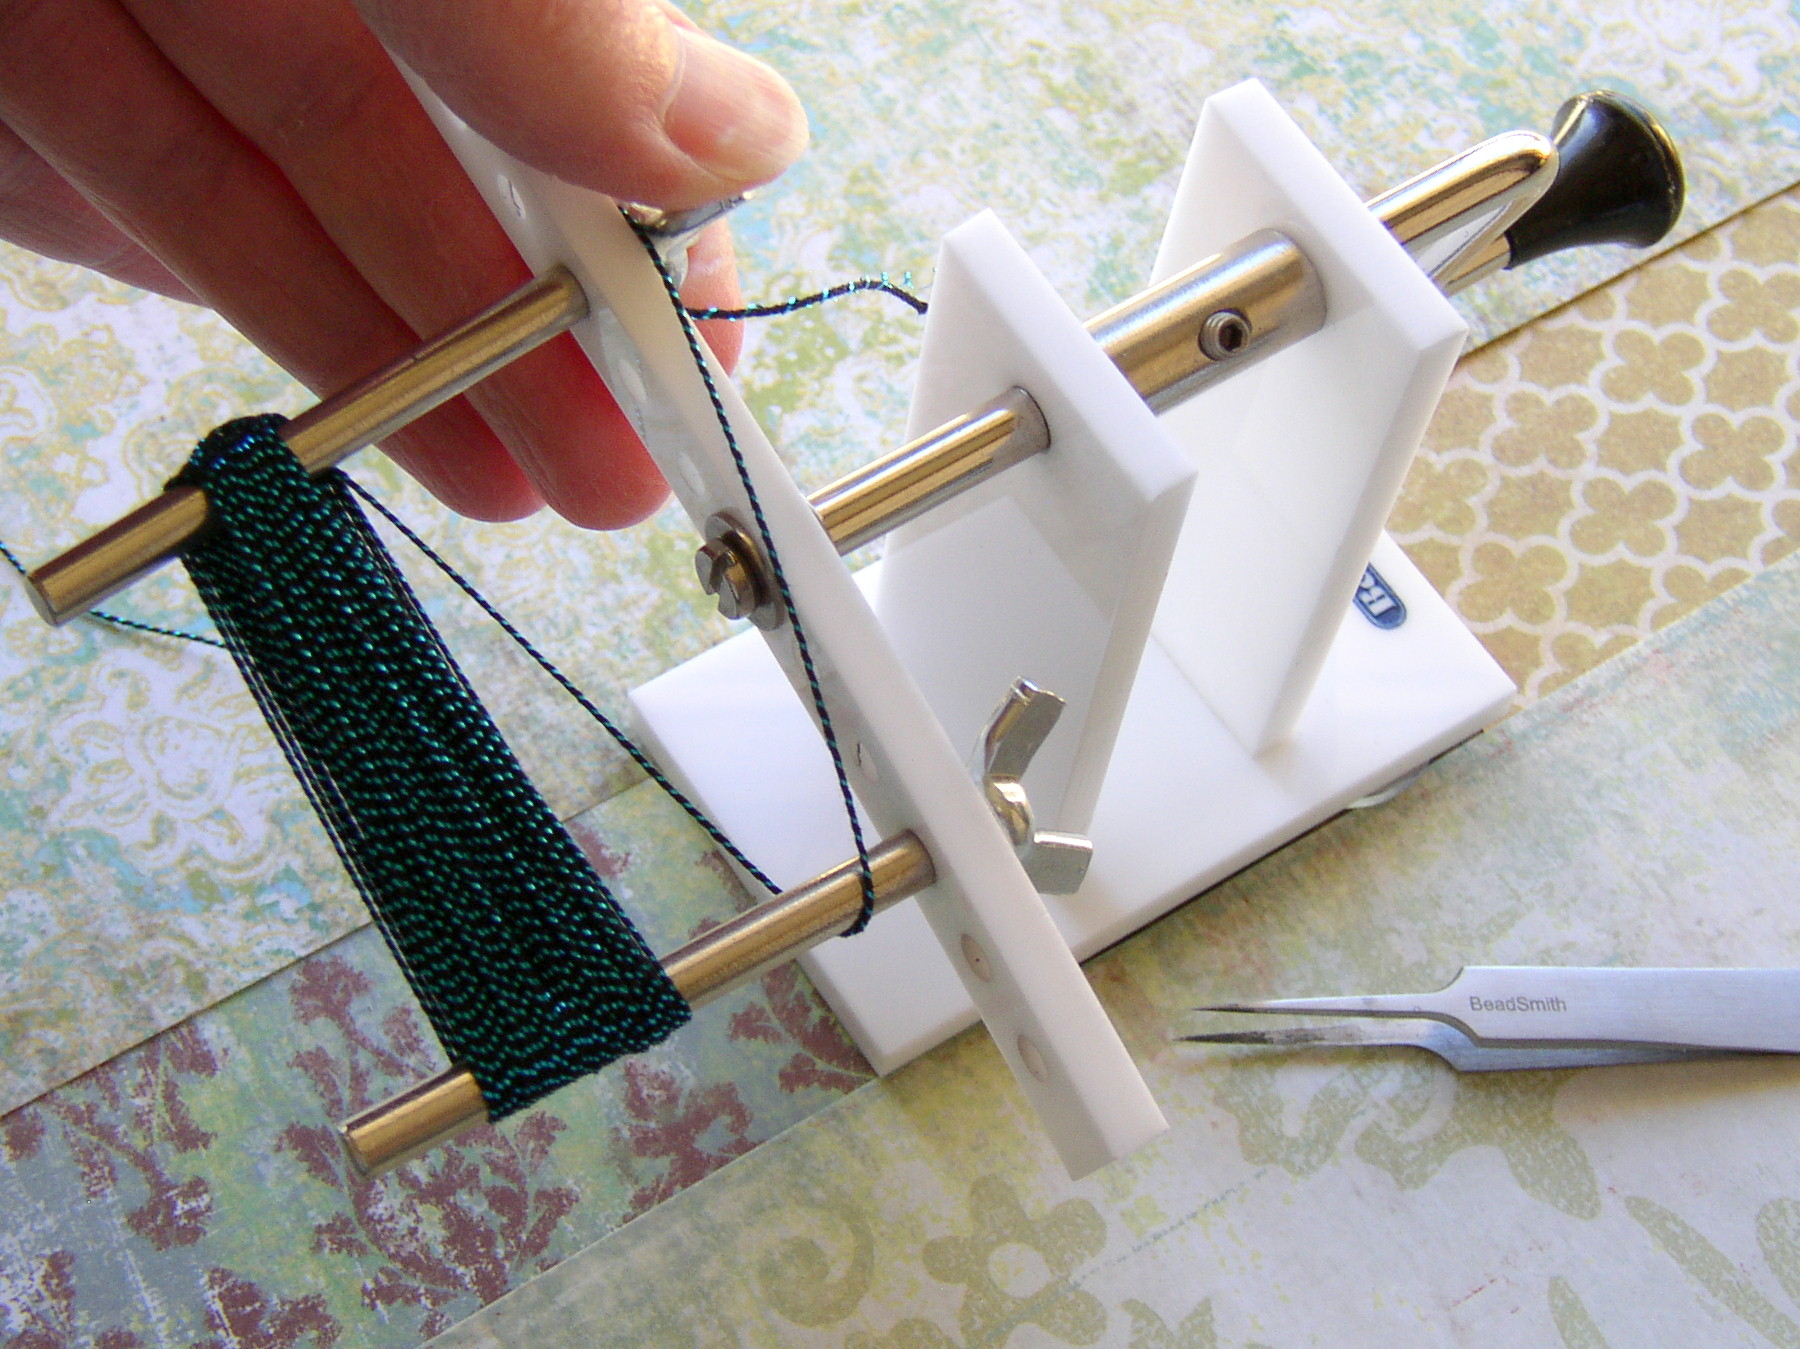
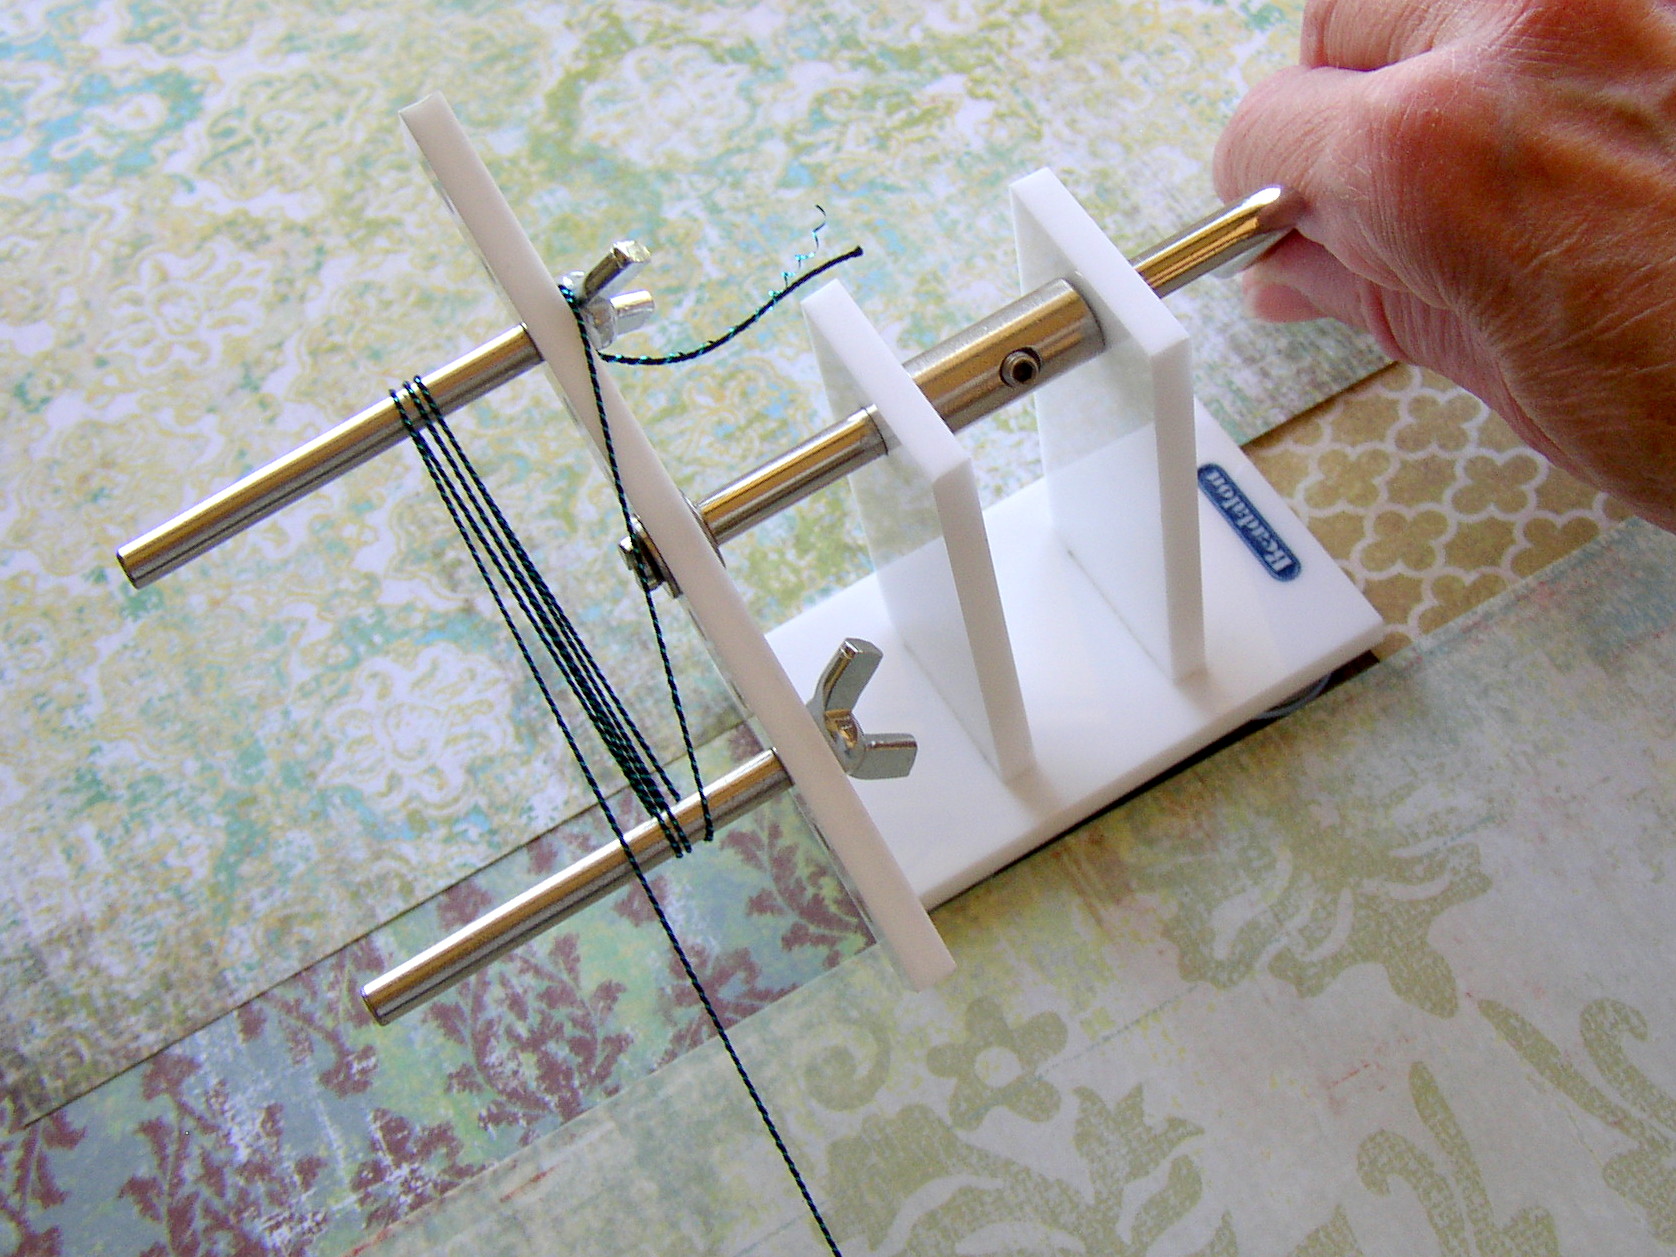
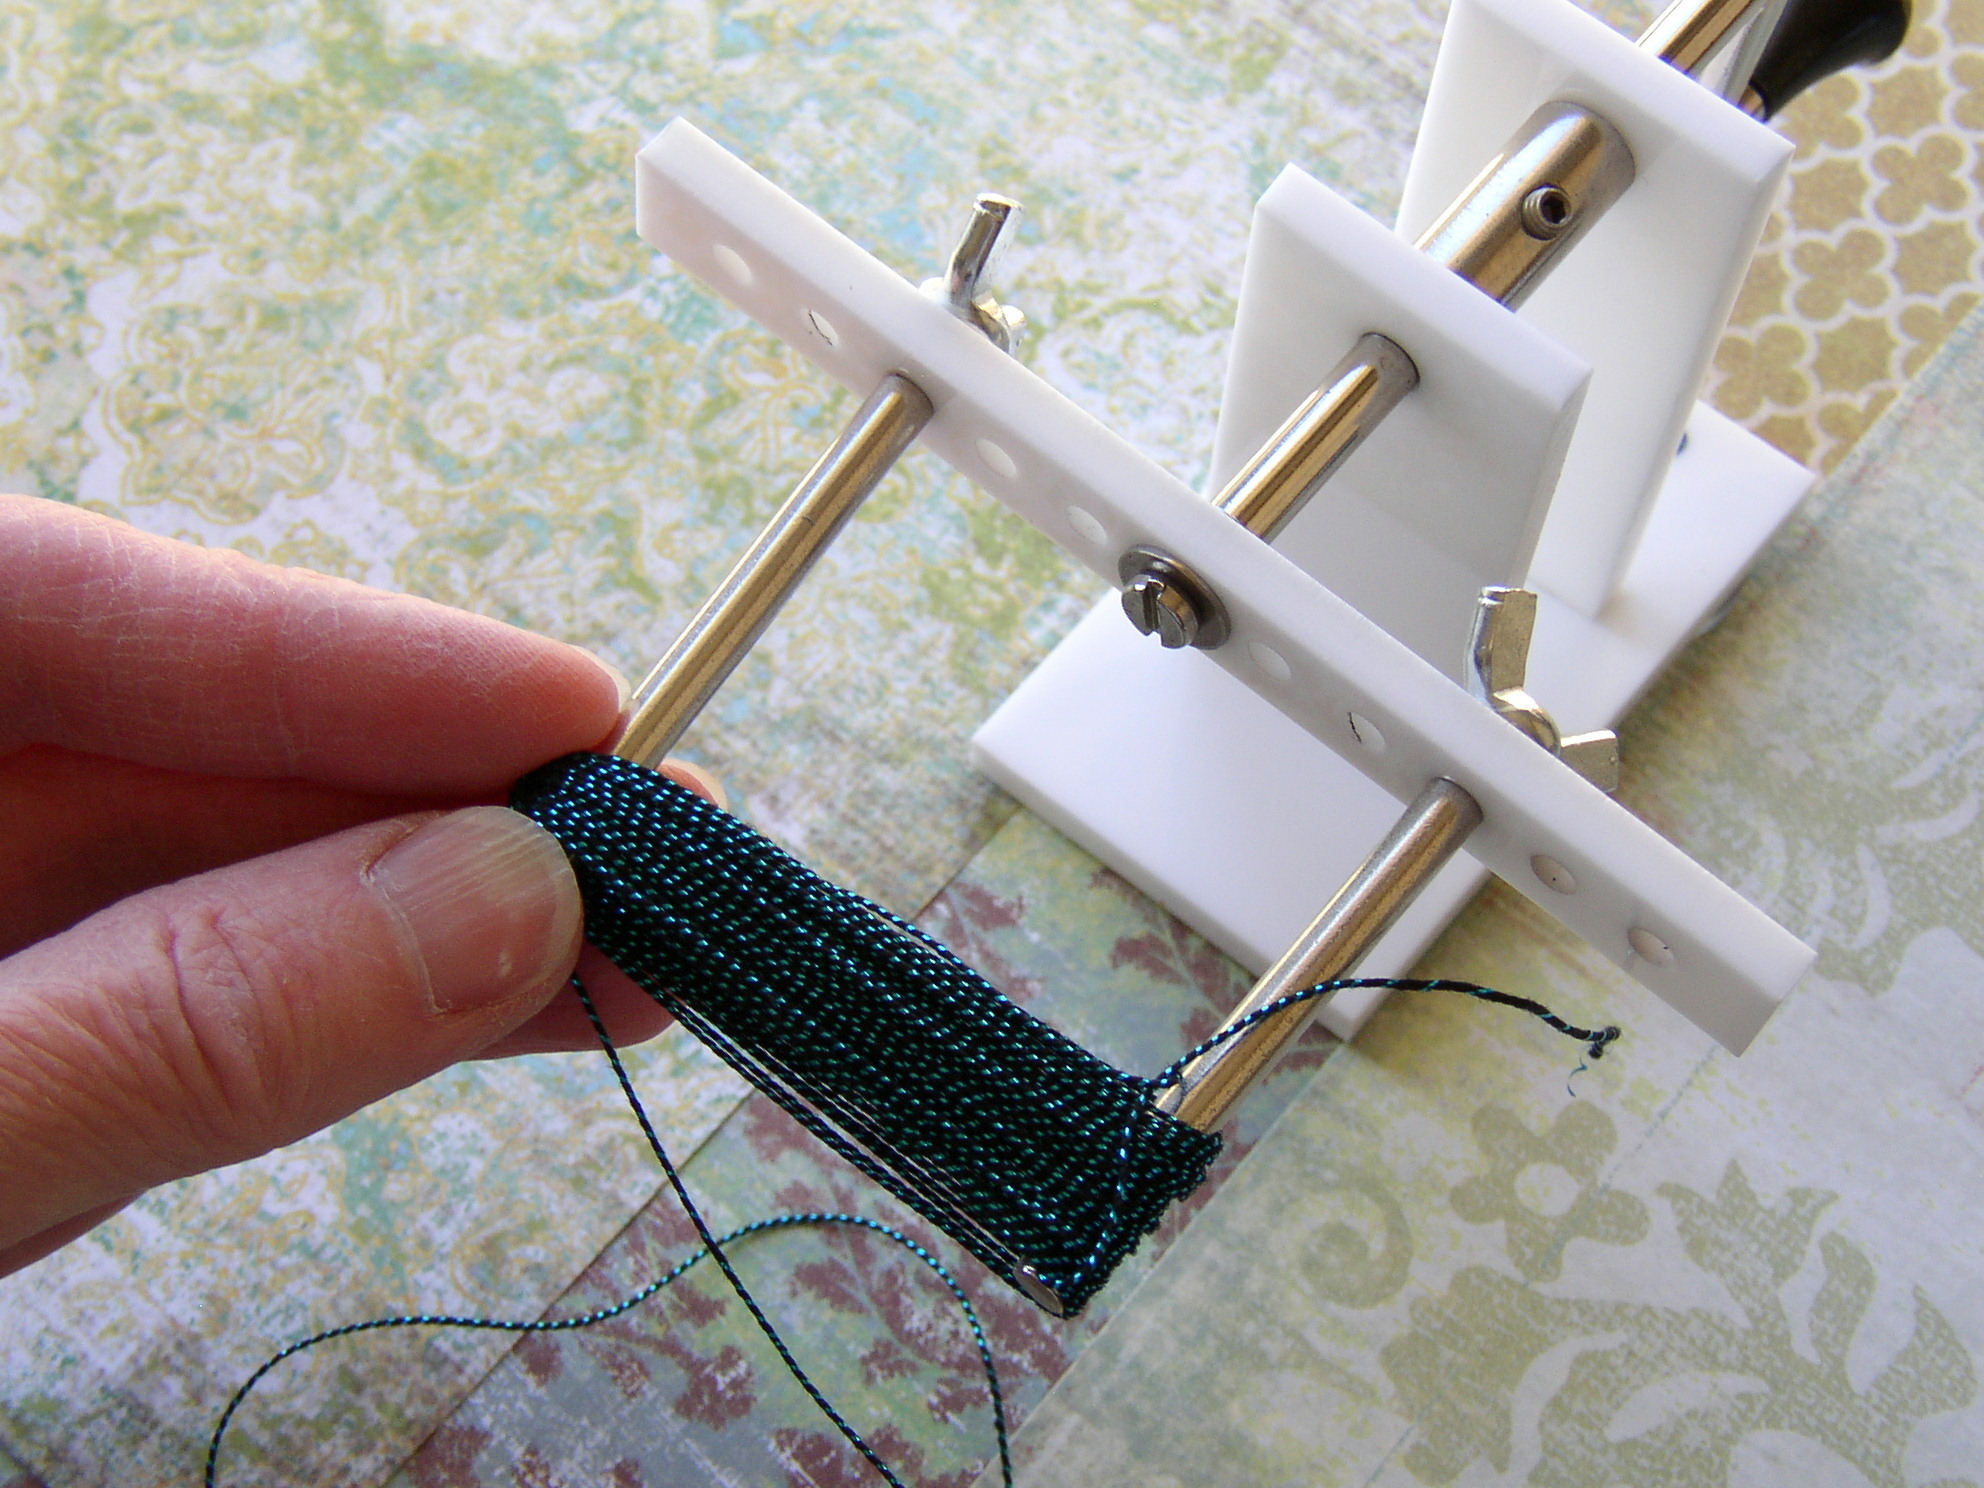
- Beadalon tassel maker tool – back in stock!
- Bead Stoppers
- Beading tweezers
- Ruler
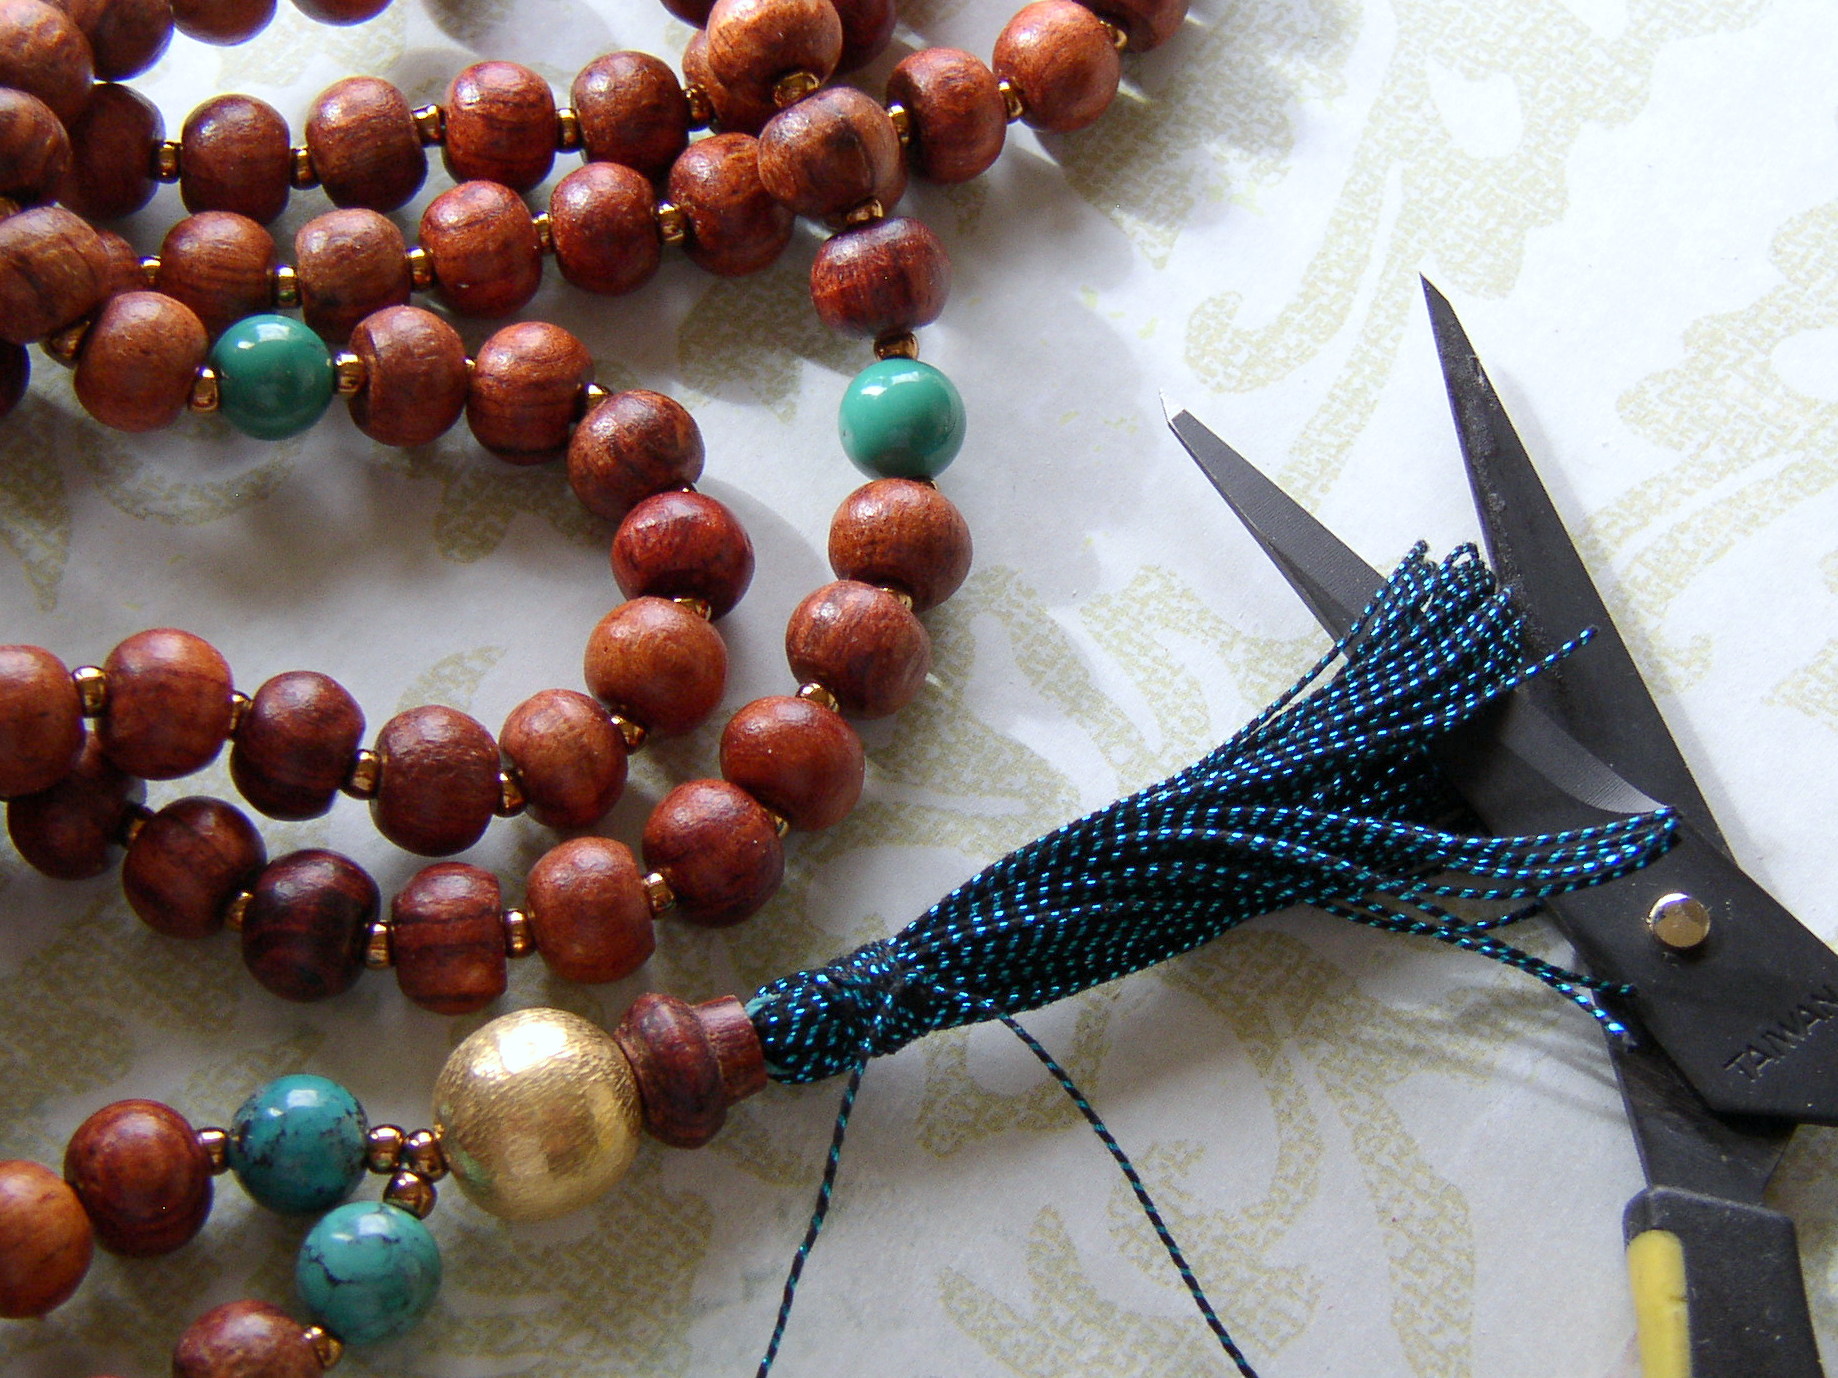
- Sharp scissors

Now, start stringing your prayer necklace:
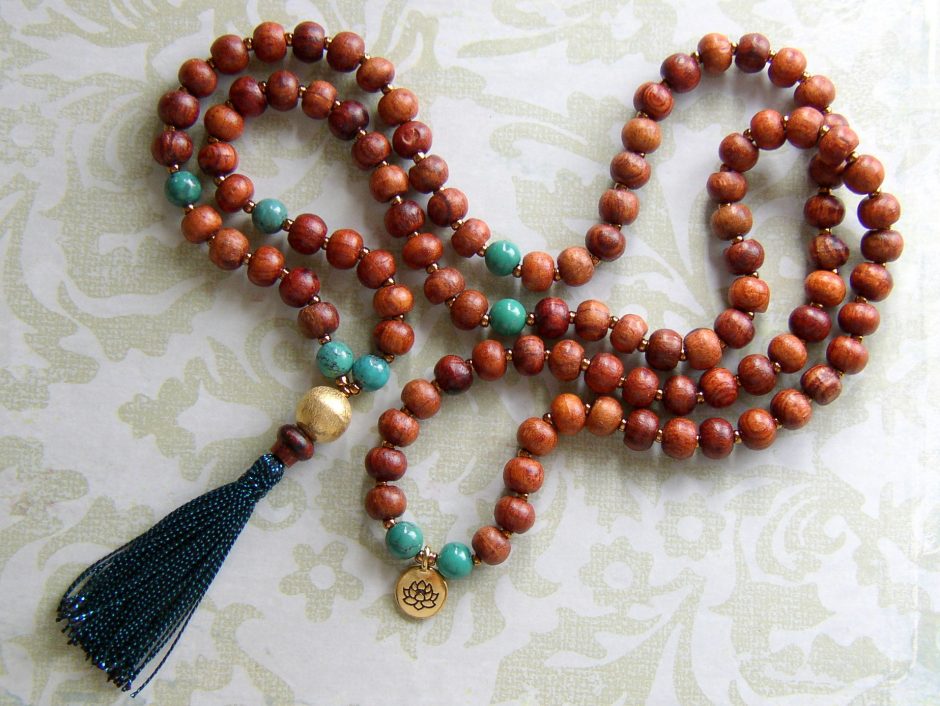
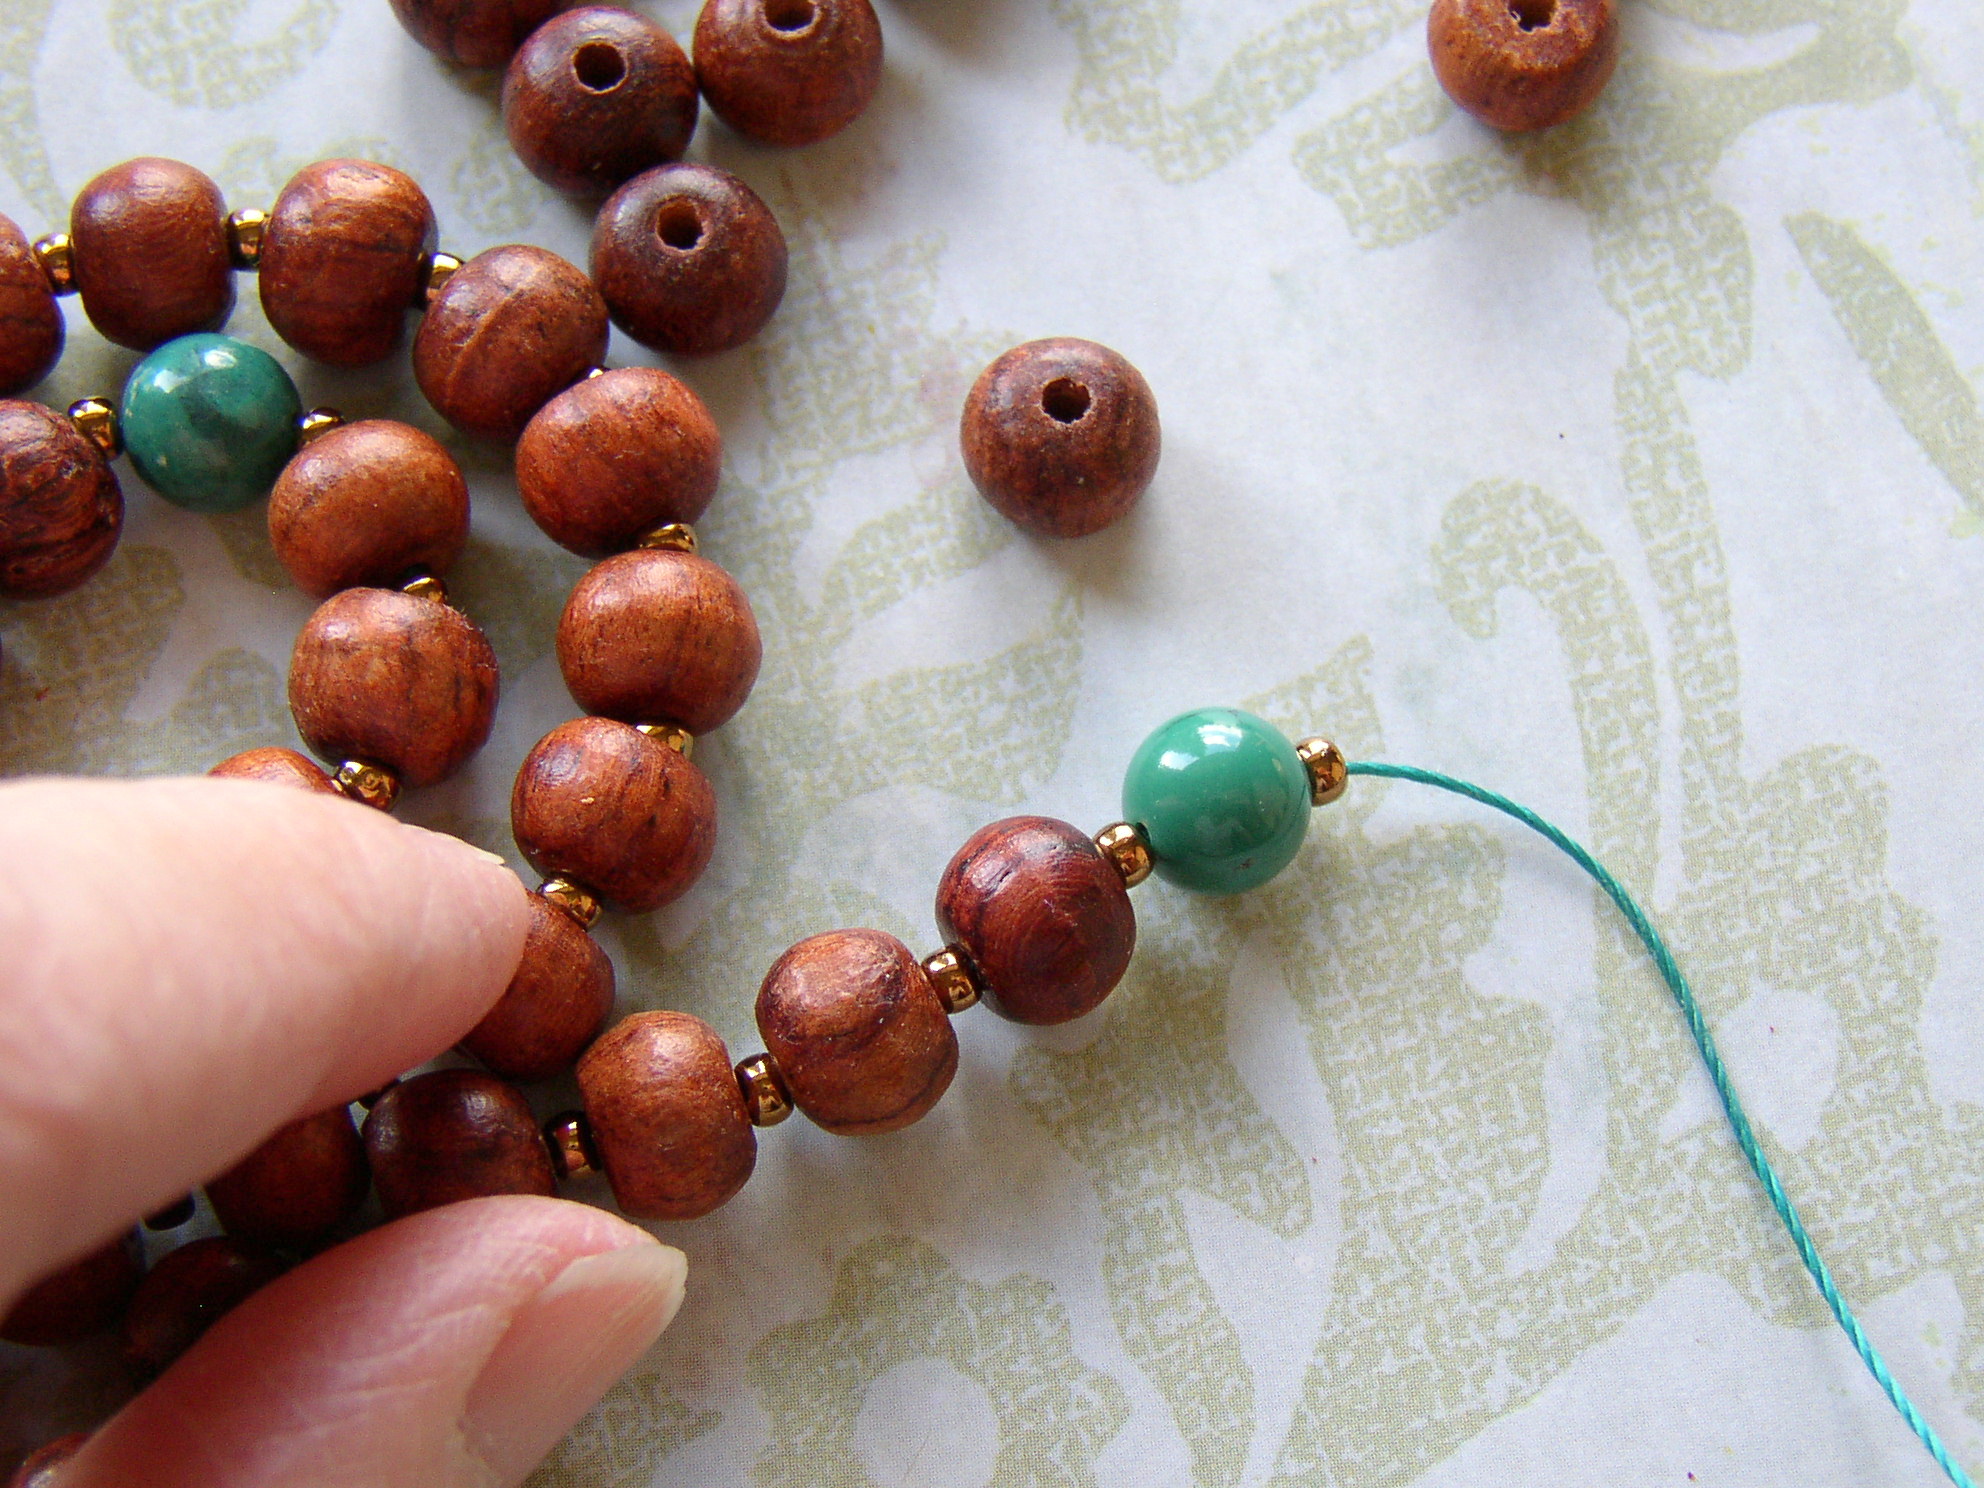
- Starting at the end where the tassel will be, I used the following pattern: 1 turquoise marker bead, 5 rosewood prayer beads, 1 turquoise marker bead, 13 rosewood prayer beads, 1 turquoise marker bead, 32 rosewood prayer beads, 1 turquoise marker bead.
- TIP: String size 8 seed beads between each larger bead to give the appearance of hand-knotting without all the work!
- Now add your charm. You’ve made it to the half-way point!
- Starting on the other side of your charm, string the following pattern : 1 turquoise marker bead, 32 rosewood prayer beads, 1 turquoise marker bead, 13 rosewood prayer beads, 1 turquoise marker bead, 5 rosewood prayer beads, 1 turquoise marker bead. This will give you a symmetrical pattern.


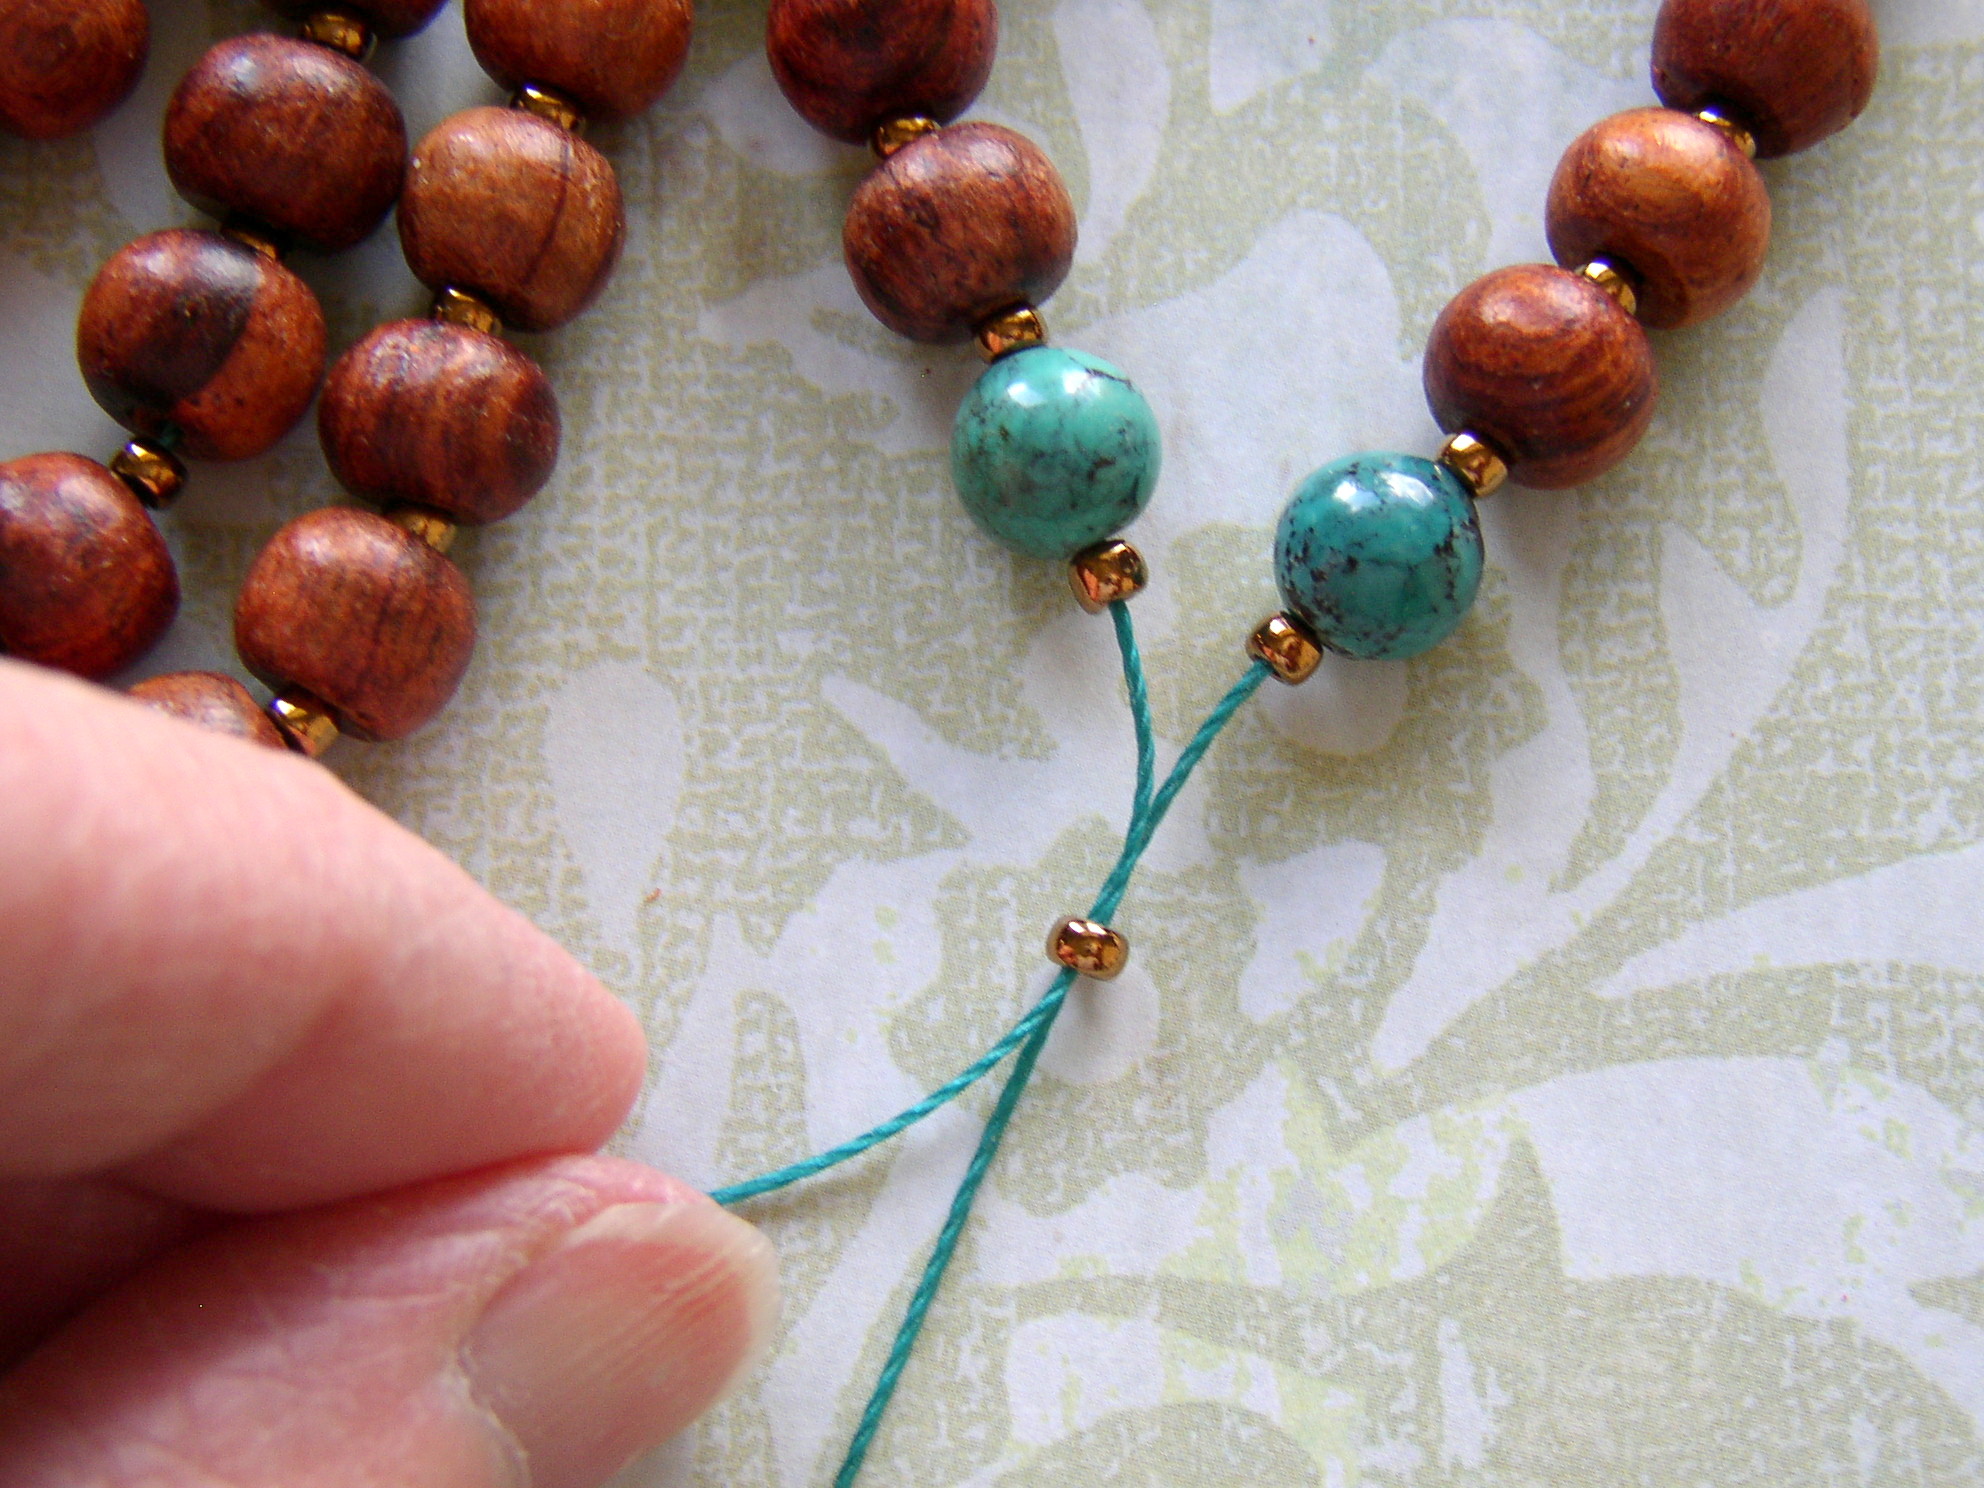
Bring both sides together:
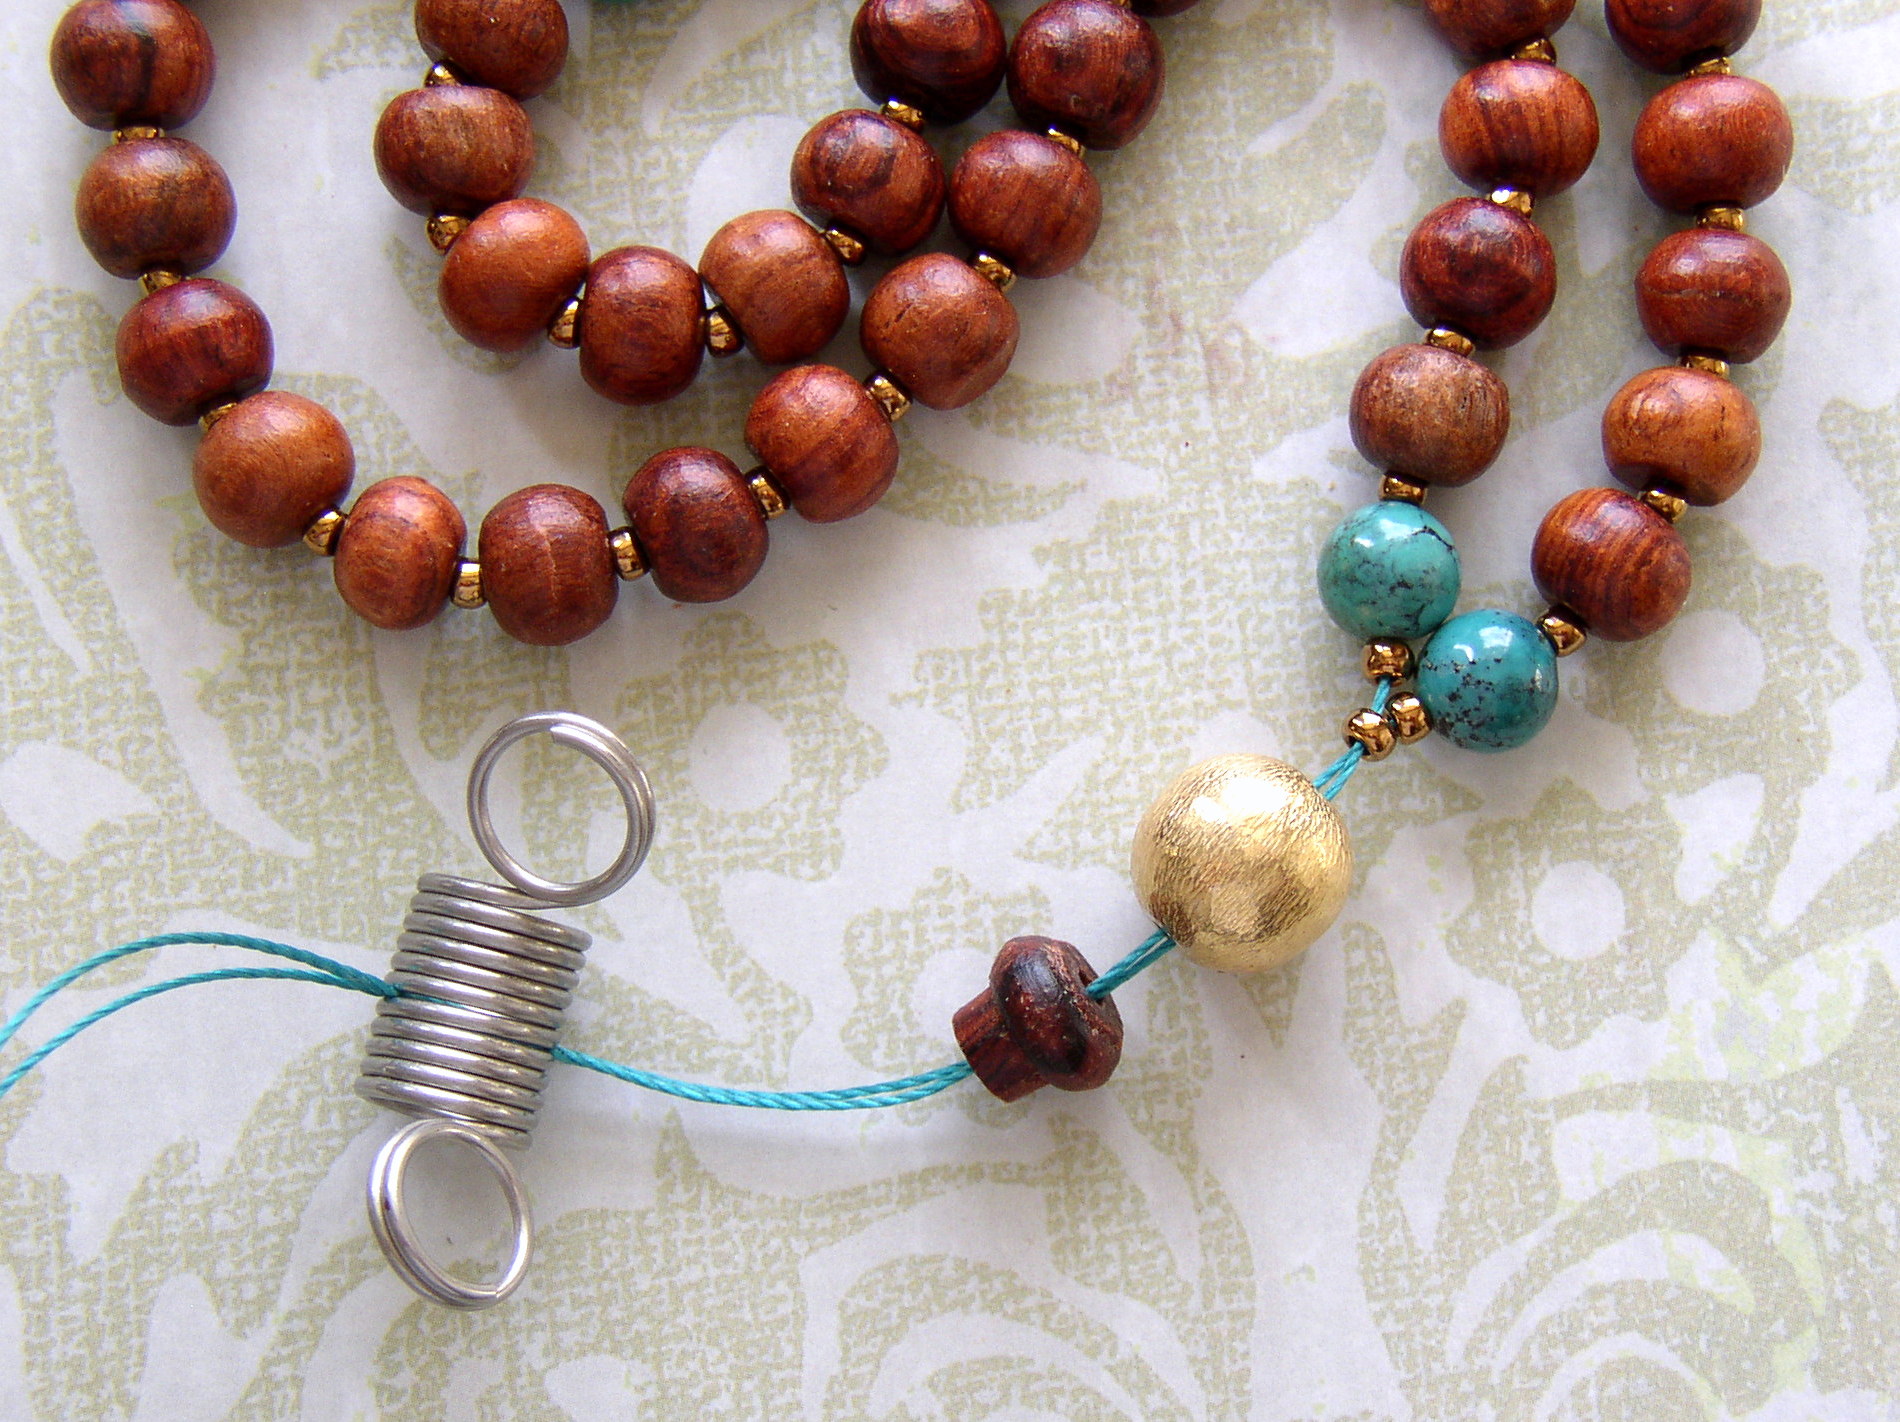
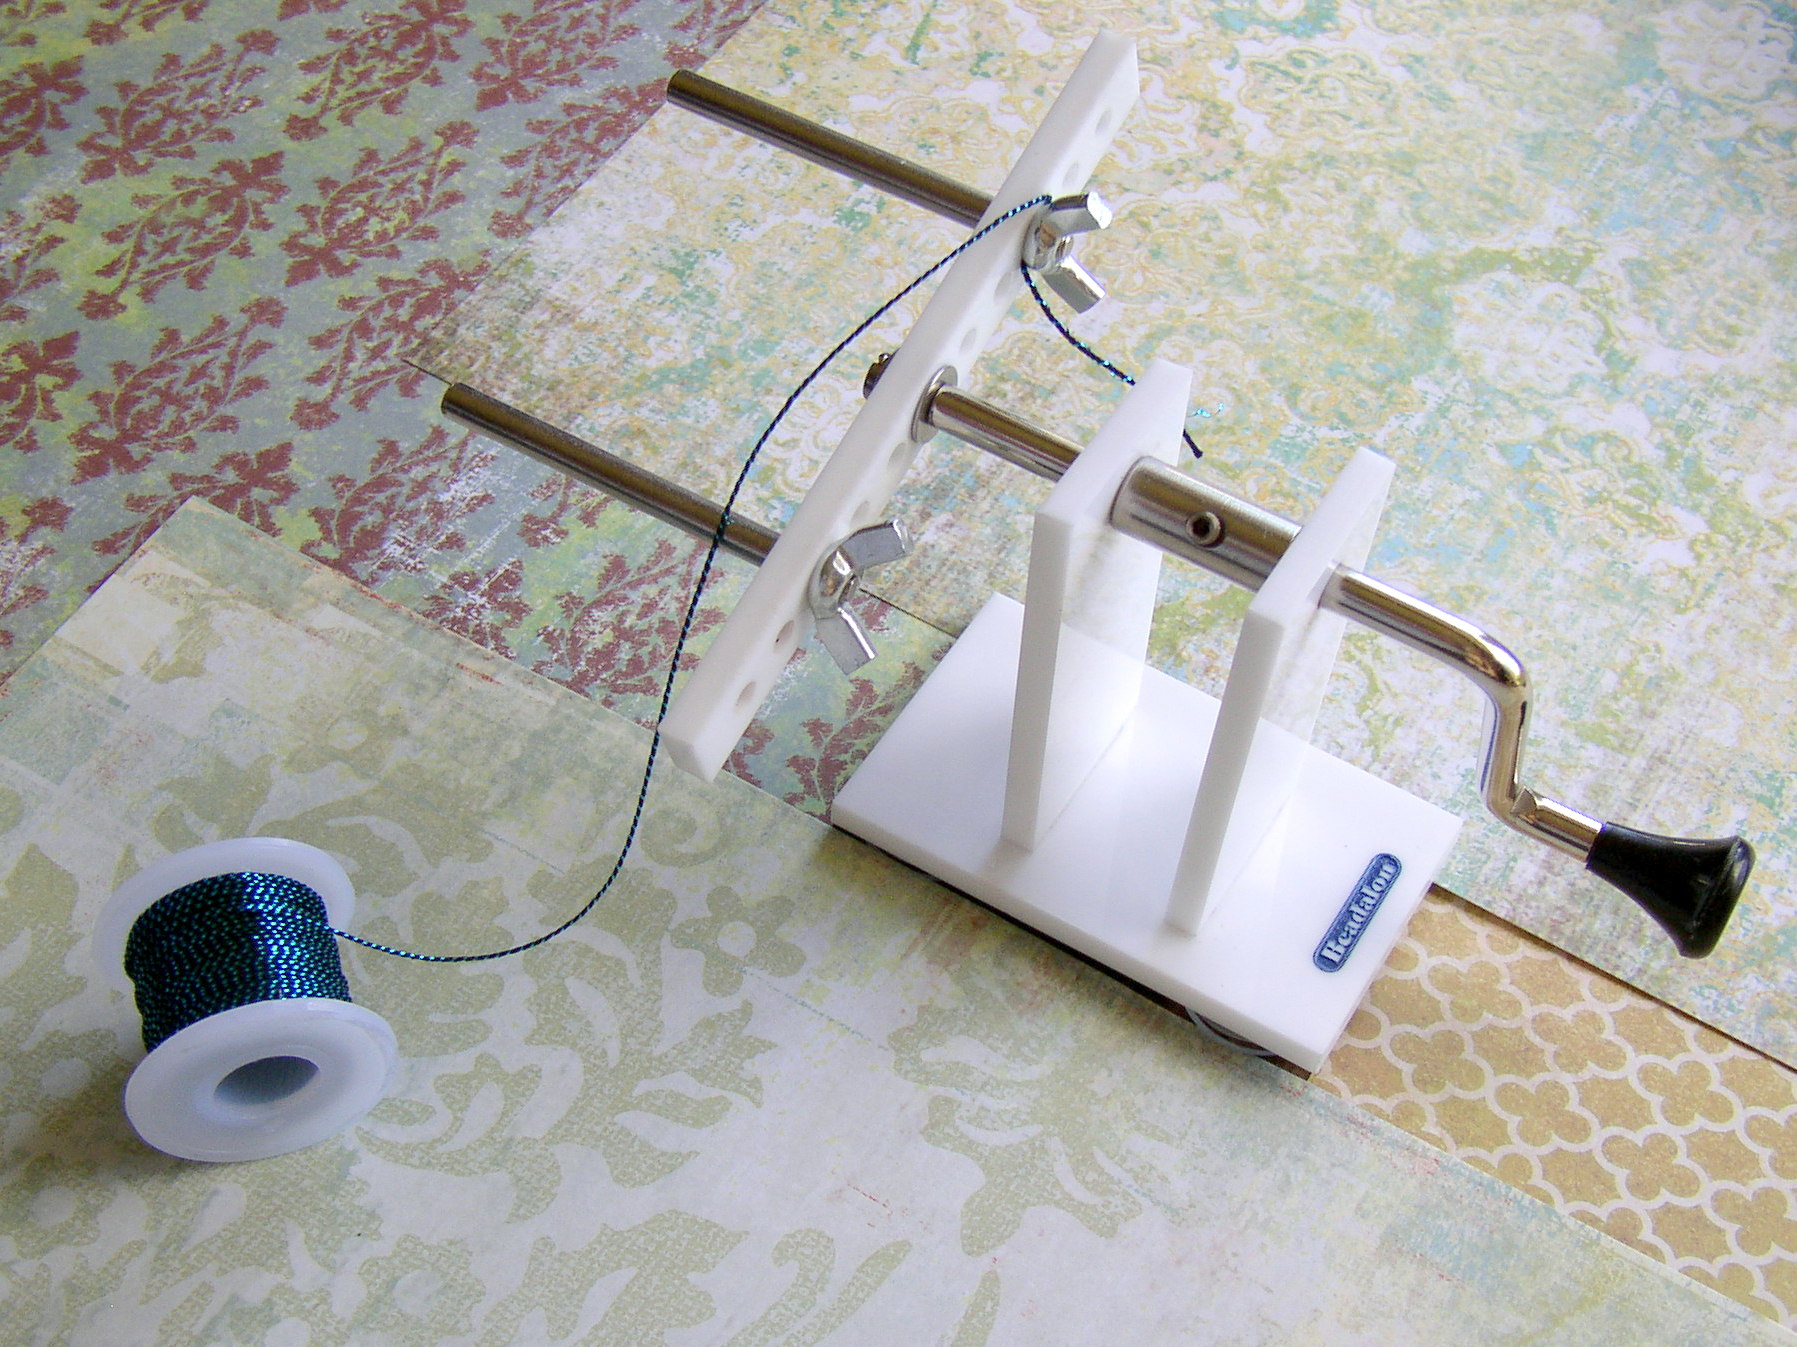
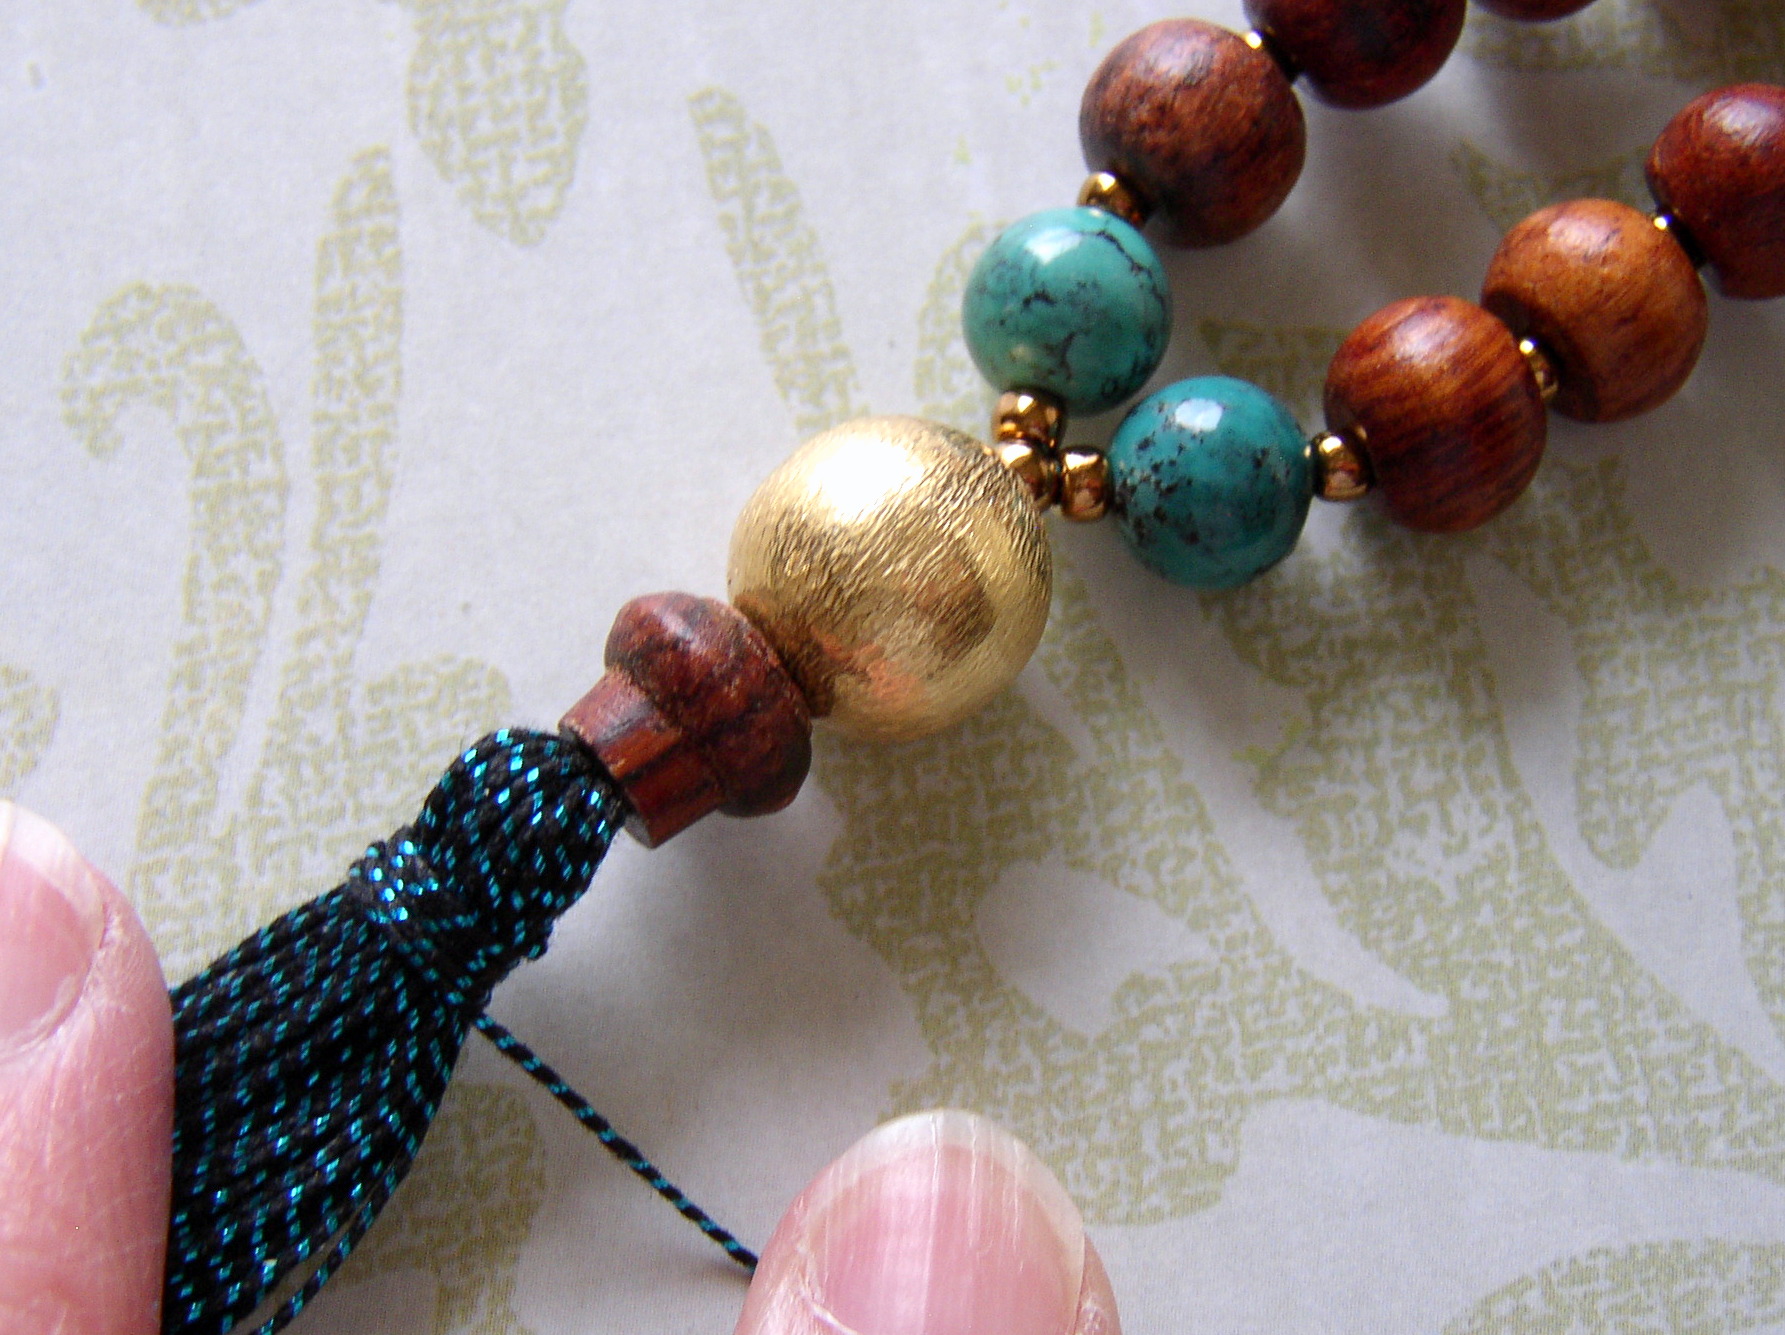
Now it’s time to make your tassel:

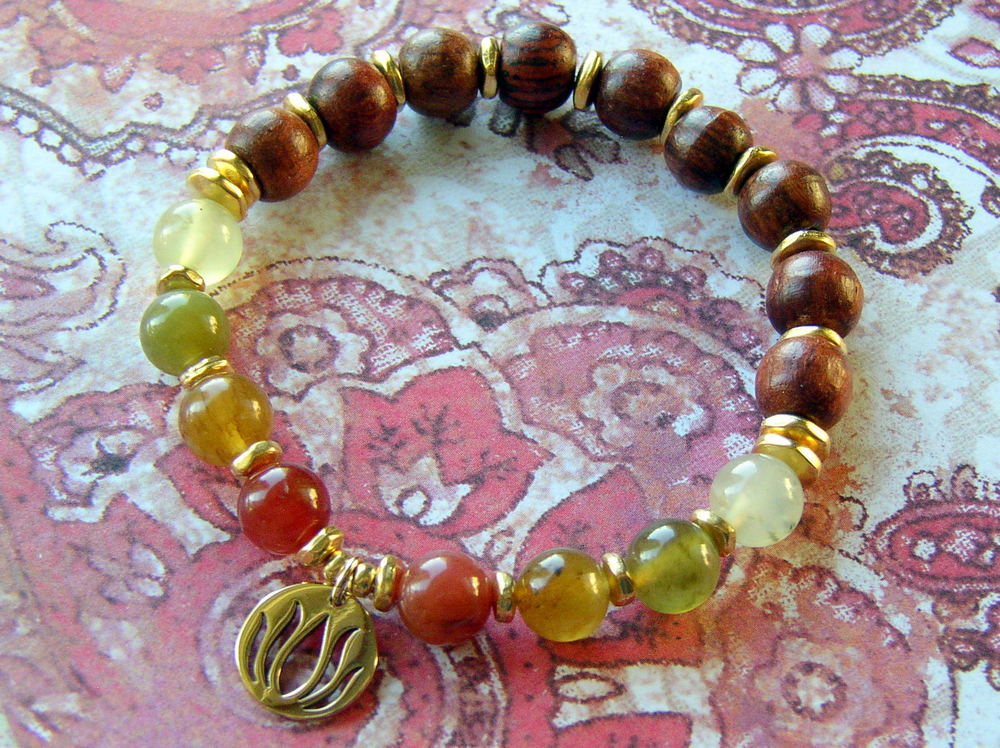
If you enjoyed making a Mala from prayer beads, you might also enjoy making a yoga bracelet.
♥ Make things!
Mollie
Edited December 2021 to update links.




14 Comments
Beautiful!! The colors work really nicely together. Thank you for sharing such clear instructions.
The large pictures are wonderful. I just bought a tassel maker tool and appreciate the instructions you put in this tutorial.
Thanks for the very detailed instructions. My question is, can you use other type of beading string/material to make this type of necklace???
Hi Teri,
Yes, you can use other stringing materials. There are hundreds of weights, colors, and materials suitable for stringing. Each has pros and cons. Beadalon and Soft Flex are popular stringing materials because they are durable, strong and don’t require a needle. They are stringing cable (like a tiny version of the huge cables used for suspension bridges), rather than thread. Their main drawback is that they can kink if abused. There are dozens of brands of beading thread. Each store carries their own favorites. For wooden beads, you’ll want something durable that resists fraying.
Also, for the tassel portion – you can use many types of cord. Even embroidery floss from the crafts store works great. It is a softer so gives you a fluffier tassel, and has a tendency to fray and snag, but is inexpensive and comes in so many wonderful colors.
-Polly
Love this project. Ordering several sets of materials to do with customers in my DIY studio. Is it okay to share your instructions on out tutorial system and give you credit for pics and instructions?
Hi Brooke,
Yes, you are welcome to share our instructions as long as you give us credit, (Rings & Things of Spokane, WA, or rings-things.com, either is fine). Thanks for asking!
–Polly
I went looking for a tutorial on how to make a Mala necklace, and you’ve done a wonderful project featuring the Beadalon Tassel Maker and Cotton Cord! Thanks, guys!
Thanks Meredith! We hope to have the tassel maker back on our website soon!
–Polly
A lovely mala!
Let us suppose you wish to add a stone pendant rather than tassel to end.
Once you draw strings through the stone, how would one finish it off? A crimp and crimp cover?
Wonderfull
do you have clips how to make a mala
This is really a nice design.Thanks for sharing this post.
Hi there i have desperately been trying to find a tutorial for making a tasbih/prayer beads, would i follow the same rules.
By the way the instructions and pictures are excellent, have not come across anything quite as good.
Thank you
Hello! I’m trying to figure out a way to go back into my Mala necklace and fix a problem. I put a spacer bead in the wrong spot. I know there must be a way to go in without having to re-do the entire Mala. Any help would be so appreciated.
Kindest,
Domini
Hi Domini, The entire beading world wishes there was a way to do that, but until we develop teleportation — which I will admit I attempted on one more than one stringing and beading piece that went wrong! — there is not. If you haven’t yet tied off your design, you can take off the beads one at a time, back to the spot where you messed up, and then start over at that point. (When you have to take beads off, place them in order on a bead stringing board or towel as you take them off, so they’re easy to put back on in the right order.)
If you’ve already knotted/crimped the end… then I’m sorry, the only thing you can do is either use it the way it is, or cut it apart and start all over.
–Polly