I love the charm-adorned “Alex & Ani” style adjustable wire bracelets that have been gaining popularity, and of course wanted to make my own version. For ease, I chose to fabricate my bracelet from Memory Wire. Memory Wire is made of durable stainless steel, and comes in the perfect round bracelet shape and the additional wire forming can be easily made with Memory Wire bending pliers. An added benefit to using Memory Wire is it can be adorned with colorful beads from Toho Seed Bead Cocktail Mixes. Here are the step-by-step instructions to make my “Happy Octopus” Adjustable Wire Bangle Bracelet. Continue Reading…
How to Make an Adjustable Wire Bangle Bracelet
July 9, 2014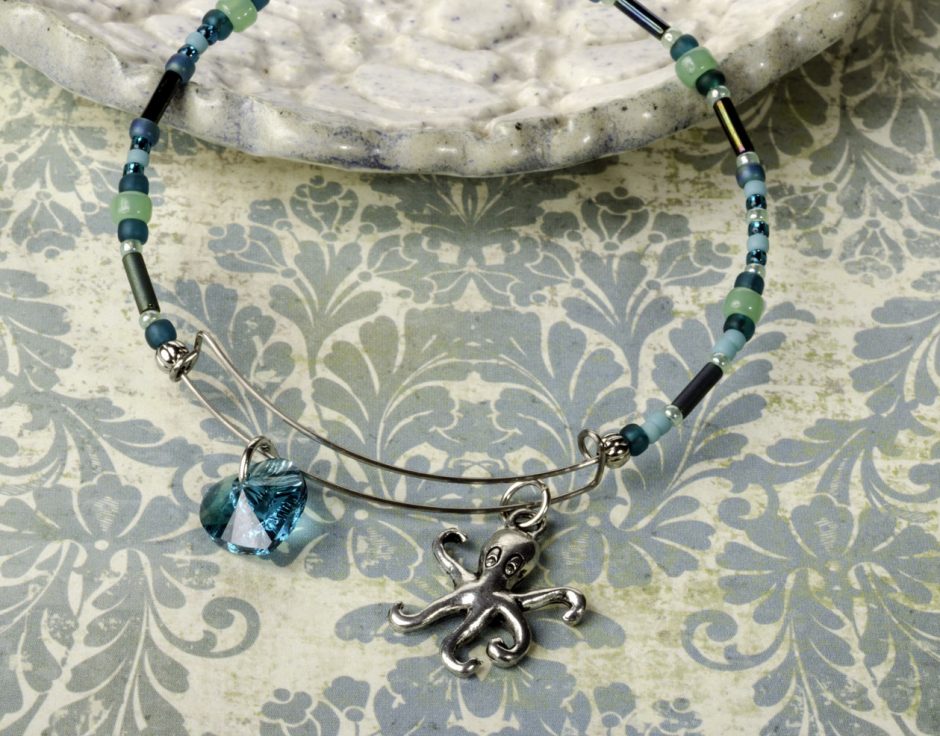


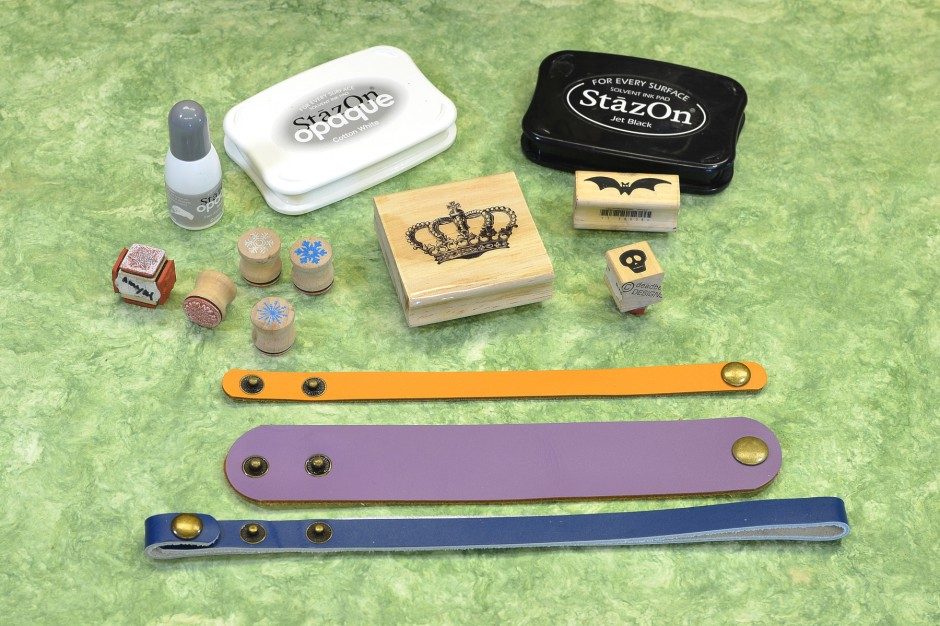


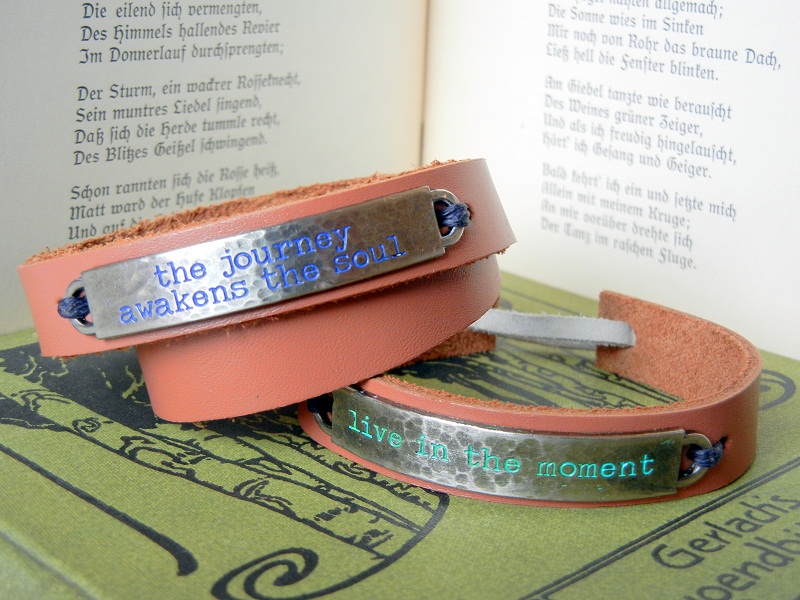


. Mark two \"stitching\" holes on either side of the two word-band loops. Also mark a \"lacing\" hole set 5/16th inch from each leather end.")
 to punch the stitching holes for the bracelet blank; use the largest punch (4.5mm) to punch the lacing holes for the drawstring closure.")


 to punch the stitching holes for the bracelet blank; use the largest punch (4.5mm) to punch the fastener holes for the hitch closure.")


