Browsing Category

Free Jewelry Tutorial

Shamrock St. Patricks Day Necklaces featuring Swarovski Clover Pendants

January 9, 2015

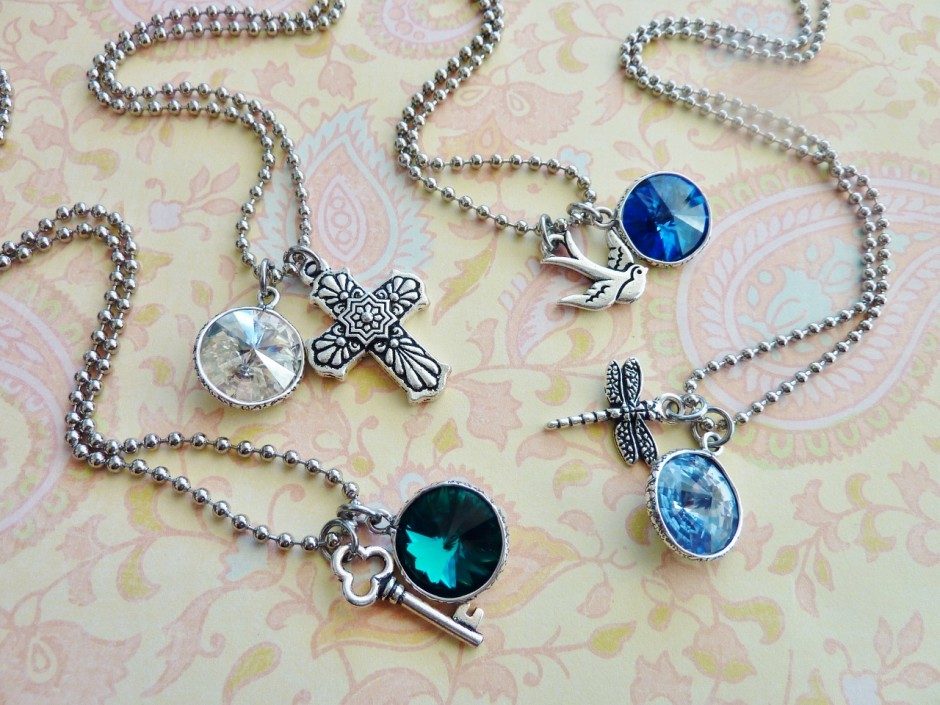
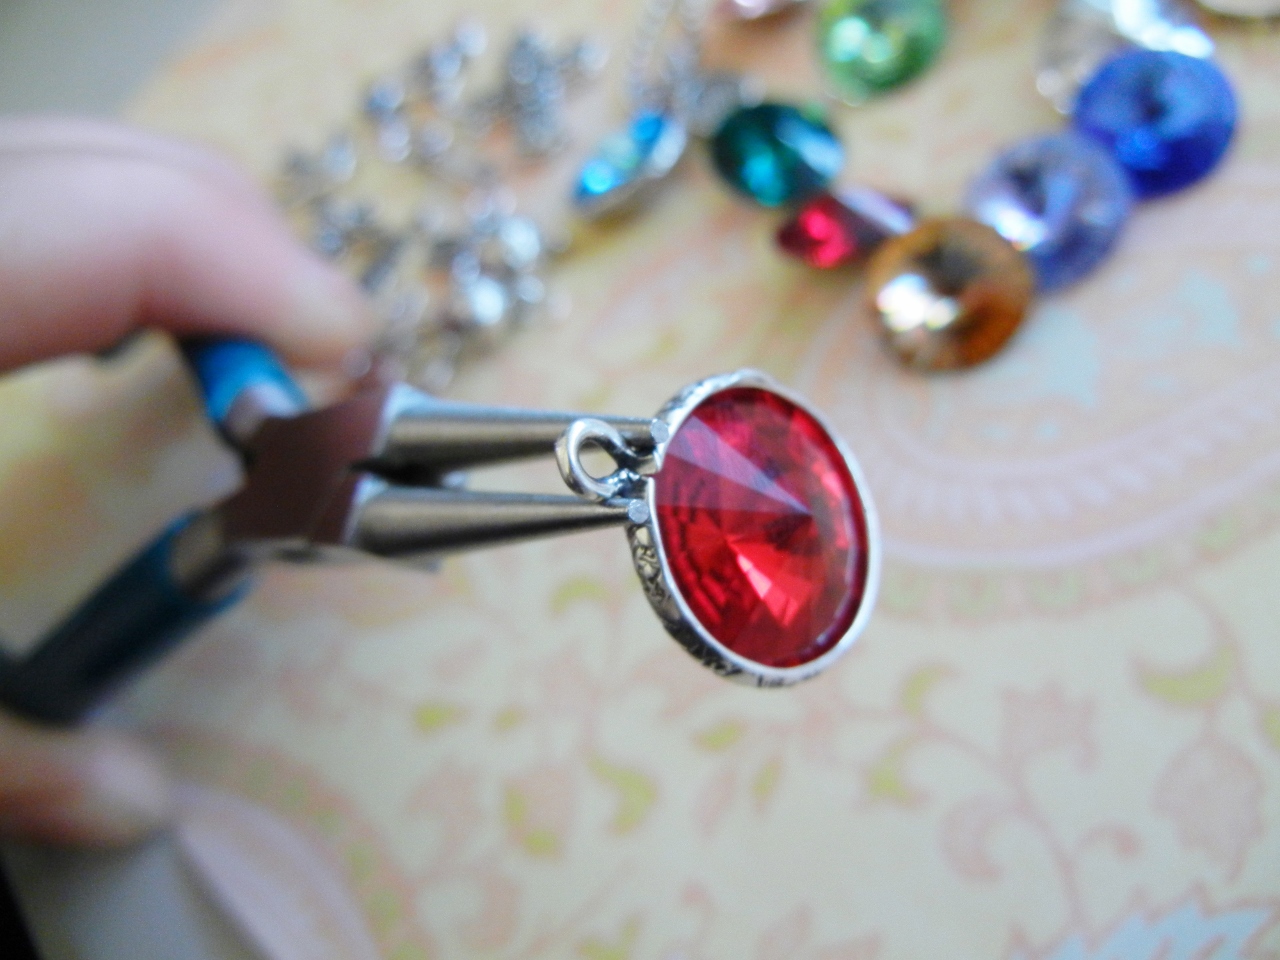
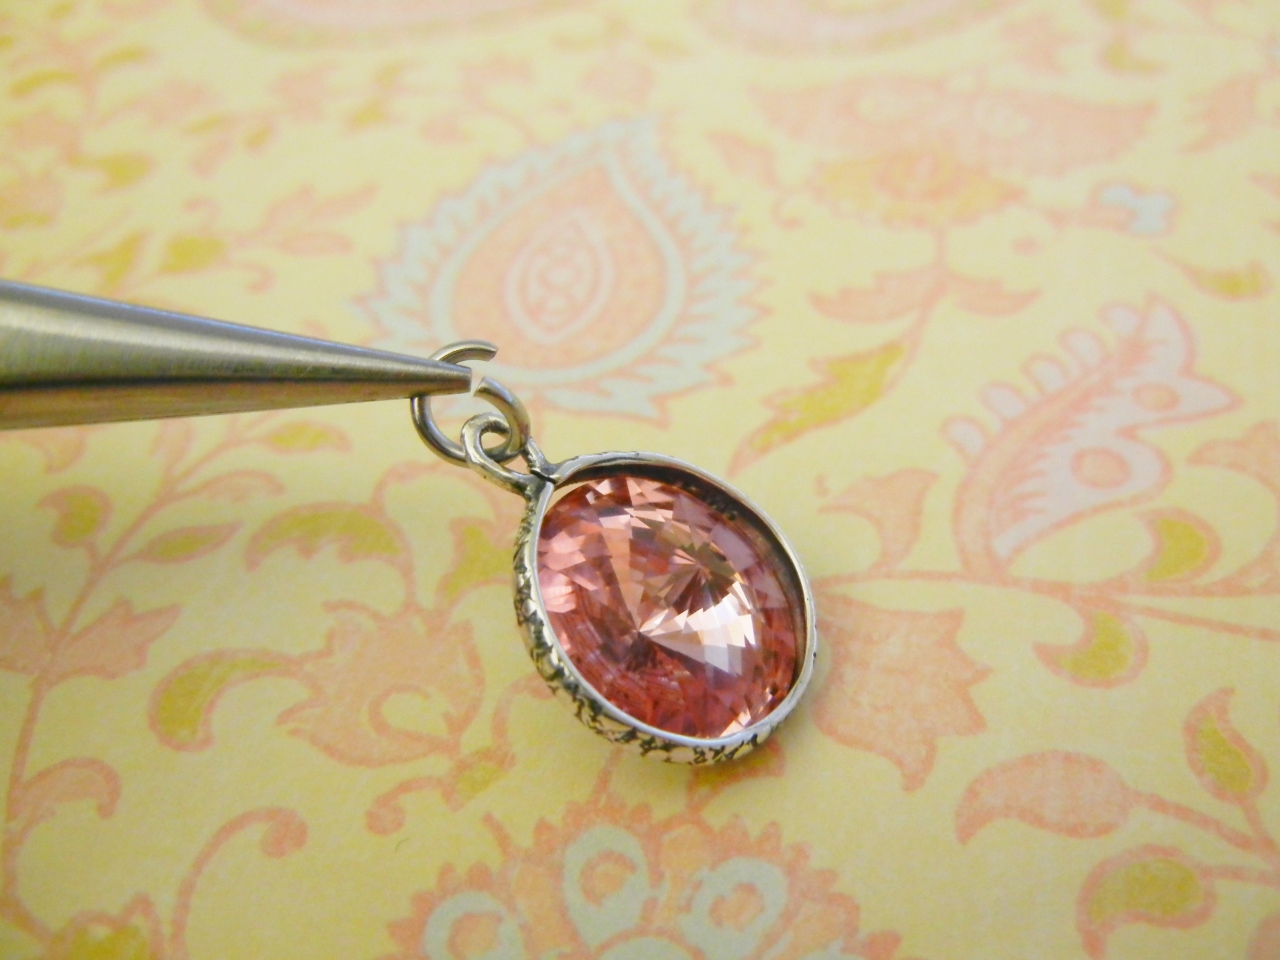
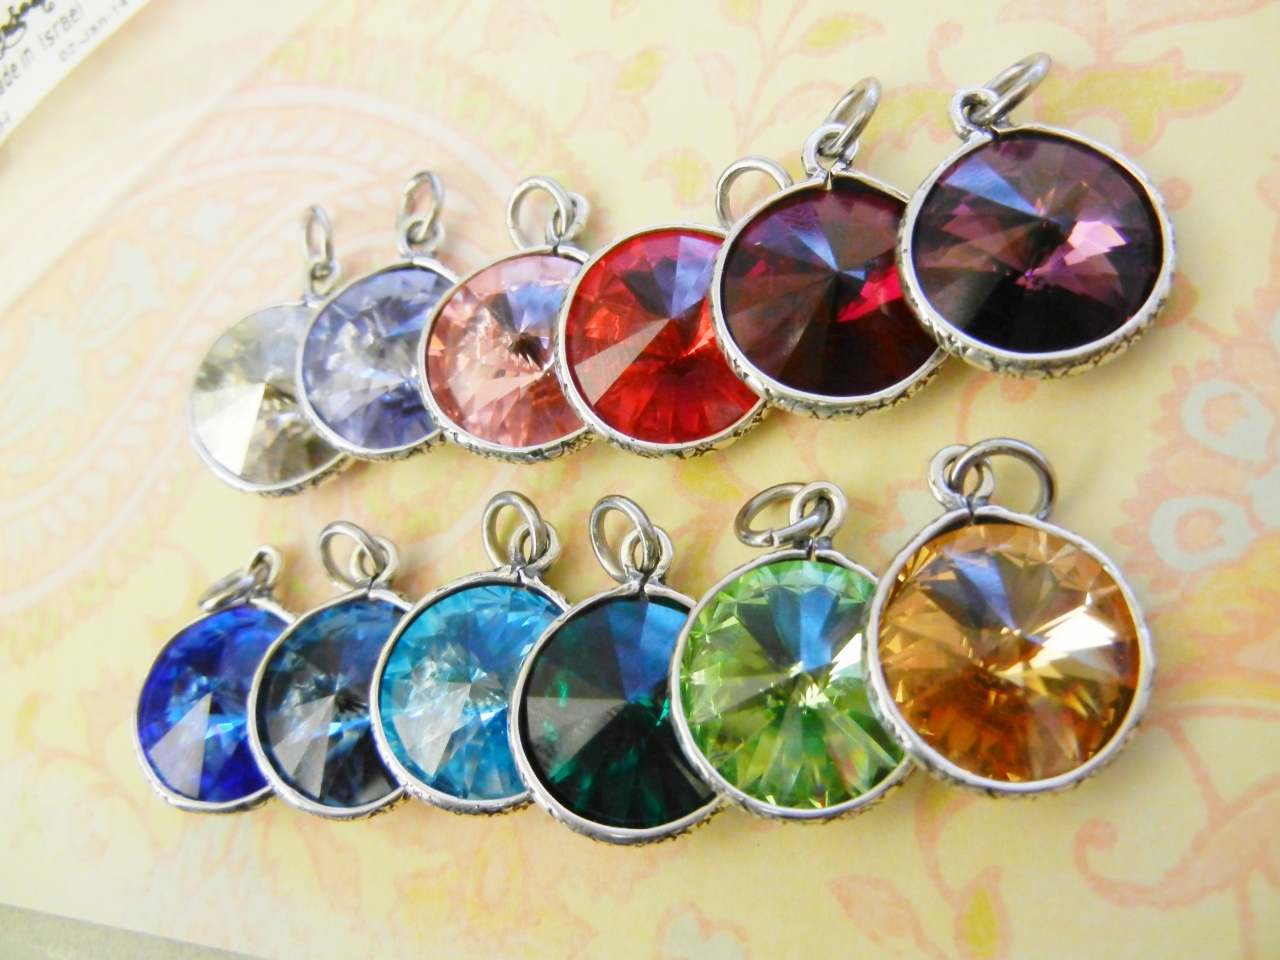
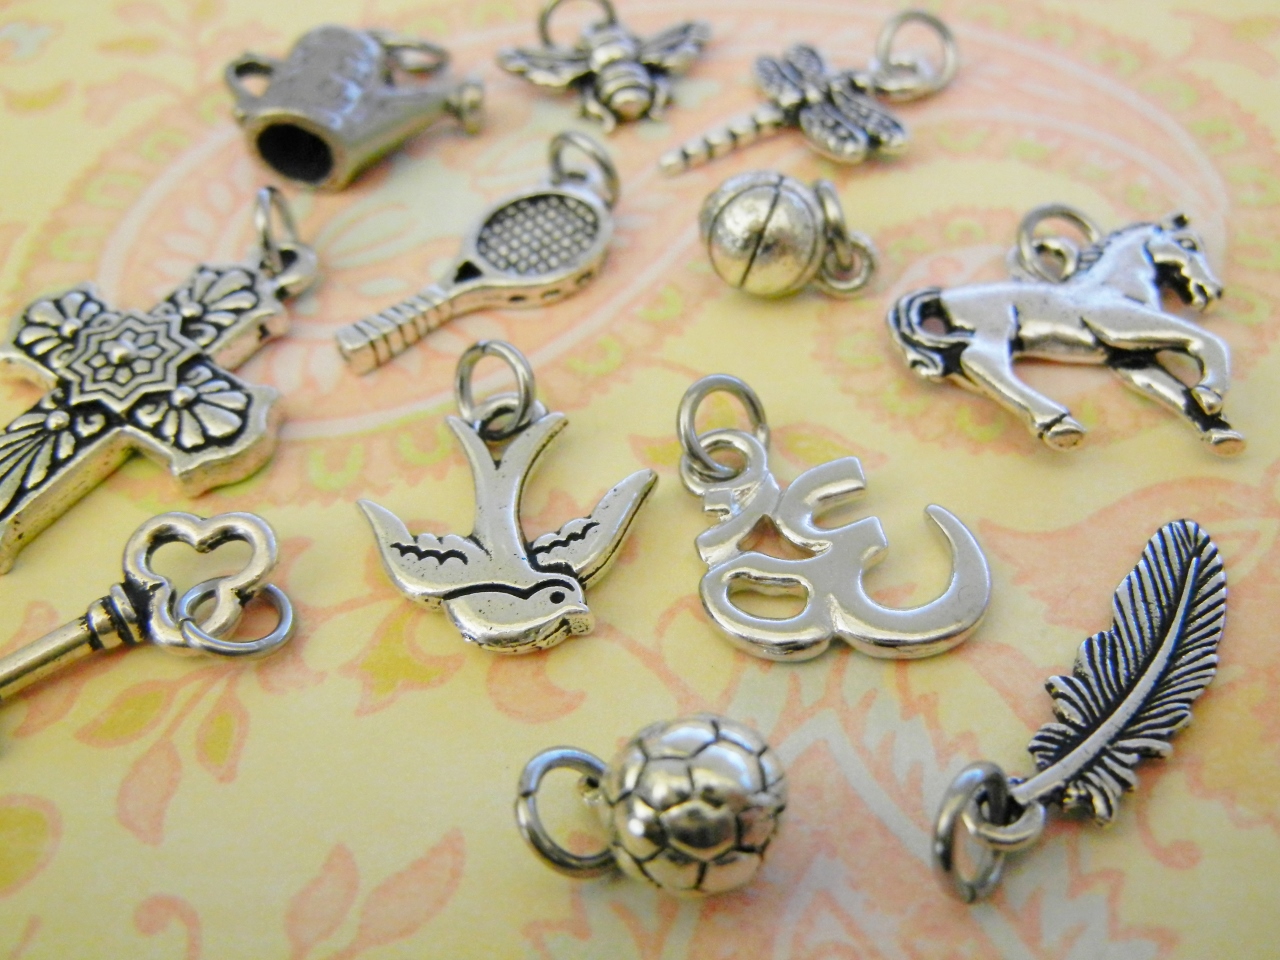
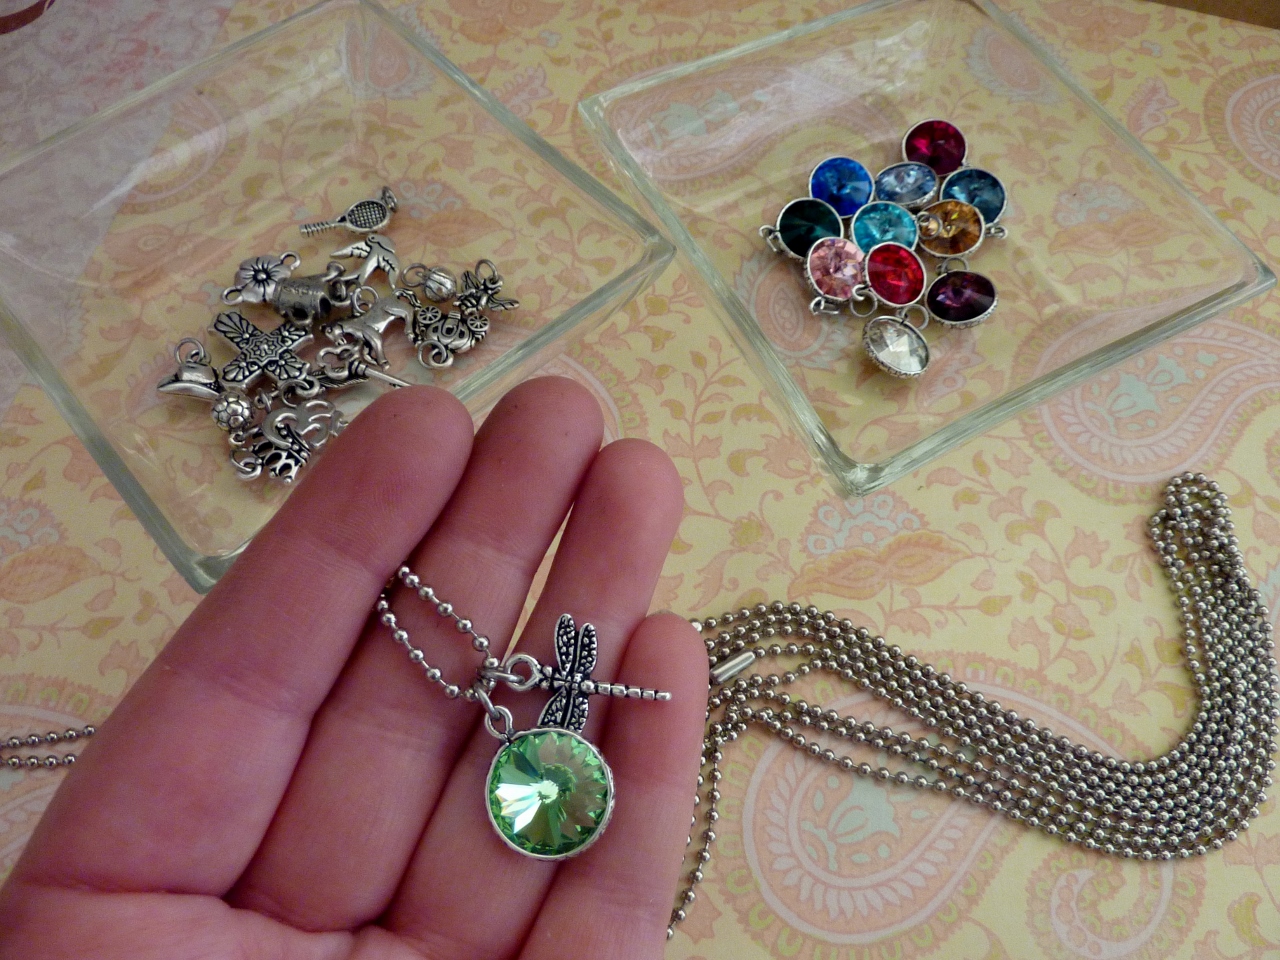
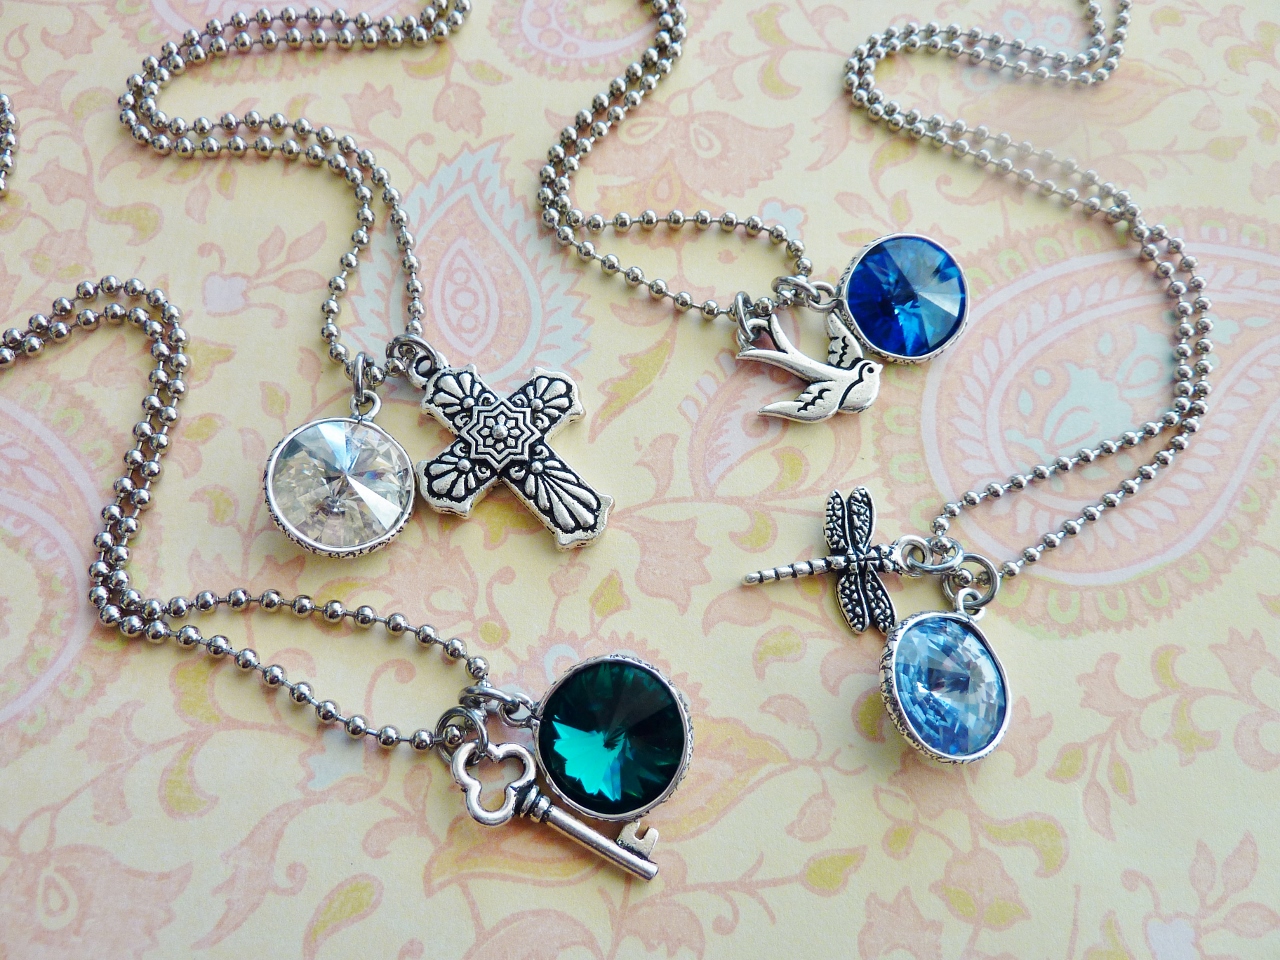
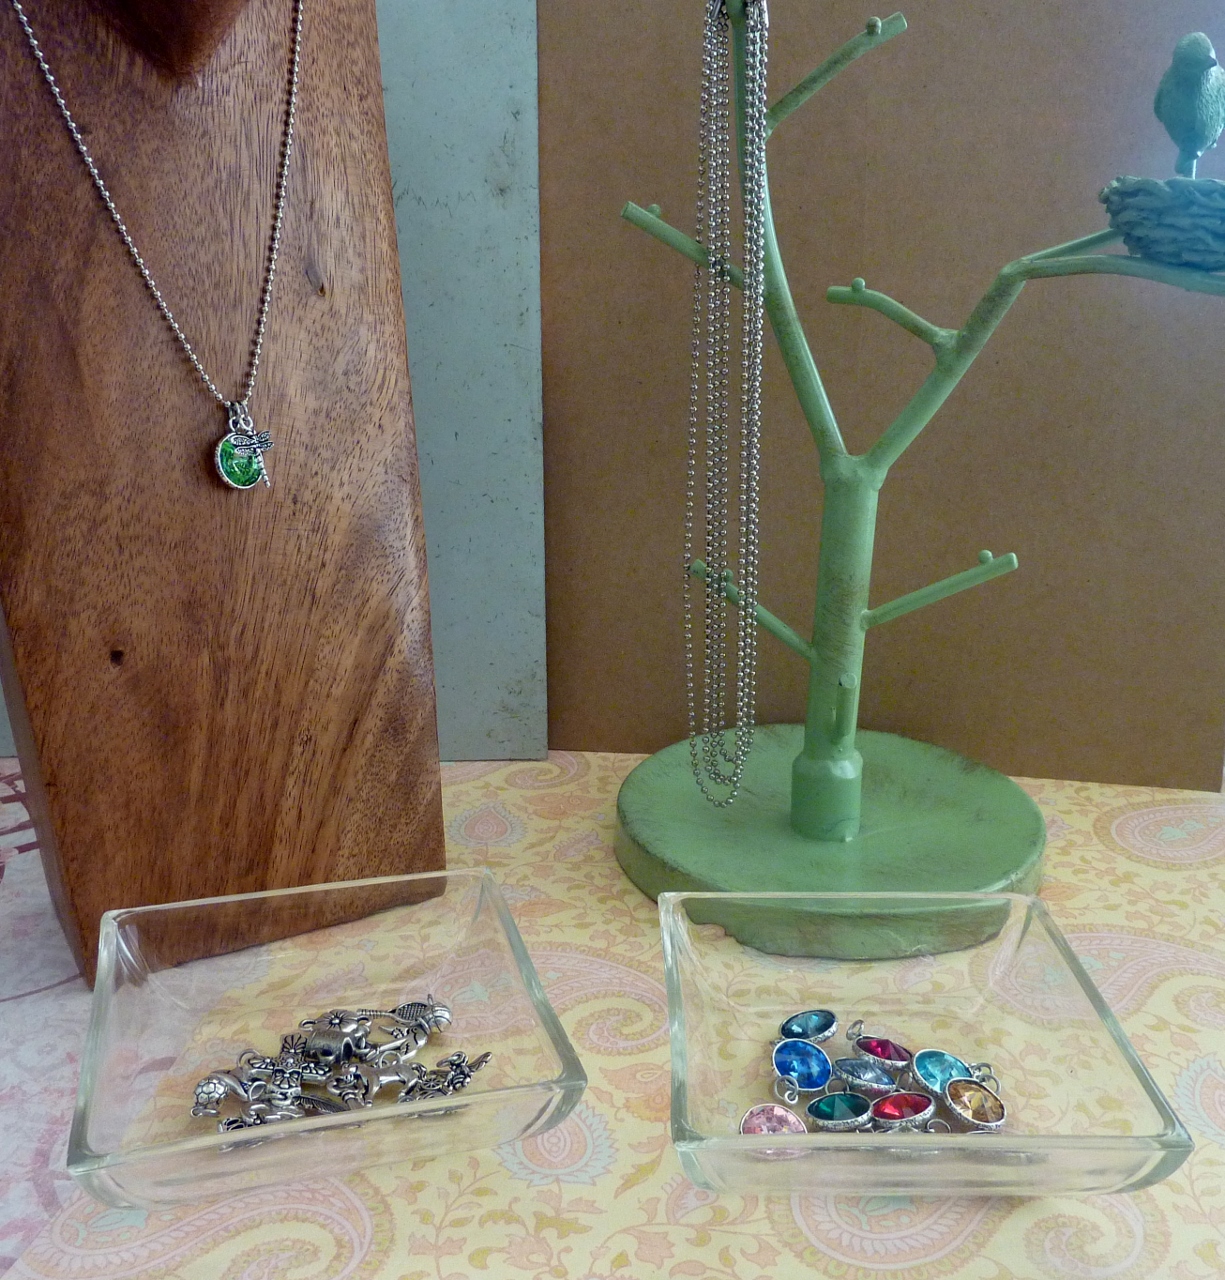
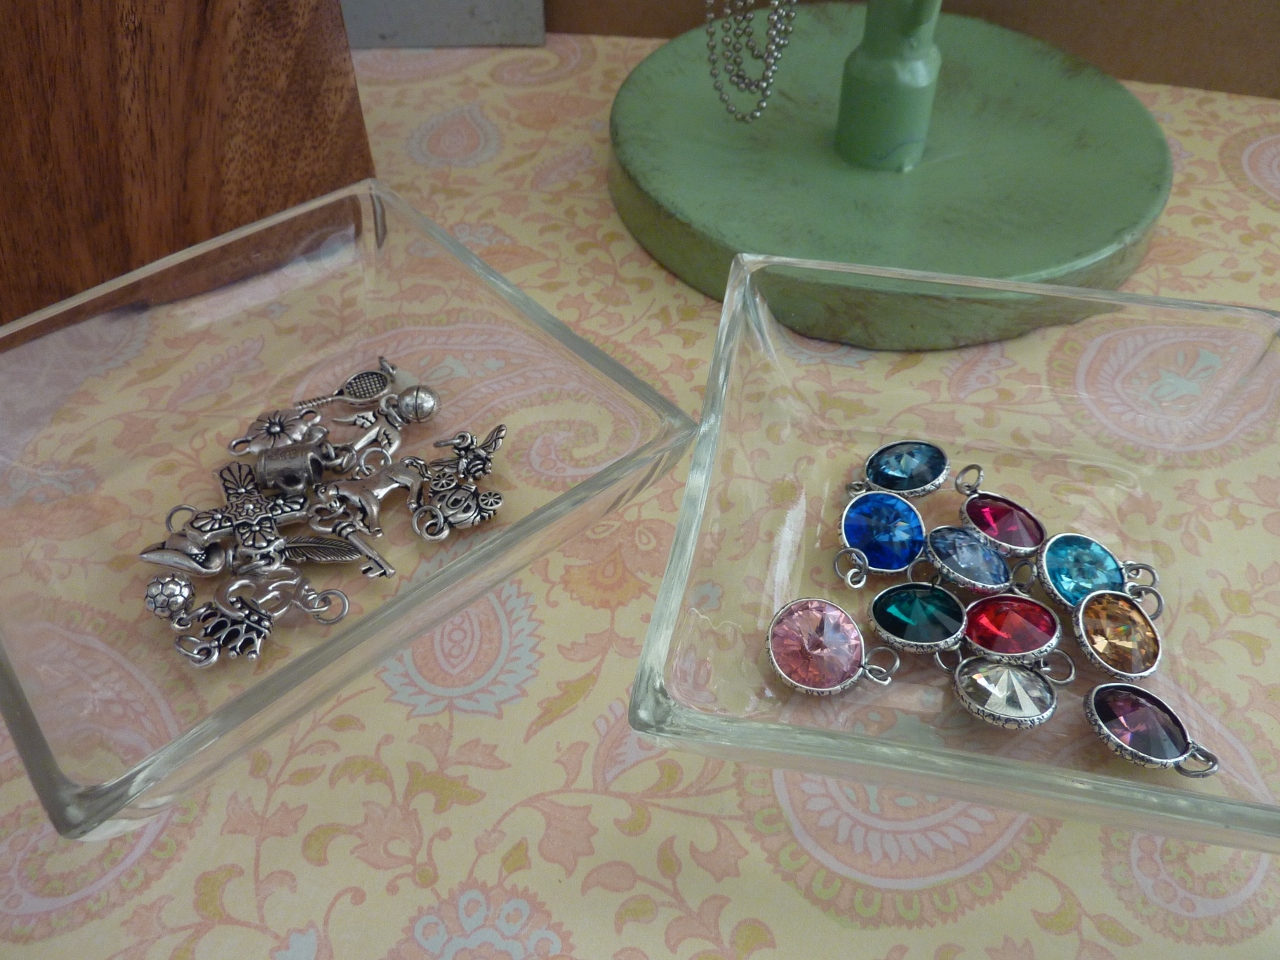
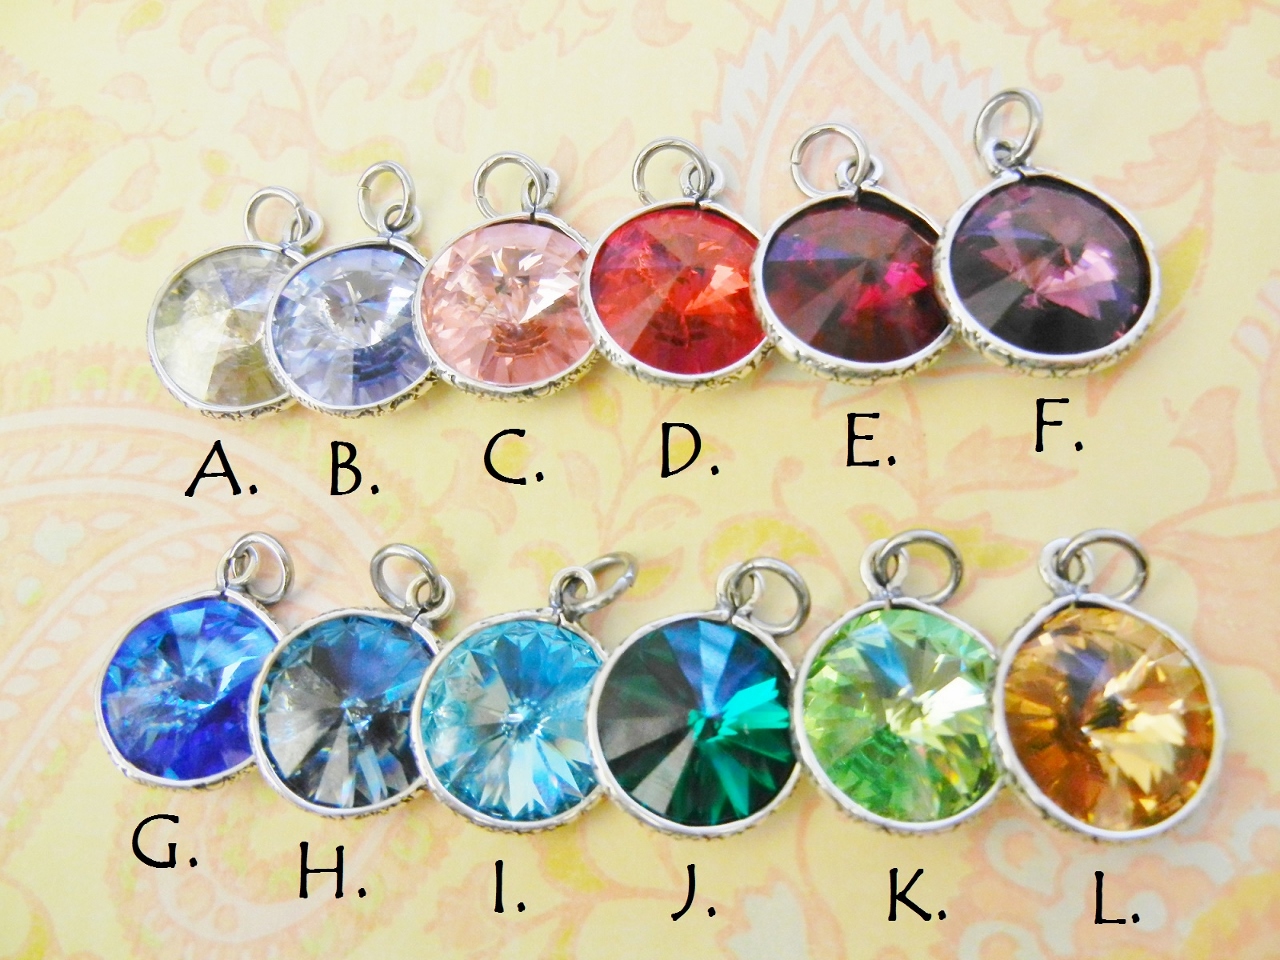
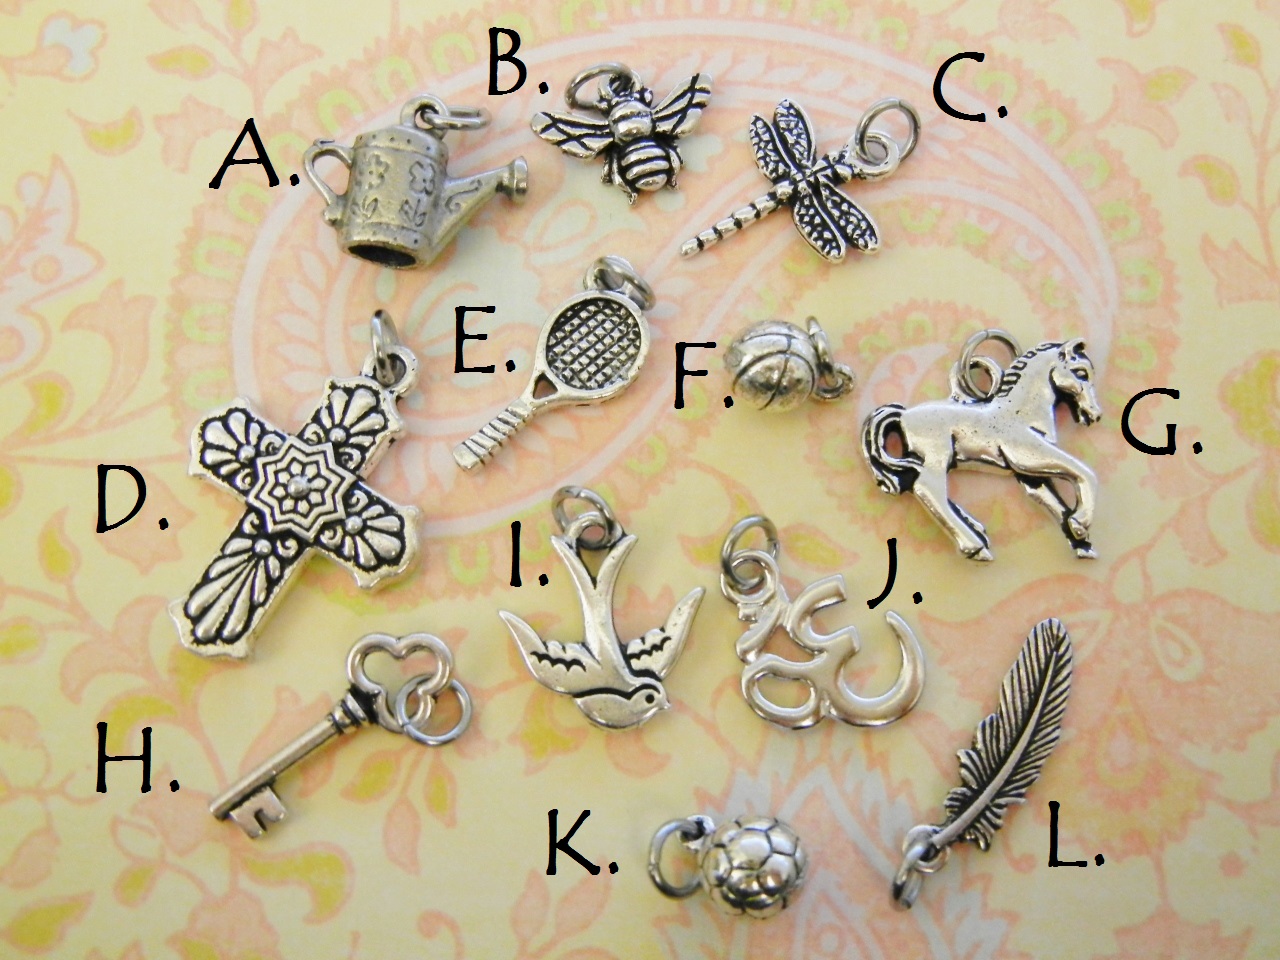
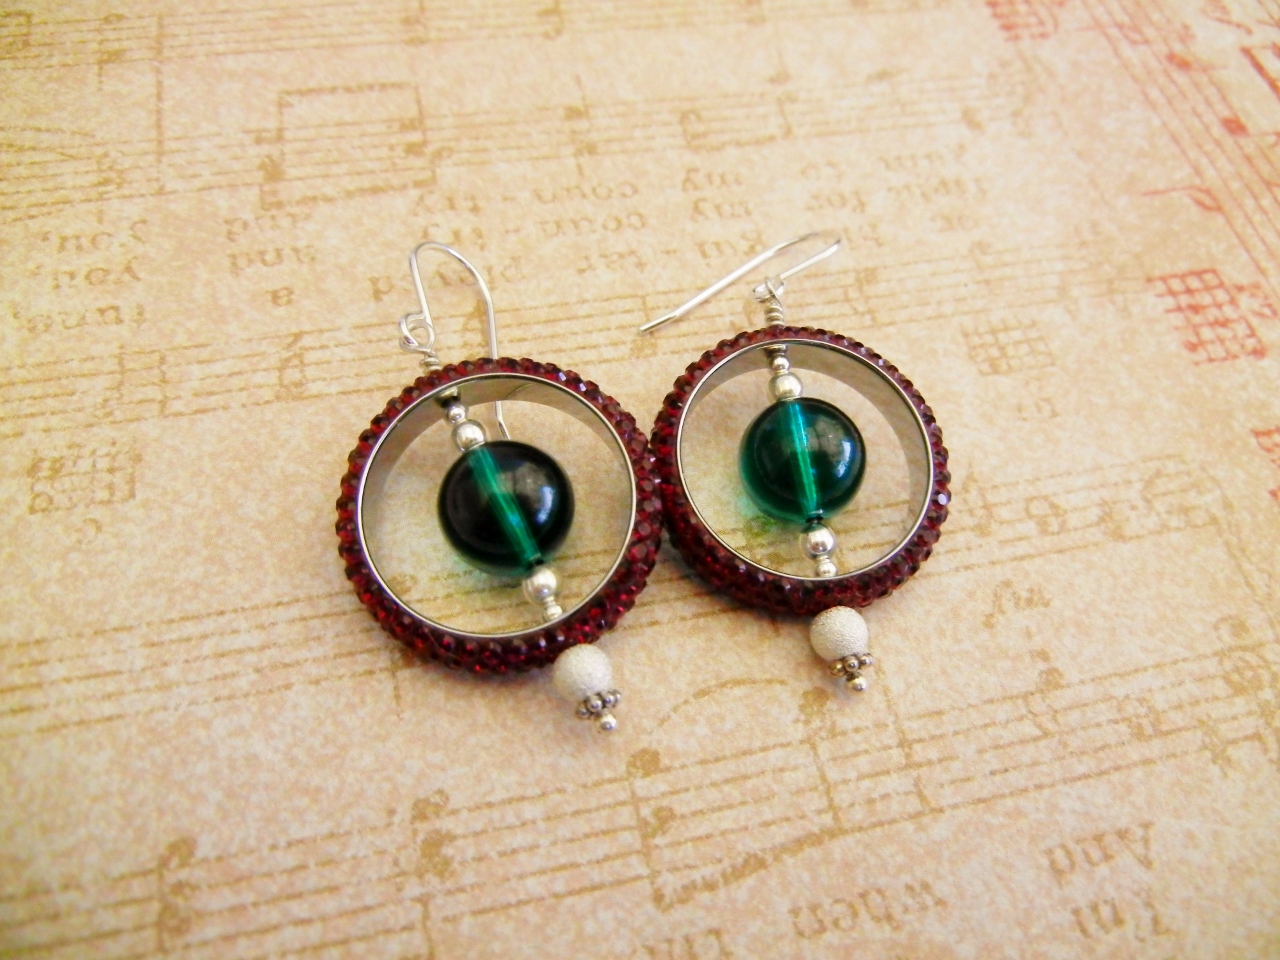
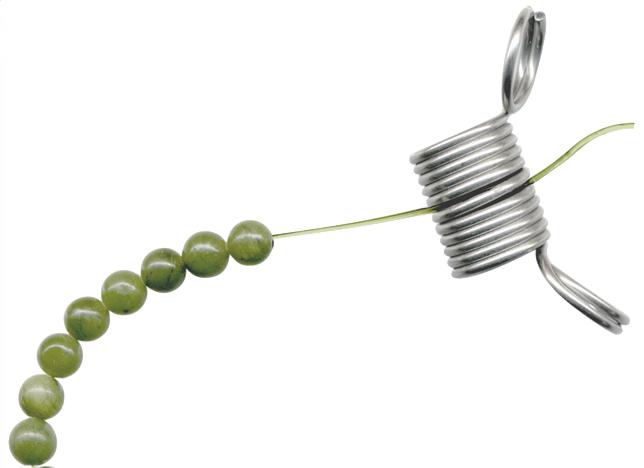
As you maybe can tell already, I like holiday jewelry! And one of my favorite holidays is St. Patrick’s Day! I love corned beef, green beer, and of course the classiest green accessories! If you want to whip up a few Irish necklaces this year I have a simple way for you to do so! Swarovski Clover Pendants are fun and sparkly and, when paired with an Irish themed sterling silver charm, they especially scream St. Paddy’s Day.
Continue Reading…

DIY Braided Triple Wrapped Curb Chain Bracelet

January 2, 2015

Braided Triple Wrapped Turquoise and Antique Copper Curb Chain Bracelet

I love wrapped bracelets! I like to wear multiple bracelets of all different colors and textures layered. After the popularity of the wrapped leather bracelet the last few years, I decided I wanted to make another colorful wrapped bracelet. Something I could layer with my other bracelets for a super bohemian look! Continue Reading…

Do-it-yourself custom bracelets

December 22, 2014

They are also a great way to showcase cool found objects such as vintage buttons or foreign coins. Even the most novice crafter will be able to create one of these fun, mixed media pieces!
Continue Reading…

Custom Swarovski Rivoli and Charm Necklaces

December 5, 2014

Ball Chain + Swarovski Rivoli + Silver Plated Charms
I love sweet little customized necklaces! These necklaces make the perfect gift for girls of any age! As an added bonus, these necklaces are very quick, easy, and affordable to create! They would be an ideal item for people to customize on an etsy store, or for people to create on the spot at a craft fair as a build your own necklace!

The total cost for making 20 necklaces, with a charm and a set Swarovski crystal= $85.05 or about $4.25 a necklace.  That will also leave you with chain and clasp to make another 40 or so necklaces! One spool of ball chain can make over sixty 18-inch necklaces! The more necklaces you make, the cheaper each one will cost to make.

Supplies for this project (plus jump rings and ball chain clasps, not pictured)
Let’s look at the cost breakdown:

Total =           $85.05
To make these necklaces you need just three tools: round-nose pliers, chain-nose pliers, and wire cutters. Follow these simple steps to make the necklaces!
Step 1: Cut your chain.

Cut chain in between two ball segments

18 inches is standard length. If you are going to do this as a build your own for a craft fair or event, cut several at the same time.

Step 2: Set your crystals. 

The 14mm rivolis will be just a little loose in the bezel setting.

Squeeze your round nose pliers around the loop at the top!

It only takes a few seconds to set the crystals! Once the bezel is squeezed the crystal will be secure in the bezel.

Step 3: Add jump rings to your crystals.

Use the stainless steel jump rings for extra security. Remember to twist the jump ring apart, not pry it open.

Step 4: Add jump rings to your charms. 

Same deal, twist apart, don’t pry open. This way the jump ring will close flush!

Step 5: Create! Mix and Match! 

Pick a crystal!

Pick a charm!

String onto cut chain.

Step 6: Add a clasp to your necklace.

Drop ball end into the opening on the clasp.

Pull chain to the side, so that it clicks into place!

Endless possibilities!

Craft Fair or Show Idea! Build-Your-Own Necklaces
This is a great project to do for yourself as gifts, but it is also great for a build your own necklace at a craft fair or show! Simply have all the components ready to go, and let people choose what they want! Make a price sheet that charges a base price and then additional for each charm or crystal they want to add!

Make a display/station at a show where people can make their own necklace!

One dish with charms, one dish with crystals.

Online Store Idea! Customize your own Birthstone and Charm Necklace
Have an etsy store? Etsy has made it so easy to add customizable items to your store! Take a photo of all the options of crystals and charms you offer, and make an item in your store that people can customize! People love custom items! I choose these crystals to coordinate with birthstones and a random assortment of charms, but you could pick whatever colors and charms you like!

Choose your crystal color!

A. Silver Shade (Diamond)- April
B. Provence Lavender (Alexandrite) – June
C. Light Rose (Rose Zircon) – October
D. Lt. Siam (Ruby)- July
E. Siam (Garnet)- January
F. Amethyst– February
G. Sapphire– September
H. Denim Blue (Blue Zircon)- December
I. Aquamarine– March
J. Emerald– May
K. Peridot– August
L. Lt. Colorado Topaz– November

Choose your charm!

A. Watering Pail
B. Bumble Bee
C. Dragonfly
D. Cross
E. Tennis Racket
F. Basketball
G. Horse
H. Skeleton Key
I. Flying Bird
J. Yoga Om
K. Soccer Ball
L. Feather Charm
Matching Earrings? Why Not!

I just love these necklaces so much! I especially love these rivoli bezels. They are super easy to use, inexpensive, and a beautiful way to frame the rivolis! Of course you can always make them into to simple matching earrings too! Just add your choice of earring wires! Total cost of the earrings, around $5! Total time to make them, about 2 minutes! Not bad! Well, I hope you can see the endless possibilities with rivoli crystals!
~Tiffany White

Swarovski Pave Holiday Earrings

December 1, 2014

“I hear those sleigh bells ring-a-ling, jing, jing, jing-a-ling too! I think it’s perfect weather for a sleigh ride together with you”

Swarovski Pave rings are the perfect way to glam up your holiday attire!

Christmas time is almost here! And when I think about the holidays, I think about thick warm coats, soft wool scarves, my gloved hands around a piping cup of cocoa, and sparkly jewelry! Don’t you? I don’t know what it is about this time of year, but I like to wear sparkly jewelry in the winter! In the summer, I go for more beachy bohemian jewelry, but in the winter I am all about the bling! Luckily, I’ve gotten to make tons of sparkly, glamorous Swarovski jewelry lately! The newest project I am working on involves these Swarovski Pave rings. They are round rings, covered in tiny Swaorvski crystals with either one hole or two holes. They come in several colors and three sizes. I went a little nuts with them! I made four super blingy, super easy, super fancy pairs of holiday earrings.

They come in a variety of colors! Emerald, Siam, and Golden Shadow just to mention a few!

They are all made using basic jewelry making techniques. The basic skill needed to make these earrings is to know how to make a wrapped loop. You will need basic wire wrapping tools. A pair of chain nose pliers, a pair of round nose pliers and a good pair of wire cutters.

All the tools needed to make these earrings can be found in one of our cute kits! I love this glitter tool set with a nice little pouch to store it in!

I made four pairs total. One in the traditional red and green holiday colors, one with lovely silver Swarovski crosses, a sparkly blue pair with the Star of David, and a gold pair, just because I love gold! Except for the red and green pair, all the earrings have less than five total components to them. I will link all the exact parts to make them!
For all of these earrings I used sterling silver head pins and sterling silver findings and beads.

Golden Shadow Pave Earrings

 Golden Earrings full of Sparkle!

I made the above earrings with the largest sized golden shadow, one-hole pave beads, Swarovski golden shadow ovals, sterling silver earring wires, sterling silver jump rings, and a sterling silver eye pin.

Star of David Earrings

 Star of David Earrings in Beautiful Blue

I made the Star of David earrings with the smaller sapphire, two-hole pave beads, sterling silver Star of David charms, sterling silver ball end headpins, and sterling silver kidney wires.

Silver Cross Earrings

 Cross Earrings in Shimmering Silver

The cross earrings I made with the largest crystal, two-hole pave beads, sterling silver head pins, Swarovski silver patina cross beads and sterling silver earring wires.

Red and Green Swarovski Globe Earrings

For these earrings, I will list the parts below, since there were several components. I layered different sterling silver beads onto sterling silver ball end head pins. The result is a green globe perfectly floating in a sparkly red siam Swarovski Pave bead!

Supplies needed:

String beads onto a headpin in the following order: flower spacer, stardust bead, bottom side of the pave, 2mm bead, 3mm bead, emerald Swarovski globe, 3mm bead, 2mm bead, top side of the pave bead.

Repeat for your other earring.

Make a wrapped loop on each earring using your round-nose pliers. Clip the excess wire with a wire cutter, and tuck the tail with chain-nose pliers. Be very careful when tucking the tail of the wire, so you don’t damage the Swarovski pave beads.

Red and Green Swarovski Globe Earrings

Well, I hope that these Swarovski crystal pave rings have put you into the holiday spirit! Cause if sparklies like this can’t, I don’t know what will!
~Tiffany

How to Make a Beaded Yoga Bracelet

October 31, 2014

If you’re looking for a tranquil jewelry-making project, the stretchy yoga bracelet is perfect. It’s easy to make and takes very few tools (this also makes it perfect for beginning jewelry makers!). Our design incorporates Mala prayer beads and 8mm round gemstone beads. Plus, we’ve personalized the bracelet with a Nina Designs charm.  Whether you make one or a whole armful, you will love this project!

Easy to make Yoga Charm Bracelet made of wooden mala beads, gemstone beads, and a lotus charm from www.rings-things.com

“Lotus Flower” Yoga Bracelet by Rings & Things designer Mollie Valente.

First, gather your supplies:
Shop www.rings-things for supplies to make this trendy Yoga charm bracelet.

The “Lotus Flower” yoga bracelet combines rosewood Mala beads, gemstone beads, gold-plated beads, and a bronze Nina Designs lotus charm — all strung on Stretch Magic® cord.

You will also need just a couple of tools:
Then follow these easy steps:

To make a yoga bracelet, add a charm and gold plated beads to the center of the Stretch Magic cord.
Step 1: Measure and cut the Stretch Magic cord. Make the cord length wrist size plus 4 inches). String on the charm and position it in the middle of the cord. On each side of the charm, string one rondelle bead and one 5mm nugget heishi bead. Add the Bead Stopper to one side of the cord.

Bead Stoppers In-Use Image
Tool Spotlight: Bead Stoppers are a helpful tool for any stringing project! Simply attach the spring to your beading cord to prevent accidental bead spills. You can purchase the Bead Stoppers in both regular and mini size. This tool is a “Rings & Things Staff Choice”.

Free DIY stretchy gemstone Yoga bracelet instructions, how to string beads.
Step 2: The color of rainbow new jade beads varies from bead to bead on each strand. Take a moment and plan your bead design before stringing. String on one 8mm gemstone bead followed by one 5mm nugget bead; string this pattern three times, then end with an additional 8mm gemstone bead.

How to make a stretchy Yoga bracelet with round gemstone and wood bead.  Free DIY jewelry-making tutorial.
Step 3: Secure the cord with a Bead Stopper on the beaded side of the bracelet. String beads on the opposite side of the bracelet, matching the pattern in Step 2.

Yoga Charm Bracelet Step 4
Step 4: Continue beading. String on two 7mm nugget heishi beads. Then string on an alternating pattern of one 8mm Mala bead, followed by one 7mm nugget bead; repeat this pattern five times. Secure the beads with a Bead Stopper.

Yoga Charm Bracelet Step 5
Step 5: Secure the cord with a Bead Stopper on the beaded side of the bracelet. String beads on the opposite side of the bracelet, matching the pattern in Step 4. Vary the number of wooden Mala beads and 7mm nugget heishi beads to achieve your desired bracelet length.

Free jewelry-making instructions.  Learn to make a Yoga bracelet.  Secure the Stretch Magic cord with a knot.
Step 6: With the Bead Stopper removed, hold the ends of the Stretch Magic cord securely and form a circular bracelet. Secure the cord with a knot (square knot, surgeon’s knot, or a few over-hand knots). To tighten the knot, pull the cord tails and stretch the bracelet. Clip the cording about 1/8″ from the knot.

How to tie knots for jewelry making:  overhand knot, square knot, and surgeon's knot.
The overhand knot, square knot, and surgeon’s knot are commonly used in jewelry making.

Jewelry making tutorial, make a Yoga bracelet: how to securely finish Stretch Magic cord.
Step 7: Secure the connection by applying GS Hypo Cement to the knot. Use the super-fine applicator to generously coat the knot, and then slide the knot into the center of a wooden Mala bead and allow it to dry. Now the knot is secure, protected, and hidden.

Yoga Charm Bracelet Step Concluding Image
The Lotus Flower Yoga Bracelet is ready to wear!

Buy the Supplies to Make this Bracelet Now

Get Inspired! Enjoy 100’s more free jewelry projects at Rings & Things too!

Make Things!
Mollie

How to make crystal angel earrings

October 28, 2014

When I first saw the cool shape of Swarovski’s crystal dome beads (from their Fall/Winter 2014/15 Innovations), two thoughts immediately came to my mind – bell and angel skirt.

Dome Bead Innovation

Dome Bead Innovation

This tutorial shows you how to use these sparkling faceted beads to make angel skirts for earring designs. The exact same combinations can also be used to make single angels for pendants, bookmarks, gift tags, and more!

There are two styles of Swarovski dome beads to choose from. The large dome beads give you a more elongated shape:

#5541 Large Dome Bead

Article 5541 Large Dome Beads

The small dome beads have a more rounded out bell shape:

#5542 Small Dome Bead

Article 5542 Small Dome Beads

The main components of any crystal angel design are: halos, heads, wing beads, and bodies:

Angel Earrings in Progress

Angel Earrings in Progress

TierraCast makes a variety of wing bead styles. Additional wing beads are also available in base metal and sterling silver.

Various Metal Wing Beads

Various Metal Wing Beads

Popular bead styles for halos include heishi, and beaded heishi beads as well as rhinestone rondelles.

Metal Halo Beads

Metal Halo Beads

Here are several combinations of halos, wings, and bodies in different colors and sizes. For a complete parts list of supplies ready to buy, click each image below! (Or browse our Rings & Things Design Gallery.)

Heavenly Angel Earrings

Heavenly Angel Earrings

Lilac Shadow Angel Earrings

Lilac Shadow Angel Earrings

Angel in Training Earrings

Angel in Training Earrings

Blue Shade Angel Earrings

Blue Shade Angel Earrings

Christmas Angel Earrings

Christmas Angel Earrings

Forest Fairy Earrings

Forest Fairy Earrings

Other popular shapes for body include the Teardrop bead and the cone-shaped Swarovski Crystal Artemis bead.

Crystal Angel Earrings with Teardrop Beads

Crystal Angel Earrings with Teardrop Beads

Artemis Crystal Angel Earrings

Artemis Crystal Angel Earrings

Keep in mind that angels can be any color! Choose whatever colors you like for whatever mood you’re in!

Dark Fairy Earrings

Dark Fairy Earrings

No matter whether you’re preparing for Christmas or you’re a year round angel aficionado, take inspiration from these designs and create your own heavenly host.

~ Rita