Browsing Category

Fun

Five designers: Five very different gemstone and chain jewelry pieces!

November 9, 2011

We’ve recently changed our jewelry design contest at Rings & Things. Instead of just one big contest, we’re now going to have a series of jewelry design challenges peppered throughout the year. The first of these is our Rock n’ Rollo Design Challenge. The rules are simple: just use any style of our rollo chain and either rainbow amazonite or larvikite gemstone beads in your design! And also – the design doesn’t even have to be jewelry! Any type of art or craft is eligible, so long as it incorporates the challenge supplies.

Oscar Wilde is quoted as saying “A work of art is the unique result of a unique temperament.” Design challenges like this one really highlight this truth. Given the same basic building blocks, it might seem like you’d end up with the same basic designs. Not true! Five of our designers created inspiration pieces that meet the contest guidelines, and all five use chain and gemstone in completely different ways:

etched-copper-bird-necklace“Wee Bird” riveted metals and rainbow amazonite necklace by Mollie Valente

A sweet etched copper bird pendant, riveted to brass. Mollie used a mesh choker for the back of the piece. Rollo chain is used as a stylish alternative to jump rings to link the gemstone connectors.

copper-clay-gemstone-necklace“Unfurled” copper and rainbow amazonite necklace by Cindy Morris

I created the leafy bead cap with copper clay and strung a river of copper and swirly gemstone oval beads flowing from it. I used chain in the back to keep the necklace from feeling and looking too heavy.

black-labradorite-ribbon-necklace“Reverse Stack Effect” larvikite necklace by Amy Mickelson

Amy combines a lavish and unexpected mix of materials (larvikite, dotted lampwork glass squares, wavy silver-plated disks, chunky rollo chain, hand-dyed silk ribbon) into a colorful statement piece. The full parts list is available in our newly reformatted design gallery. The gallery is now integrated with our online store, so it is much, much easier to find and buy the supplies that catch your eye!

larvikite-chain-bracelet“Slated for Chain” larvikite and silver-plated chain bracelet by Val Nygaard-Pouzar

Clean and classic: the shimmery larvikite (or black labradorite, as it is commonly known) gemstone bead anchors this symmetrical design.

ceramic-enamel-eye-necklace“Eyeball in My Martini” necklace by Polly Nobbs-LaRue

With a “raku” ceramic flying eyeball, C-Koop enameled gear and swirly TierraCast copper links, you might not even notice the rollo chain and single rainbow amazonite bead on this necklace!

No matter what type of jewelry you design, I hope you will stretch your imagination and enter the 2011 Rock n’ Rollo jewelry design contest! With hundreds of dollars in gift certificates (and the possibility of free advertising for your work!) as prizes, and nothing but a emailed photo required to enter, why wouldn’t you rock out a stunning rollo chain design? Be sure to check out the contest page for all the details! ~ Cindy

Three Great Ways to Incorporate Swirls into your Jewelry

October 12, 2011

Swirly Curly Jewelry!

For as long as I can remember I have loved making swirly curly-Q designs. In middle school, my favorite pee-chee folders were covered in them. Well I’ve grown out of my doodling habits, mostly, but I still love those swirls! Unwilling to give up on swirls altogether I have found three great ways to incorporate them into your jewelry with the help of a little wire. Adding a simple curly-Q can take any design idea from ordinary to whimsical! You can make your swirls free form using pliers or try this great Spiral Maker to eliminate marks from pliers! (Editor’s note: We now have THREE spiral makers plus a variety of coiling Gizmos!)

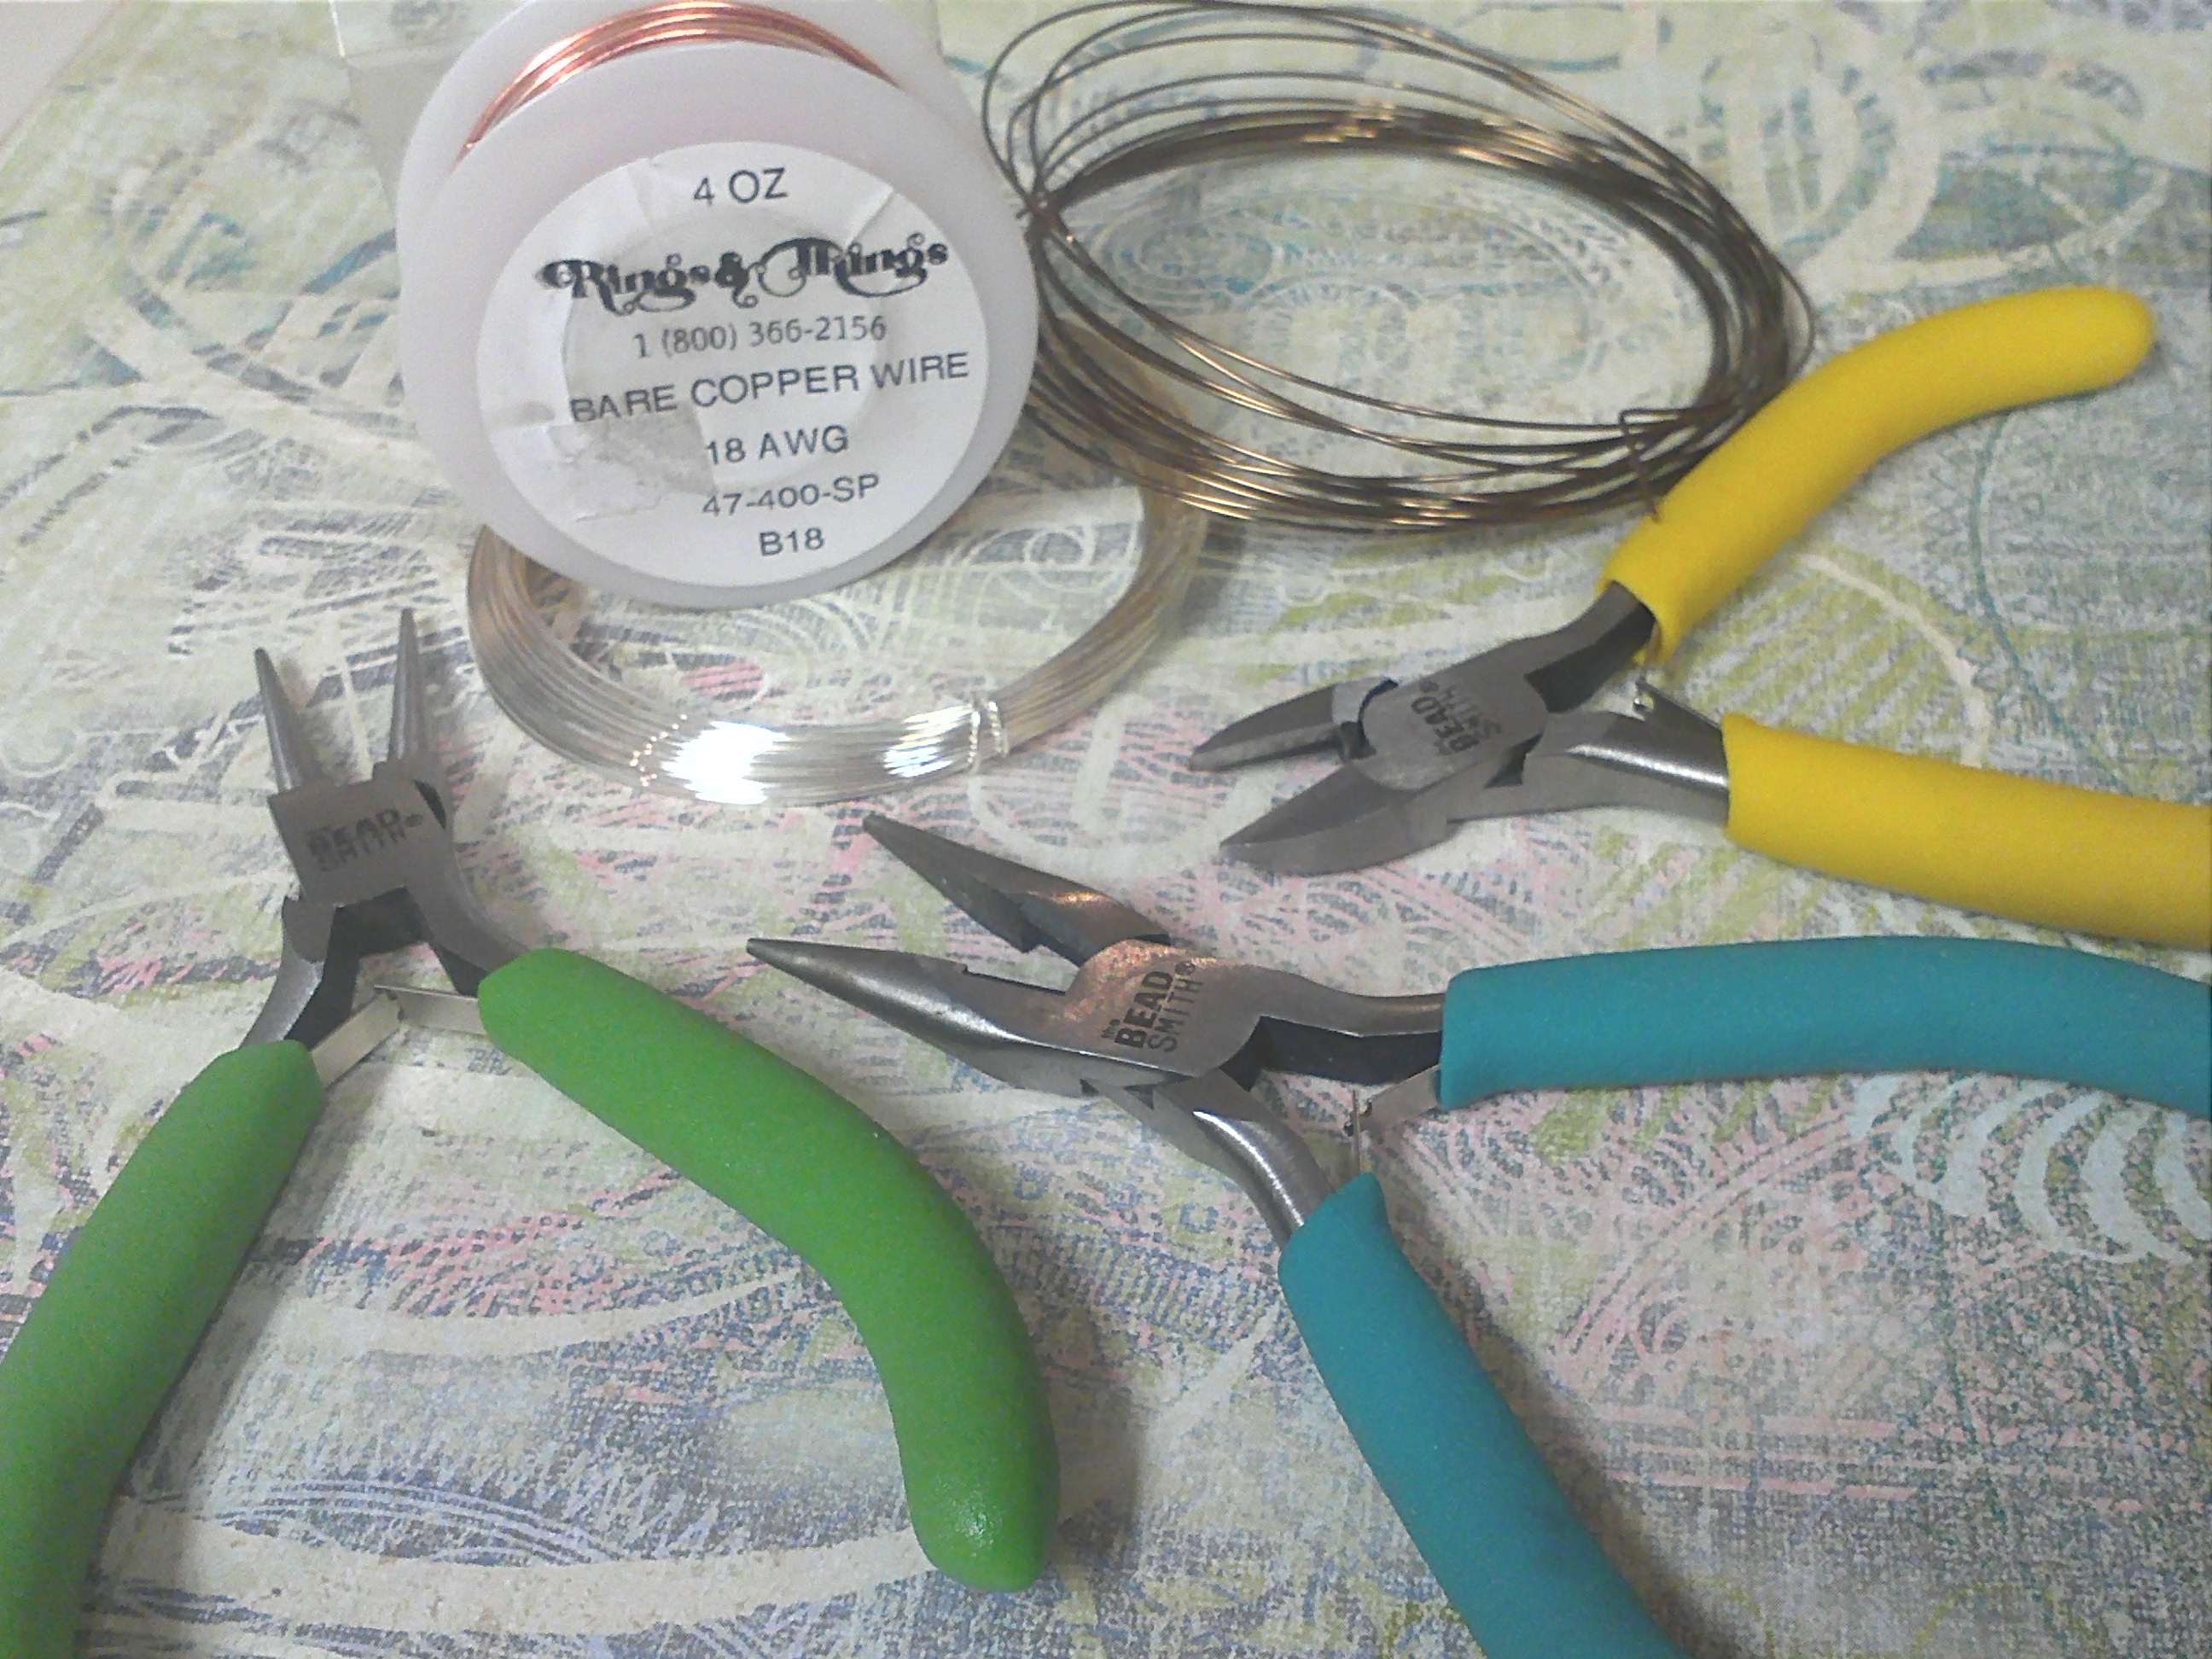
All of these projects can be made using your basic tools and 18, 20 or 22 gauge wire. The tools here are a from a fabulous mini tool set that I keep at my desk. The set is only $12 and includes these three tools plus tweezers and a mini bead board!

1. Swirly Head Pins

The first and easiest way to add some swirl power to your jewelry is to make curly-ended headpins. Making your own headpins out of wire is easy and gives your jewelry an even more hand-crafted look. I recommend using either 18, 20 or 22 gauge wire. (18 being the thickest, 22 being the thinnest) Keep in mind the size of beads you plan to use. If your beads have smaller holes, you will need thinner wire.

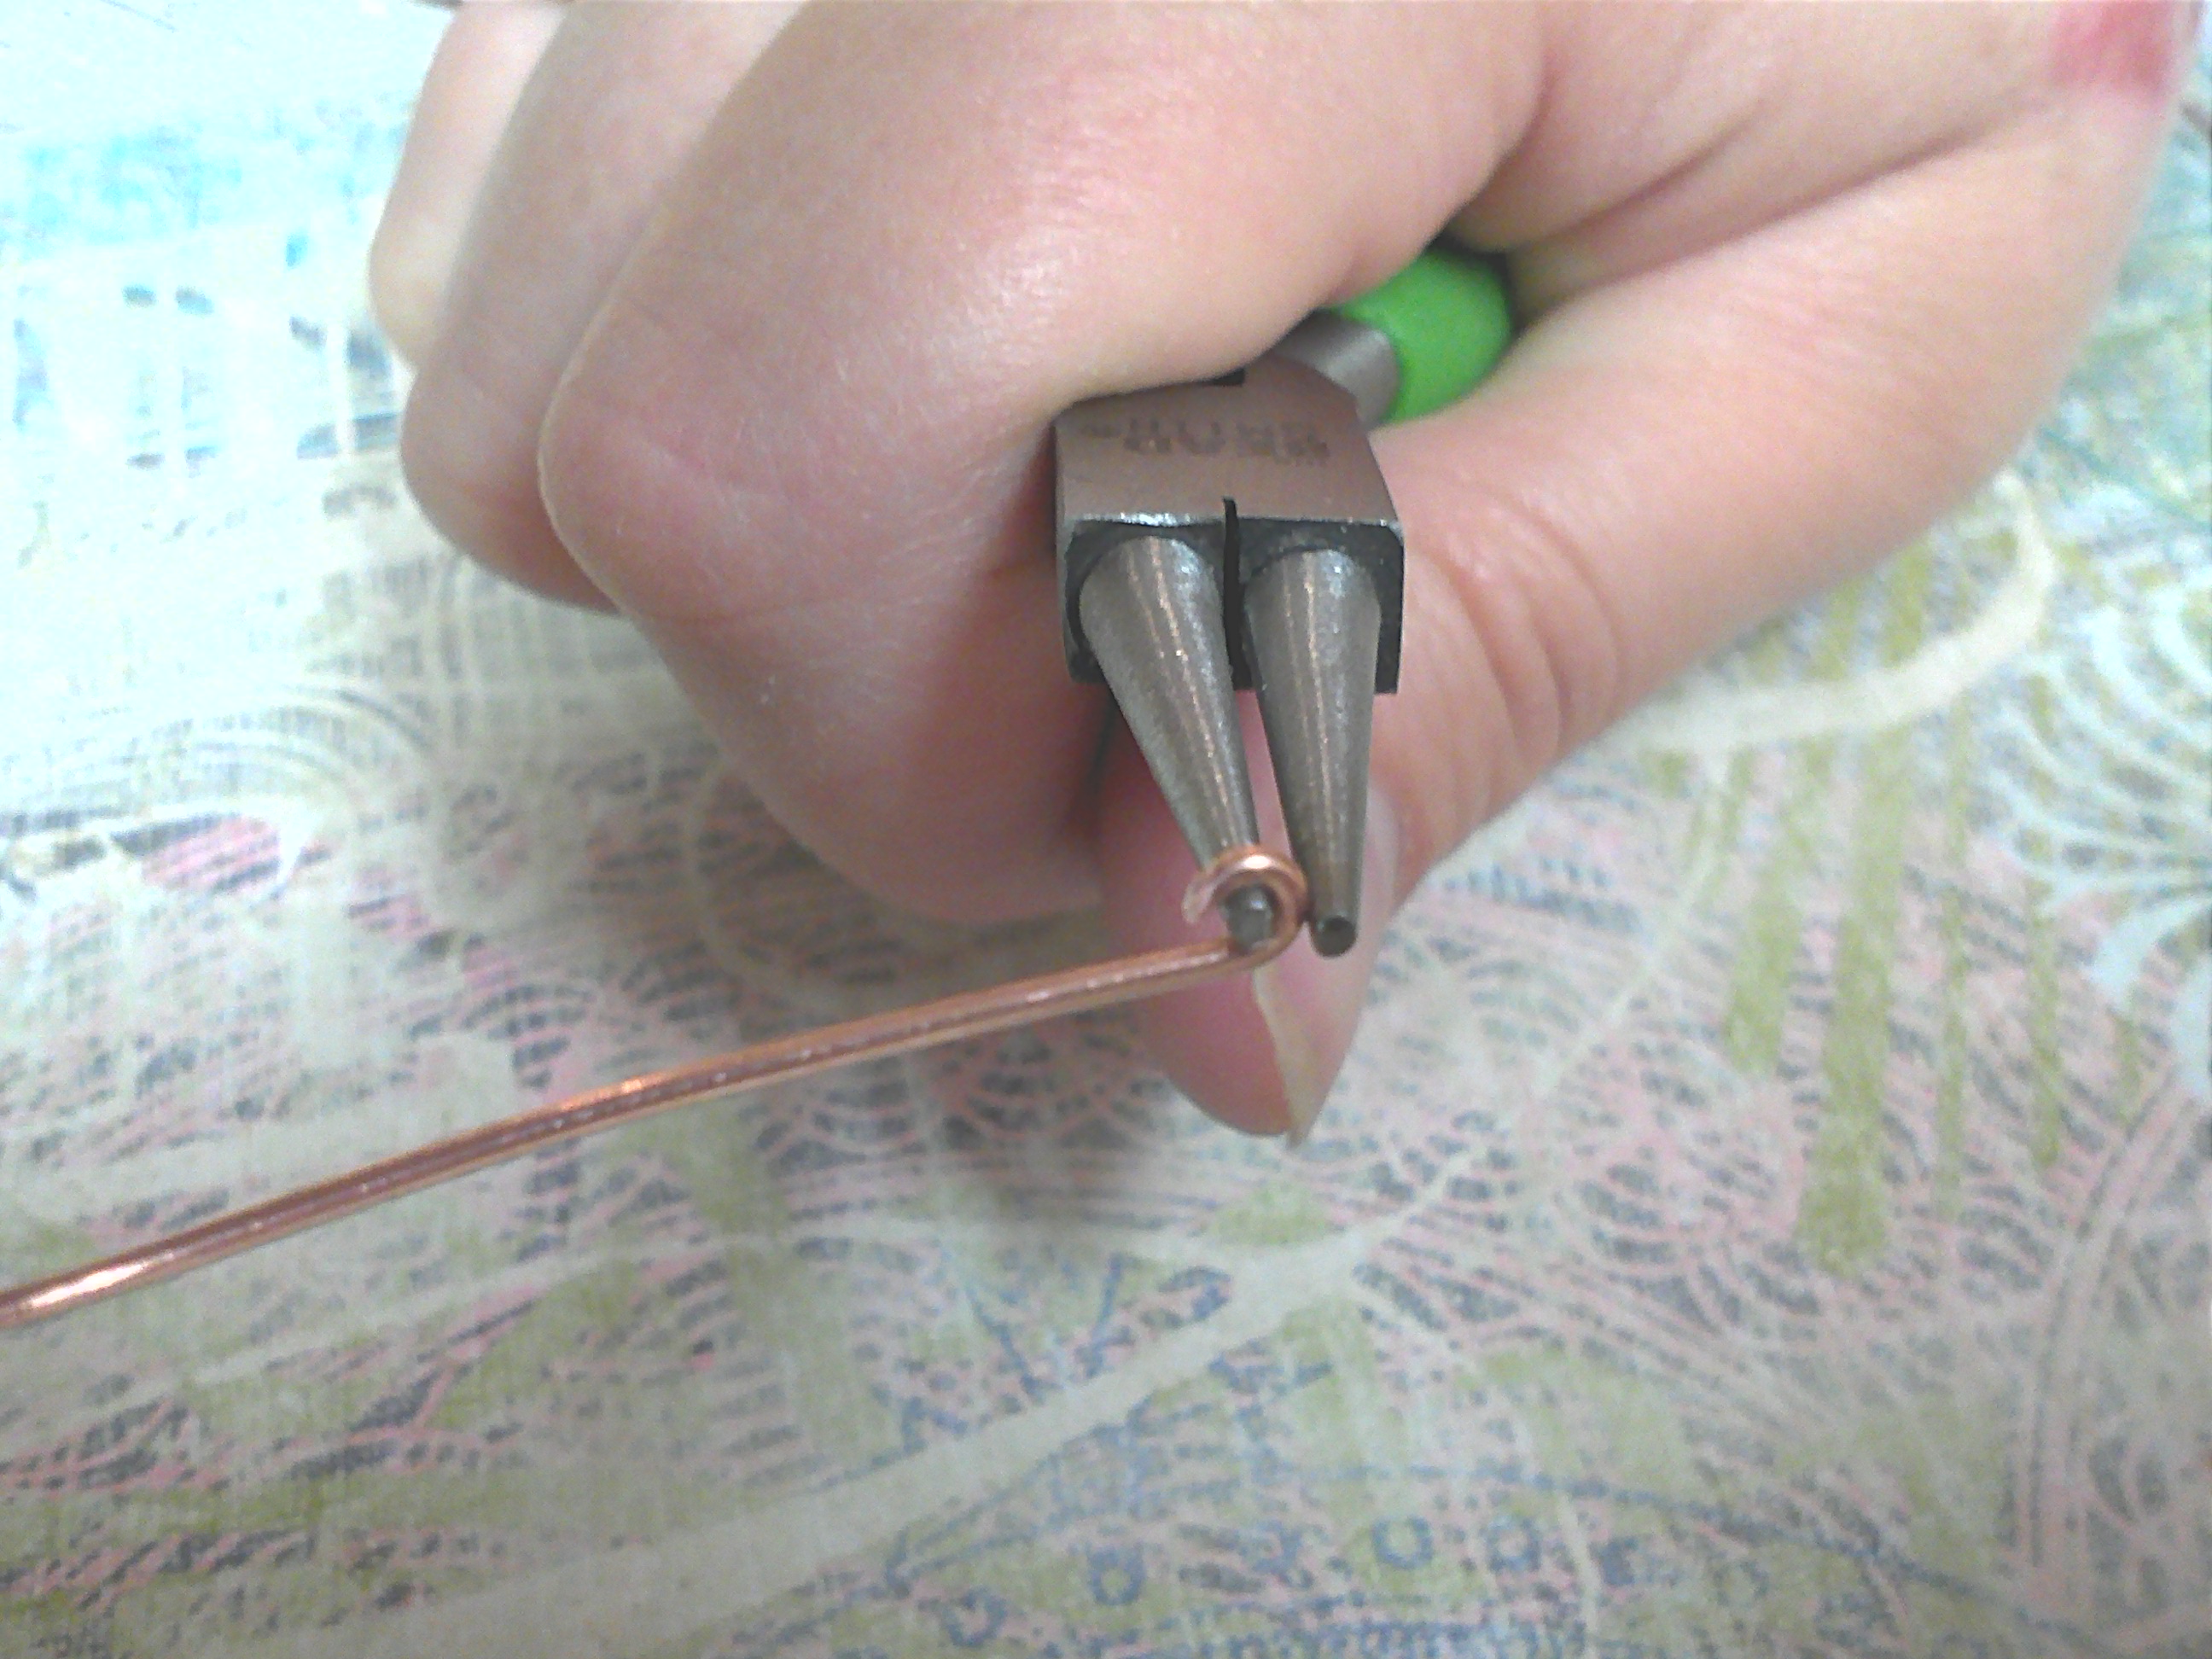
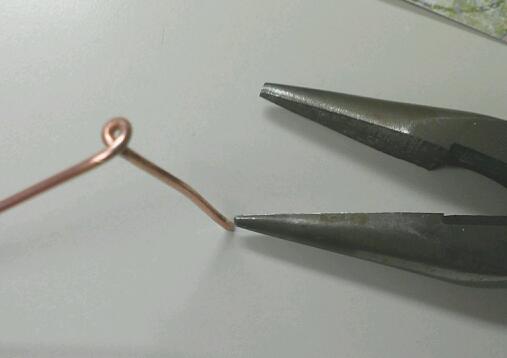
Use your Round Nose Pliers to Start the Loop

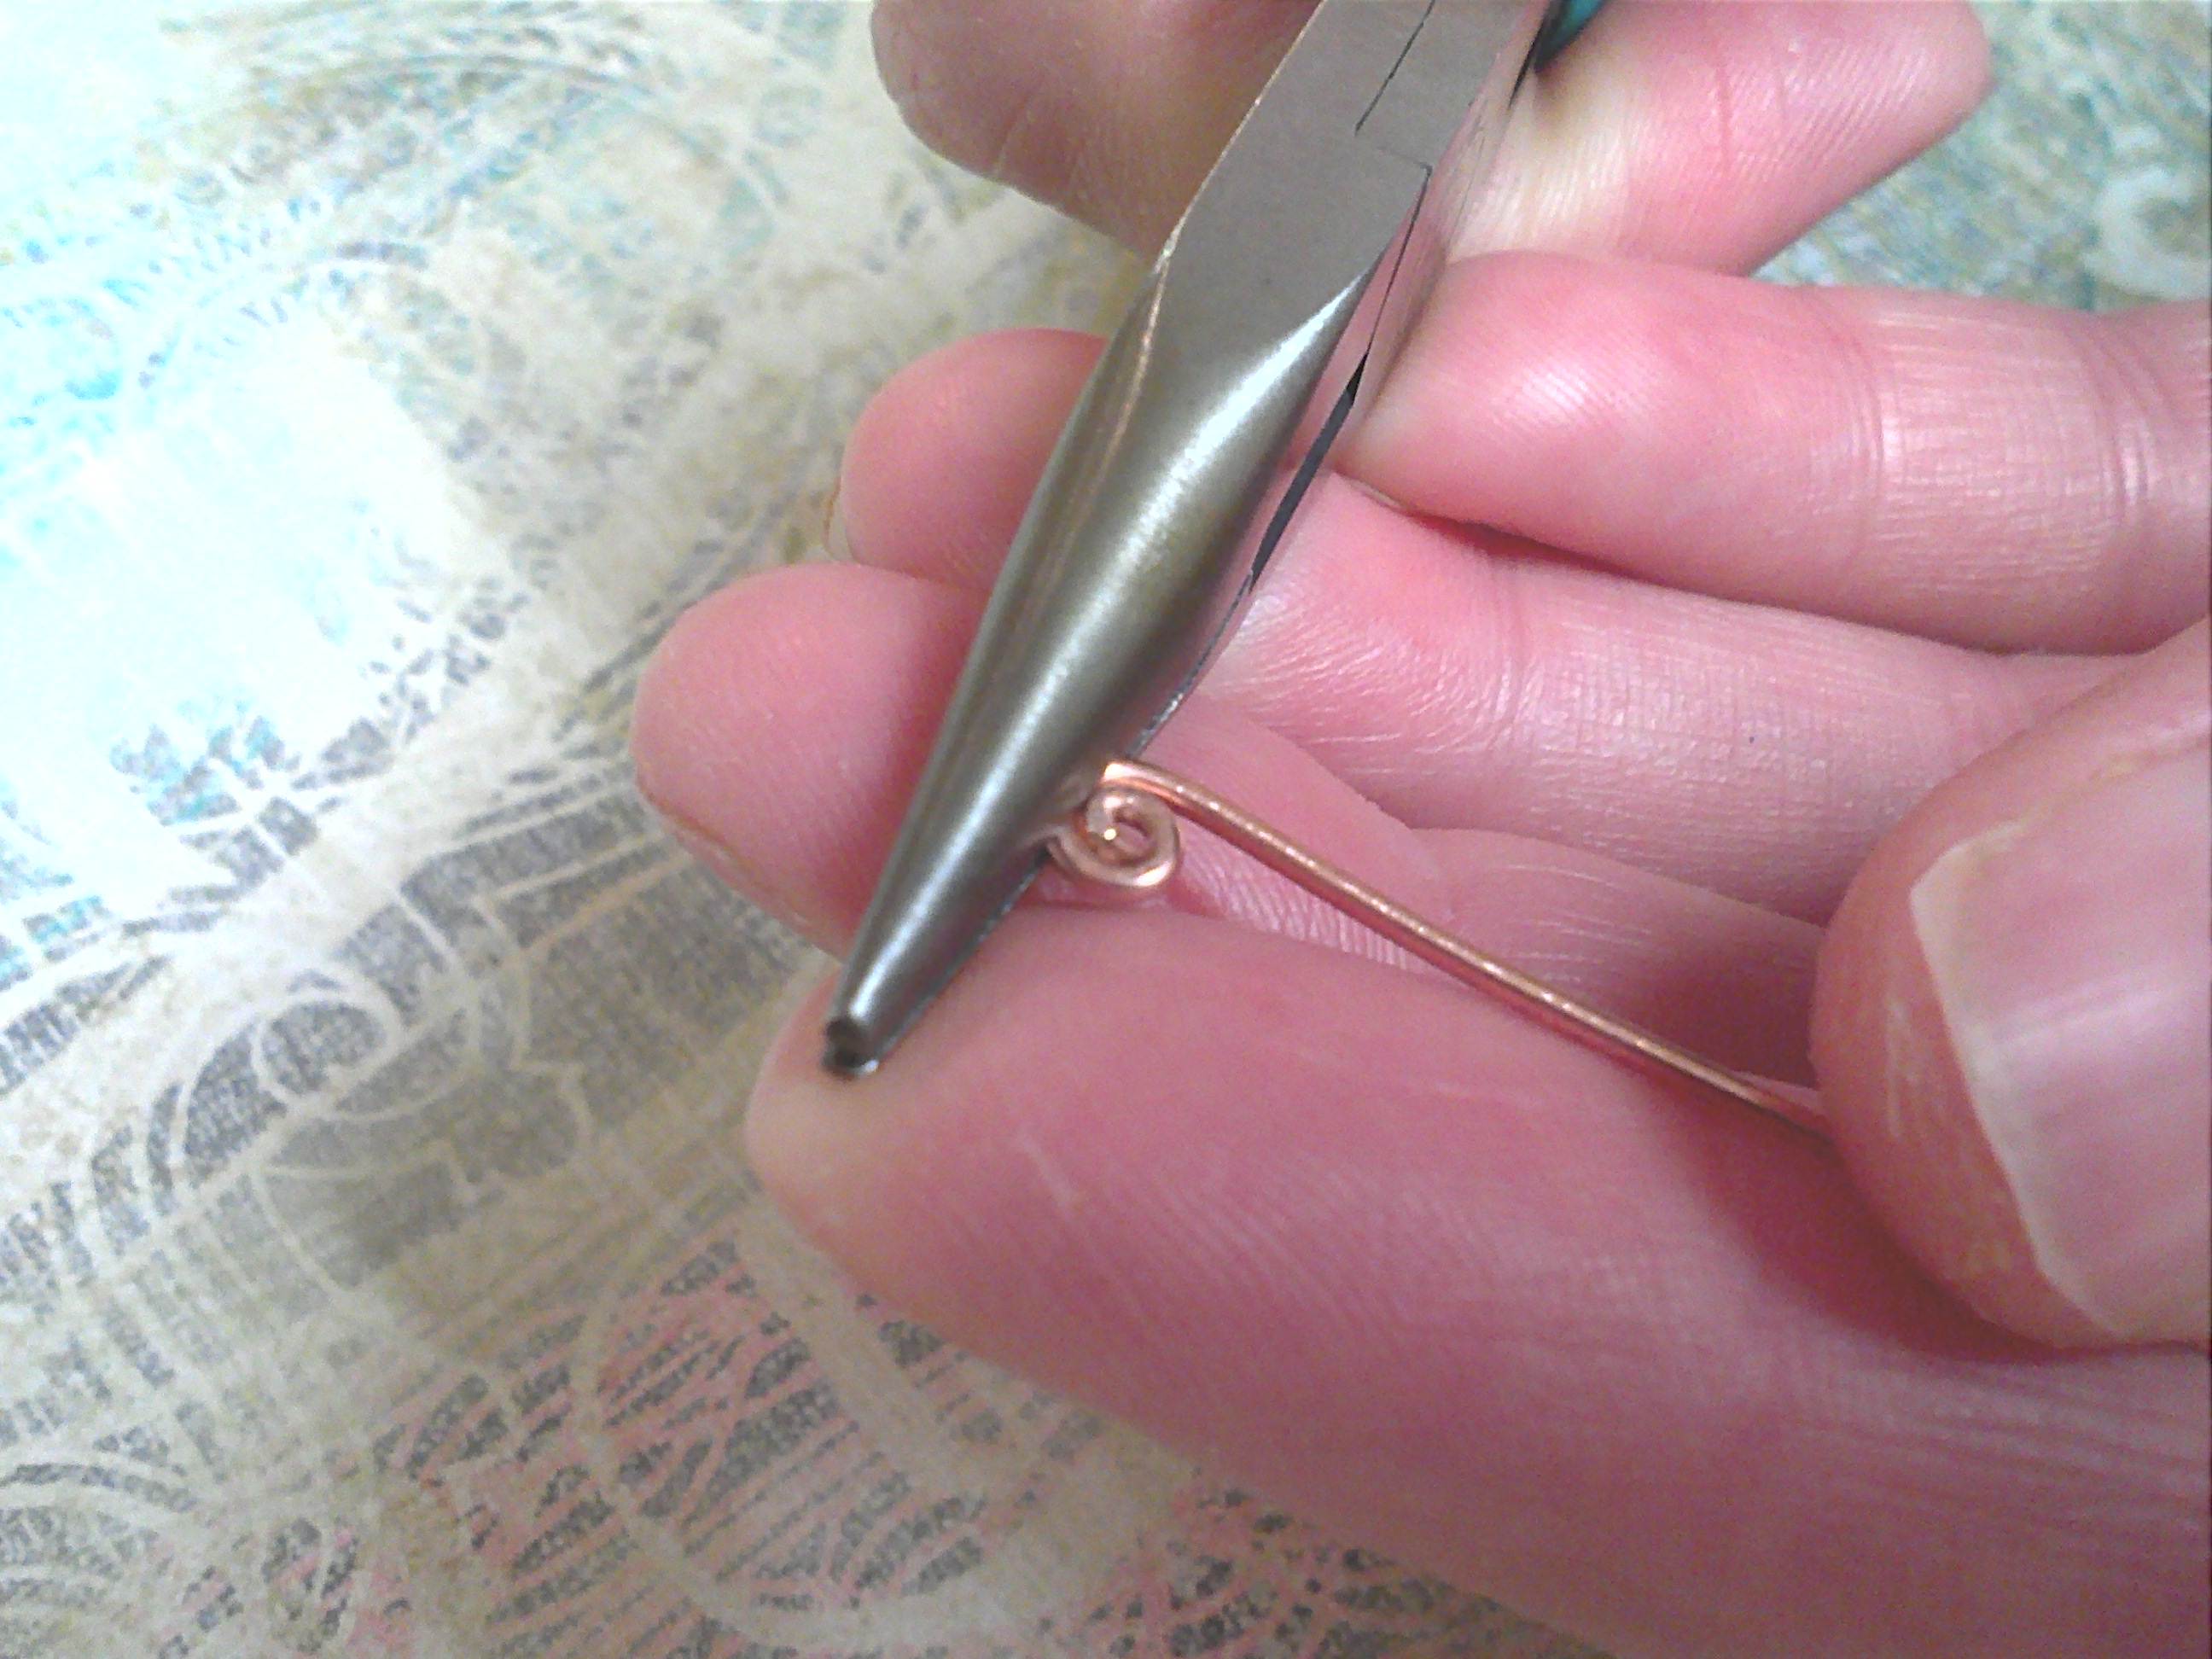
Use your chain nose pliers to create the swirl

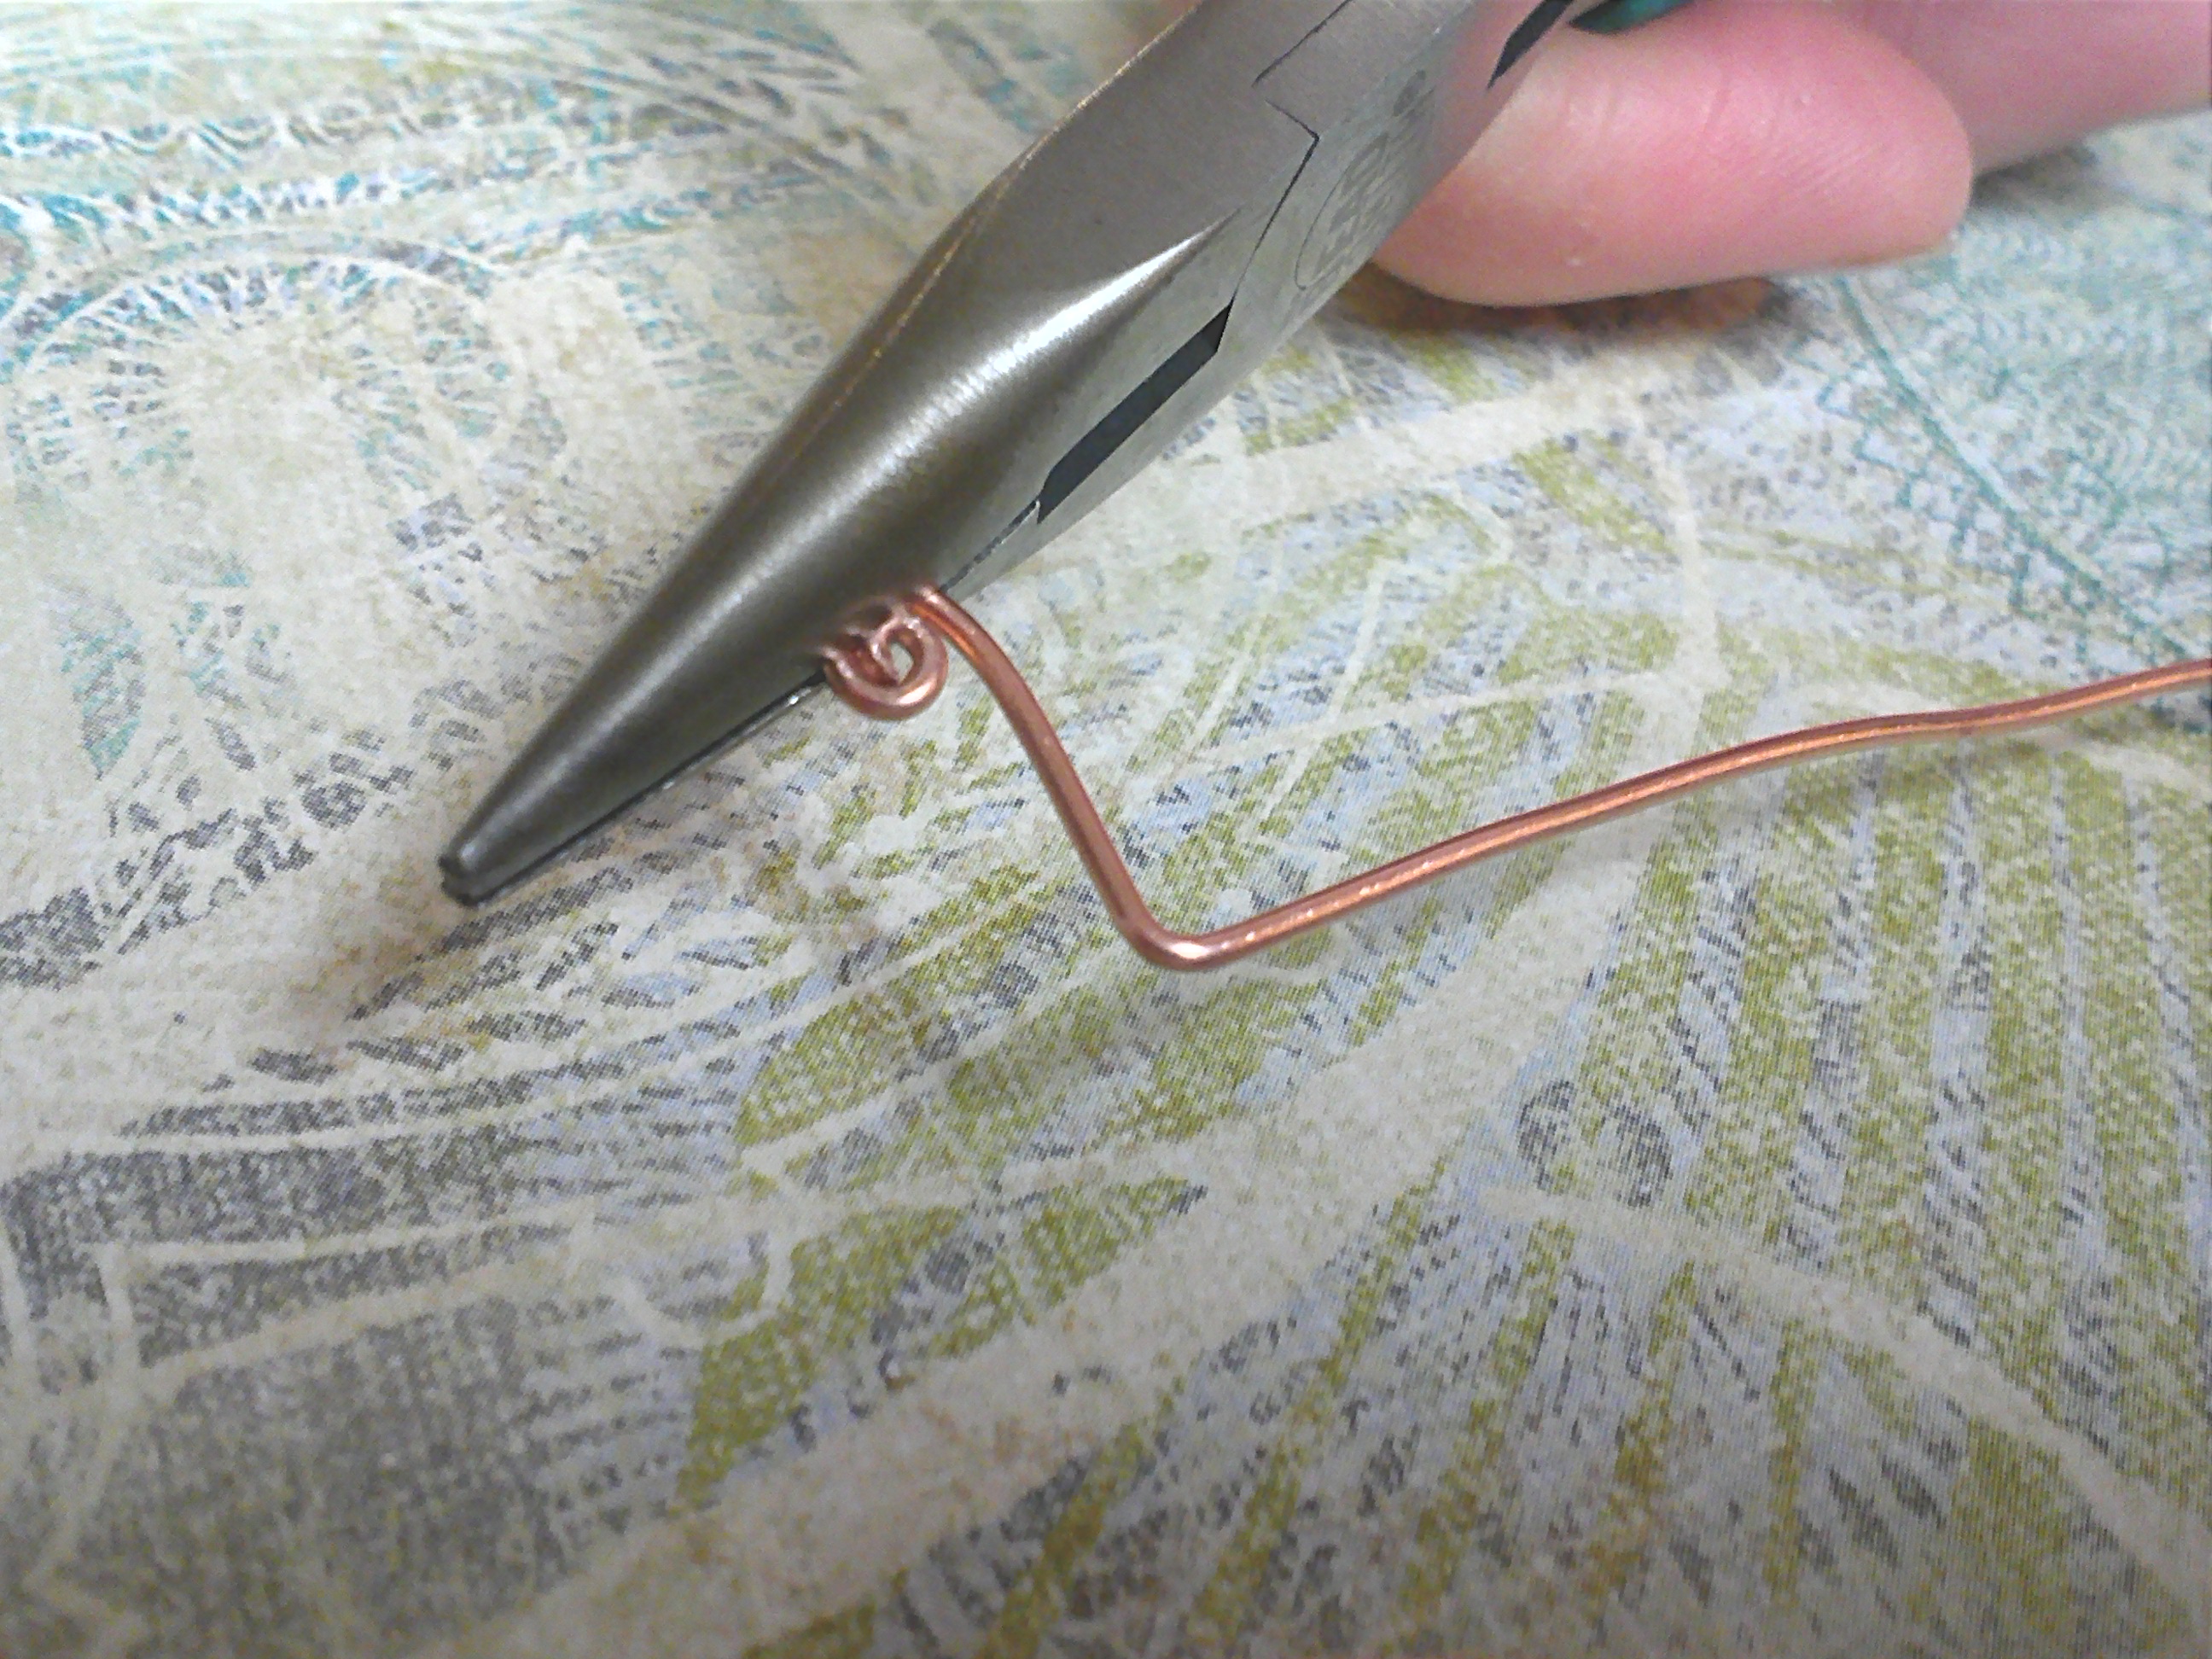
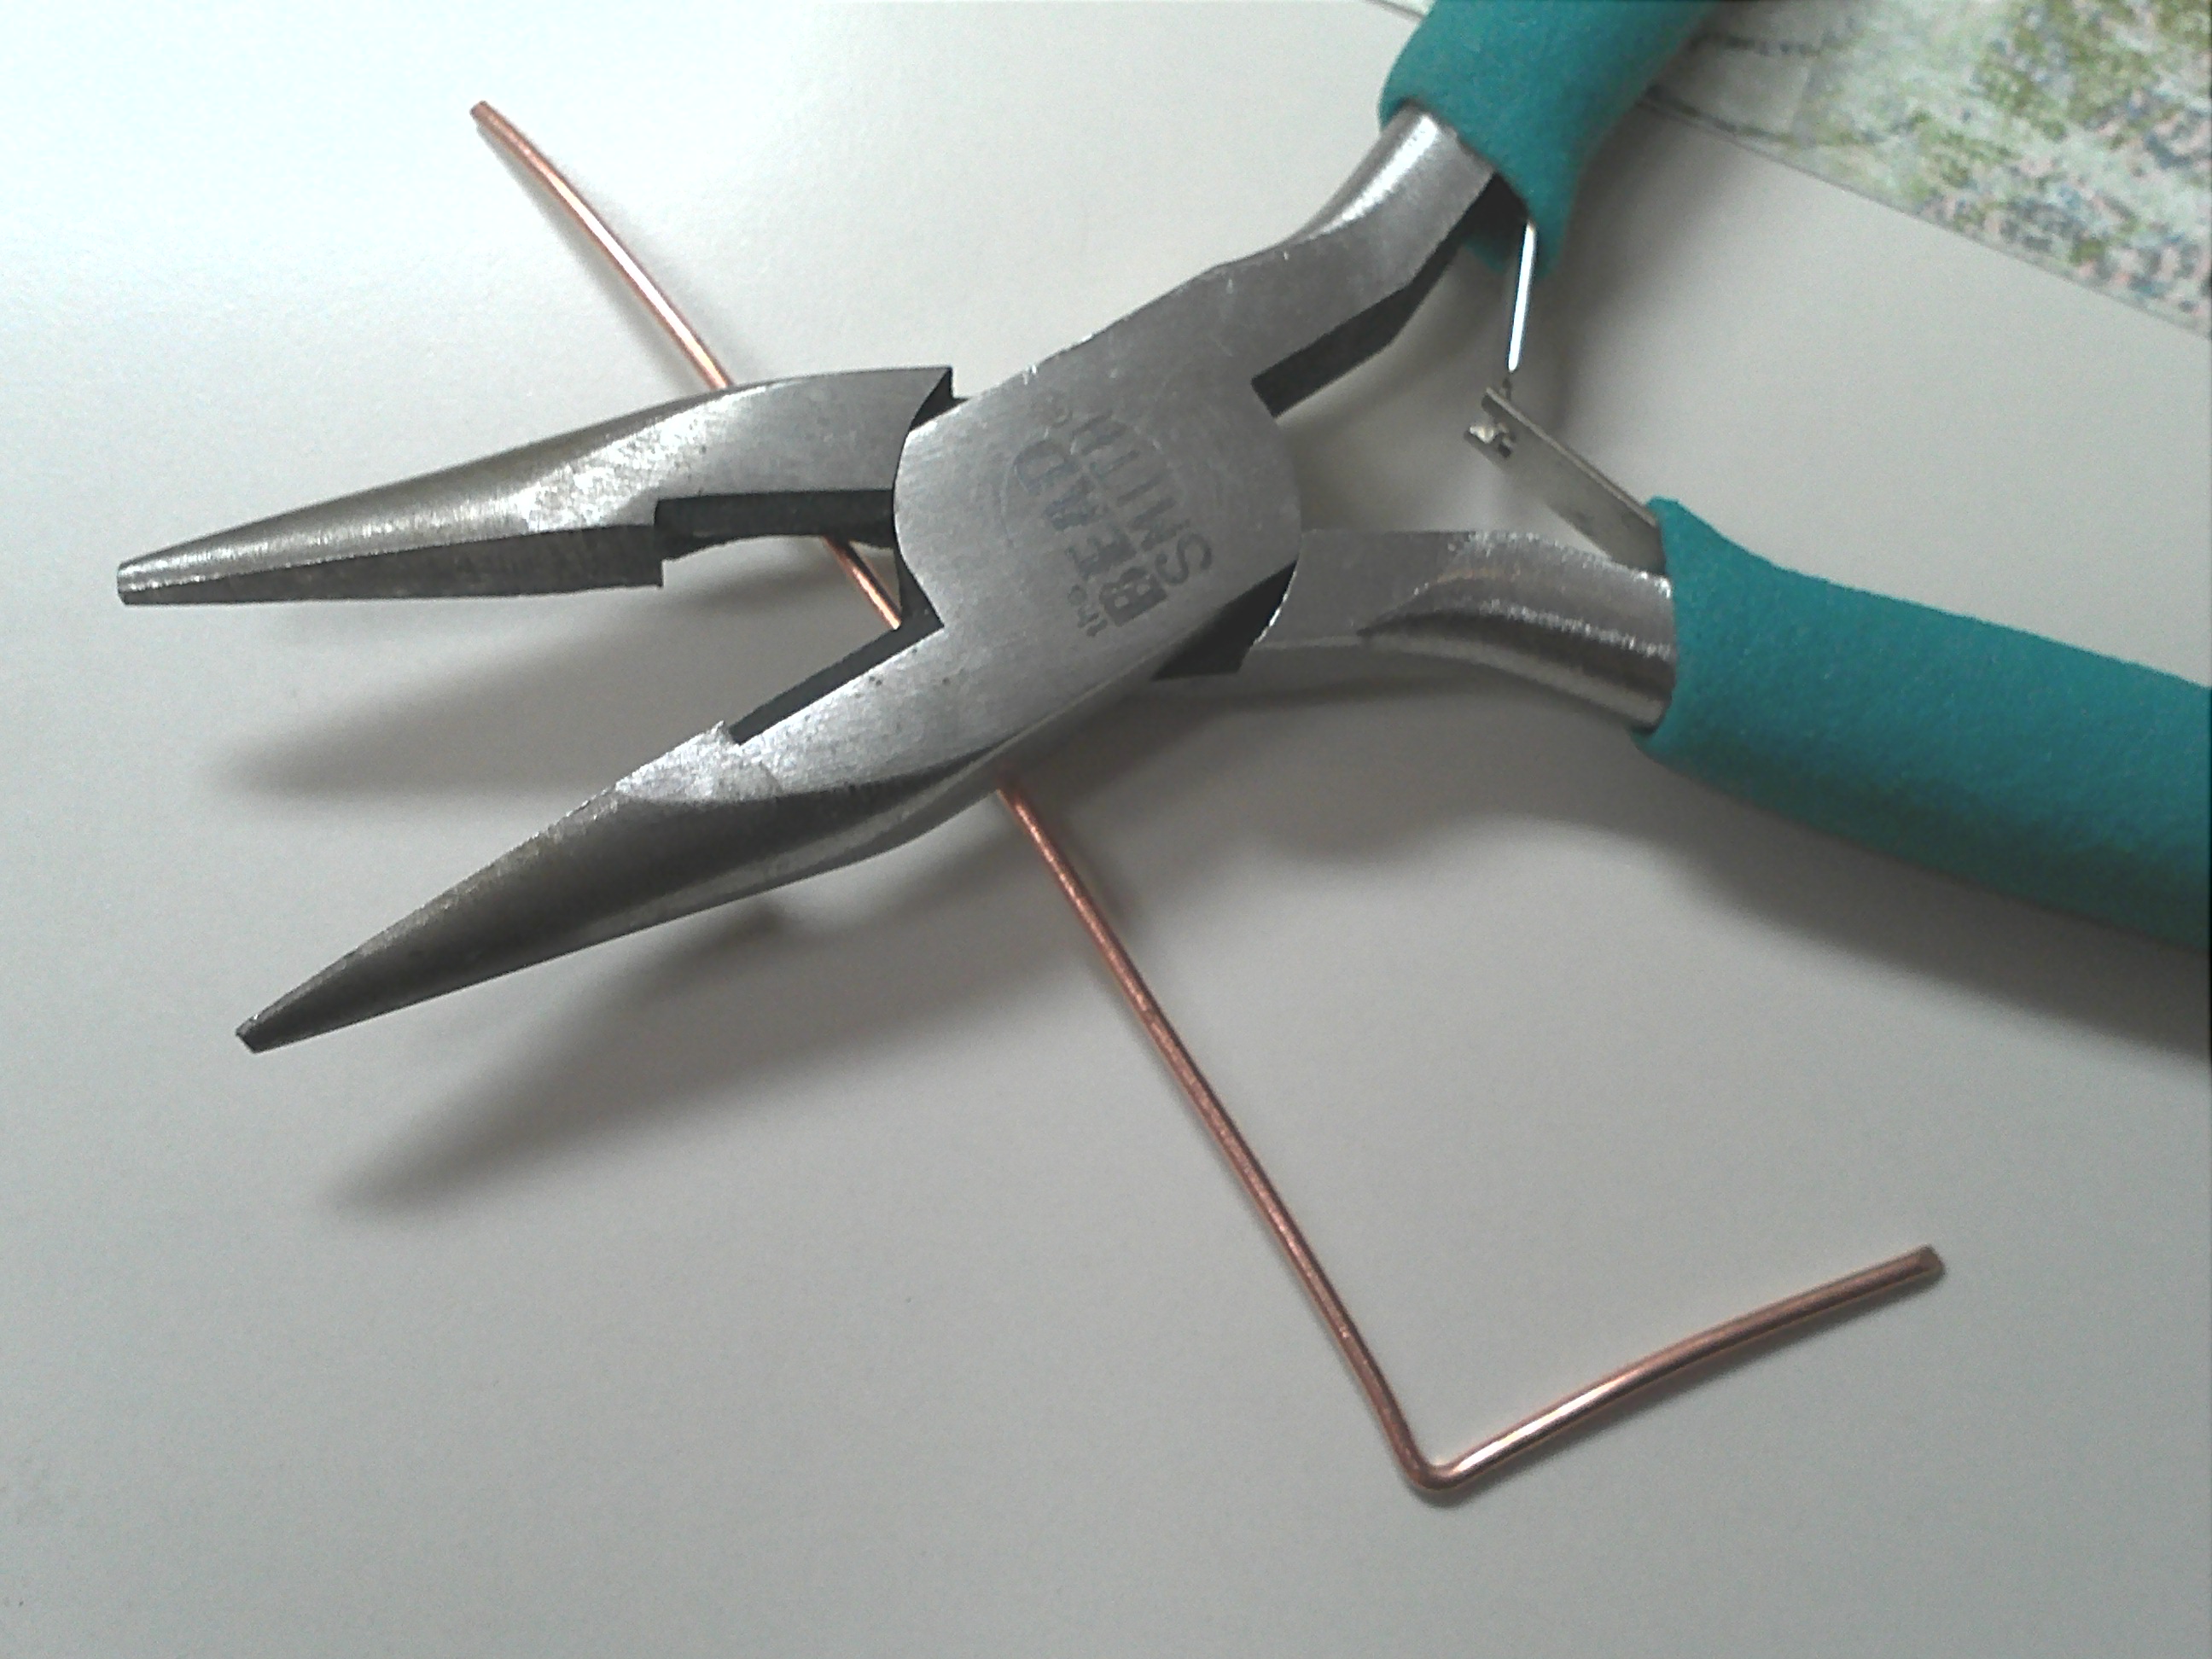
Make a right angle with your chain nose pliers so that your head pins have nice perpendicular look at the end.

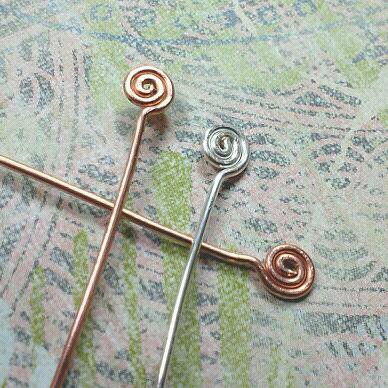
Completed head pins ready for use!

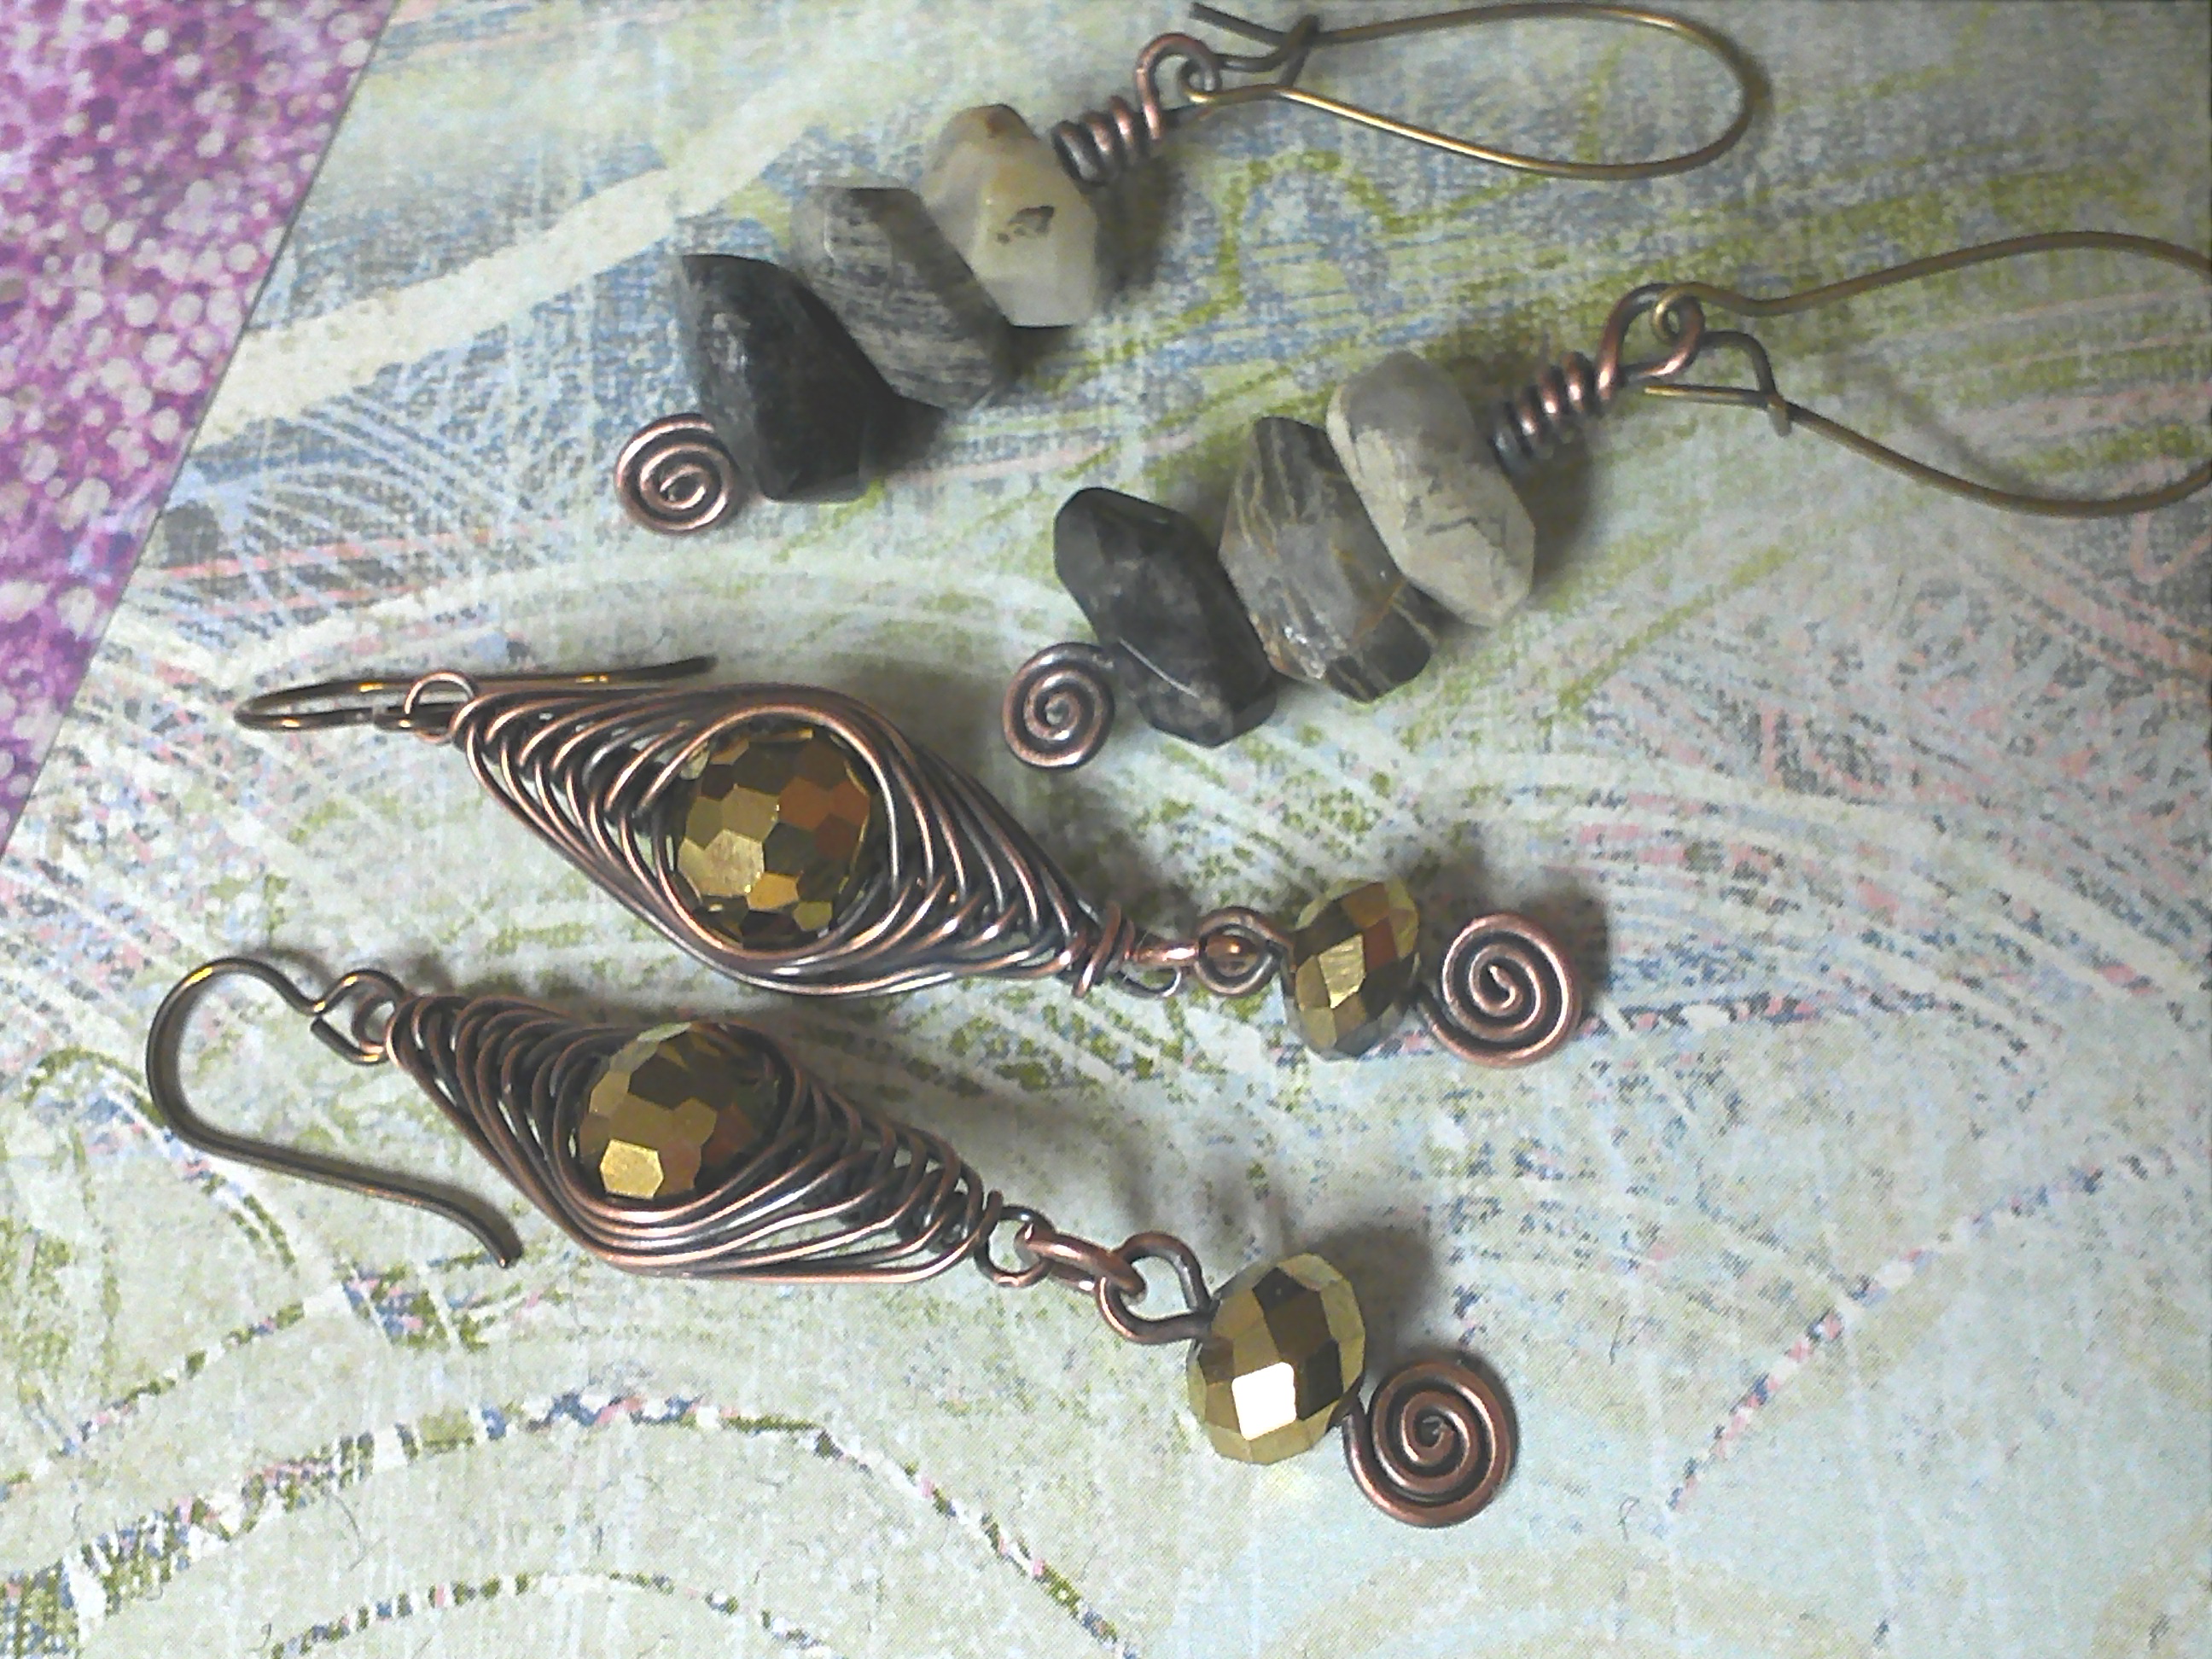
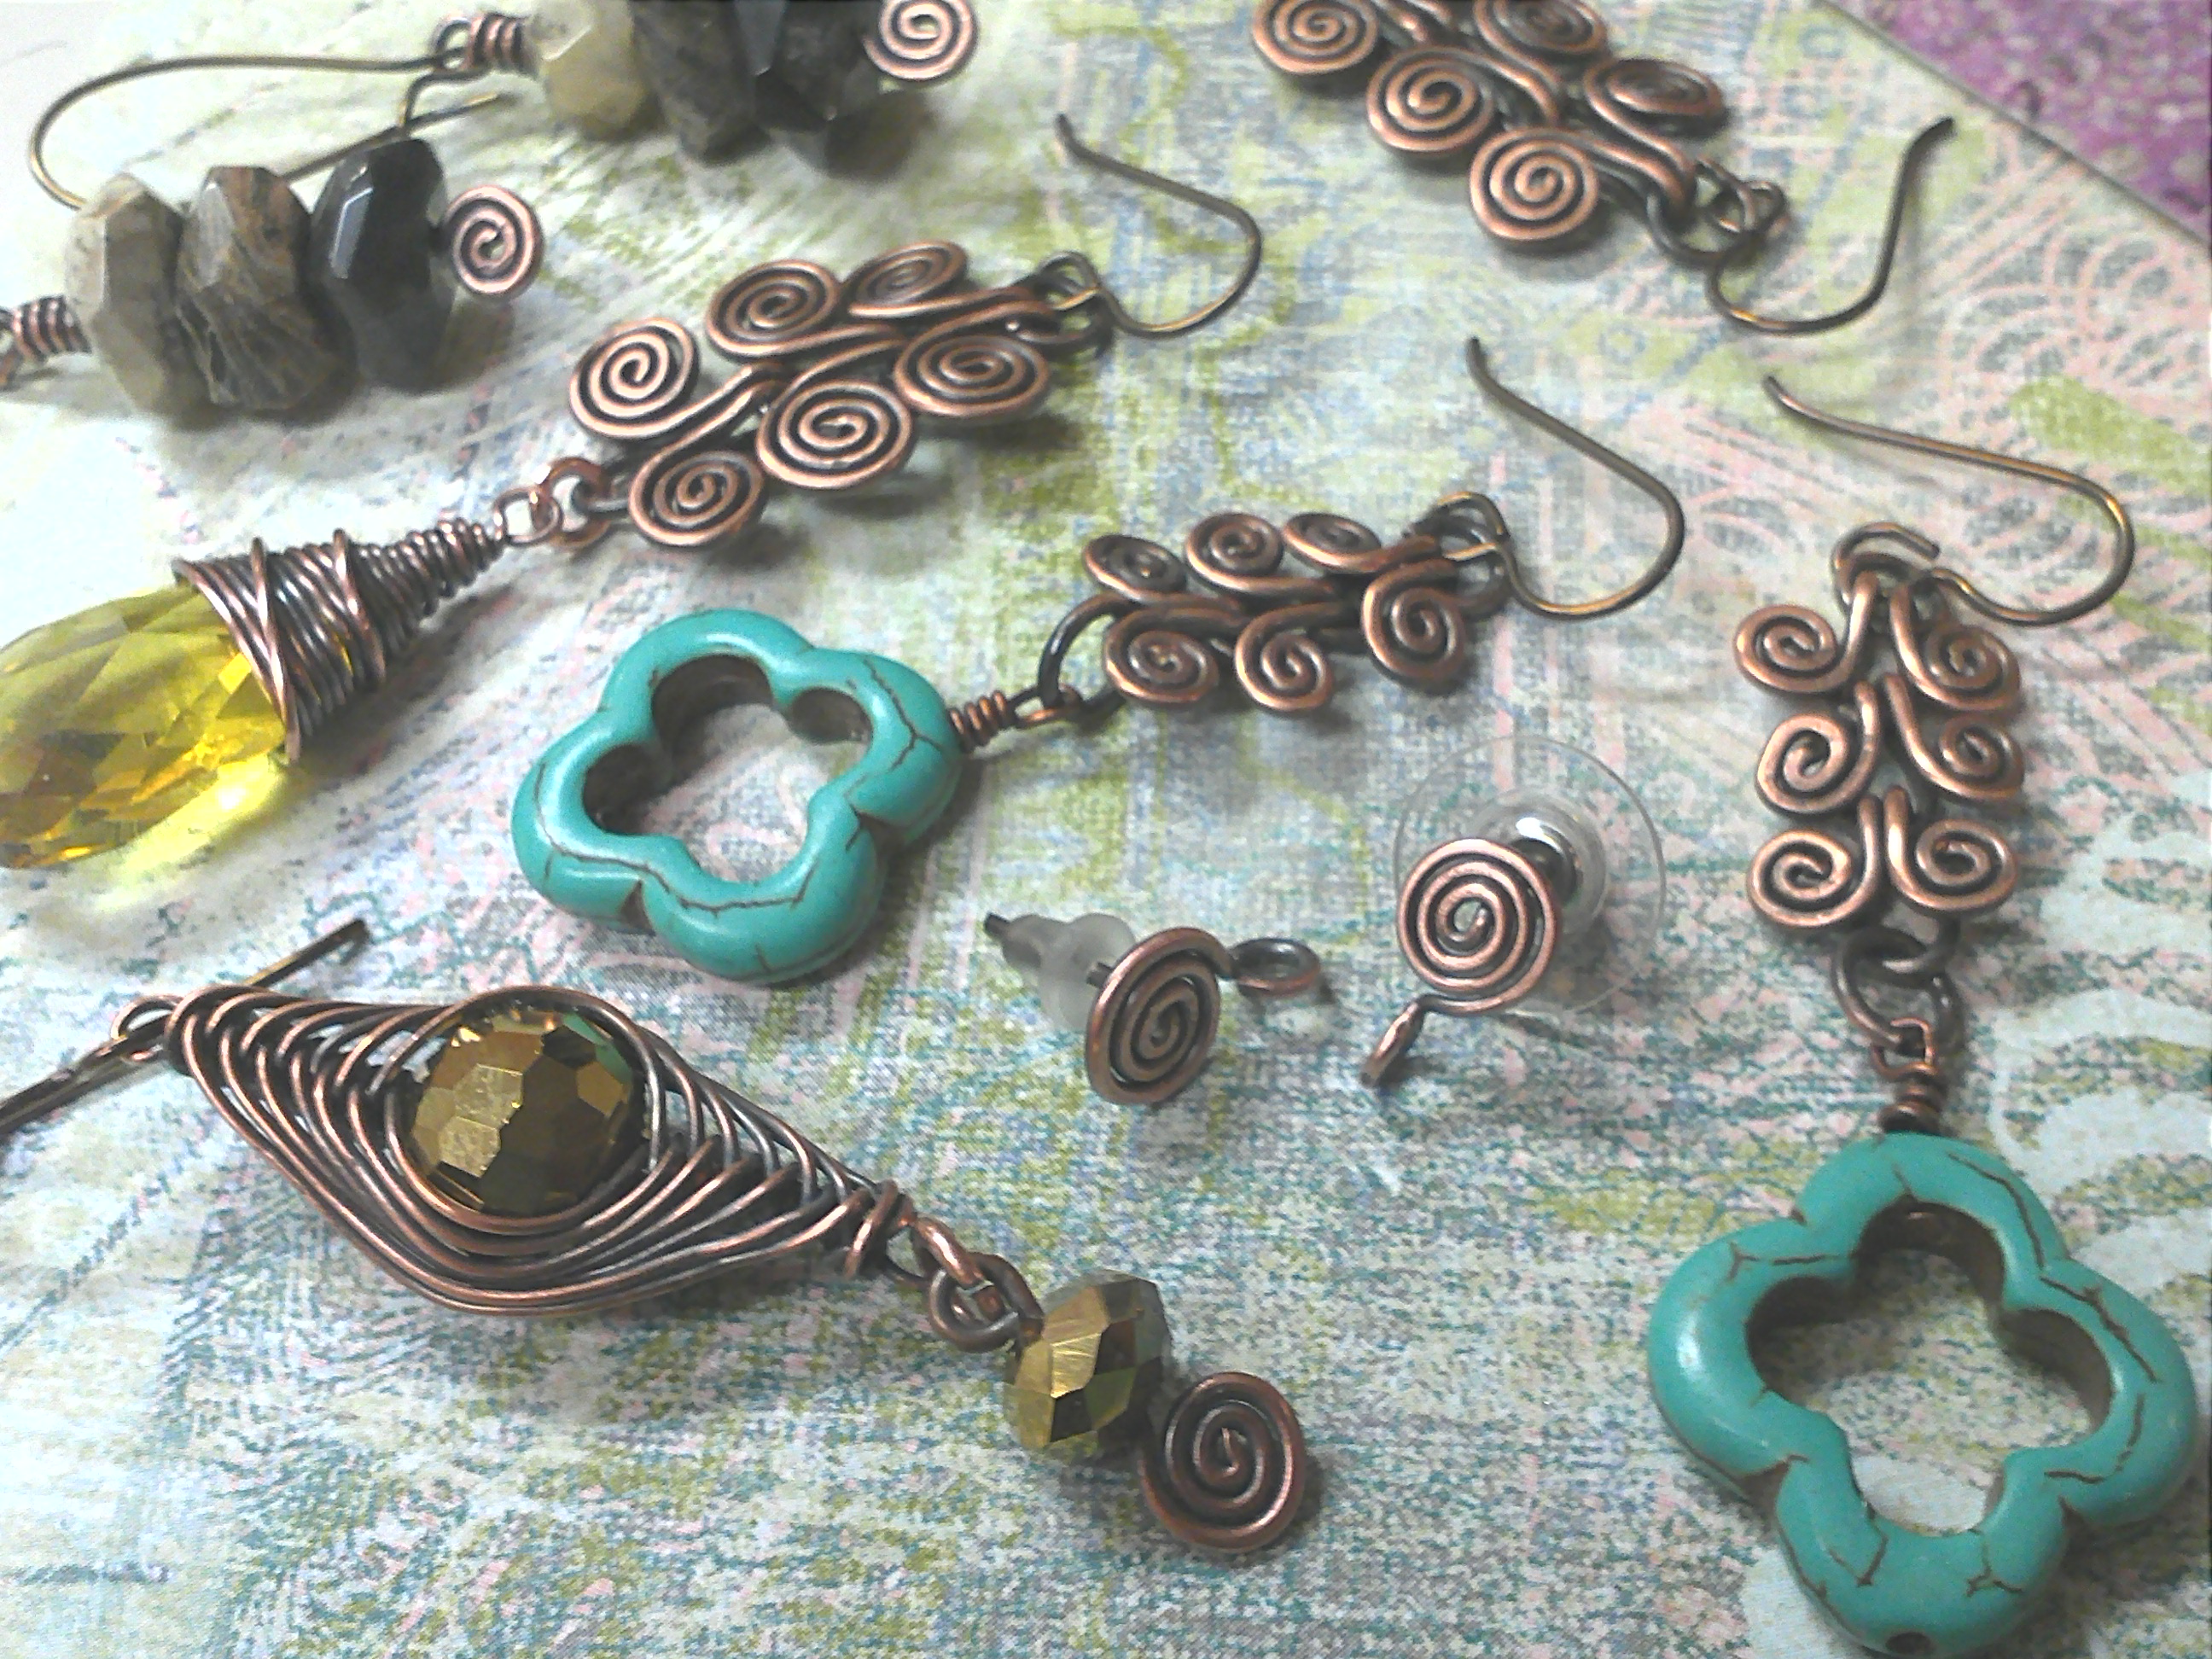
Finished jewelry made using swirly head pins. Both earrings have been antiqued to emphasize the swirl design.

2. Swirly Post Earrings

Making your own swirly post earring findings is actually quite simple. I personally like to use 18 gauge for sturdiness, though standard earring wires are not usually that thick. Most earring findings are no thicker than a 20 gauge. It’s up to you, though know if you do use 18 gauge, you will probably have to use a rubber earring back as most metal nuts won’t fit that thick of wire.

Use a piece of wire about 2 inches long. Make a 90 degree bend in the wire at about 3/4 inch

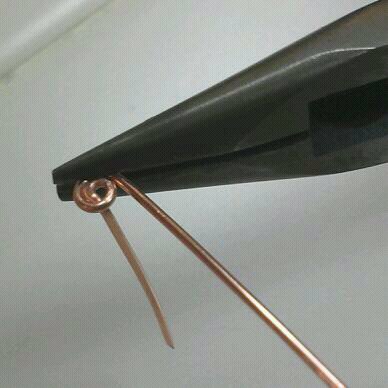
Make a loop where you bent the wire.

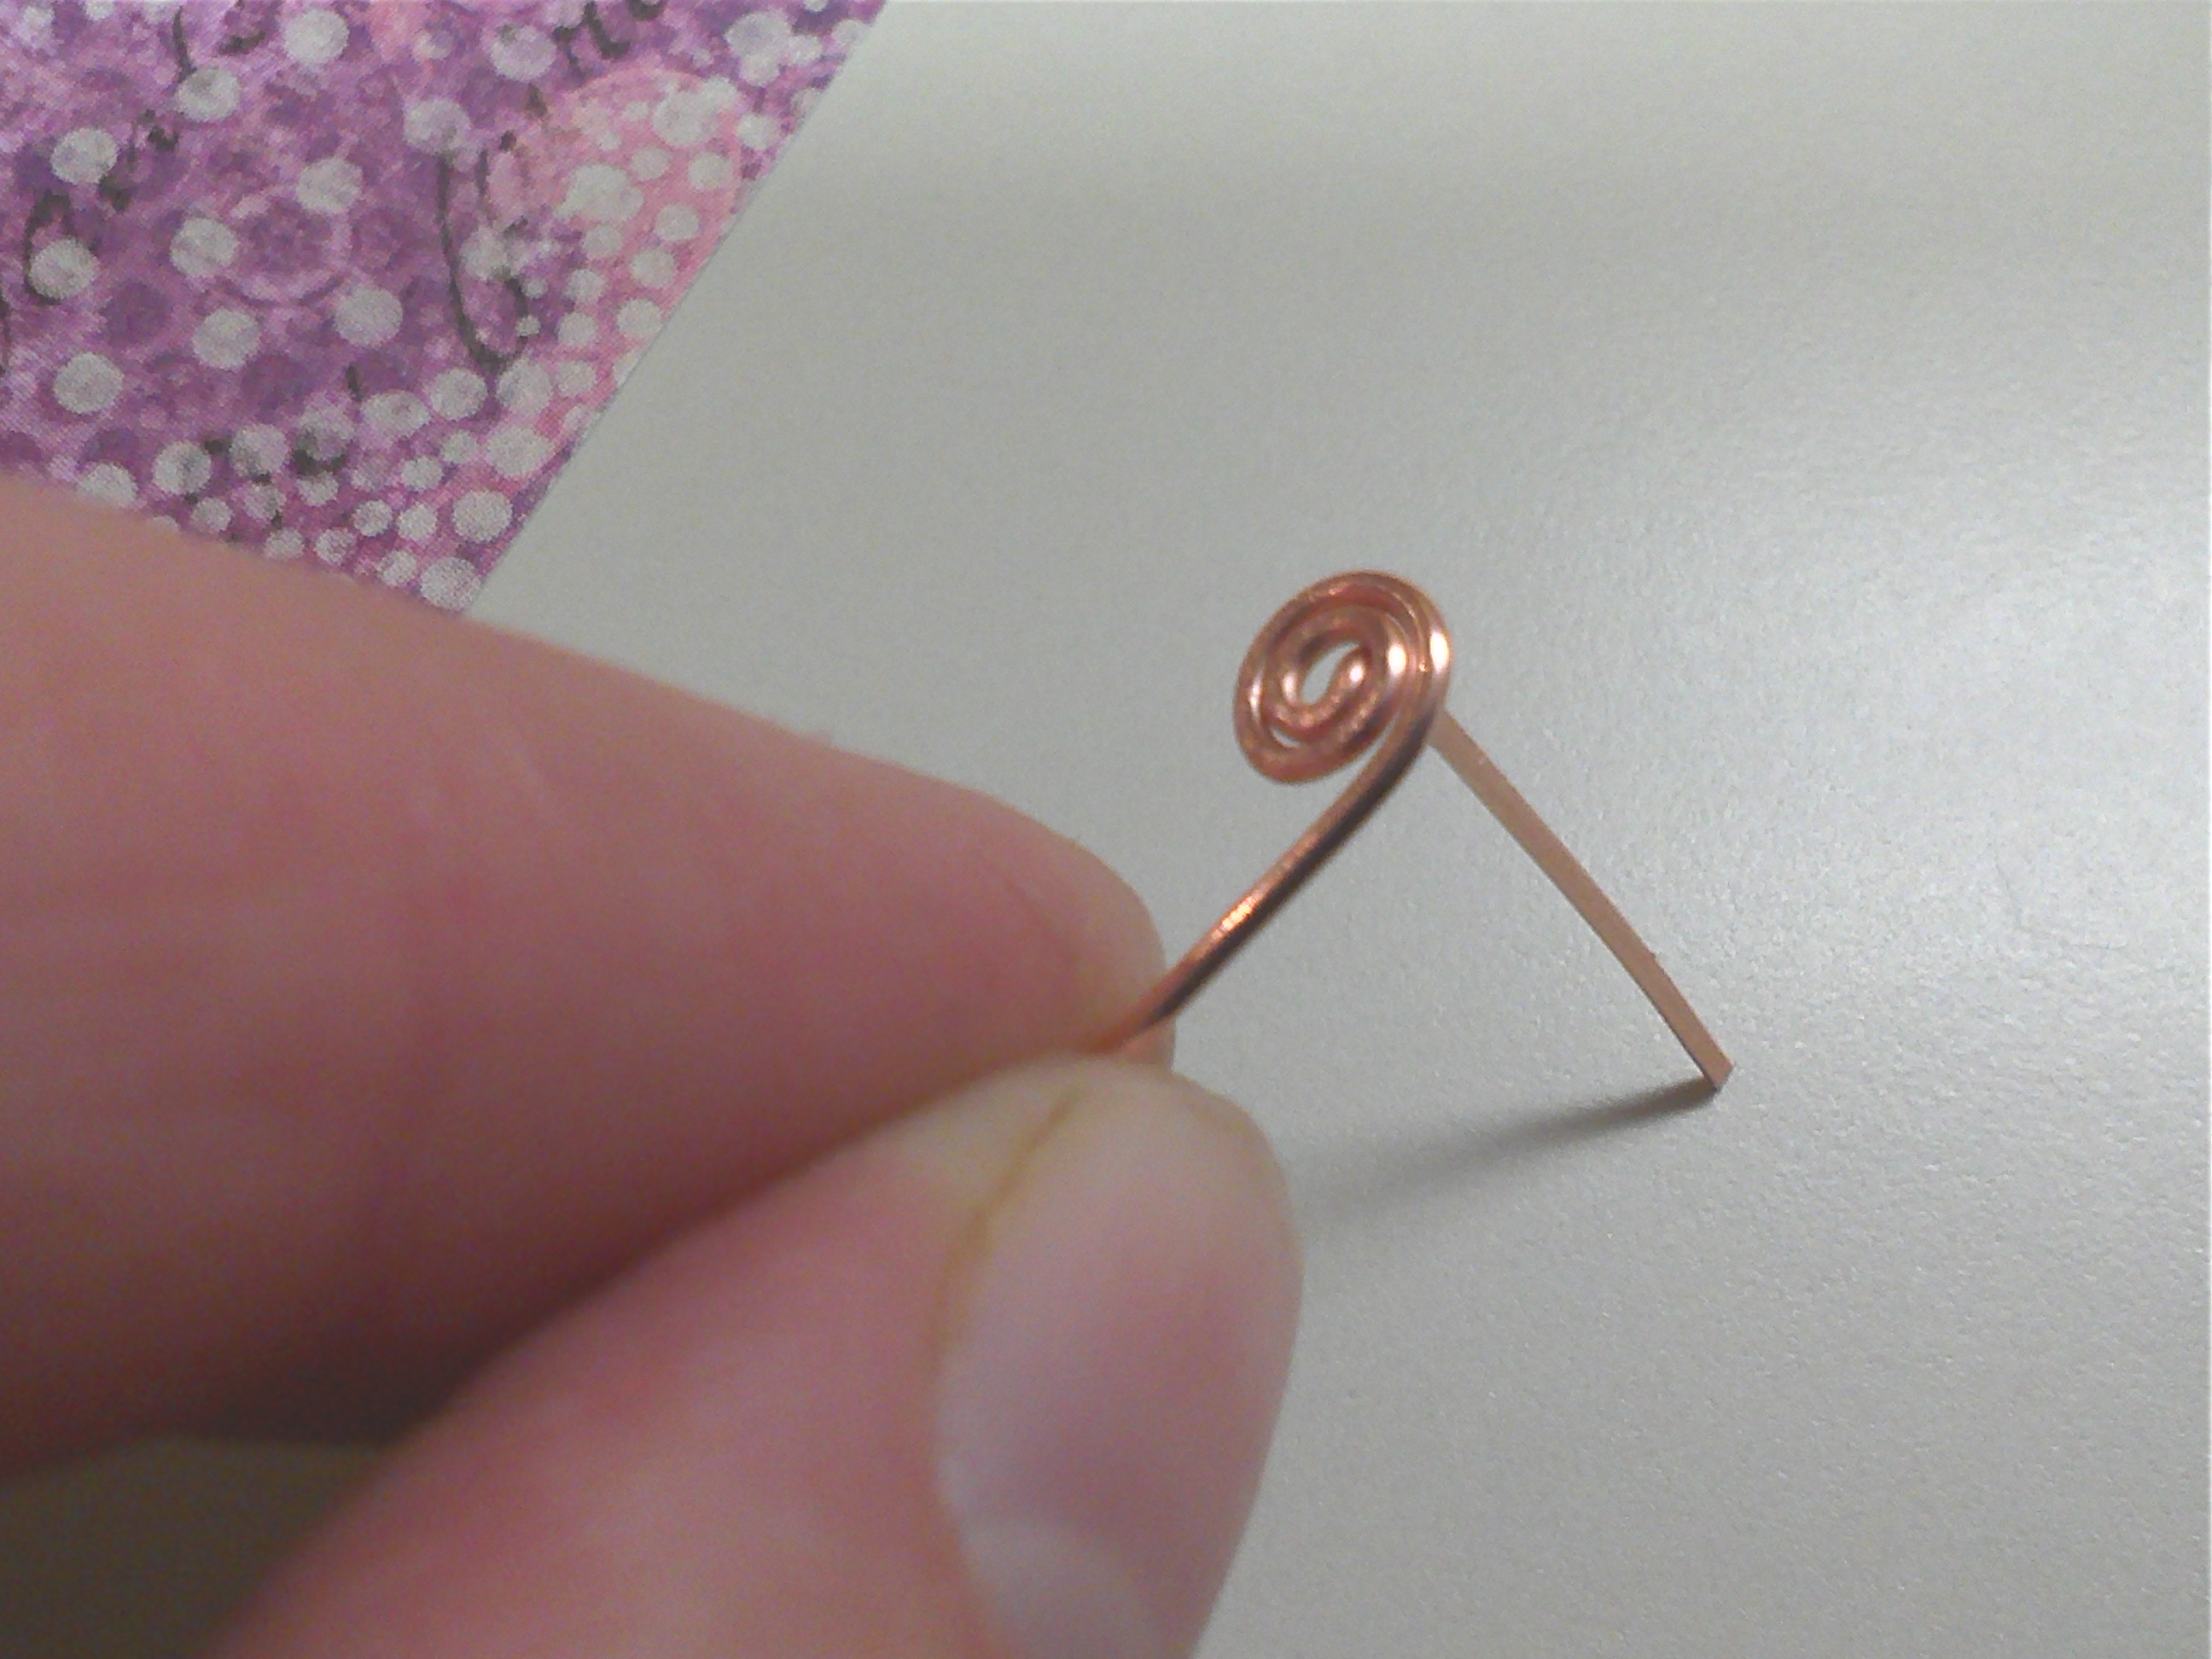
Using your chain nose pliers, build the swirl like you did with the head pins.

You can see the earring being formed. The post that goes into your ear is coming from the center of the loop.

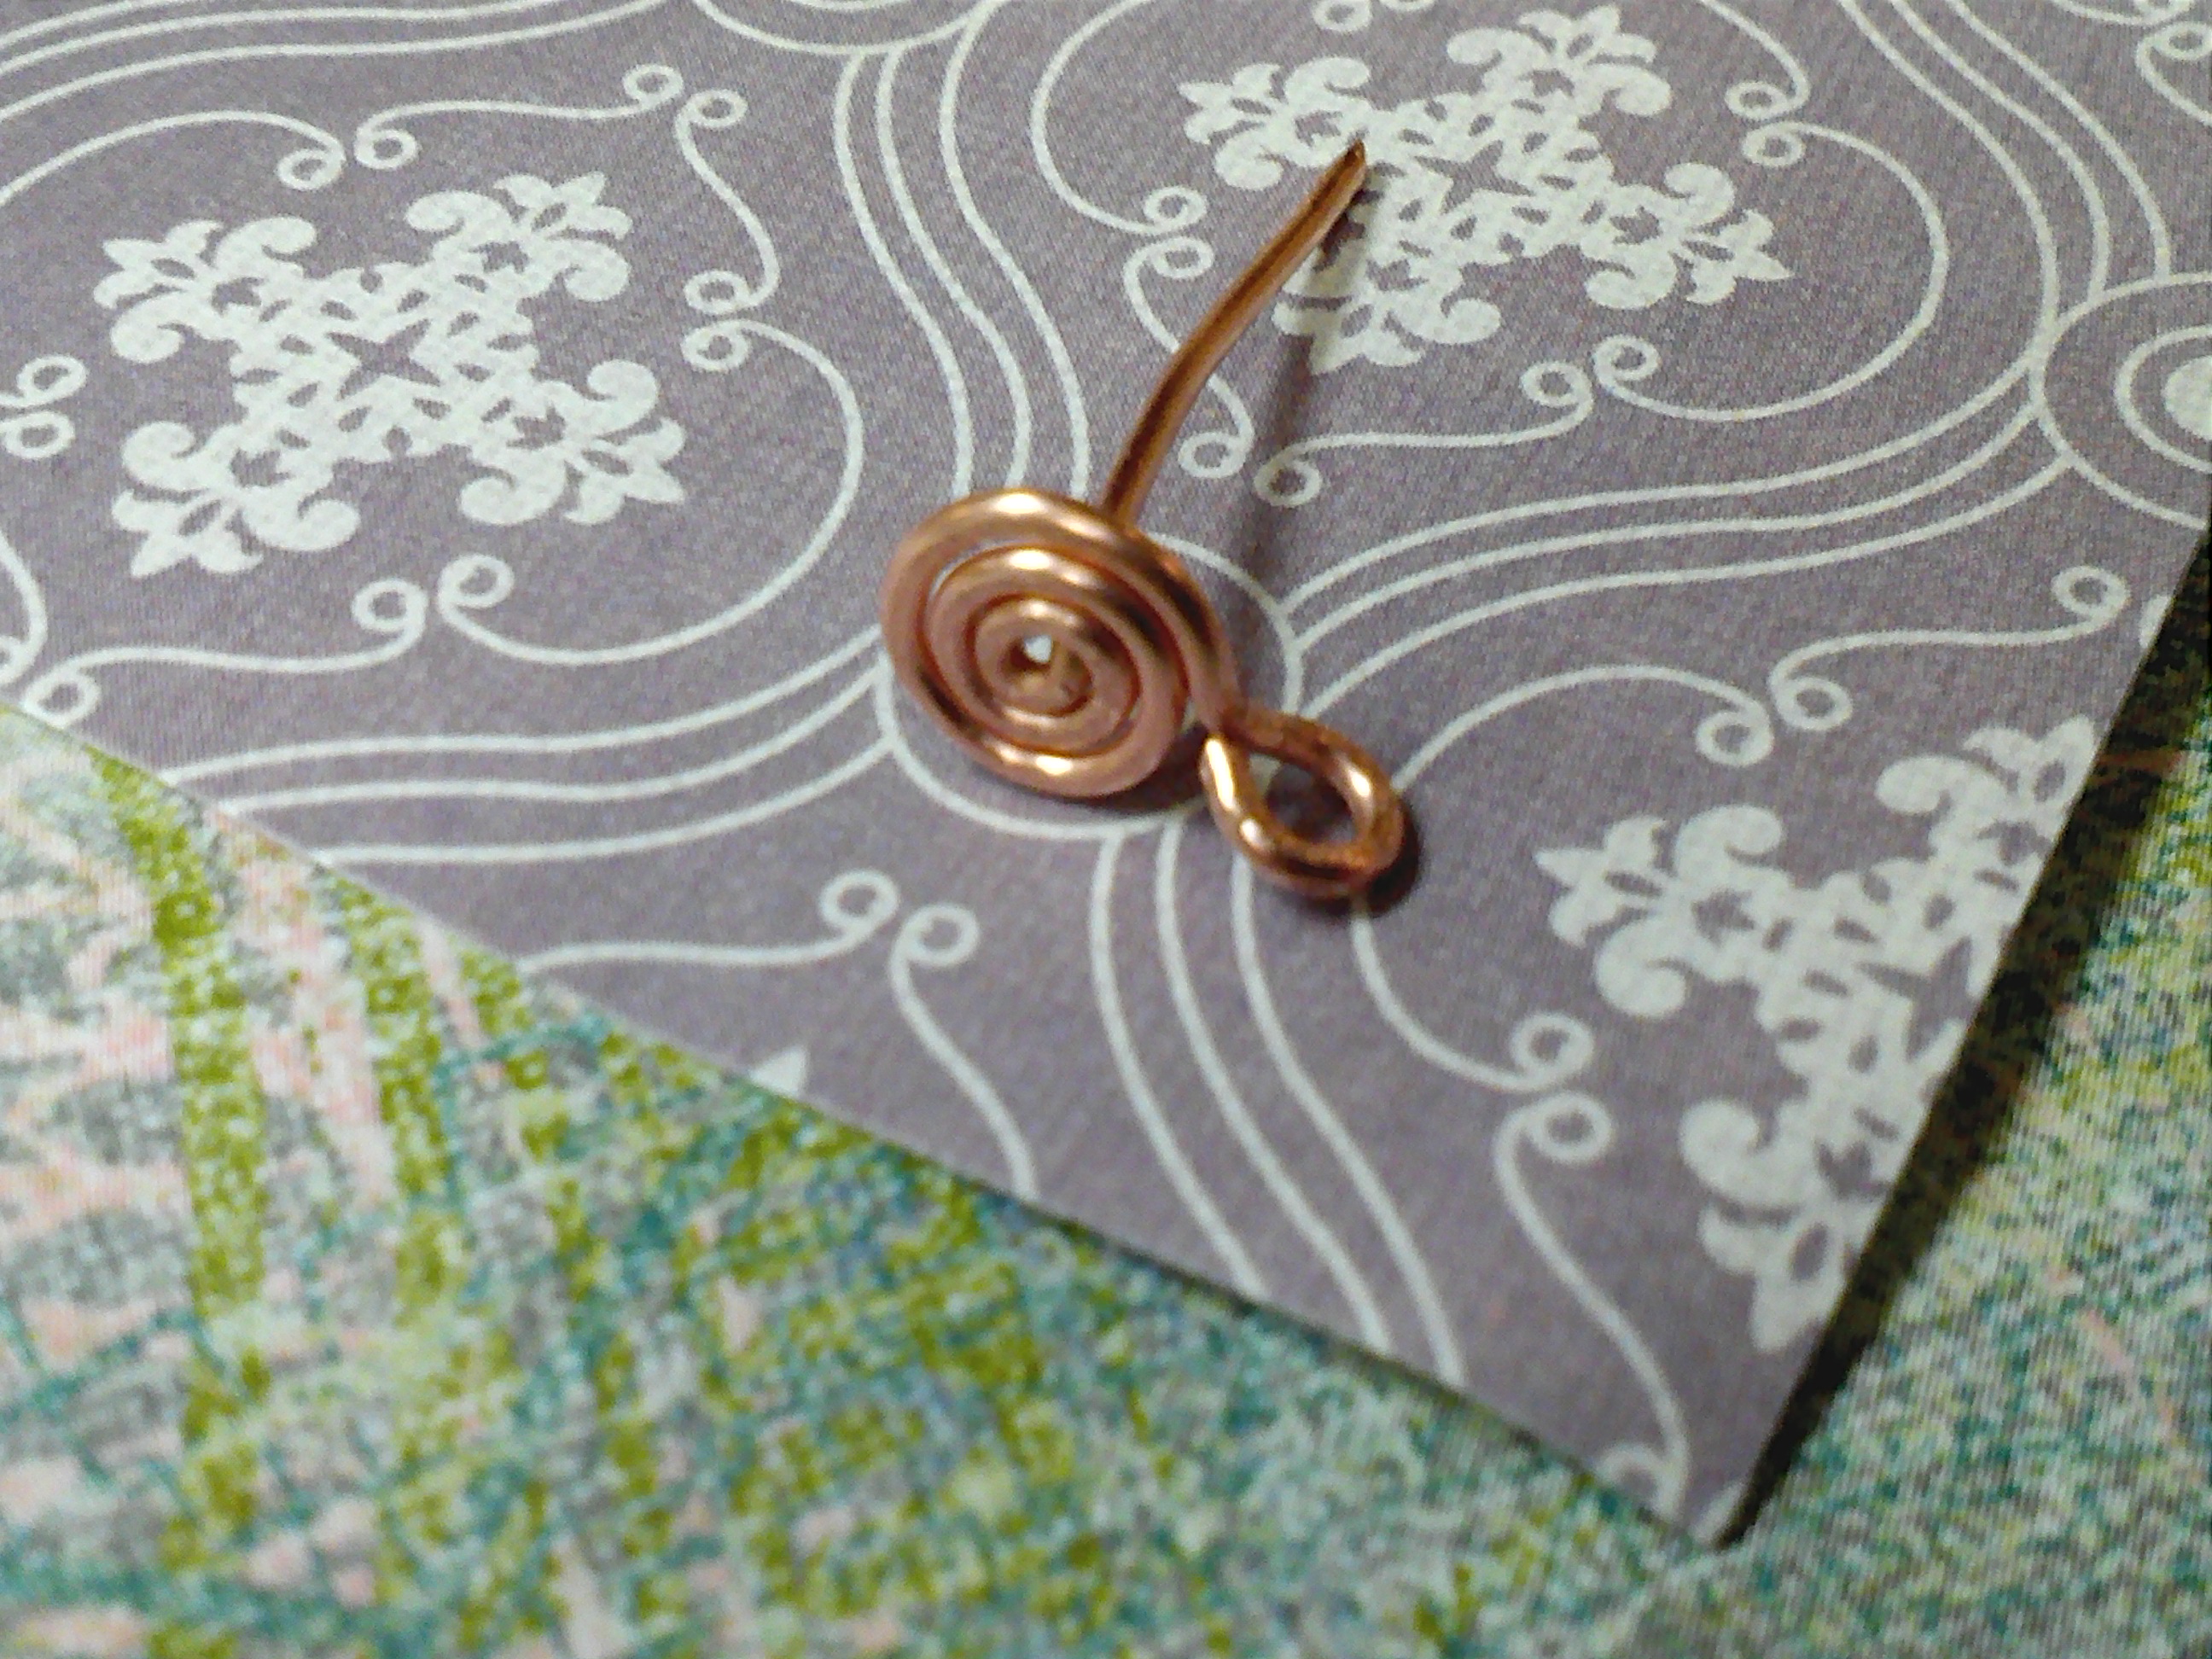
Make a loop to complete your Swirly Earring Post. Also, make sure the ends of the post are smooth. You can do this with either a metal file or a cup bur.

To finish, I used Liver of Sulfur to give the earring wires a patina, then buffed them with steel wool. To prevent your ears from turning green, seal the post with a little Renaissance Wax or clear nail polish.

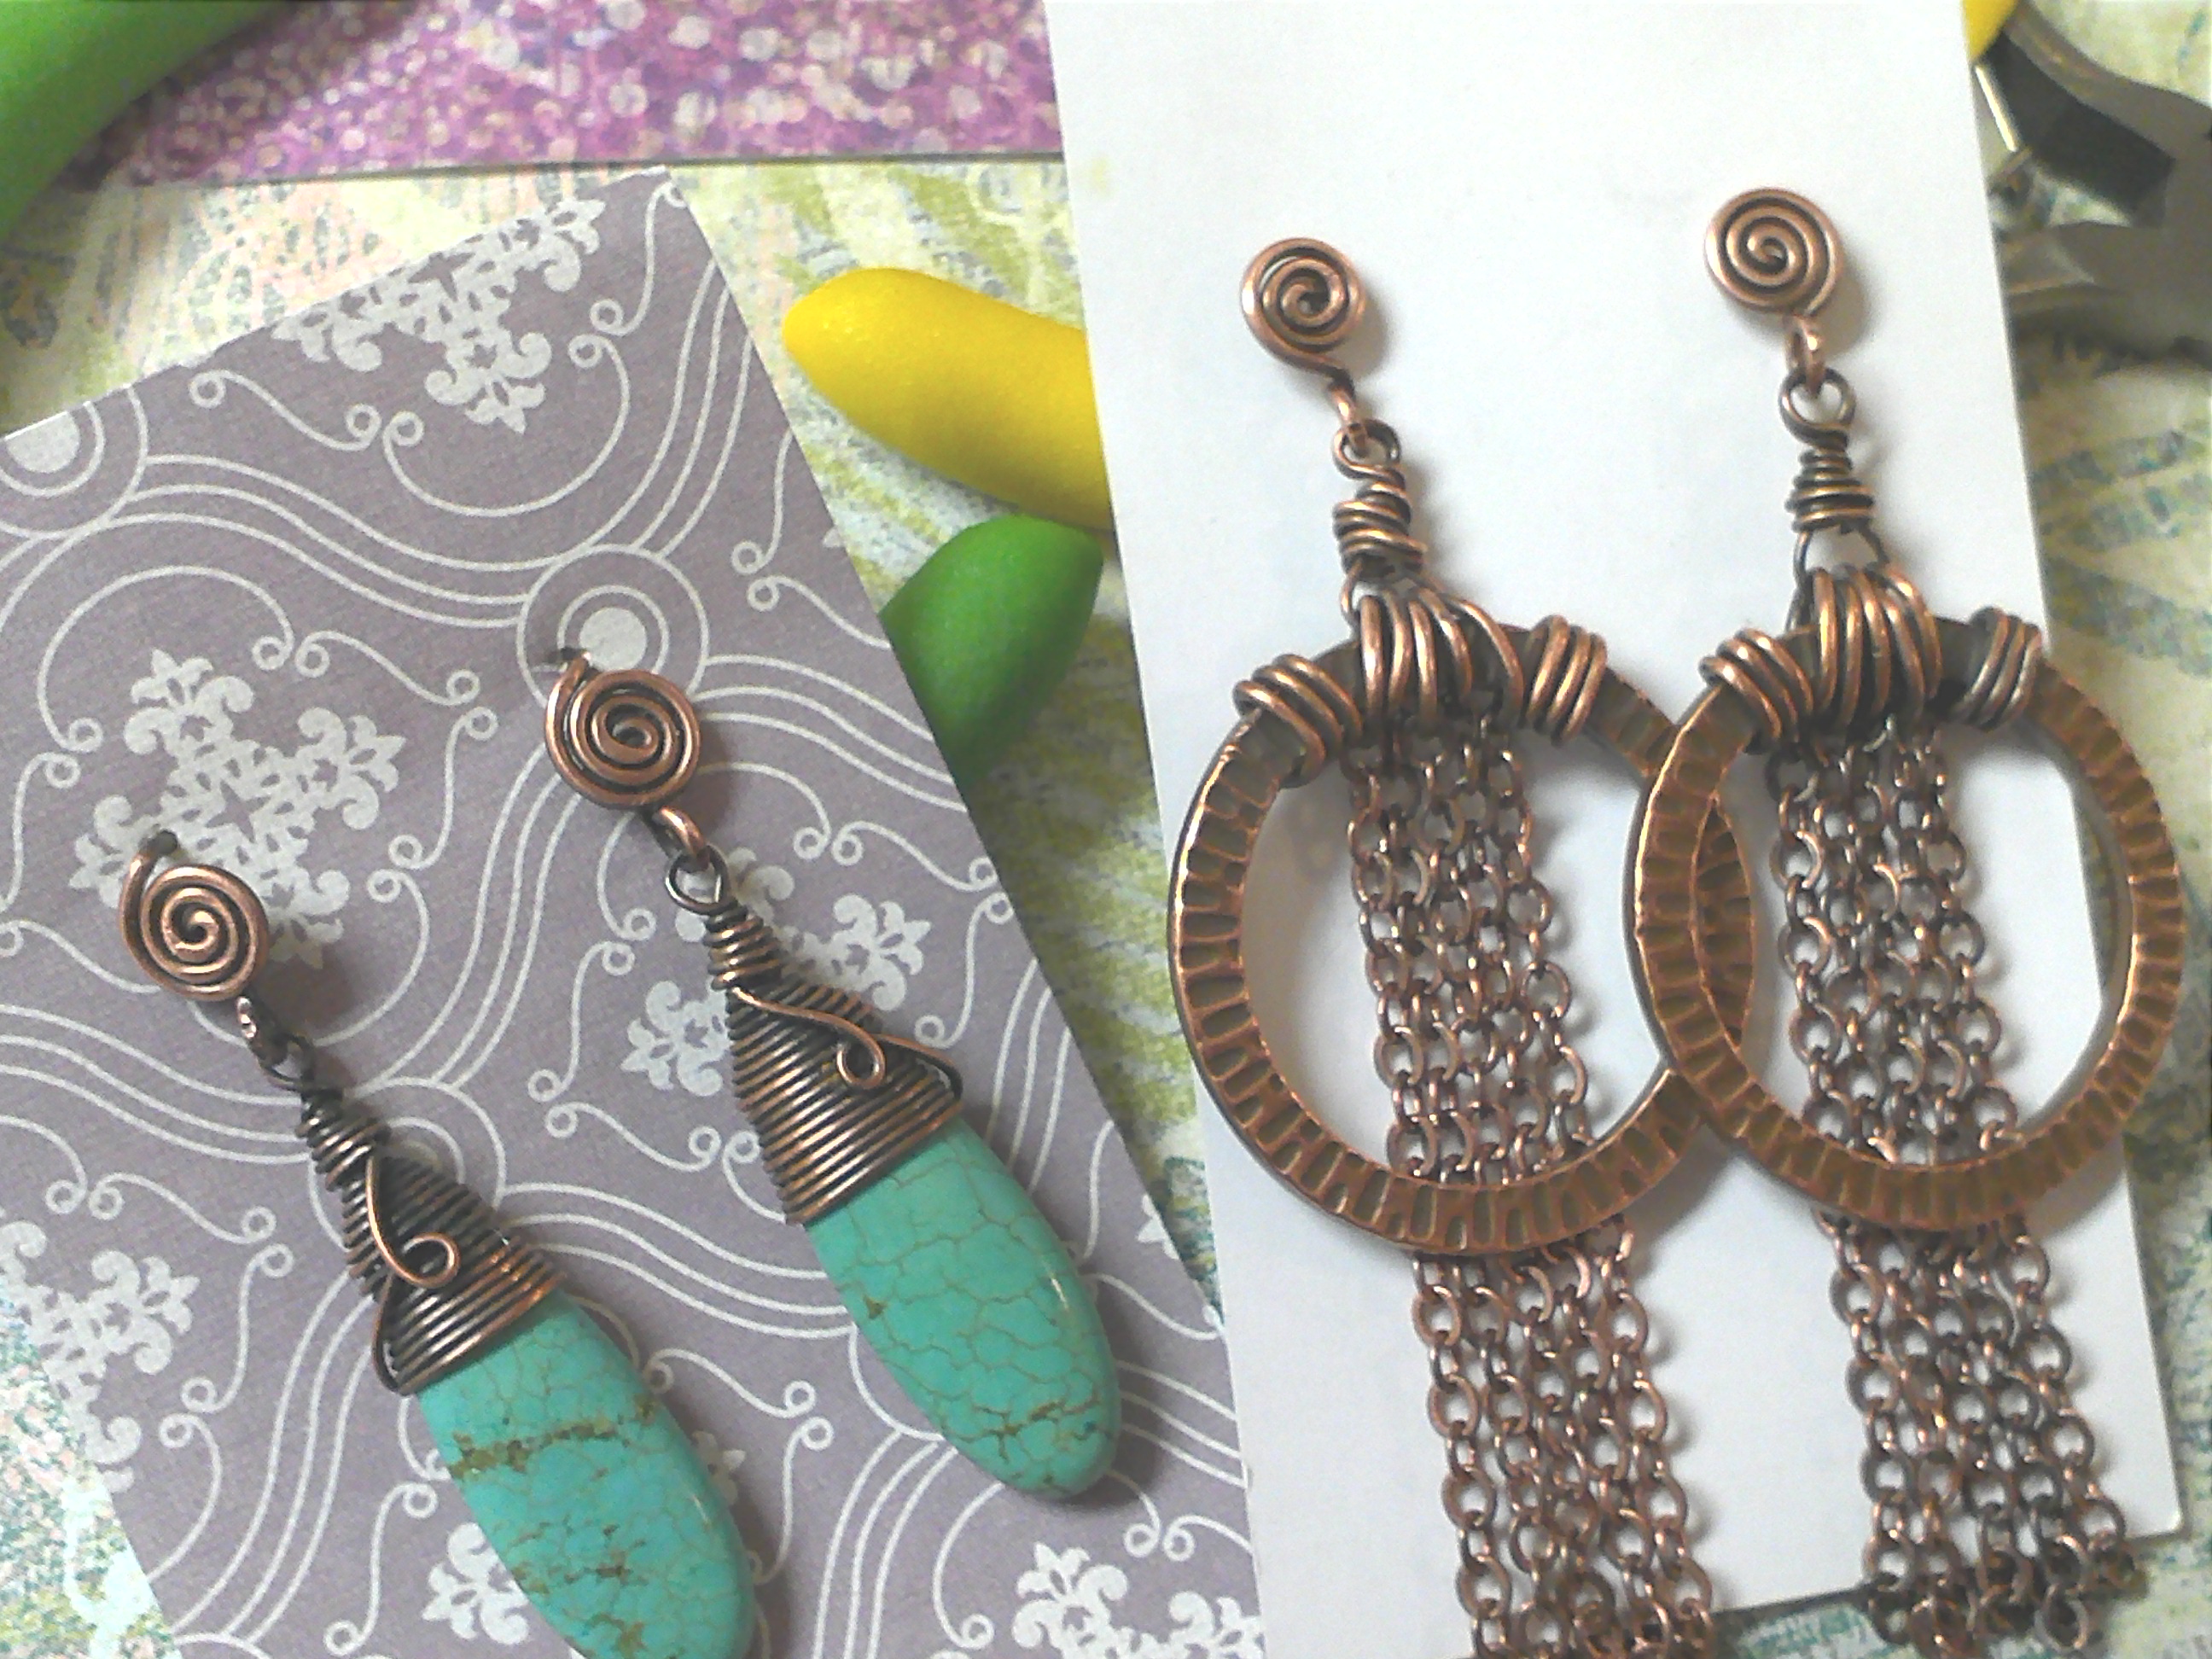
Two completed earring designs using Swirly Earring Post!

3. Egyptian Coils!

Now that you have mastered head pins and earring post, you can move onto the ultimate swirly design, the coveted Egyptian Coil! This design feature multiple swirls and looks so pretty at the top of dangly earrings or as an entire bracelet.

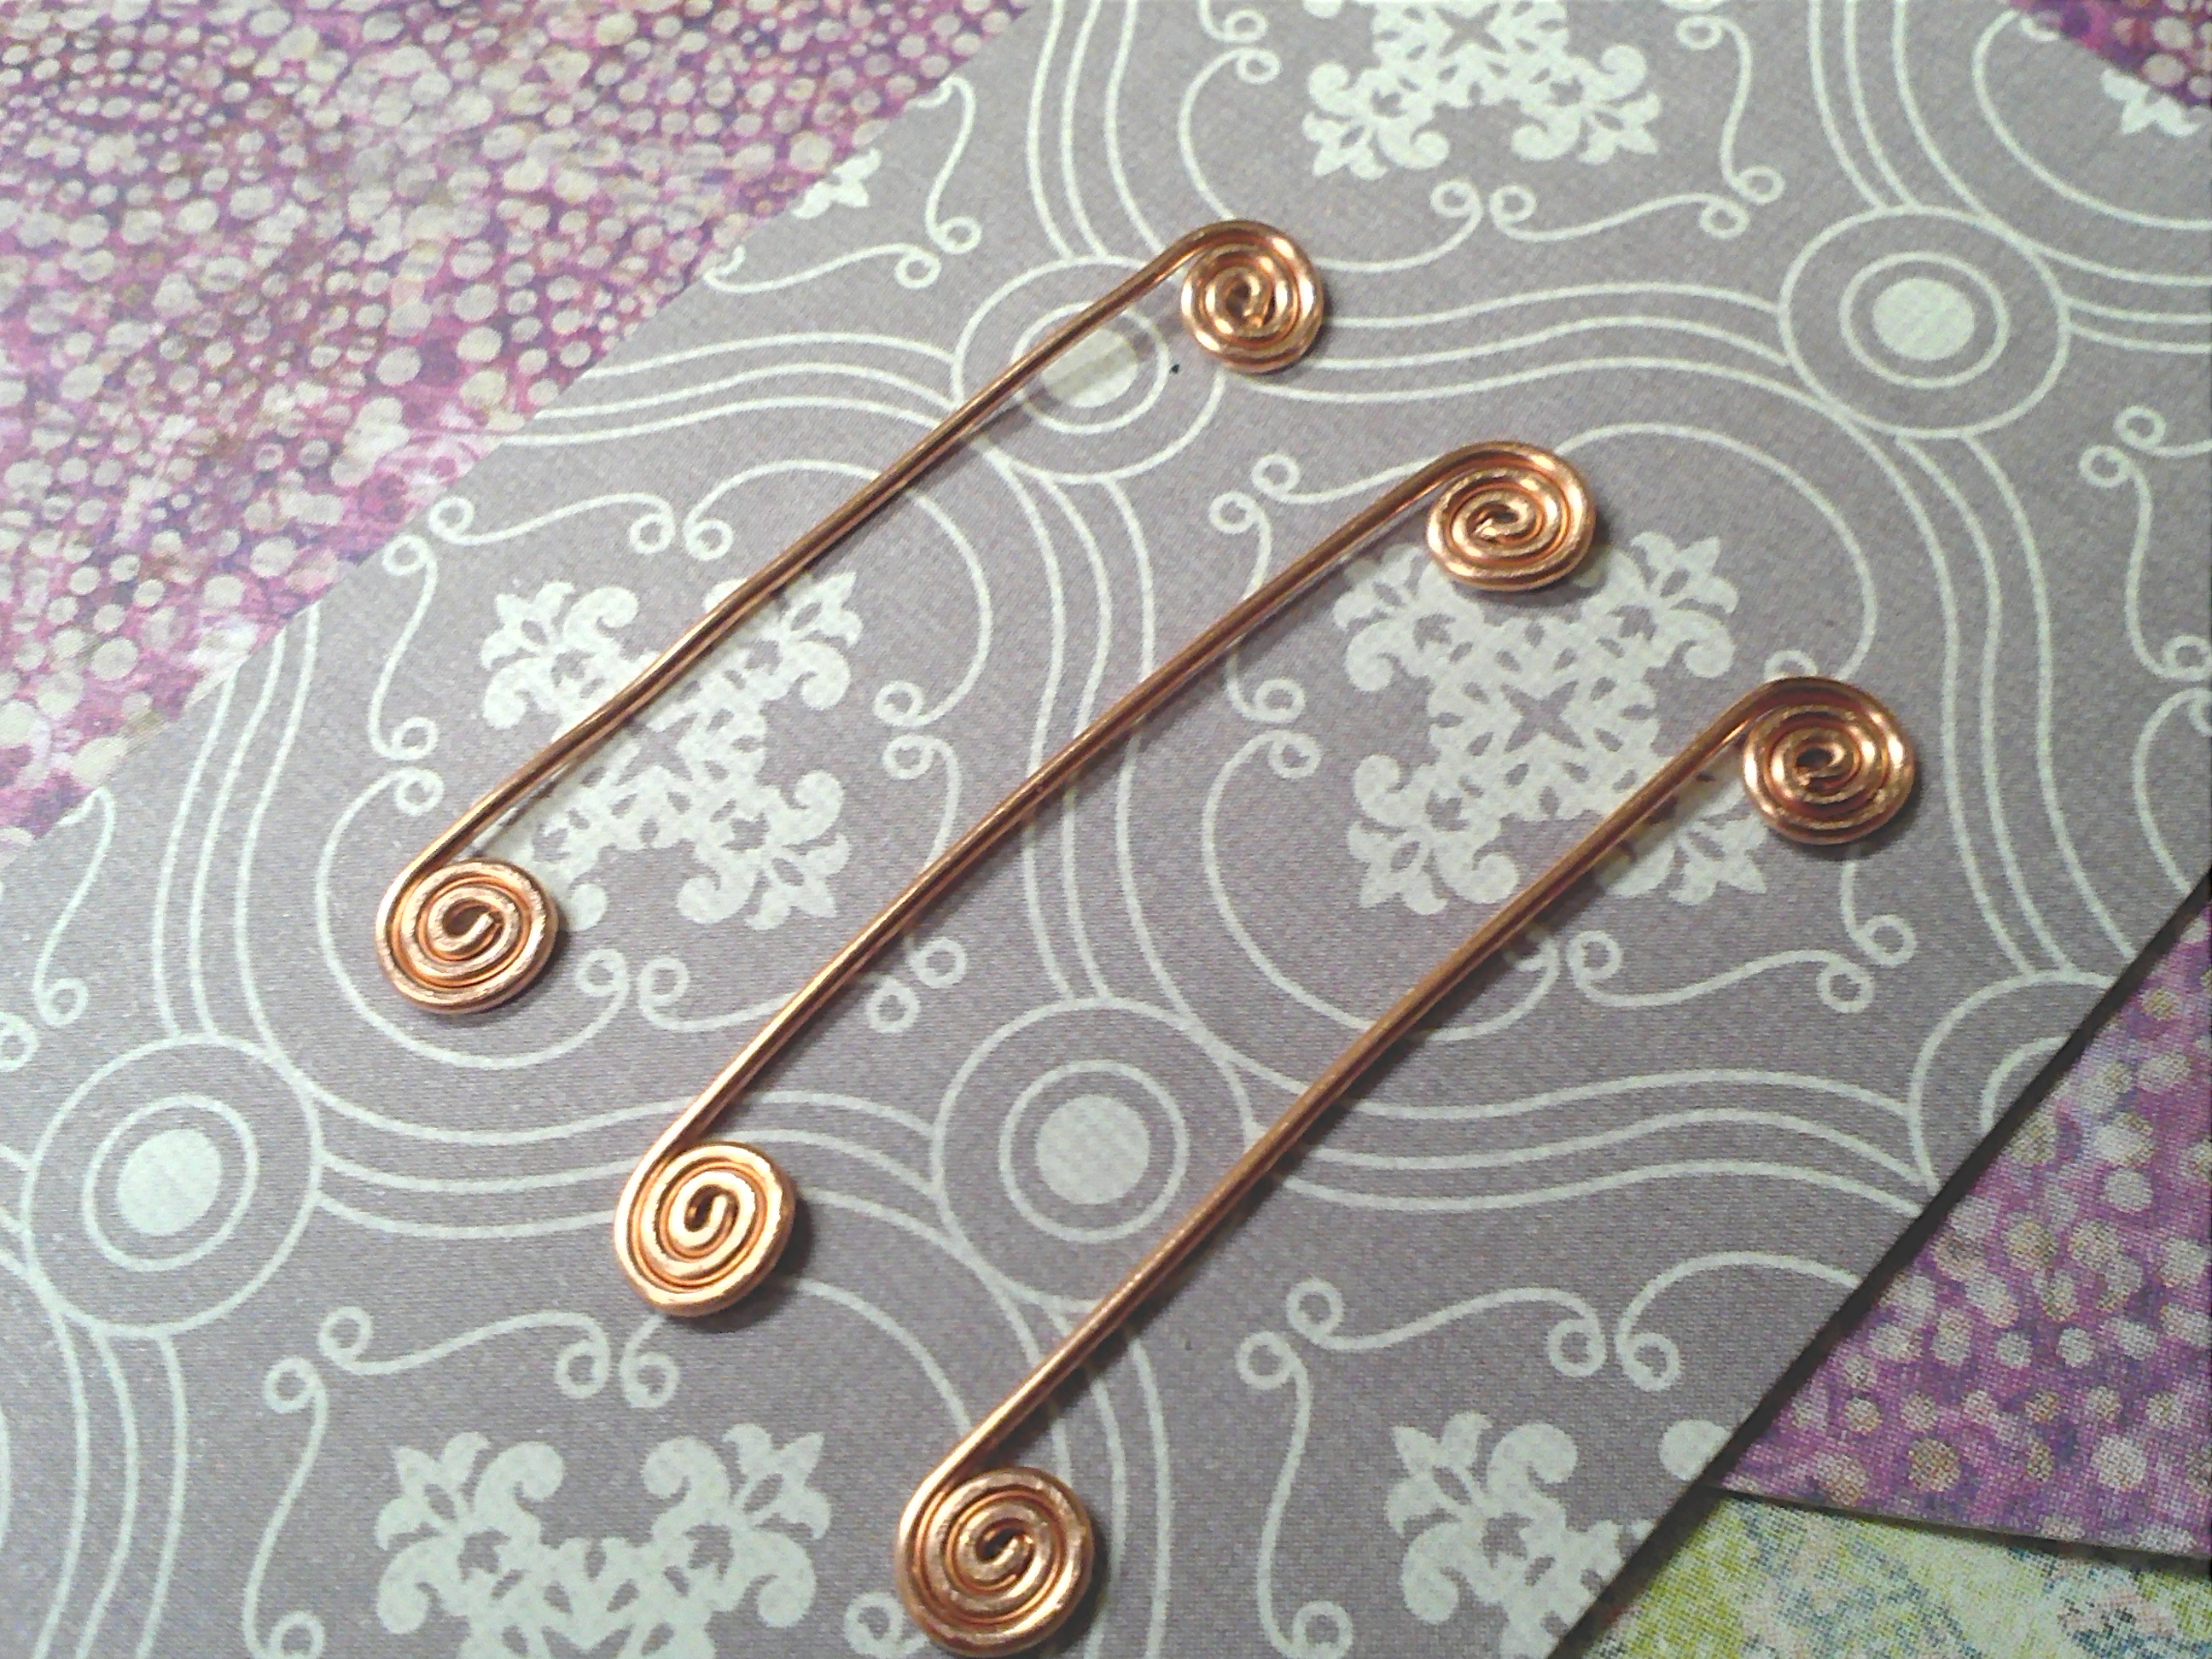
Start by making two-sided swirls. Make sure that they are all the same size.

Bend the wire in the center using your round nose pliers.

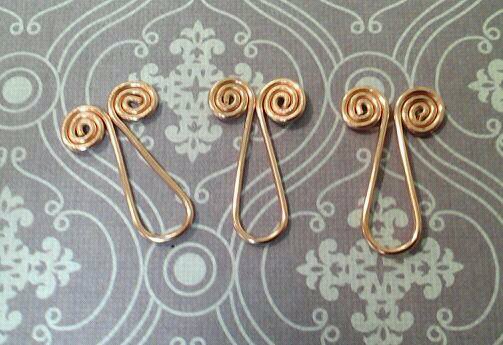
Use your chain nose pliers to flatten links like so. Don’t be alarmed, it is supposed to look kind of phallic at this point.

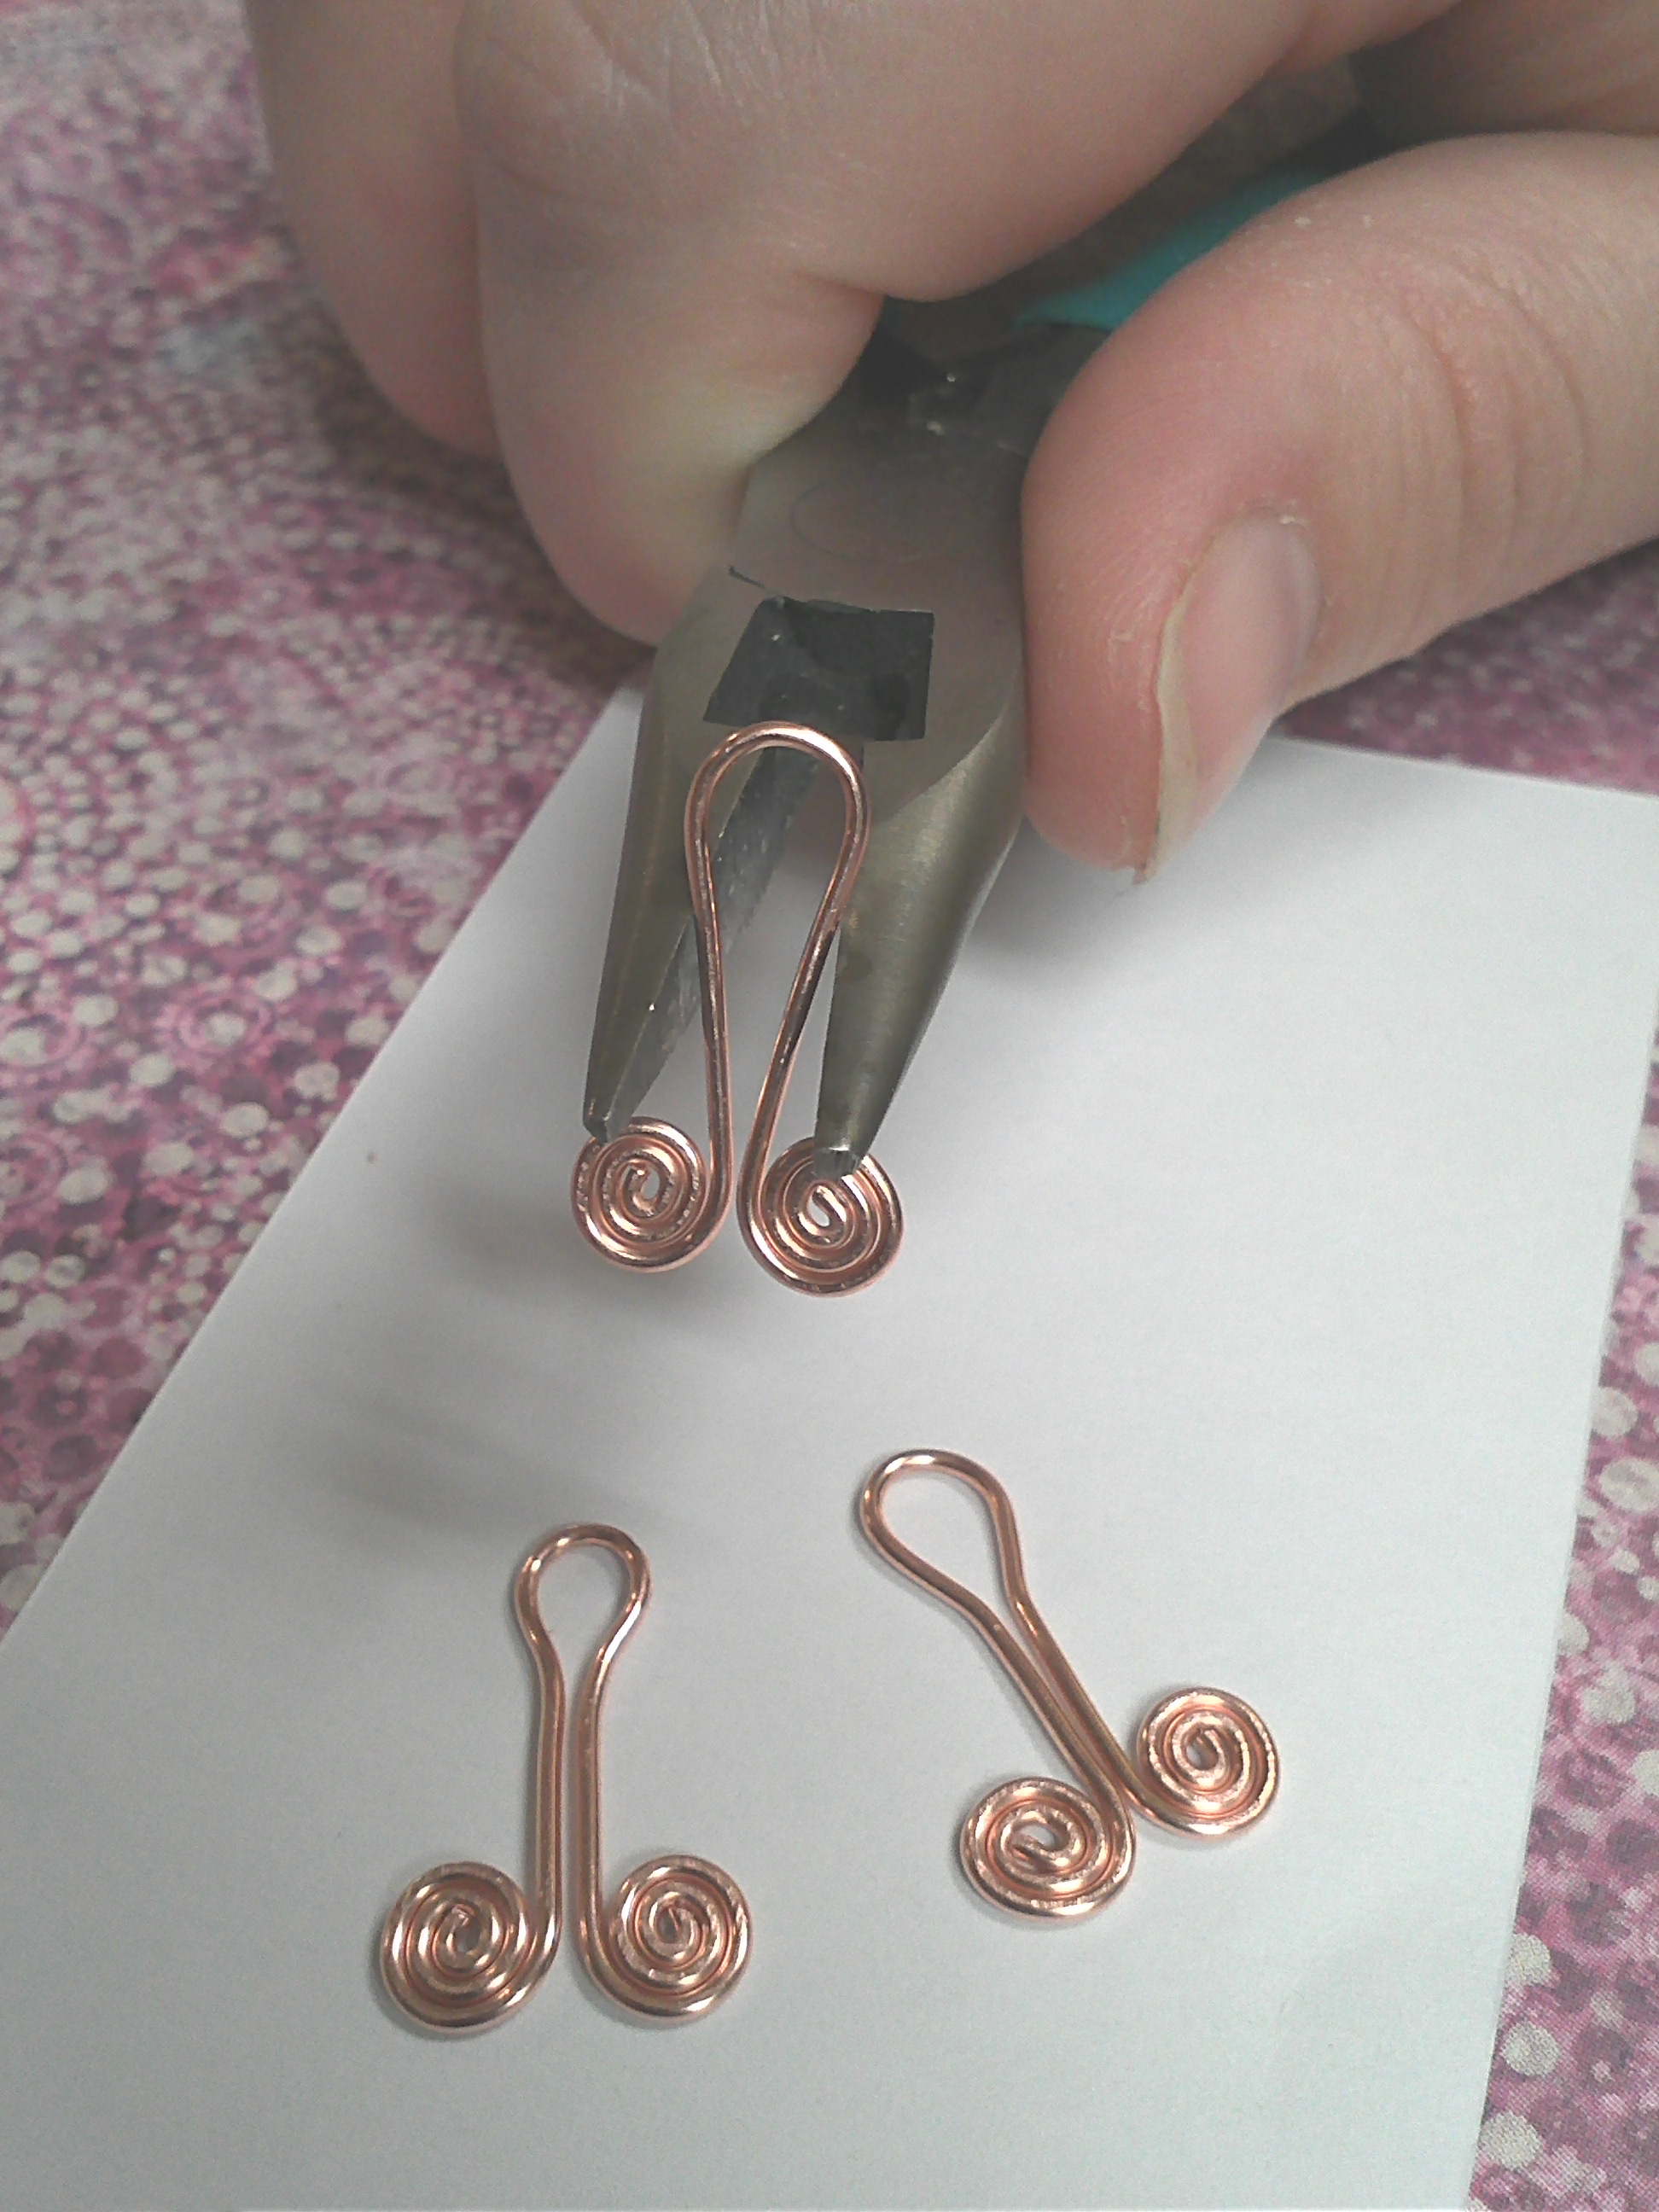
Use your round nose pliers to bend the loop back. You now have links!

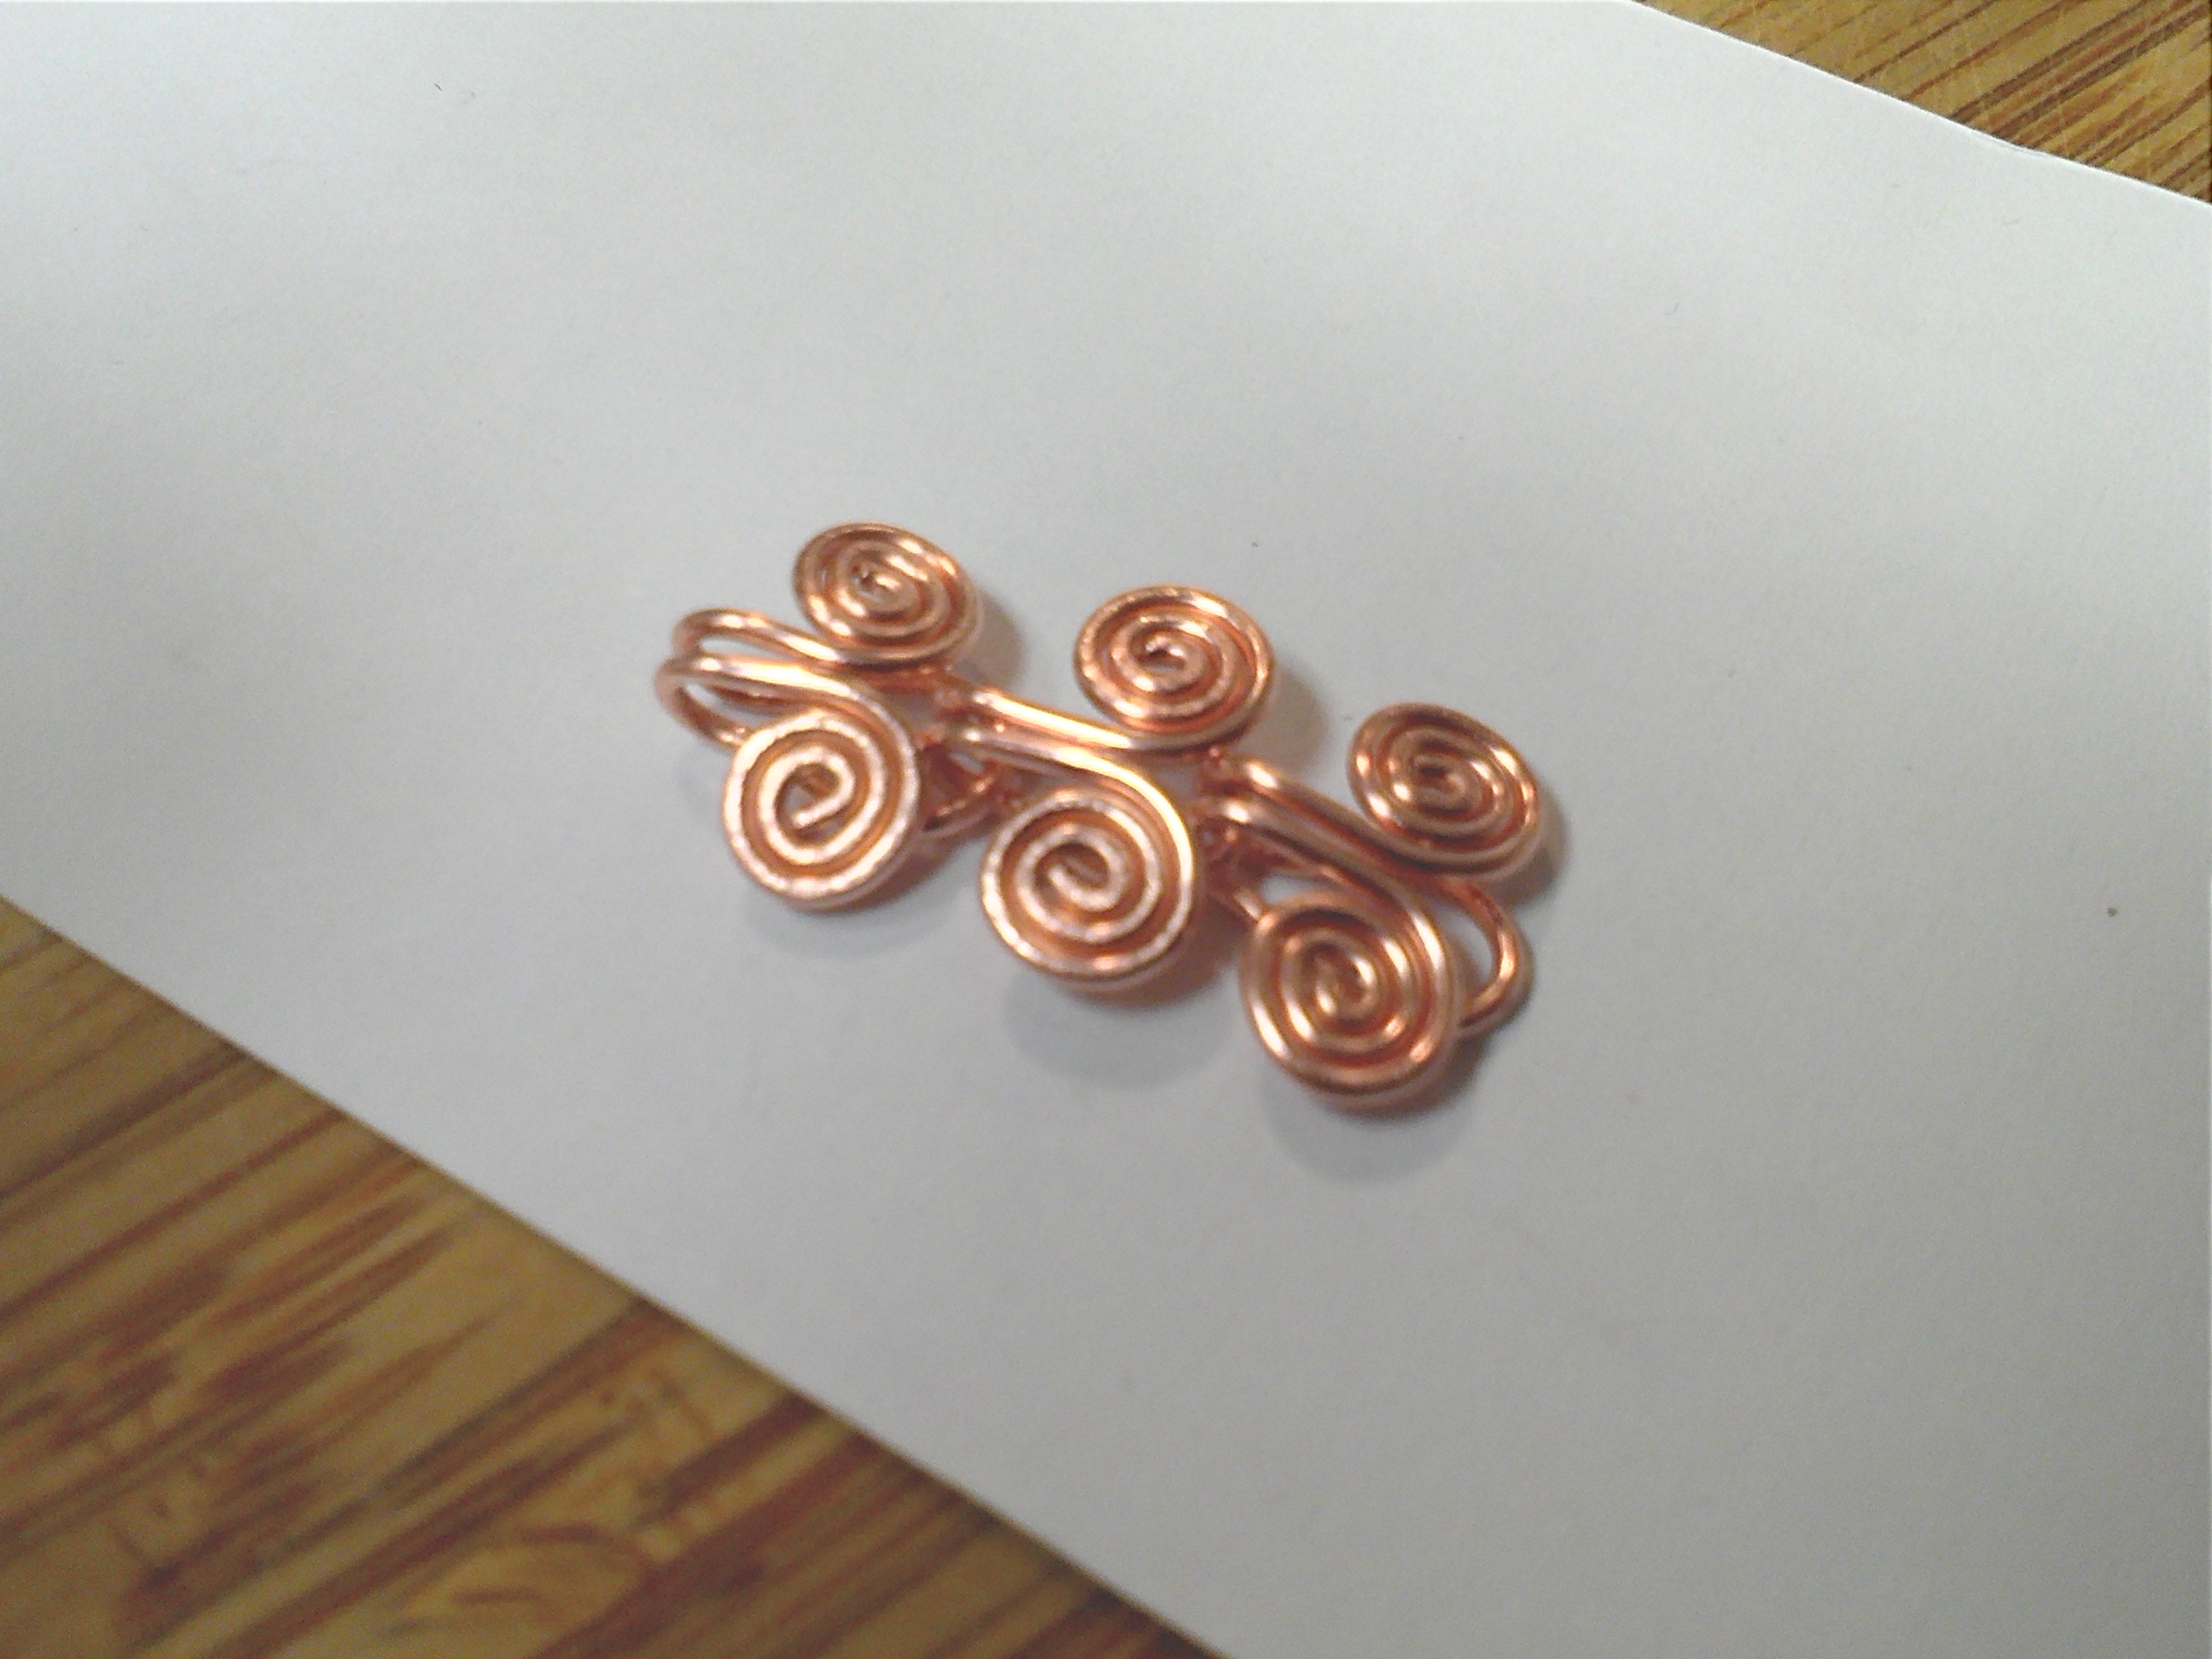
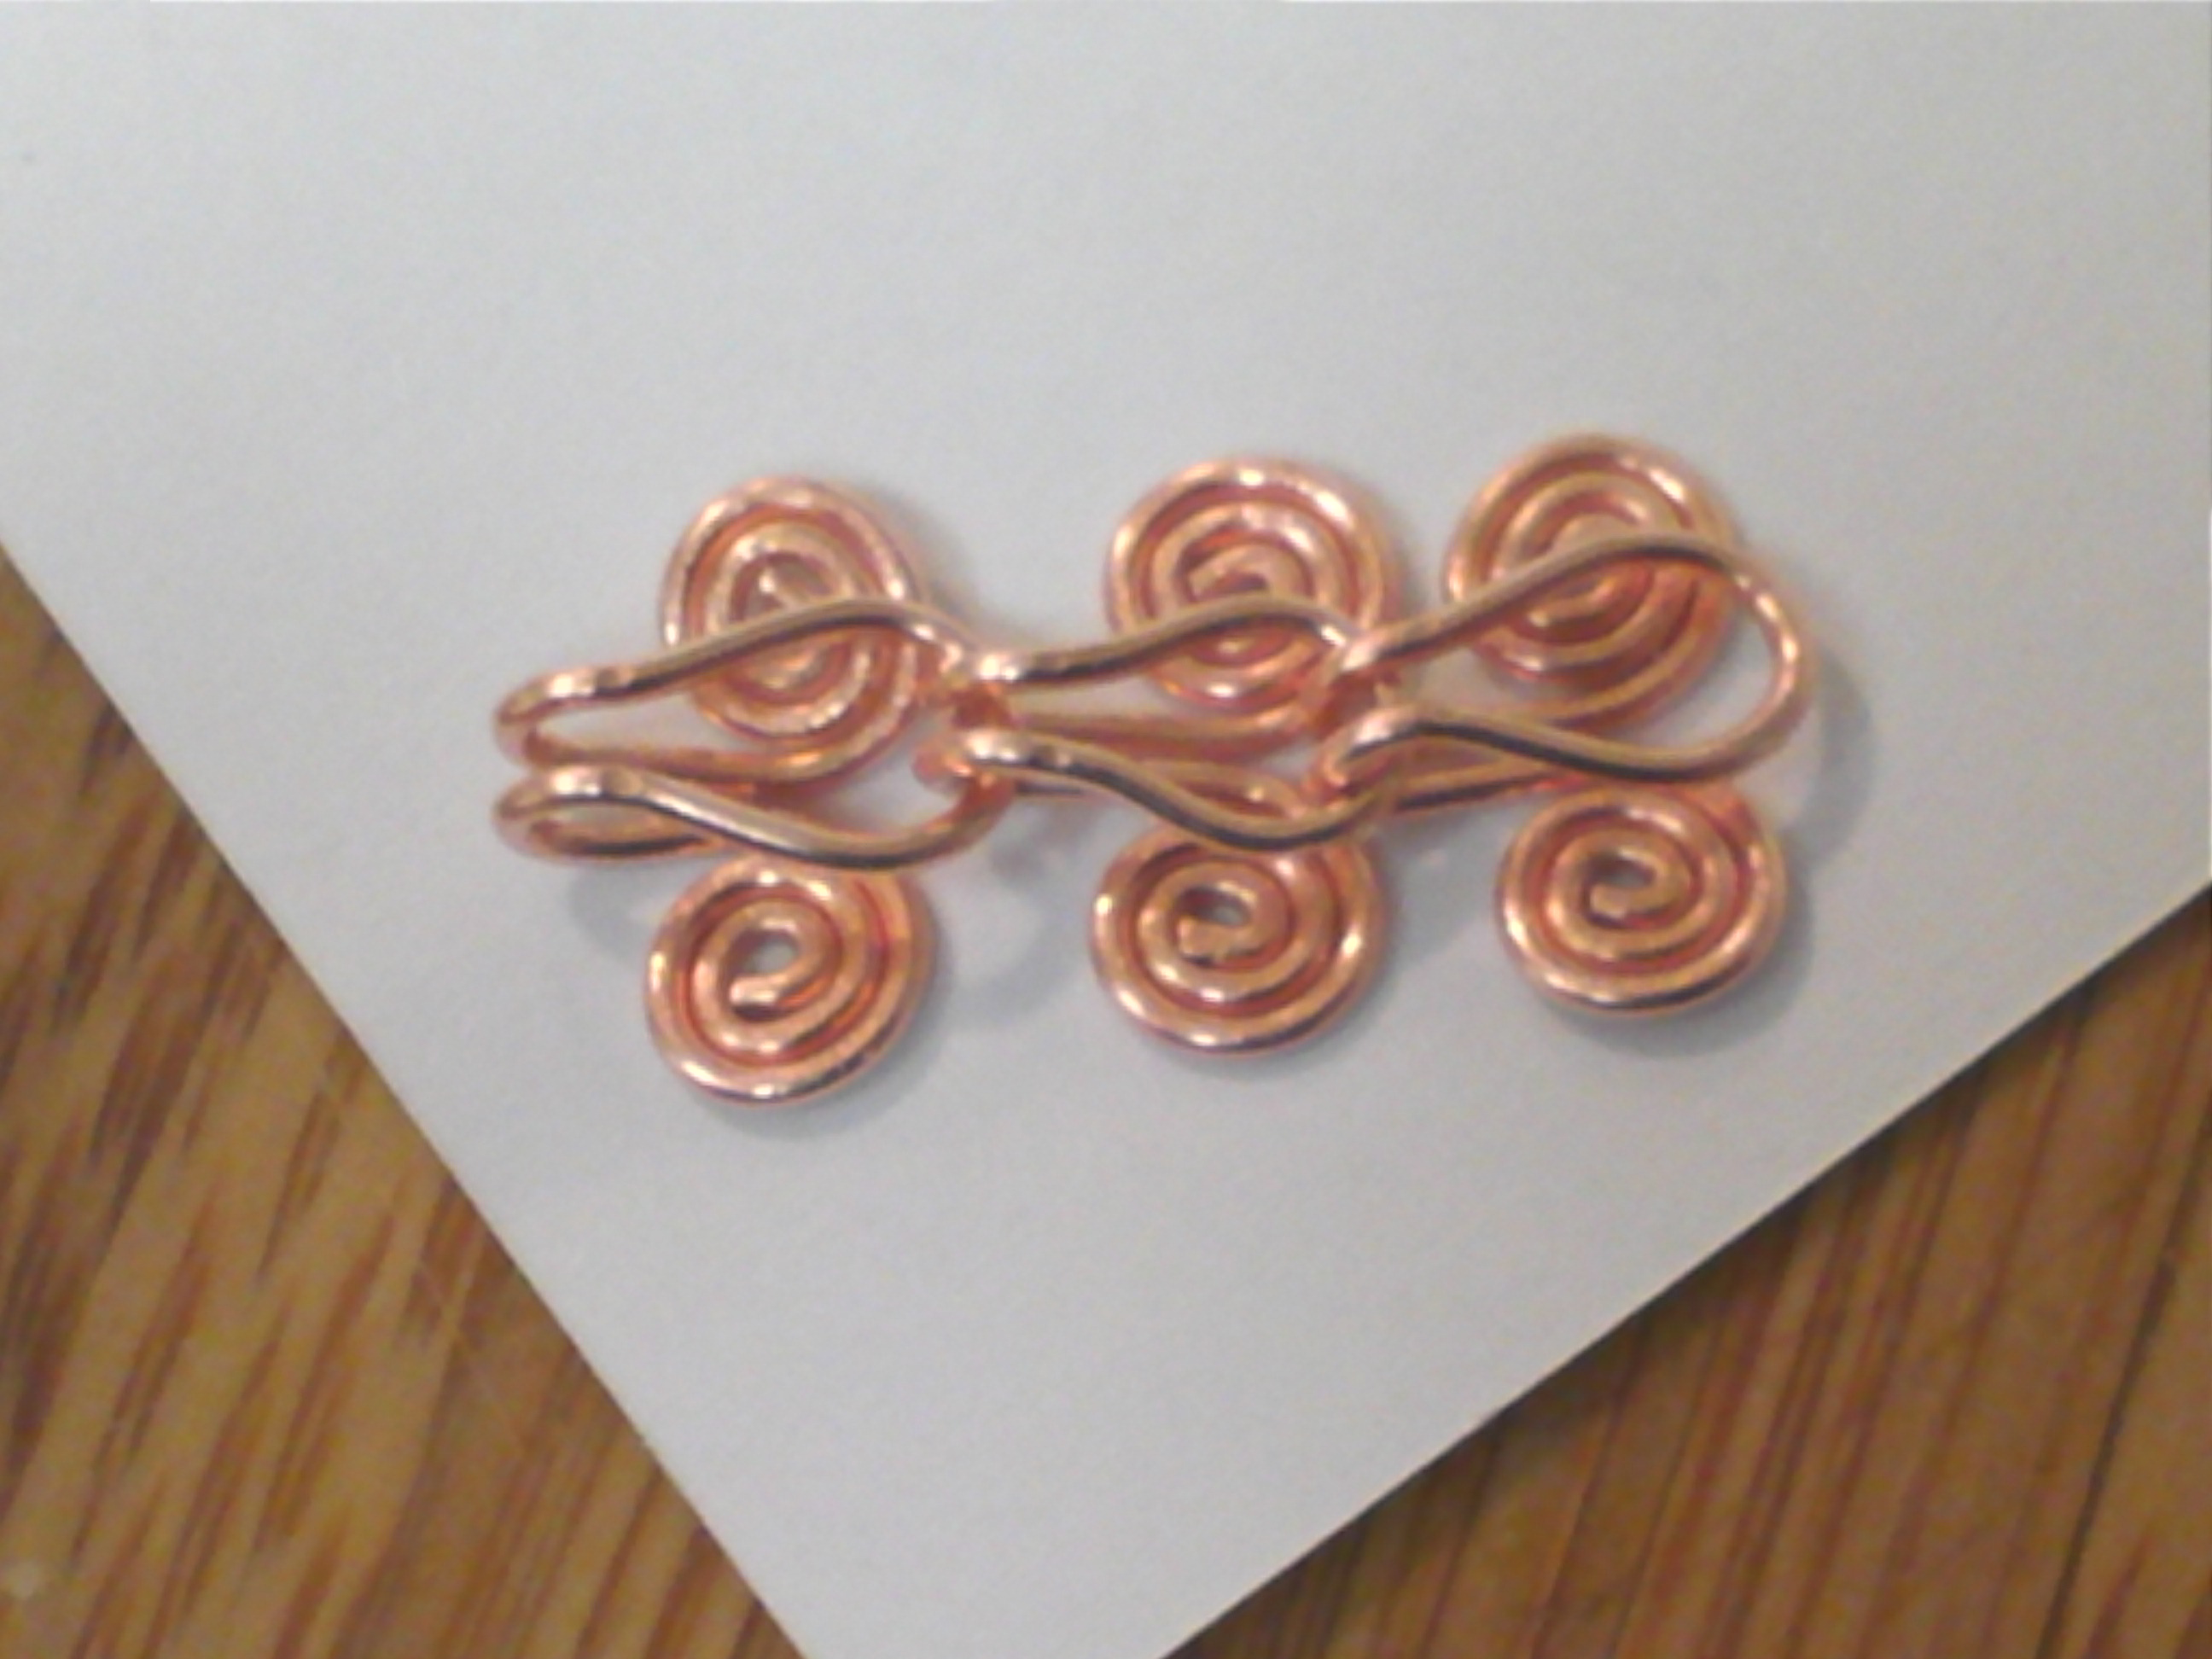
Connect links to make a chain

View of links from the back

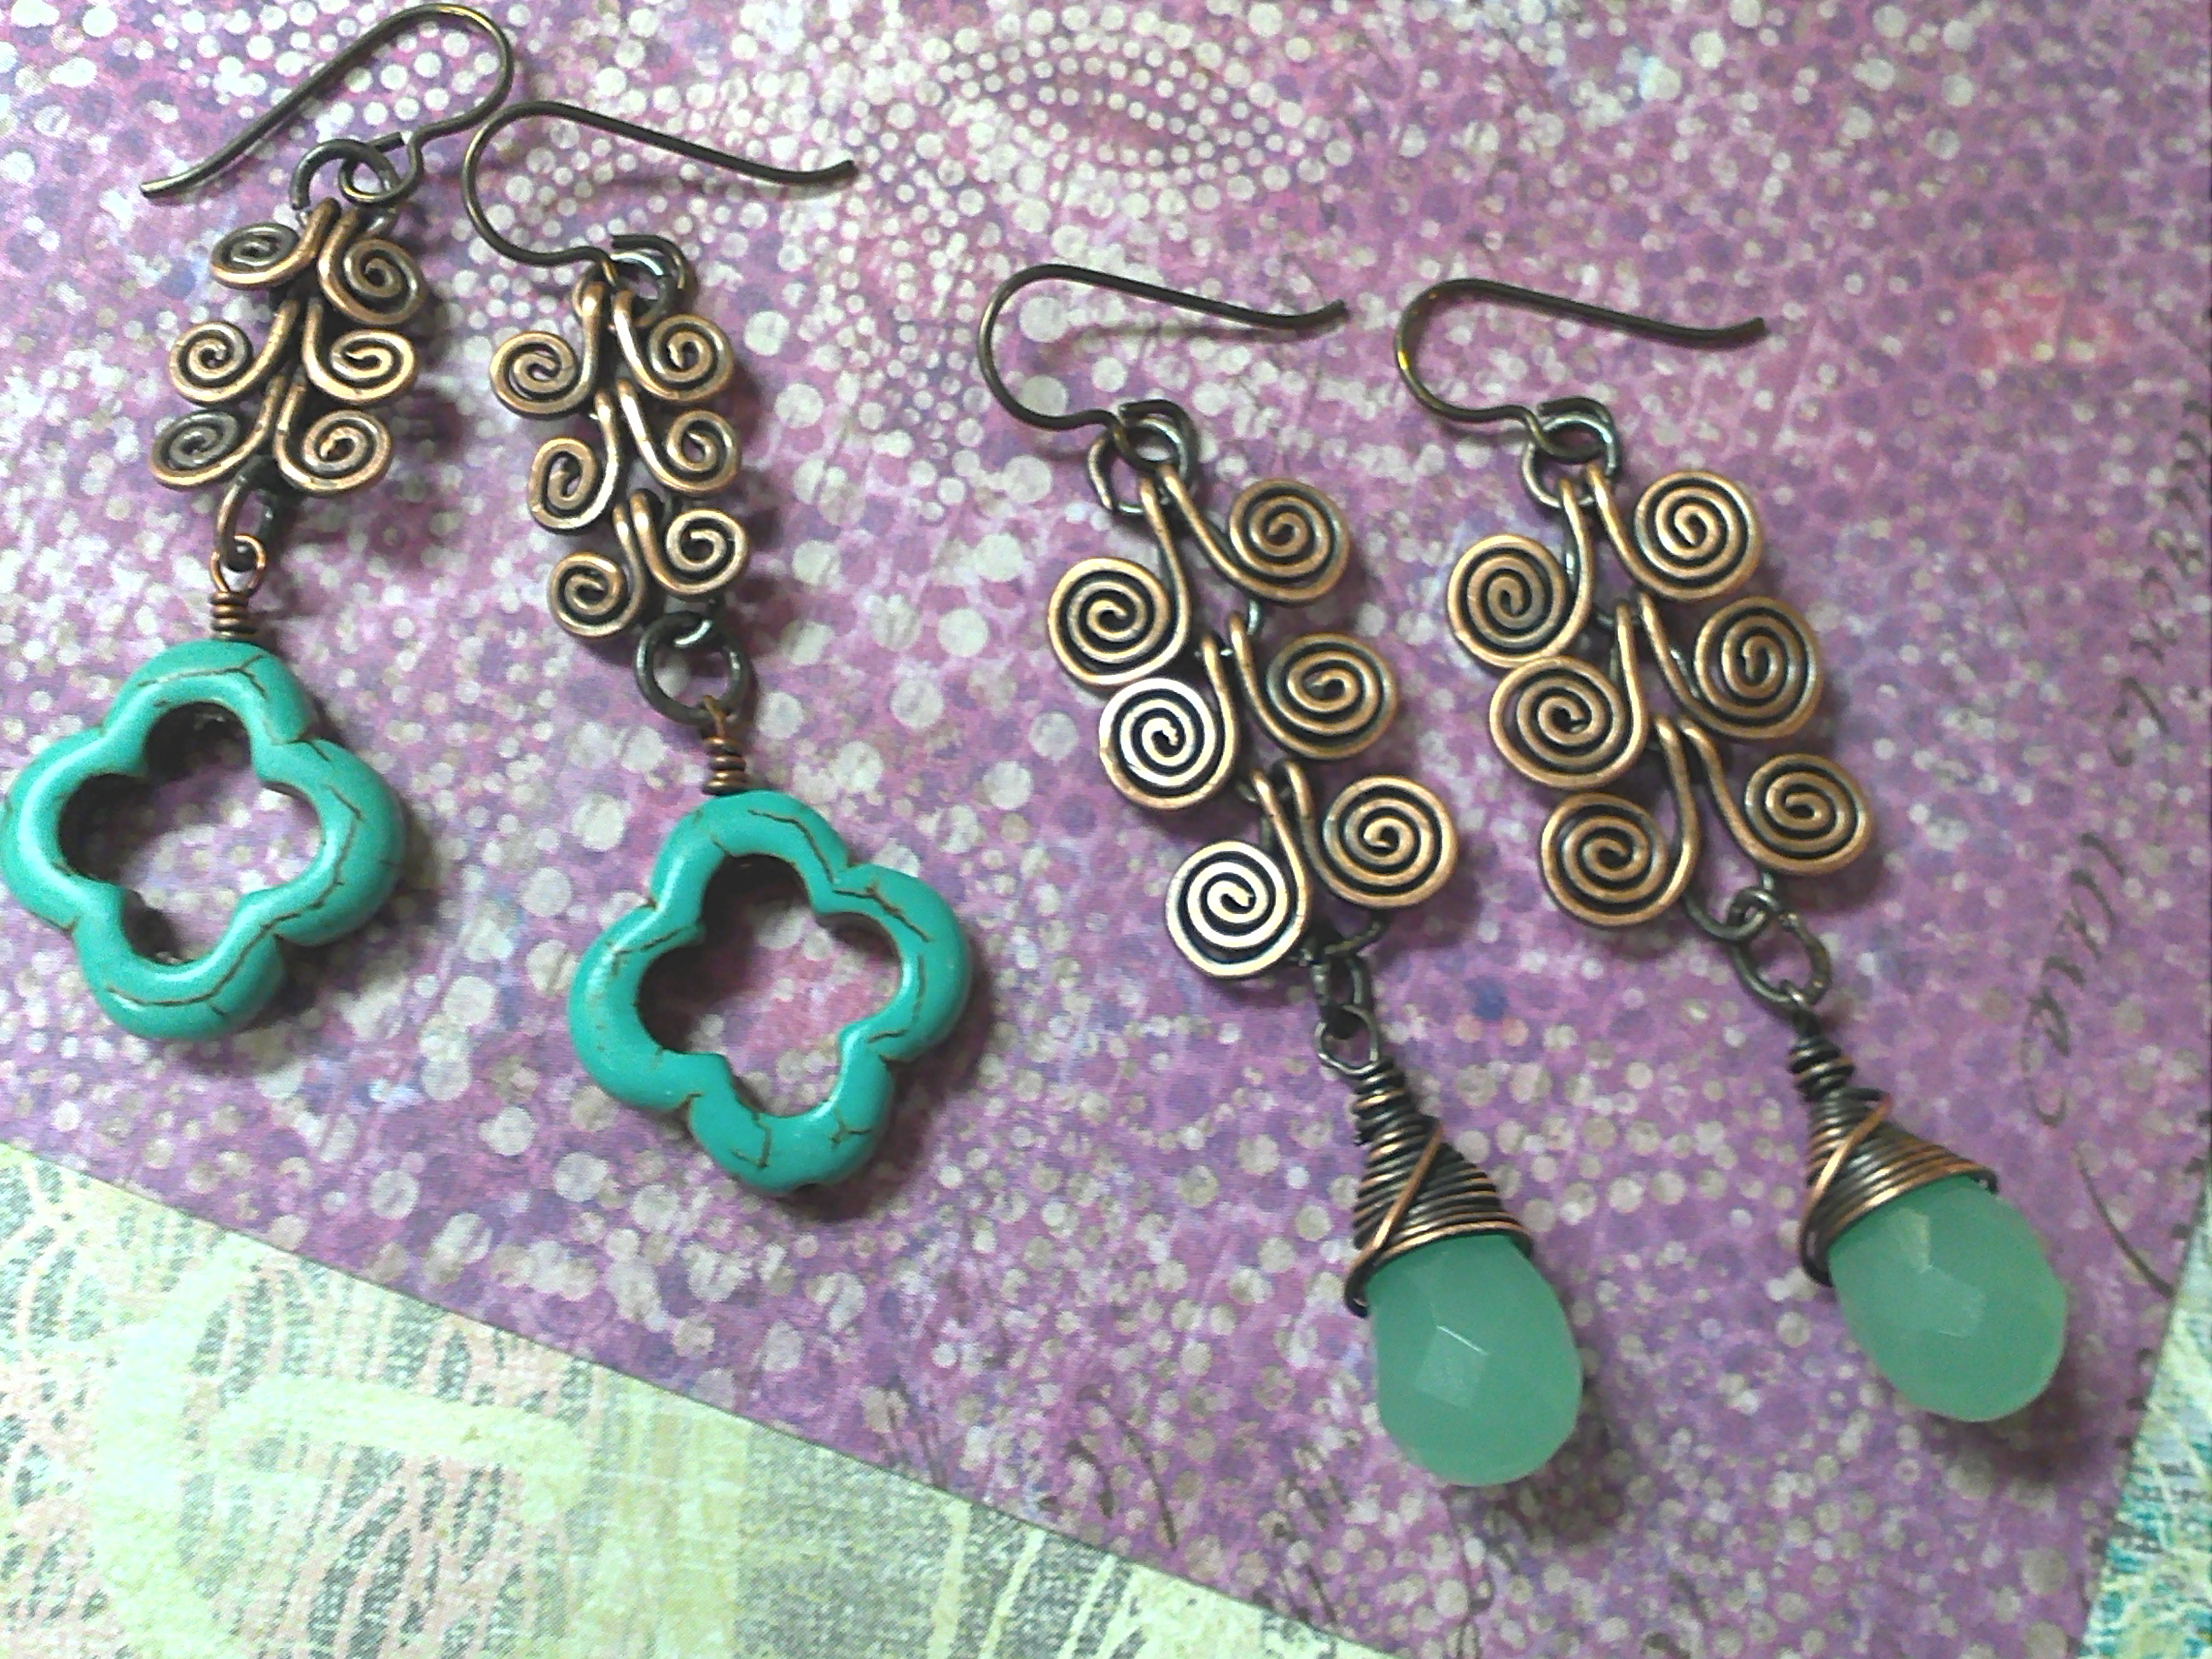
Finished Earrings using Egyptian Coils

Well I hope you enjoyed my swirly blog post and are now inspired to try out some of these ideas. For all of these earrings I used bare copper wire and then oxidized the wire with Liver of Sulfur to antique it. I then buffed the designs with steel wool to expose the bright copper. I highly recommend doing this with your swirl designs because is really makes those curly-Q’s stand out.

~~Tiffany in the Showroom

Feel free to ask me any questions about how I did anything or what materials I used for all the designs.

Upcycle cans and tins into jewelry!

October 7, 2011

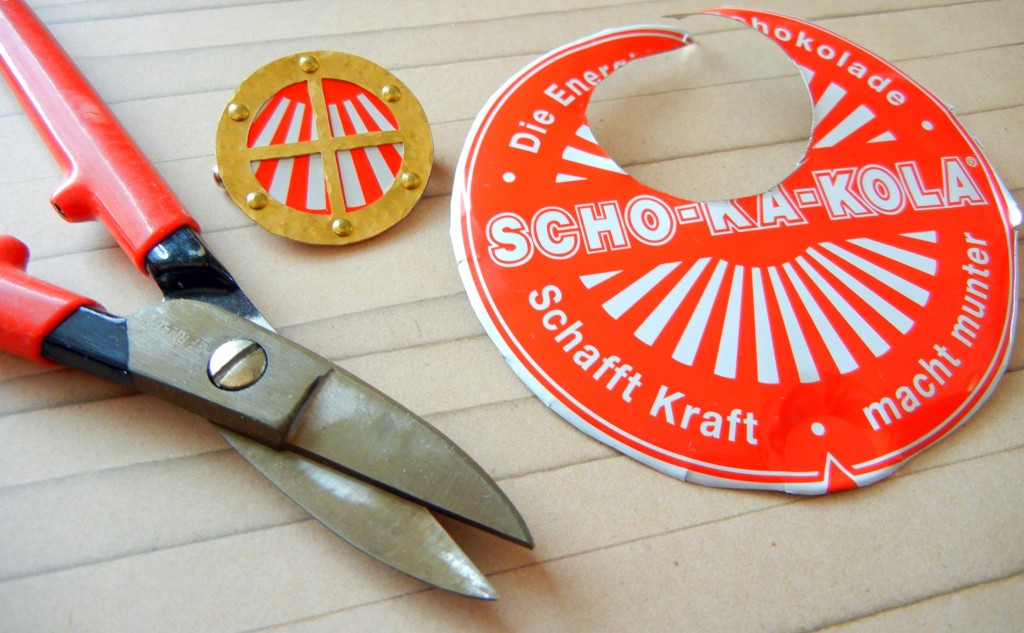
Metal shears, a metal tin and the completed metal pin!

We all know recycling is a good thing, but upcycling is even better! Aluminum and tin cans can easily be turned into jewelry, but there are a couple of things to keep in mind:

  1. Metal edges can be wicked sharp. Make clean cuts and file off any jagged points. Quality jewelry metal shears make this much easier! Most tin snips and other shears from hardware stores are difficult to grip.
  2. Aluminum cans and most tins are too thin to be durable enough for jewelry by themselves. We suggest layering the metal you cut from recycled items. Three ways of doing this are riveting, gluing and/or coating the metal pieces.

Here are a few examples of how to turn packaging into lovely adornments:

pollys-tin-pins

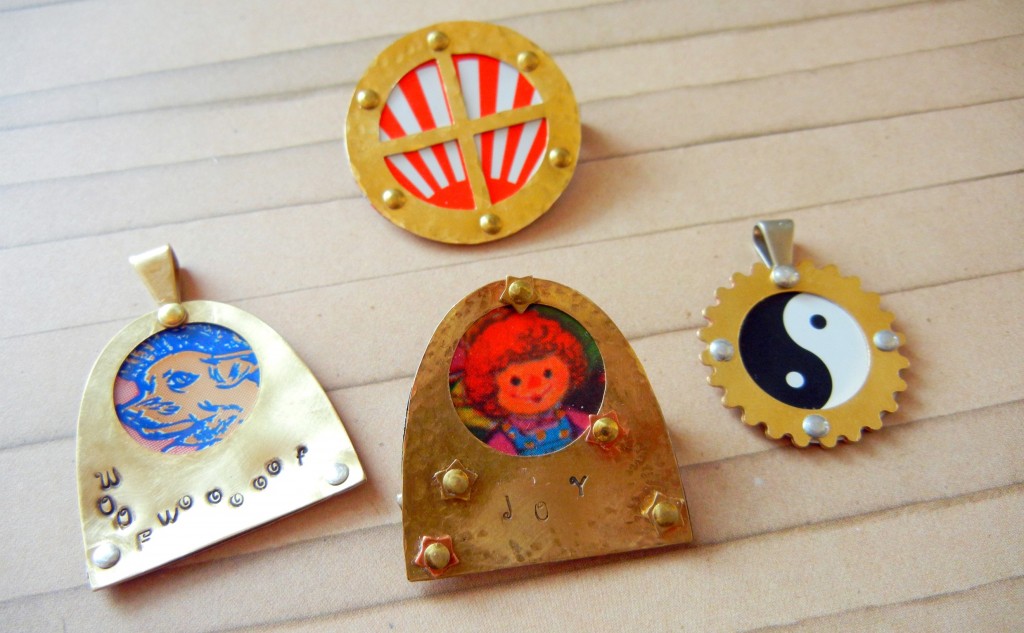
Polly’s tin pins and pendants

Polly sandwiched her recycled metal elements between brass fairy doors, disks and gears. She riveted the pieces together using Crafted Findings’ riveting tool. Learn more about the riveting tool system here.

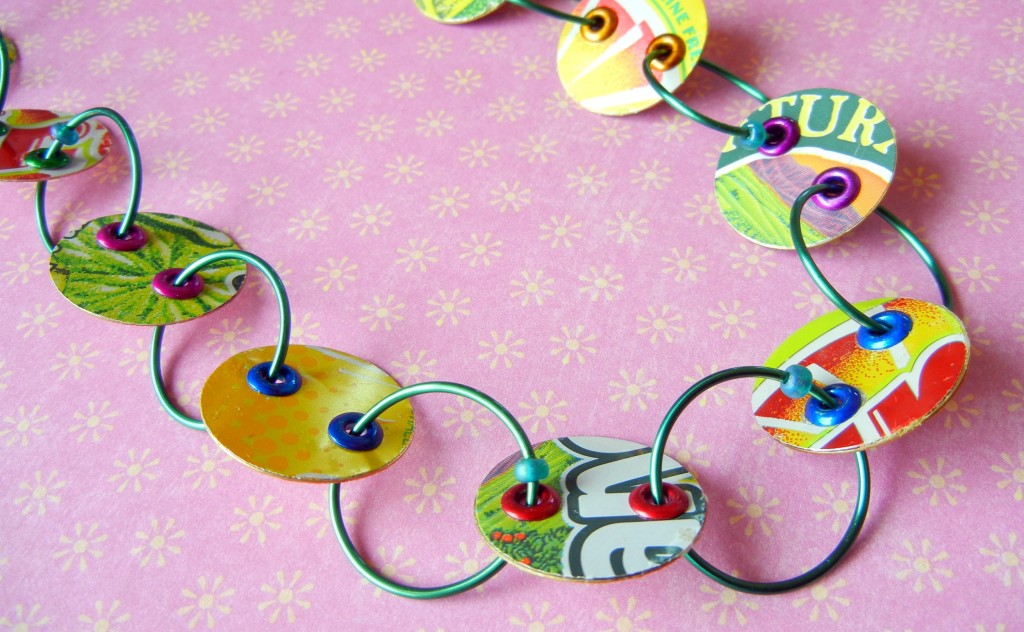
soda pop can necklace

The holes are lined with large eyelets from a scrapbooking supplier.

For this Soda Pop necklace, we cut disks out of cans and then glued them to brass disks to make them thicker. A circle template (commonly found in Art Supply stores and sometimes Craft Store) makes this task easier. Get more info in our design gallery.

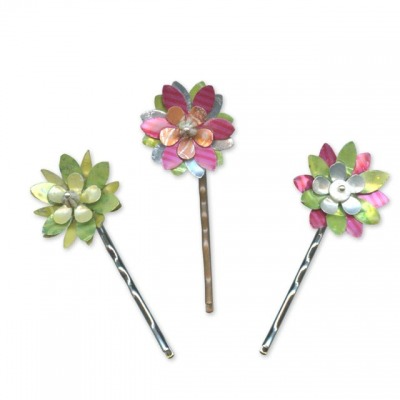
soda can bobby pins

Layers of flowers punched from soda cans form these fun bobby pins.

Instructions for how Toni coated these pins with liquid polymer clay to make them safe to wear are in our design gallery.

Start looking at soda cans and other product packaging in a different way! I for one always check the bottle cap design when deciding on a beverage.

How I wish every city had an Upcycle Exchange Market (yikes! Link removed in 2019 … that link goes to something COMPLETELY different and unsavory now). It is a brilliant idea for reusing and redistributing crafty supplies and recyclables! Until then, ask your friends and family to help collect interesting materials for you. You might just upcycle something wonderful!

Affordable designer font stamps!

August 29, 2011

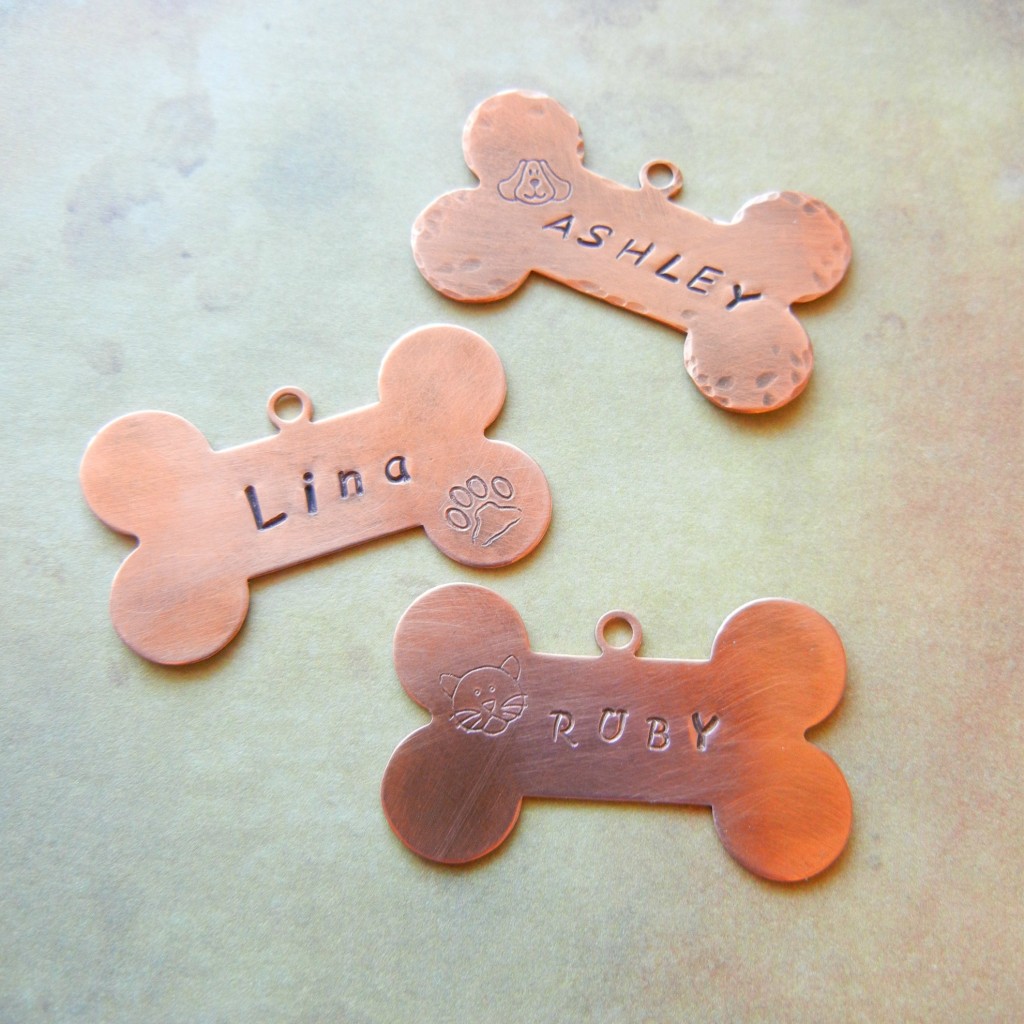
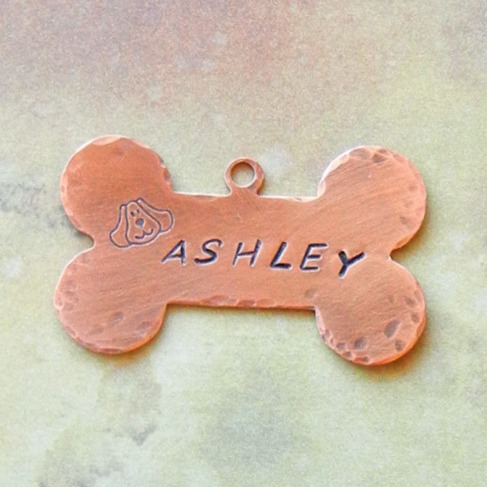
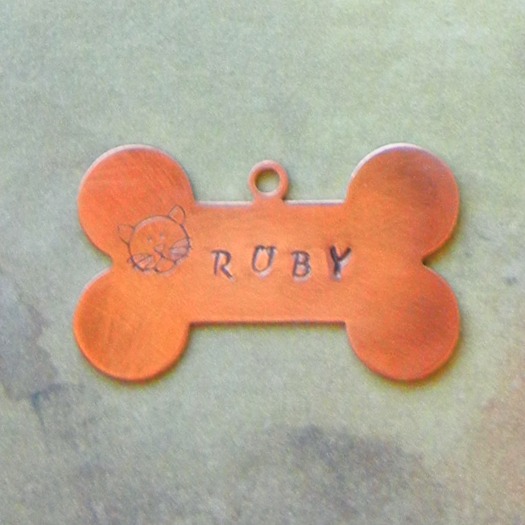
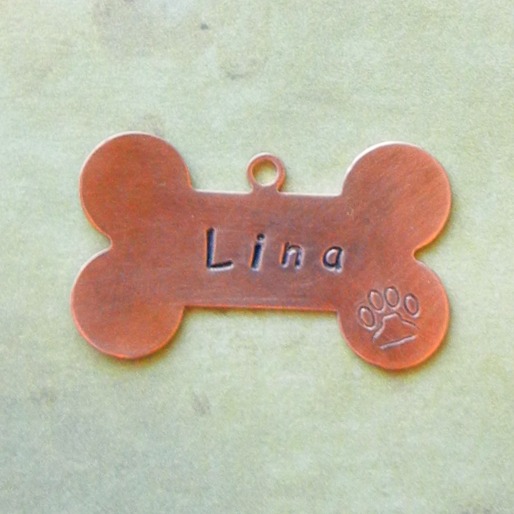
Fun fonts add more personality to stamped jewelry – even to stamped dog jewelry!

When stamped metal jewelry first became popular, most artists were limited to the basic block letters that were available in the market. But, wow, how things have changed! There are now many fonts available – fancy script fonts, playful lowercase fonts, swirly decorative fonts. How is a jewelry-maker to choose?

Well, one consideration is price. Our new font sets cost less than HALF the price of similar font sets on the market! Made by EuroTool, our quality stamp sets are available in five new fonts.

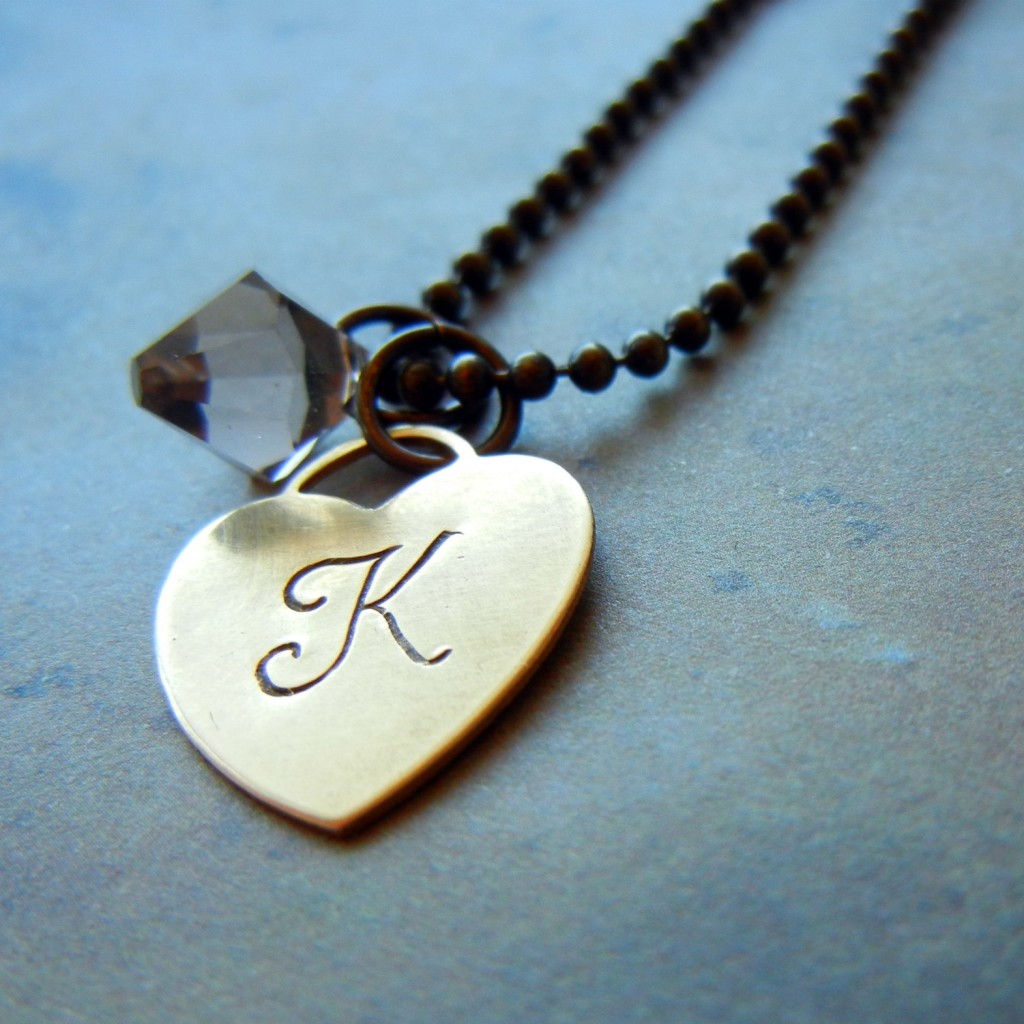
The letter ‘K’ on a brass heart with a crystal drop on antiqued ball chain. Simple and sweet!


Monogram
– 6mm high ornate script capital letters. Perfect for initialing and monogramming charms and tags.

The next four fonts are available in both uppercase and lowercase, so you can stamp with proper capitalization even!

I used uppercase Verona on this pendant.

Verona – a curly serif font with bubbly personality.

I like how the letters aren’t quite the same size in the Siena font – makes it look much more natural.

Siena – an easy to read sans-serif font that looks like very neat handwriting.

All uppercase Highland letters on this dog tag.

Highlands – clean handwriting with a italic slant. Sans serif.

Aras – a whimsical, playful font. It reminds me of the ever-popular Comic Sans font, but with serifs.

Metal stamps make impressions in sheet metal. When you hammer, the stamp displaces metal. The thicker the metal, the less you will notice the movement of metal: all you’ll see is the indent left by your stamp. On thin pieces, you’ll likely see a shadow of the stamping on the backside, and the edges might get kind of wonky. Sterling silver, brass, copper and even aluminum can be personalized with metal stamps. 24 gauge or thicker is best, but 26 gauge works too, as long as you don’t get too close to the edges.

Want to get started with metal stamping, but don’t know where to start? Check out both our metal stamping tool kit and our metal stamping blanks assortment. The kit includes basic uppercase block letters. For maximum enjoyment, add a set of the above font stamps and/or a few design stamps! For step-by-step instructions on how to make a stamped charm from sheet metal, check out our free Metal Stamping 101 page or our free technique sheet here.

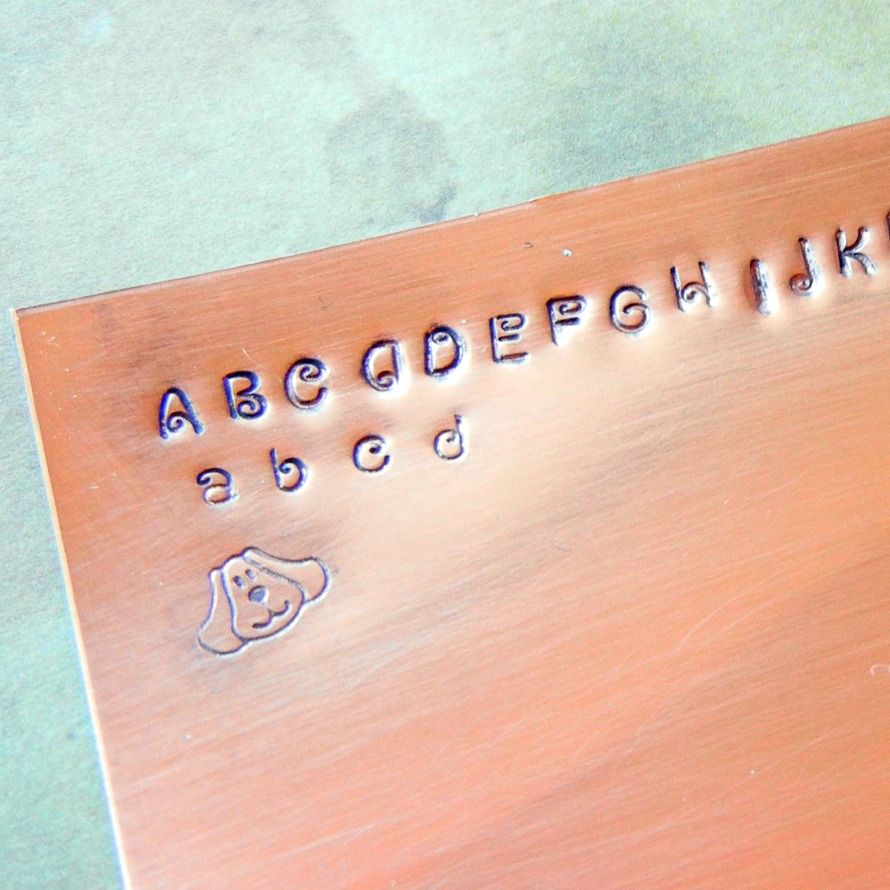
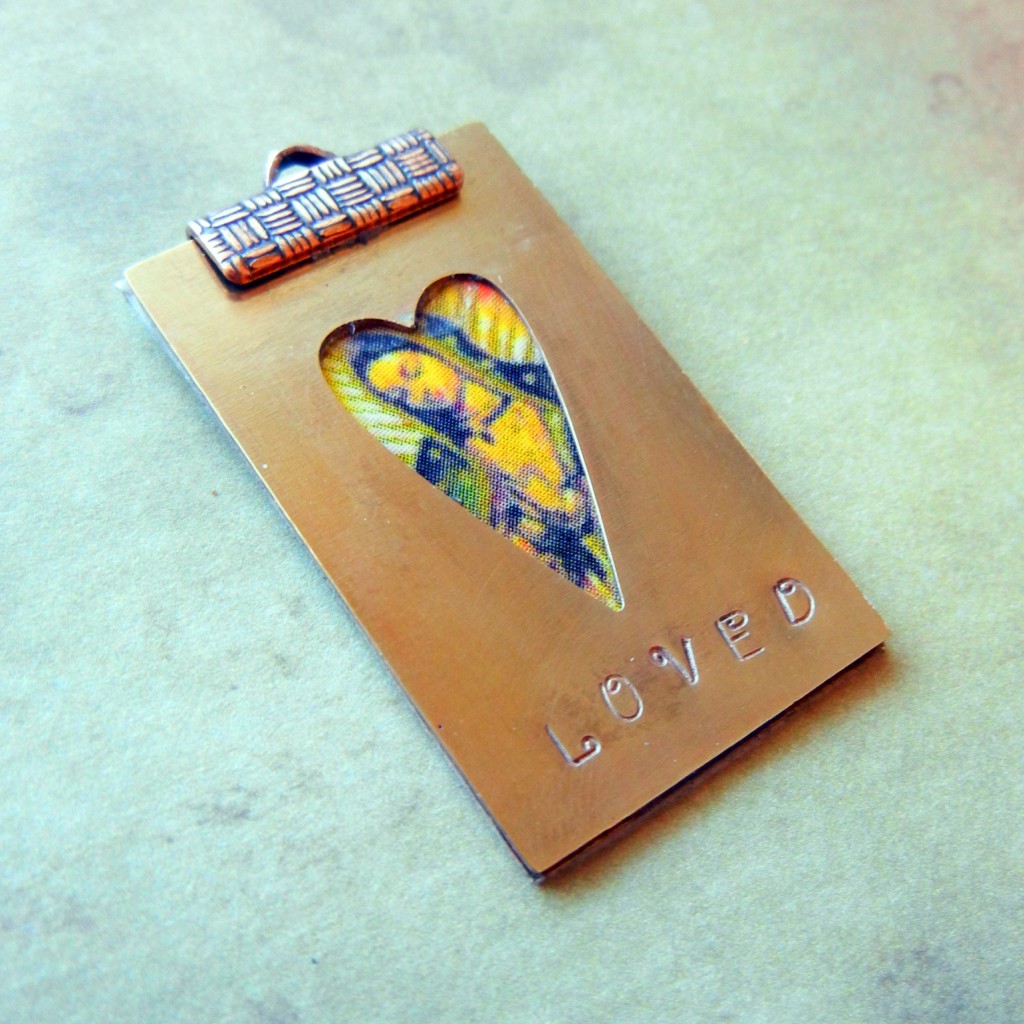
I messed up almost immediately on my test piece, but it makes me think the letter ‘D’ could make a great decorative border!

One last tip: be sure to keep your stamps organized. These artistic fonts are especially easy to mess up (is that an ‘a’ or an upside down ‘g’ ??). Since the stamps will arrive alphabetized, take a moment to write the letter for each one on the side that faces you while you stamp. A fine-tipped Sharpie works great! ~ Cindy

Editor’s note: That was 2011, and I’m updating this in 2018 to fix old links … we have even MORE fonts and 100’s of design stamps now! See our full line of metal stamps (letters, number, punctuation and design stamps), stamping blanks, and metal stamping tools & accessories. ~ Polly

Copper and brass bracelet design challenge results

August 8, 2011

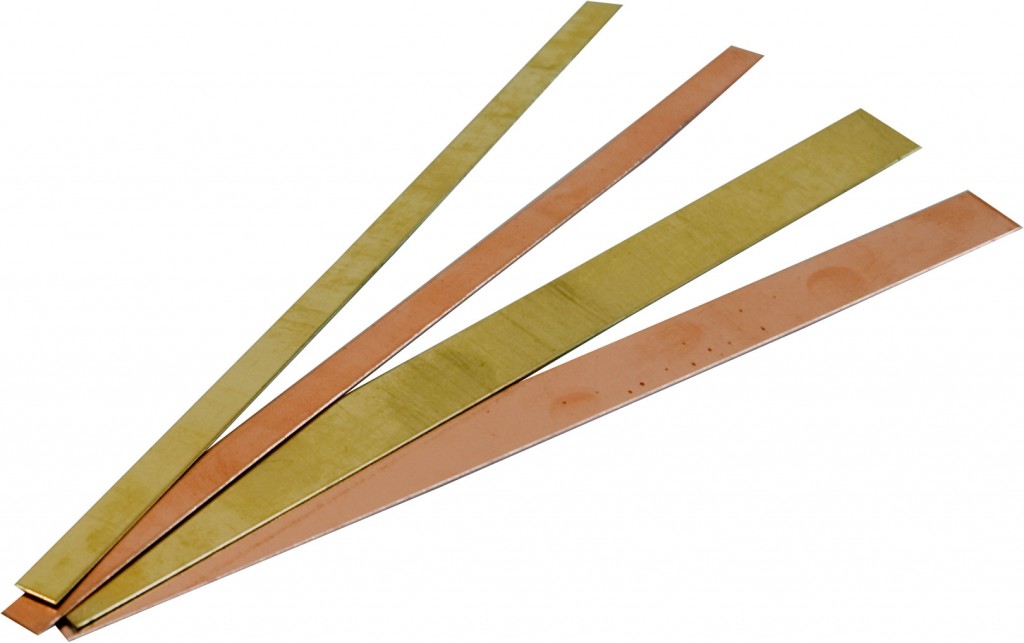
So simple, yet so fun! 6″ long, 1/4 and 1/2″ wide strips to make all kinds of jewelry with.

In July, we sent ten of our blog partners sample packs of our new 24-gauge metal bracelet strips. With summer in full swing, it isn’t surprising that not everyone completed projects (at least not yet) … but the WOW, those who did really brought their A-game!

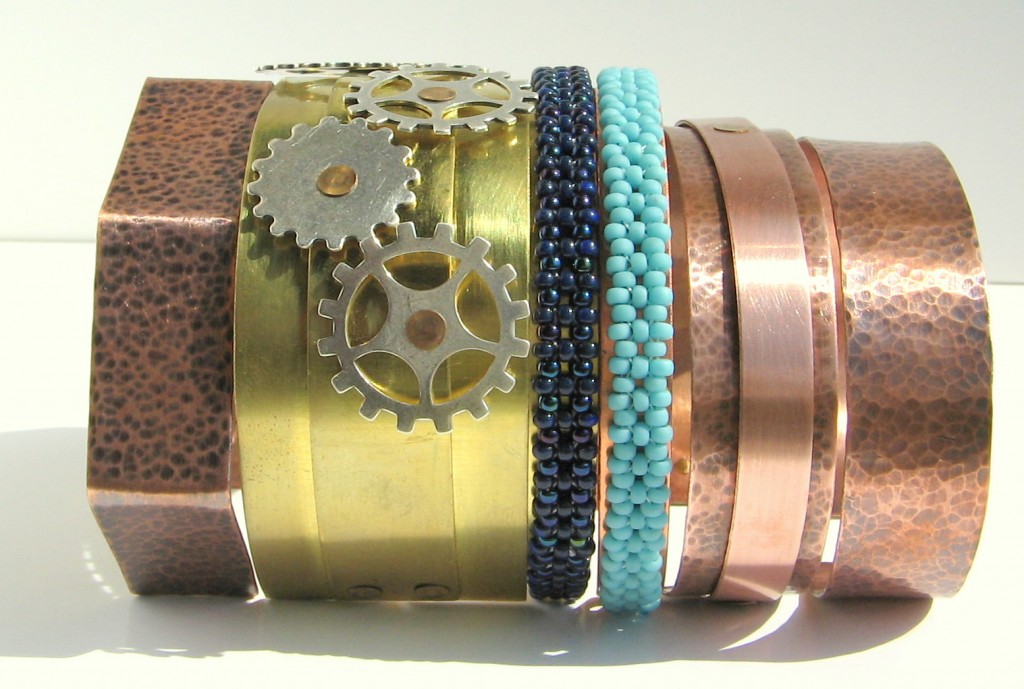
Textured, layered and beaded cuff bracelets by Helena.

Helena Fritz hammered, riveted and even bead-weaved her way to an armful of gorgeous bangle bracelets – her lovely blog has more photos. Helena specializes in beadwork, which makes her first attempt at metalwork even more impressive.

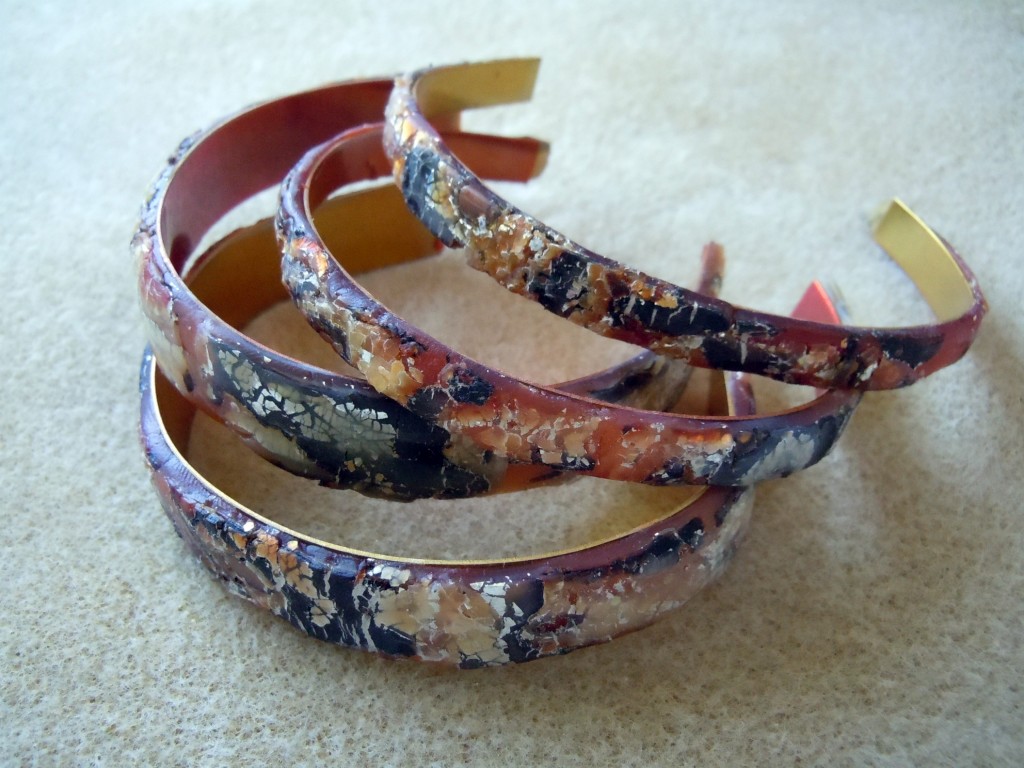
Carole shows her polymer prowess.

Carole Carlson stepped out of her comfort zone and into the world of polymer clay with these fun bracelets. She found that the copper was easier to work with than the brass, which makes sense since it is a softer metal. Check out her blog for more info.

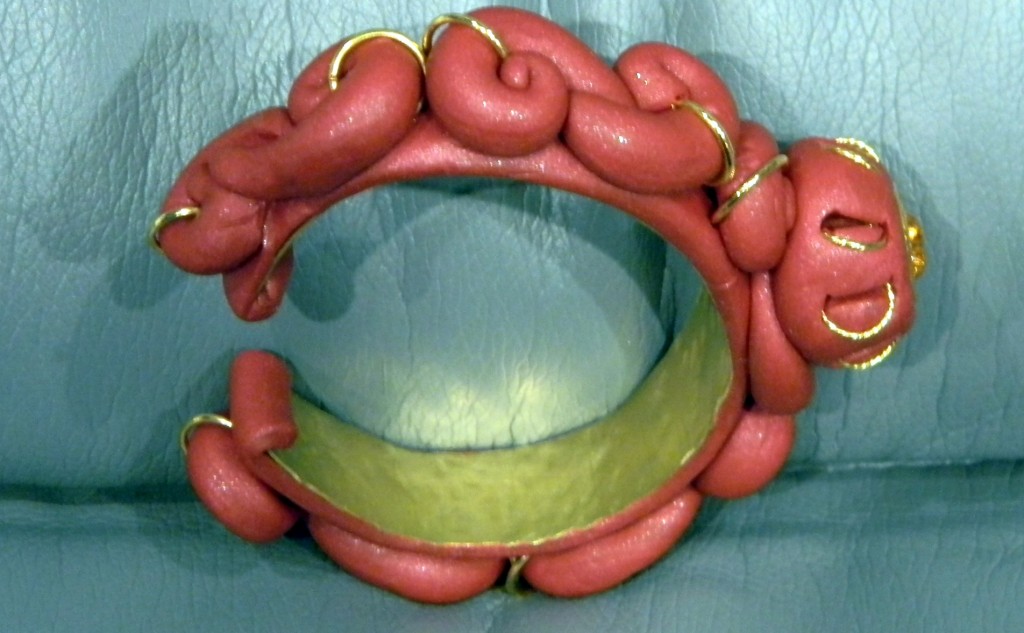
Just one of the bright and bold bracelets Carolyn created.

Carolyn Fiene also used polymer clay, but she preferred the brass as a base. Even though it is harder to form, she felt is held its shape better. Link to her blog showing other designs that combine chain and bezel cups with polymer coming soon.

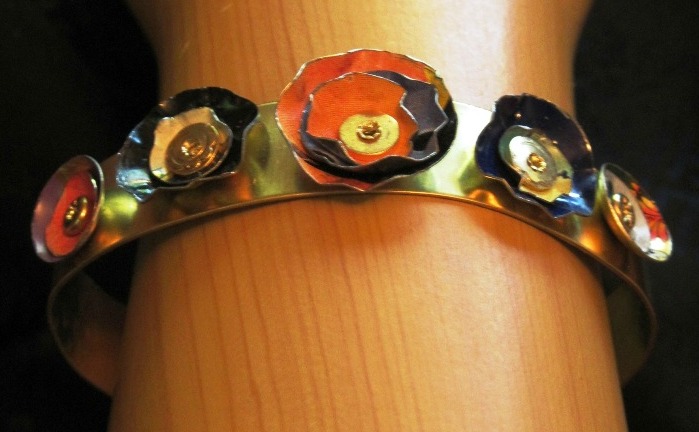
Layers of “ruffled” metal dress up Jan’s brass cuff.

Jan O’Banion made several great designs by layering different elements onto the bracelets. She used recycled tins to make flowers on the “Trashy Tinsel” bracelet above. Visit her blog to get a peek inside her creative world.

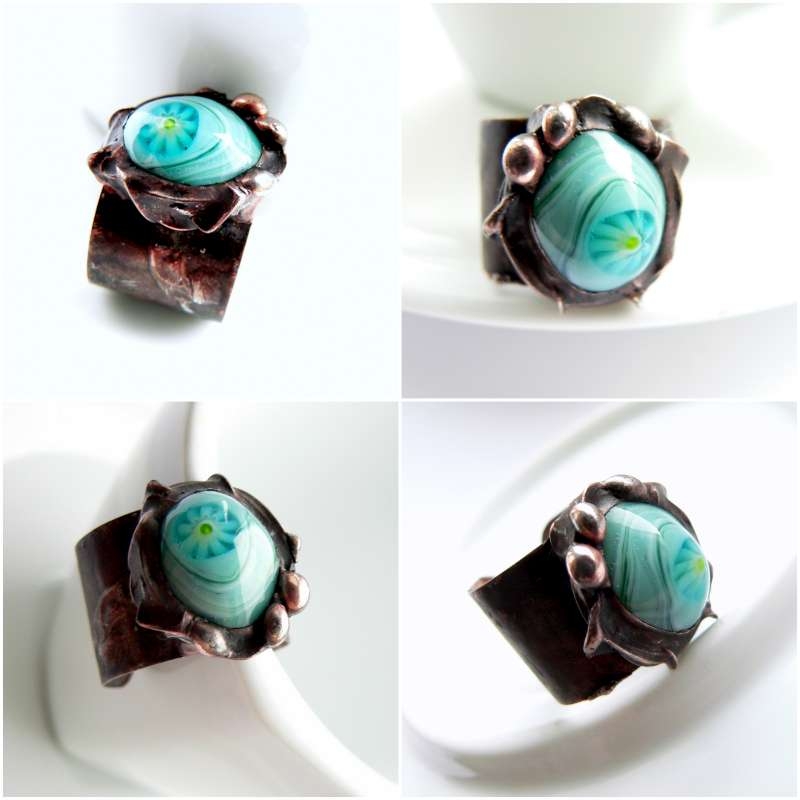
1/2″ wide copper forms the base of this lampwork glass ring by Lubica.

Lubica Vinicenko used the strips as the base of some truly elaborate rings. You can see more pictures at her blog.

As you can see, these metal “bracelet” strips are extremely versatile and fun to experiment with. Am I the only one surprised to see polymer clay and seed beads combined with sheet metal?

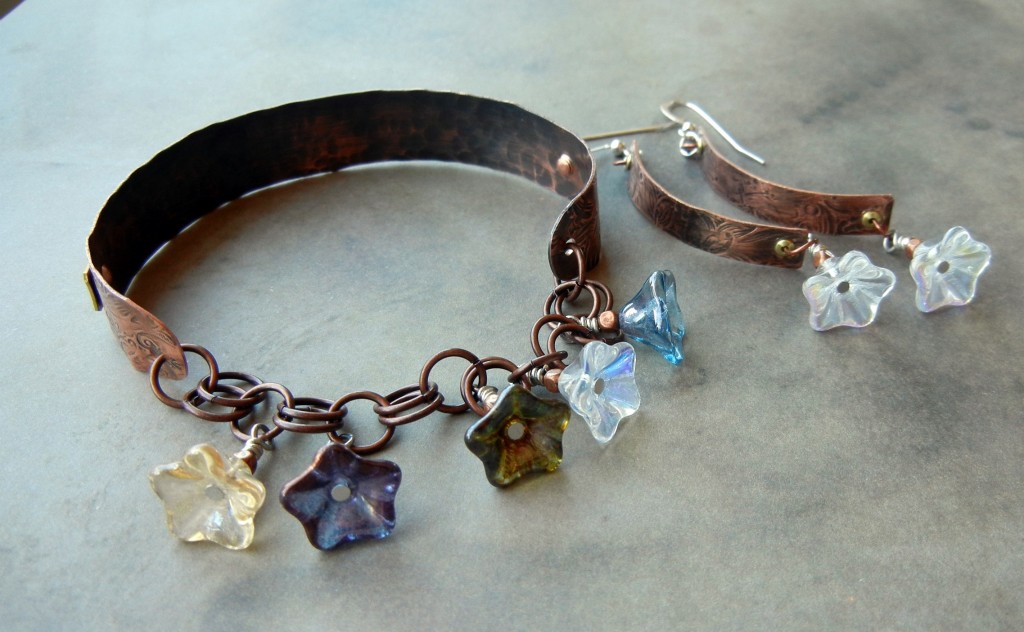
The back of my layered stamped bracelet. I curved short strips with my wood dapping set to make the matching earrings.

I’ve been having a blast stamping and texturing them. You can see the front of – and how I made – the “Earth Laughs in Flowers” bracelet in our design gallery. Texturing metal with
brass texture sheets is great stress relief, I must say!

Although July is already behind us, we’re always happy to see and share what you create. Be sure to send us some photos of what you make with these metal strips! ~ Cindy
PS – Molly Alexander posted her etching and mixed metal results to a photostream on Flickr – be sure to check them out!

Resin + scrapbook paper = fun

August 2, 2011

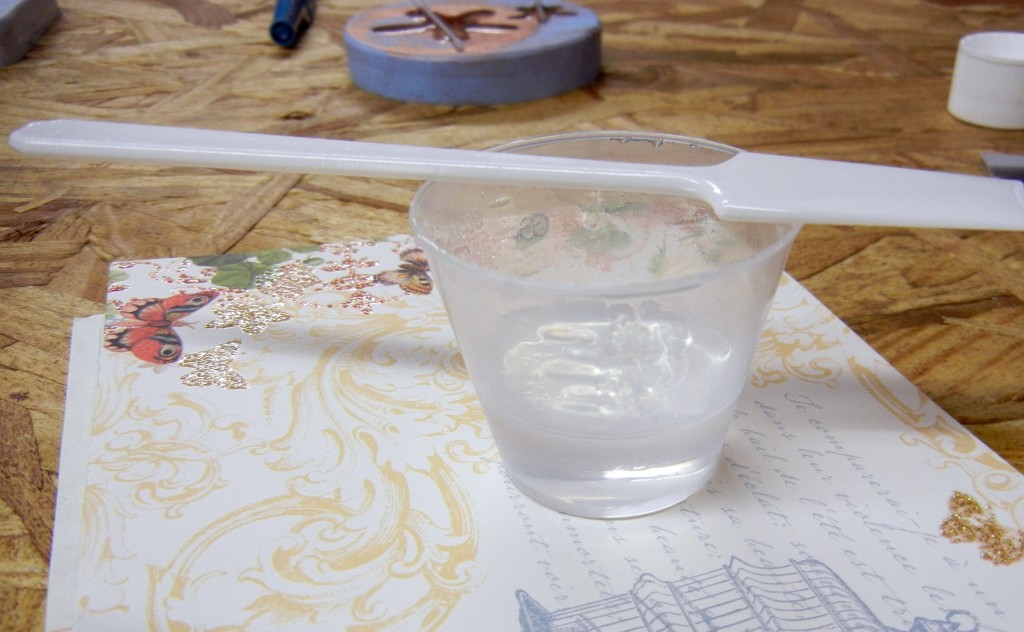
So, if you’ve been reading this blog you know we are very excited about SuperClear Resin for jewelry. As is usually the case, we had a bit leftover after filling some bezels, so we tried applying some to scrapbooking paper just to see what would happen. The results were great! With most epoxy resins, it is recommended that you coat your paper or images with Mod Podge, white glue or other sealer to prevent the resin from bleeding into the paper. However, we found that SuperClear resin worked just fine on uncoated paper. (We still recommend testing yours first! Each type of paper acts a little differently.)

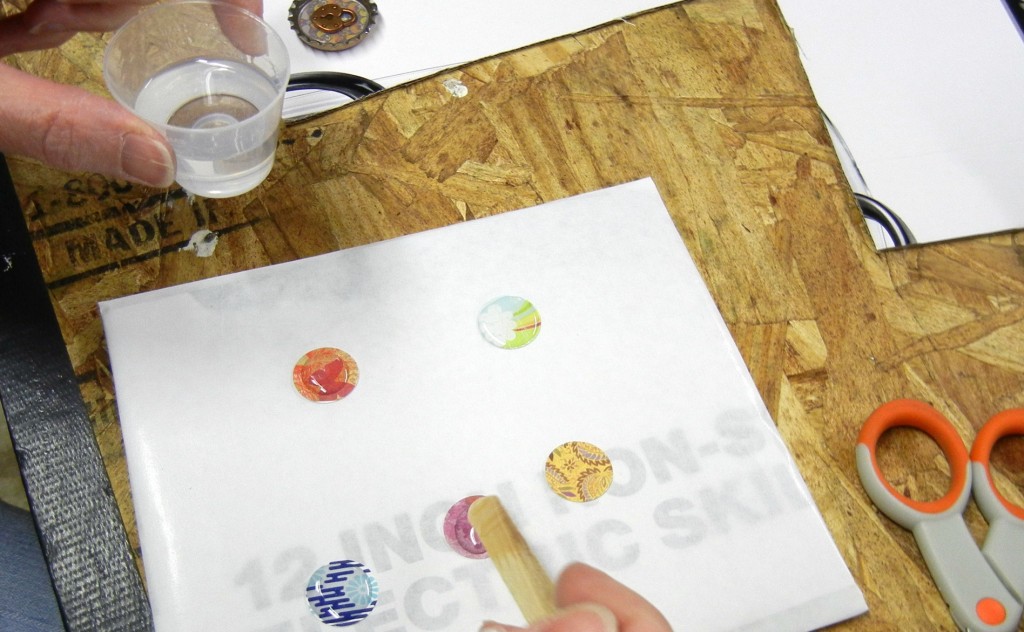
SuperClear resin, when applied sparingly, has enough surface tension to stay domed on the paper.

In the picture above, Mollie is using a wooden craft stick to stir and dab the resin. It works ok. However, it is possible for the moisture content of the wood to have an adverse affect on the resin. We’ve now switched to these
plastic paddles/spatulas, as recommended by Resin Obsession.

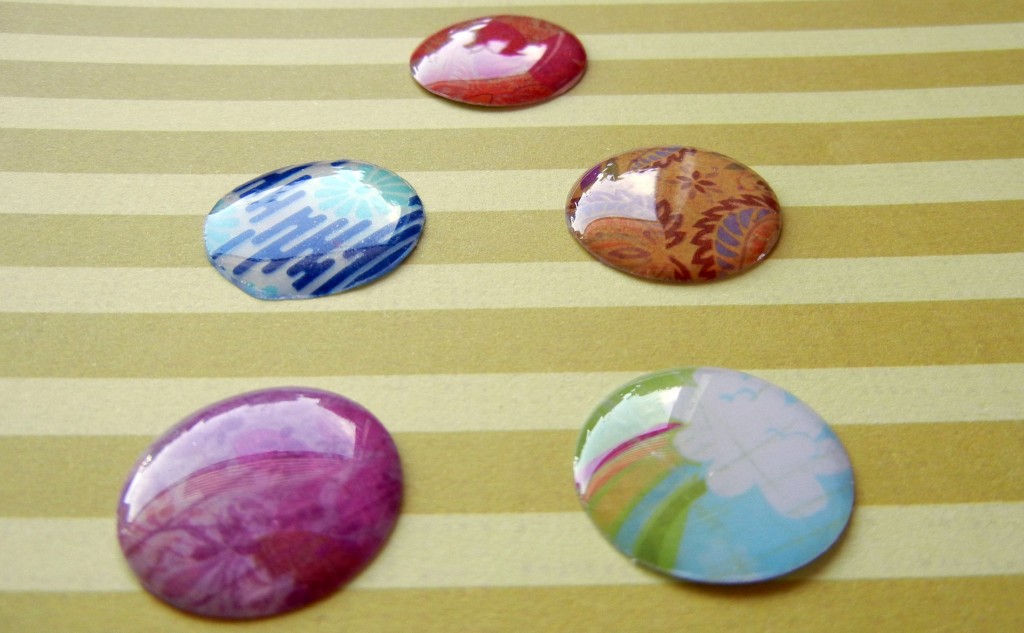
The dots were super shiny when they dried – and the colors didn’t bleed!

How do you turn resin-covered paper dots into wearable jewelry? Fortunately Mollie is a clever girl. Here are a couple of the options she came up with:

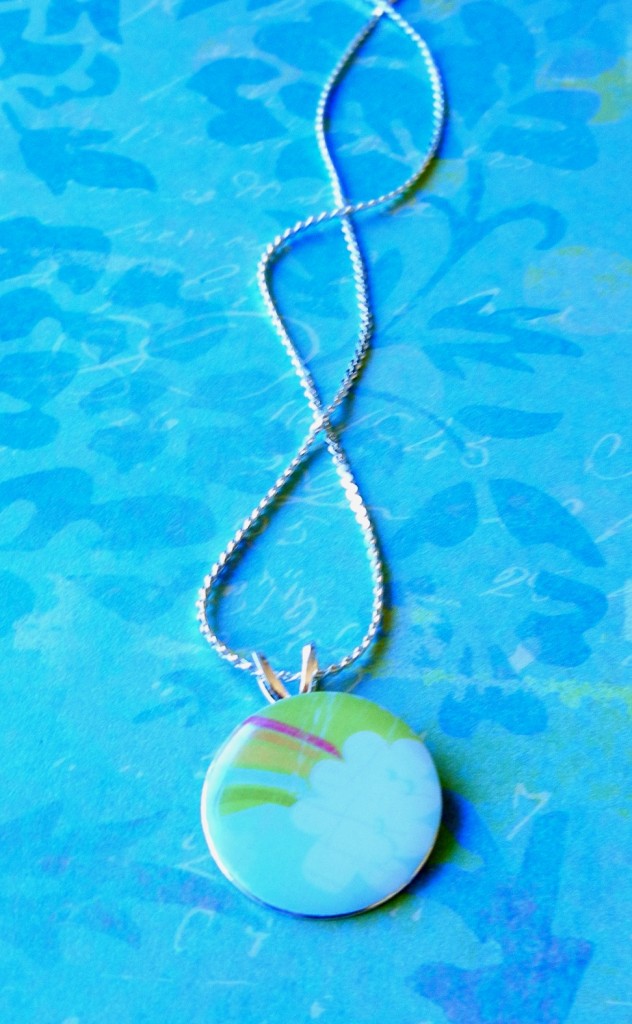
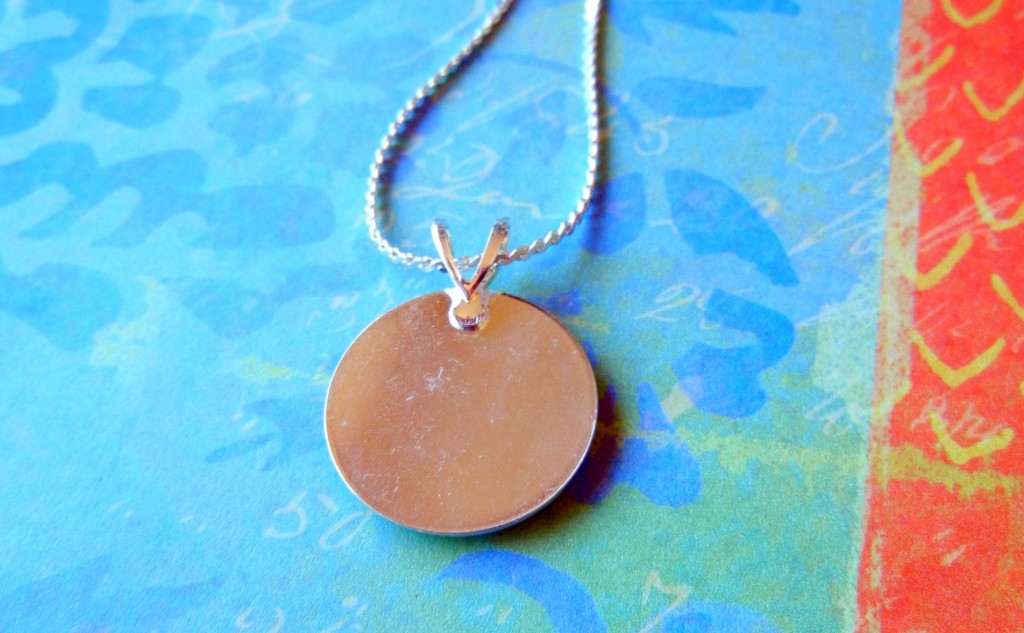
The dot fit perfectly on a round pendant finding with bail.

I especially like that the back of the piece is entirely covered with metal – it feels much more finished that way.

Since these gluable pendant findings already have bails attached, you can just slide them onto chains or ribbons and have complete necklaces for under $2 each!

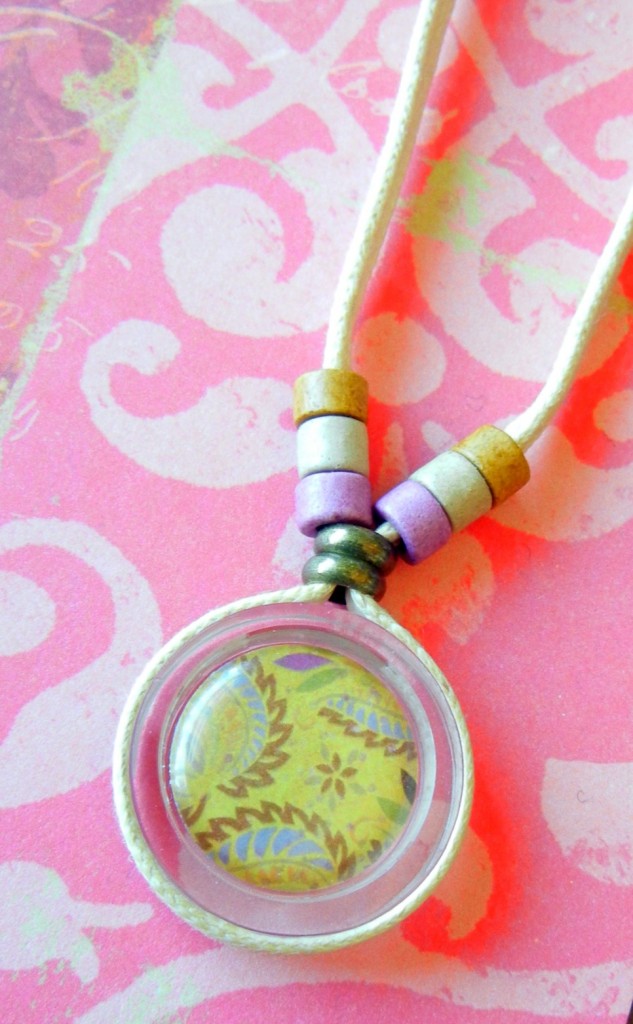
The resin dots also fit perfectly inside glass bezels.

Glass bezels are another unique option. If you plan ahead, you can make the pendant reversible! Since the bezels don’t have holes, Mollie wrapped hers with flat cotton cord and glued it in place.

Have you come up with interesting ways to combine resin with paper? We’d love to hear about it! ~Cindy

The easiest braided leather cuff bracelet ever

July 26, 2011

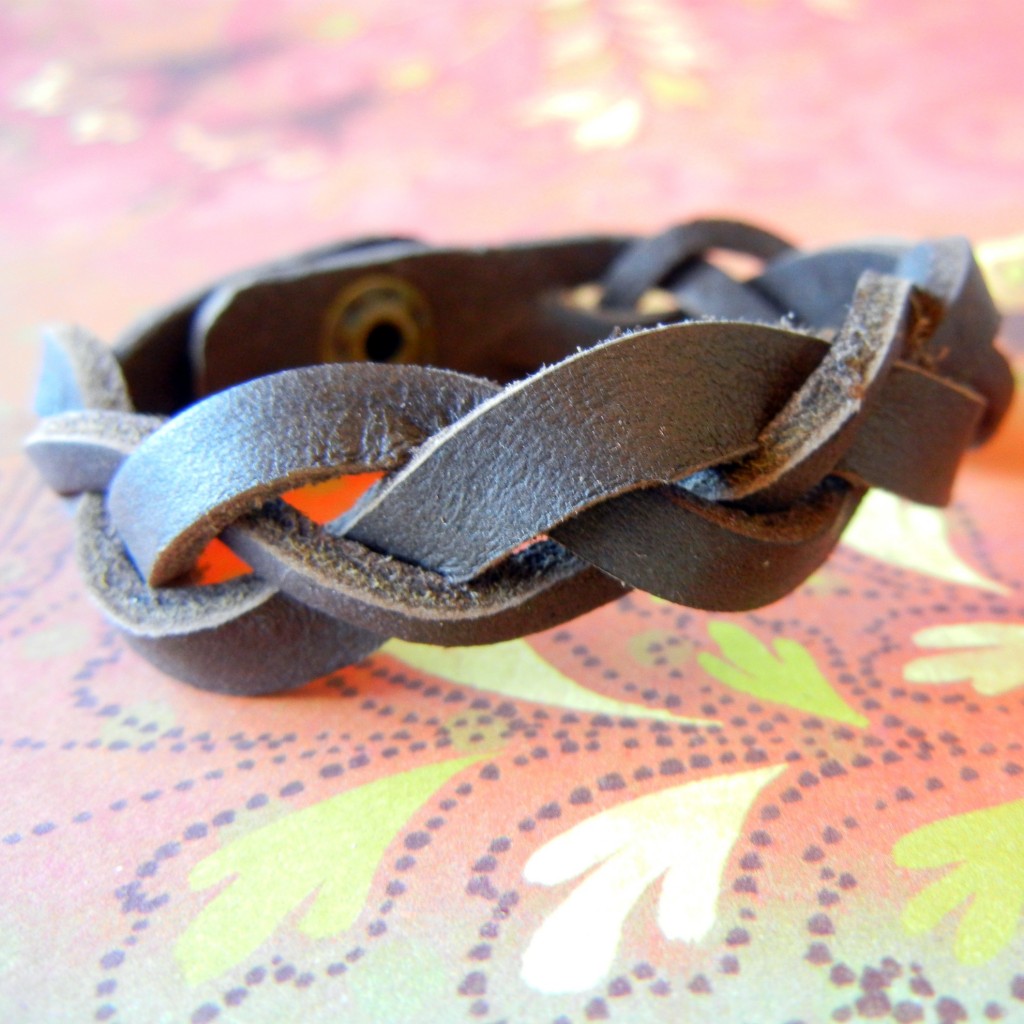
The magic braided cuff bracelet.

Hi bloglandia! I came across this great Magic Braided Leather tutorial today and immediately had to try it with our pre-made leather cuff bracelets. In less than 5 minutes I had a finished braided bracelet! Here’s how you can make your own:

Plain bracelet: the “before” shot.

Supplies:

  1. Leather cuff bracelet (mine is 0.5″ wide, dark brown)
  2. Sharp hobby knife

How to:

  1. Cut two slits in the bracelet blank, so that there are three strips or “strands.” (My strands are woefully uneven…I thought holding a ruler down next to the blade would help me cut a straight line, but the opposite occurred. I had much better luck just free handing.)
  2. Braid the three strands together. The bottom will get all twisted and tangly. Just ignore that until you’ve braided halfway.
  3. Then, holding your braid securely, untangle the bottom section by feeding the bottom bracelet end up through the tangle: “reverse braiding” if you will. It only takes 2 or three “reverse” maneuvers to make the bracelet straighten out.
  4. Then…just continue braiding. Untwist the bottom as needed and like magic the whole piece is one continuous braid!

Ta da! The “magic” braid.

As it gets worn, the leather braid will flatten out and get smoother, but I’m pretty happy with it as it is! ~ Cindy
SuperClear Resin for jewelry is super exciting!

July 22, 2011

Links updated 8/2017

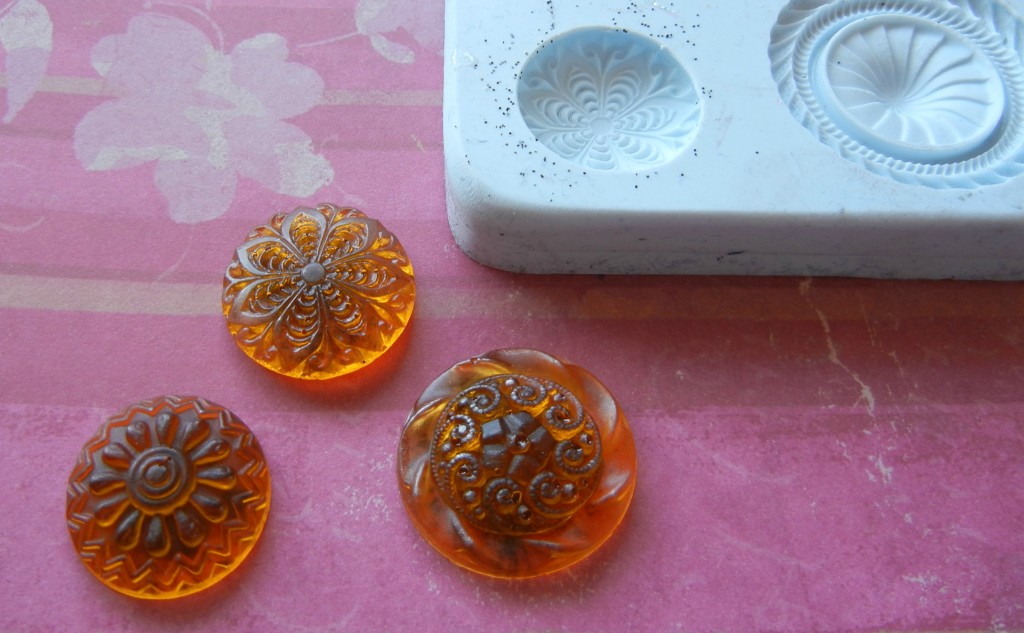
SuperClear Resin, molded with shiny Alumilite powder and seed bead mixes. I think I’ll turn these into bobby pins.

I have a love/hate relationship with epoxy resin. I love it when it works, and hate, hate, HATE it when it doesn’t. Through trial and more errors than I like to remember, I get good results almost always with EasyCast Resin. However, it isn’t exactly easy – the epoxy must be the right temperature. Air bubbles form and must be dealt with…then a few hours later more air bubbles might form. I’ve heard tragic stories of resin staying tacky forever rather than hardening like it should. All in all, working with resin is kind of stressful – especially if you’ve gone through a lot of expense or effort to craft special resin bezels.

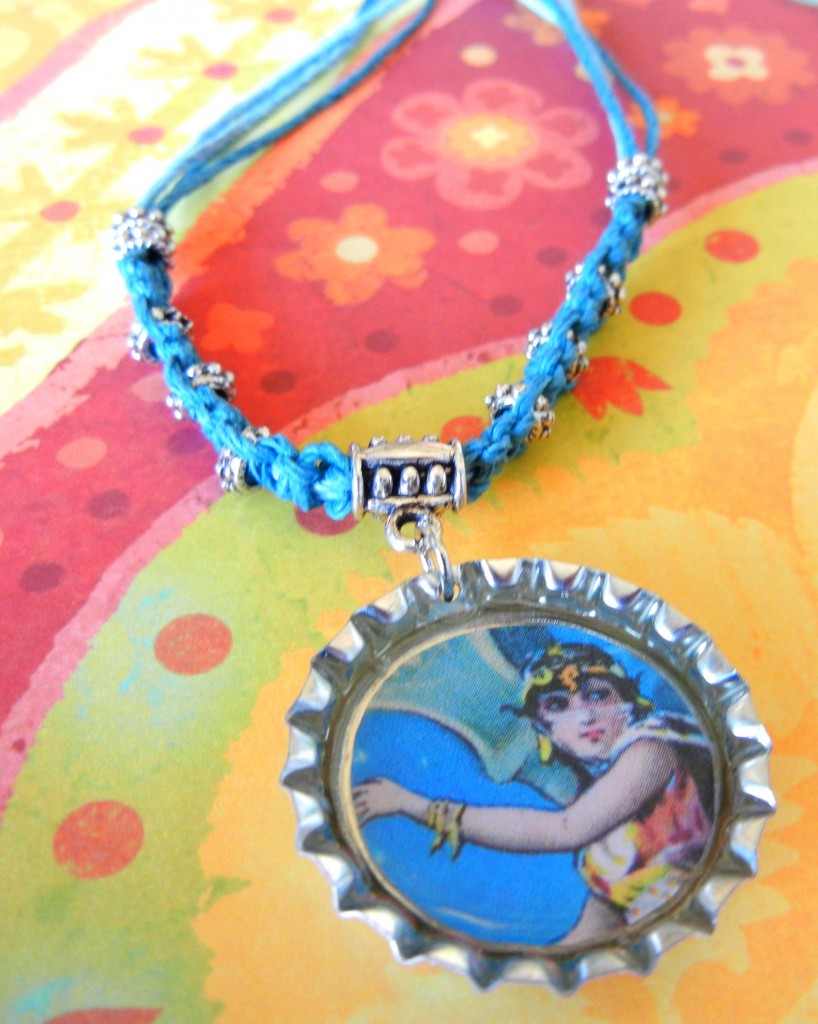
Super clear bottle cap pendant on a hand-knotted hemp cord – with no bubbles!

That’s why our design team is truly super excited about new SuperClear Resin by Resin Obsession. Cindy at Resin Obsession is just that – obsessed with resin. She specifically formulated SuperClear Resin to be easy to use for jewelry making:

SuperClear Resin forms very few bubbles.

*To dissipate bubbles in any jewelry resin, either blow through a straw (gently!) or wave a match (not too close or the resin might discolor) over the surface. The carbon dioxide is what pops the bubbles.

SuperClear Resin cures quickly: 6-8 hours at room temp or in just one hour at 150 degrees F!

*EasyCast takes 24 hours to fully cure. I always check mine a couple of hours after I’ve poured to make sure air bubbles haven’t multiplied behind my back. With SuperClear, there were hardly any bubbles from the beginning, and no new ones formed later.

SuperClear Resin mixes in a 2:1 ratio. Just fold the 2 components together for 2 minutes, let it “rest” for 5 minutes and then pour.

SuperClear Resin is super clear.

*I love accurate advertising.

SuperClear Resin is a good value.

*It is slightly more expensive than EasyCast, but less expensive than other clear jewelry resins. When you consider the time you’ll save, SuperClear Resin’s price looks even better.

SuperClear resin can be tinted with dyes too!

And finally, the best news of all for our international customers… SuperClear Resin can be shipped internationally! *Yay!!!!

One last thing: SuperClear Resin is compatible with all of our opaque and translucent resin dyes, metallic Alumilite powders, resin molds and related resin products.

~Cindy

Make hemp friendship bracelets and more with a Kumihimo braiding disk

July 15, 2011

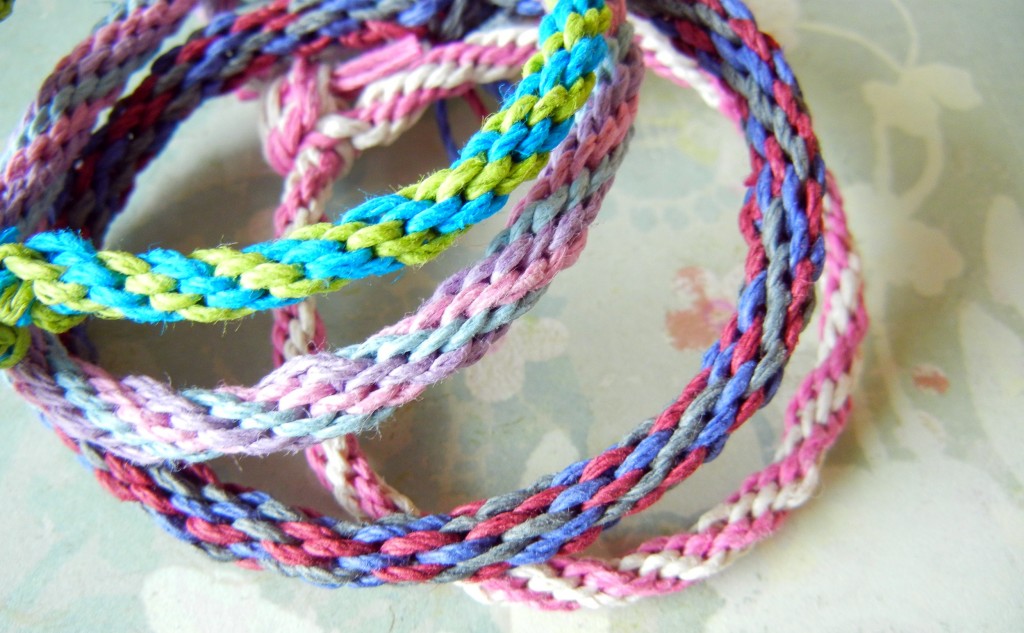
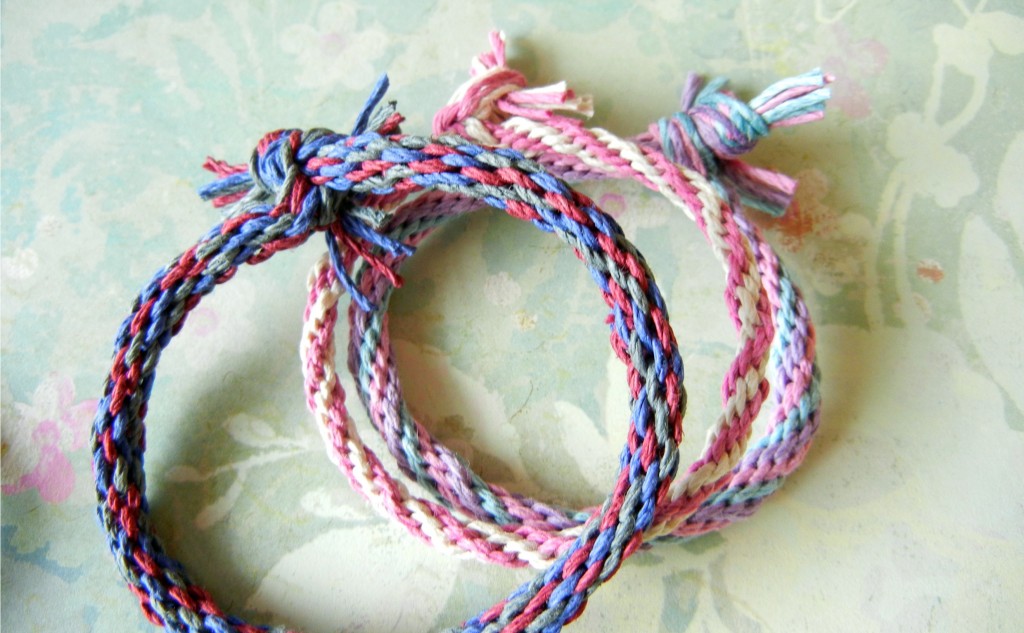
Colorful hemp bracelets are fun for kids of all ages to make … by “all ages” I mean 8 to oh, 80.

I’ve been intrigued by Kumihimo braiding disks for a while now. Kumihimo (a Japanese form of braid making) is an easy way to make intricate multiple strand braids. Braiding bracelets is the perfect summer-time activity, as anyone who has been to summer camp can attest.

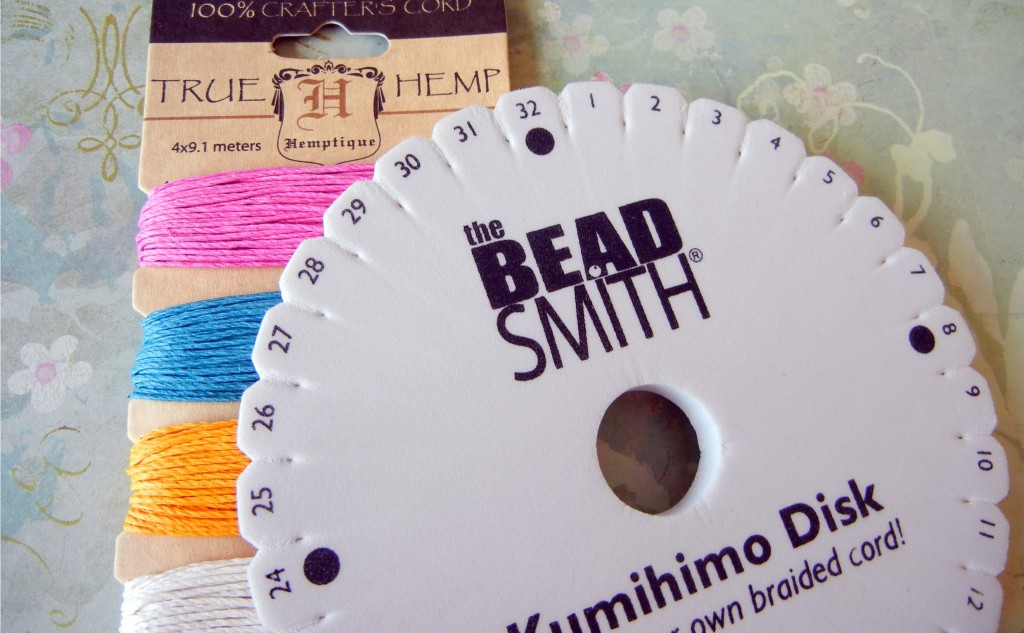
I used the “Spring” Hemptique assortment and round Kumihimo disk. Any type of thread or cord could be used. There is also a square disk available to make flat braids.

Most Kumihimo braids use 8 or 16 warps (each warp could be made up of multiple strands). I decided to try the 8-warp braid first. Since I was using 4 colors of hemp cord, I divided each color into two equal lengths and knotted them all together at one end (just a basic overhand knot). A basic rule of thumb is to have 3″ of each cord for each 1″ of braid length. If you are mixing different types of cord I would suggest estimating a bit higher.

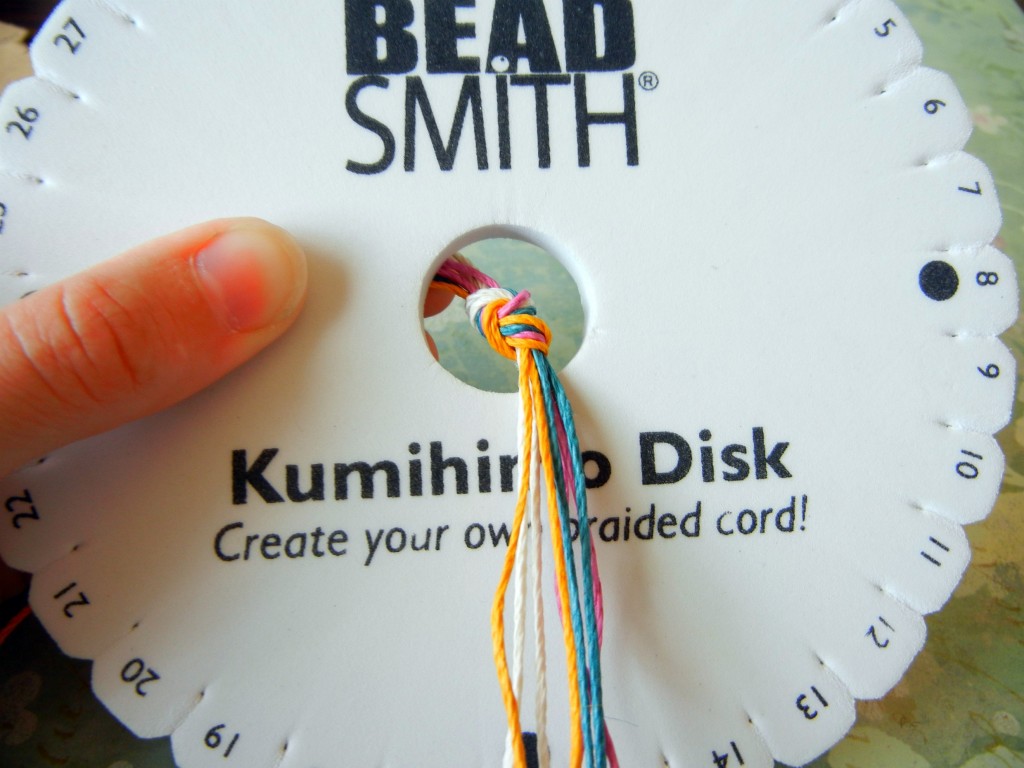
Feed the knotted end through the center of the disk to get started.

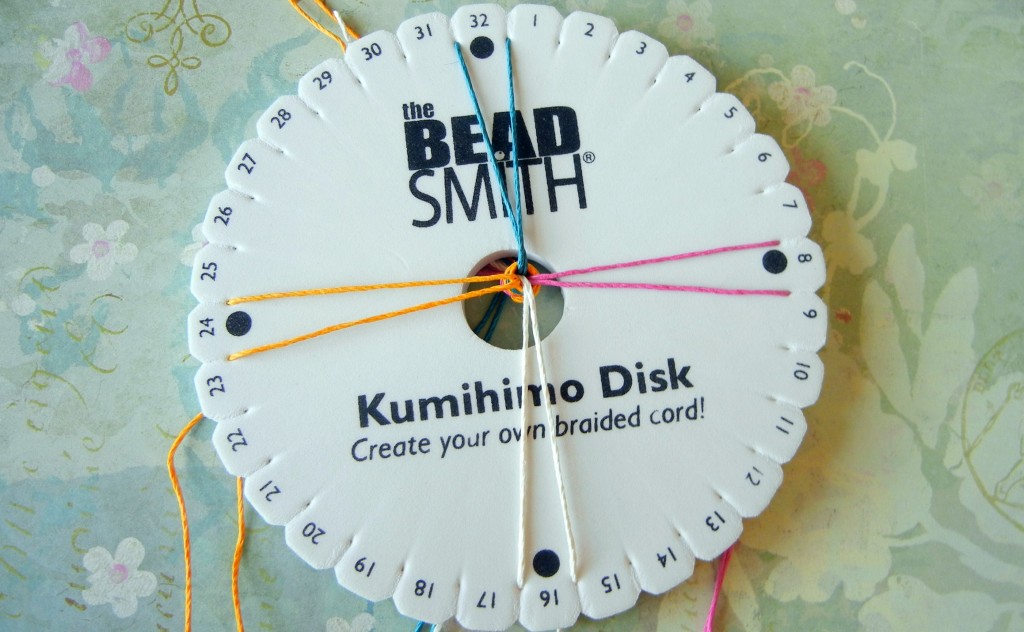
Place one cord (or “warp”) next to each of the four dots on the board.

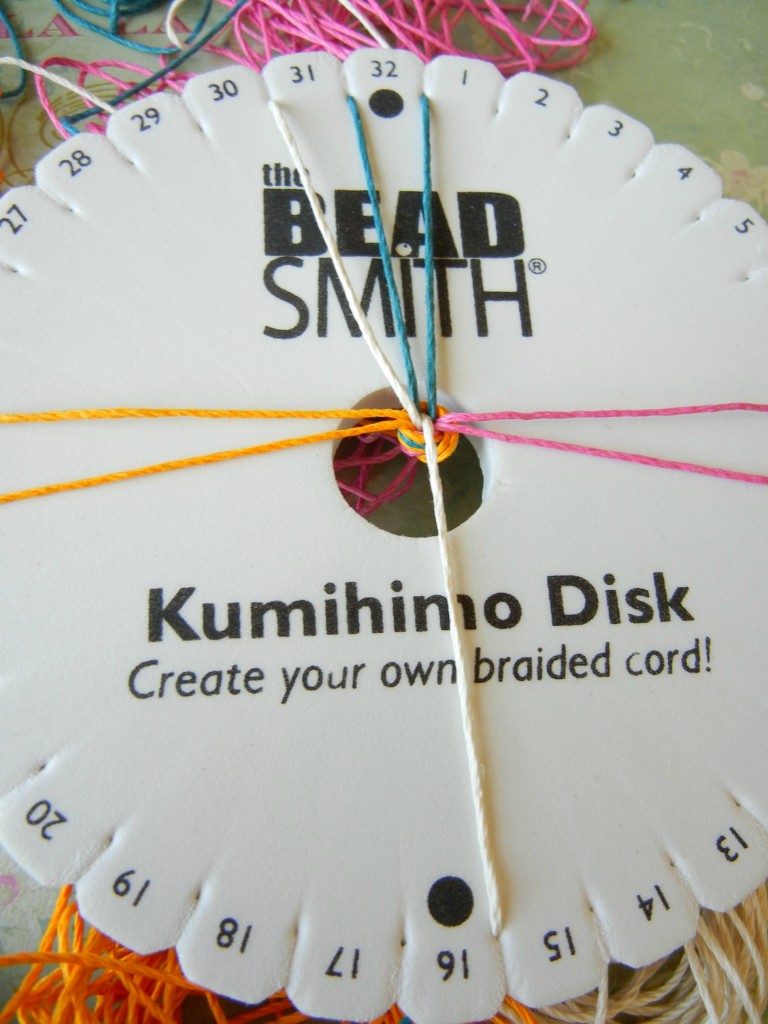
And start braiding! Bottom left cord goes to top left. Then top right cord goes to bottom right.

Now, the instructions told me to rotate the board 90 degrees so that I was always working from top to bottom, but I found it much easier to hold the board in one position and just apply the pattern. As long as you don’t cross the warps (ex. taking a left strand from the bottom and placing it on the upper right) it is really hard to mess this up. You’ll probably do it slightly differently than I did. What is really important is to keep your cords bundled into “no-tangle bobbins” – NOT all loose and tangly like in the photo above.

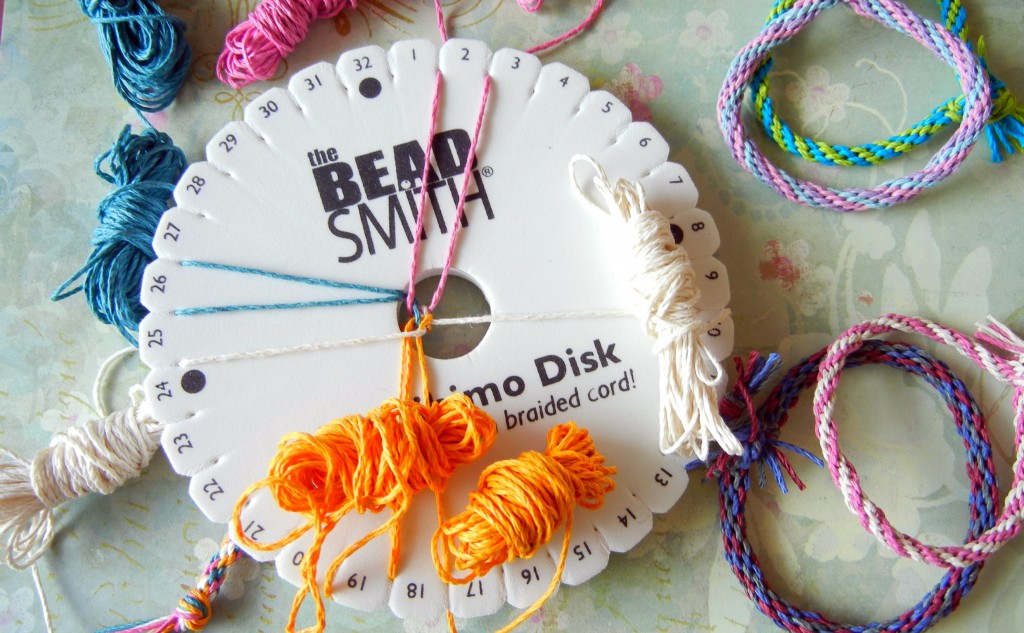
Keep the cord bundled up tightly to save yourself a headache.

The braid travels around the disk as you work, but you don’t need to pay attention to the numbers. And that’s all there is to it! For a project that requires no tools and no counting, the results are impressive! For a traditional friendship bracelet like the ones Jaci made, simply knot the ends together, preferably on your BFF’s wrist, so that it must be worn until it disintegrates.

Just tie a knot and trim the ends when you’ve braided a long enough piece.

I got on a roll, so I kept going and made my braid into a necklace. In the next blog I will show you how to finish braids like these, or any type of cord, really, with glue-on bullet ends. Have a great weekend! ~ Cindy
www.rings-things.com