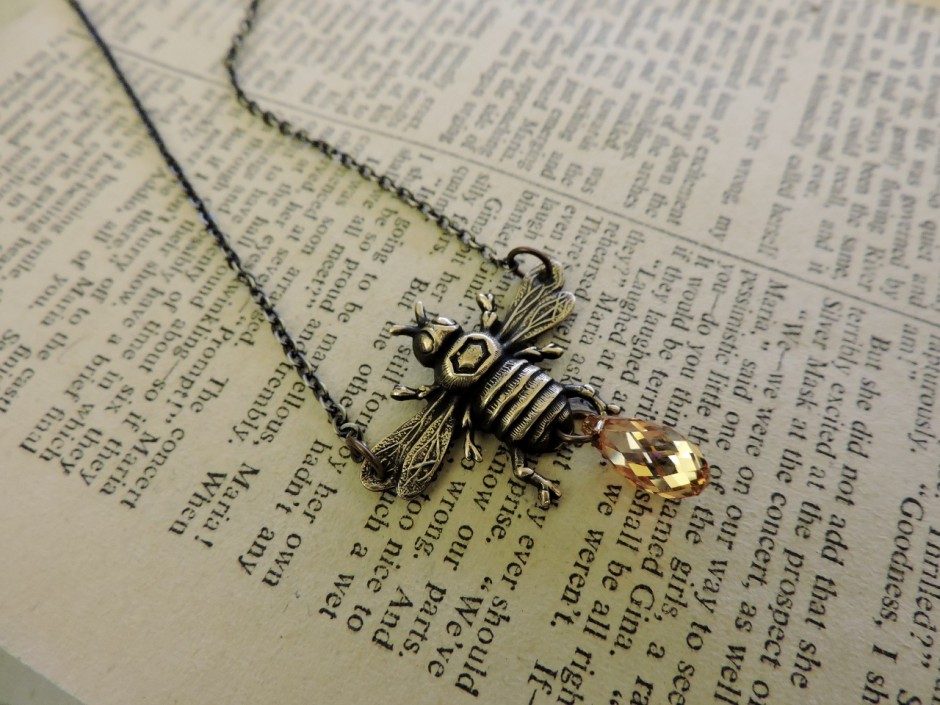
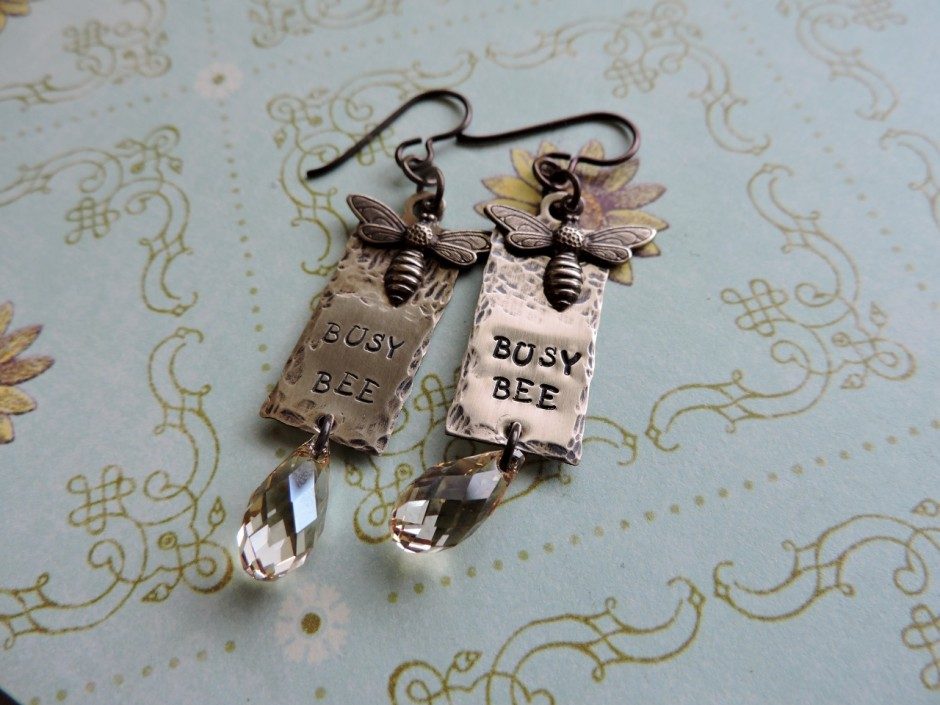
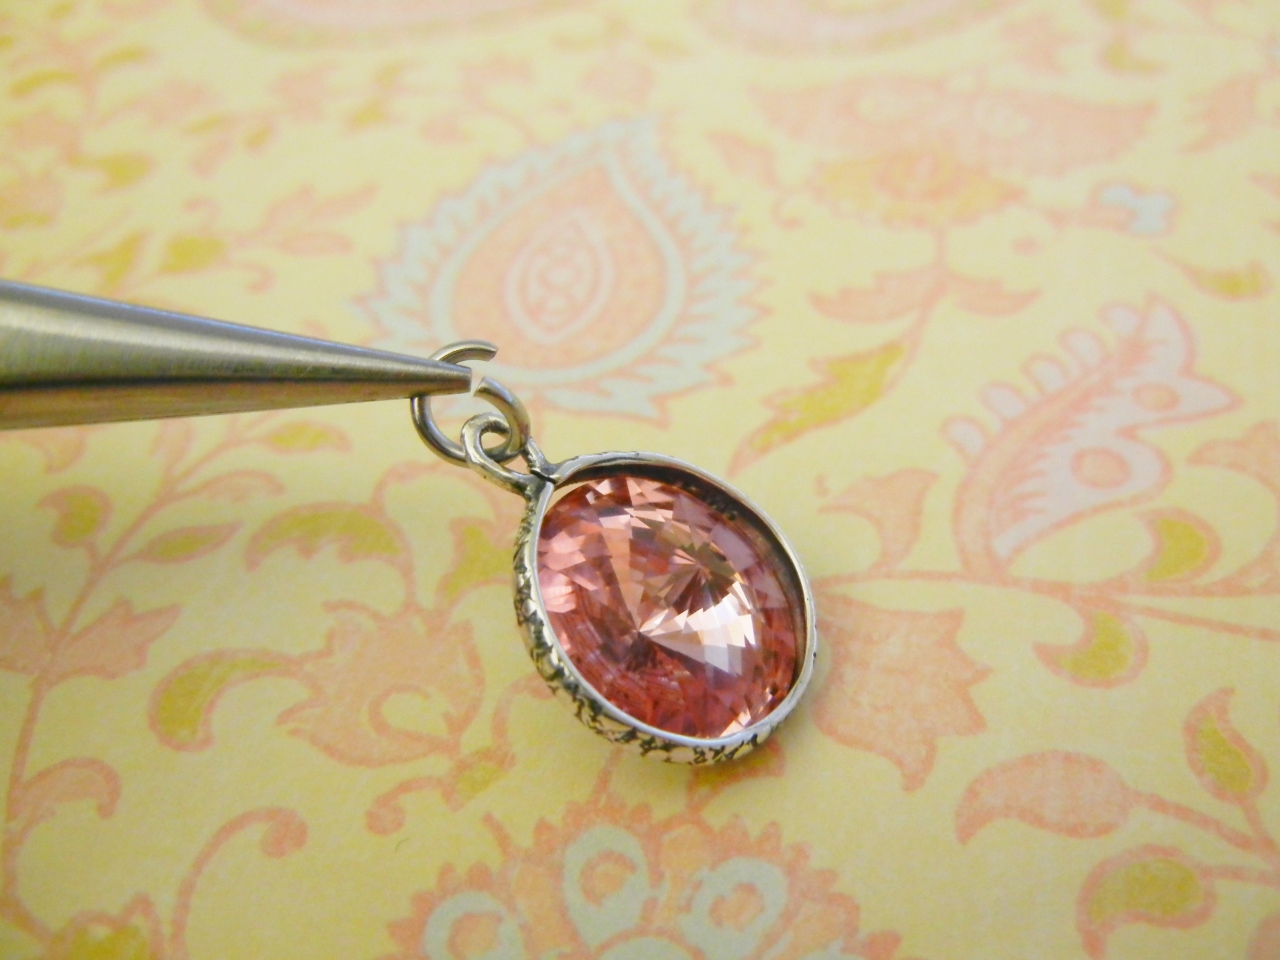
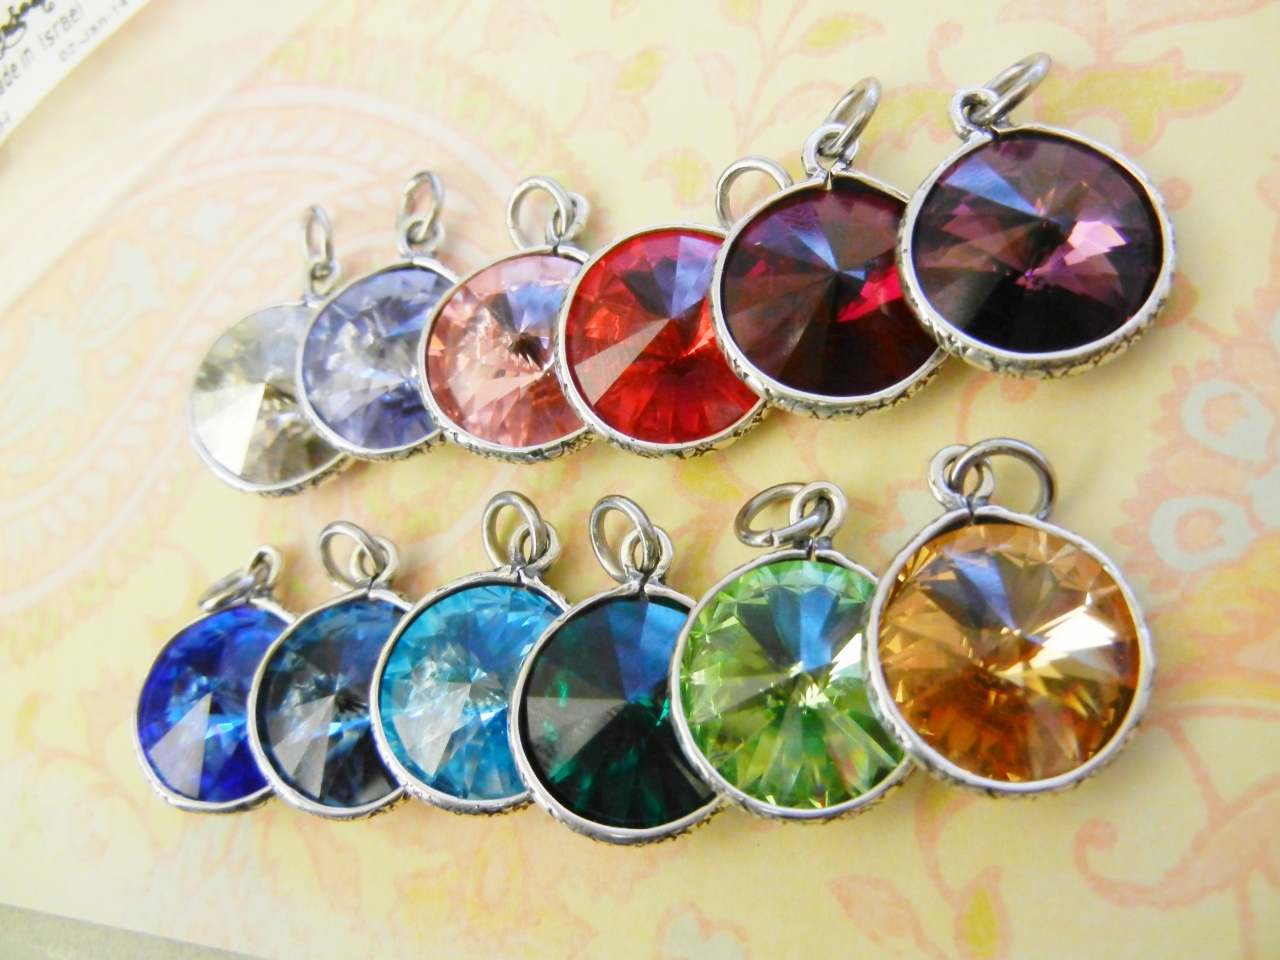
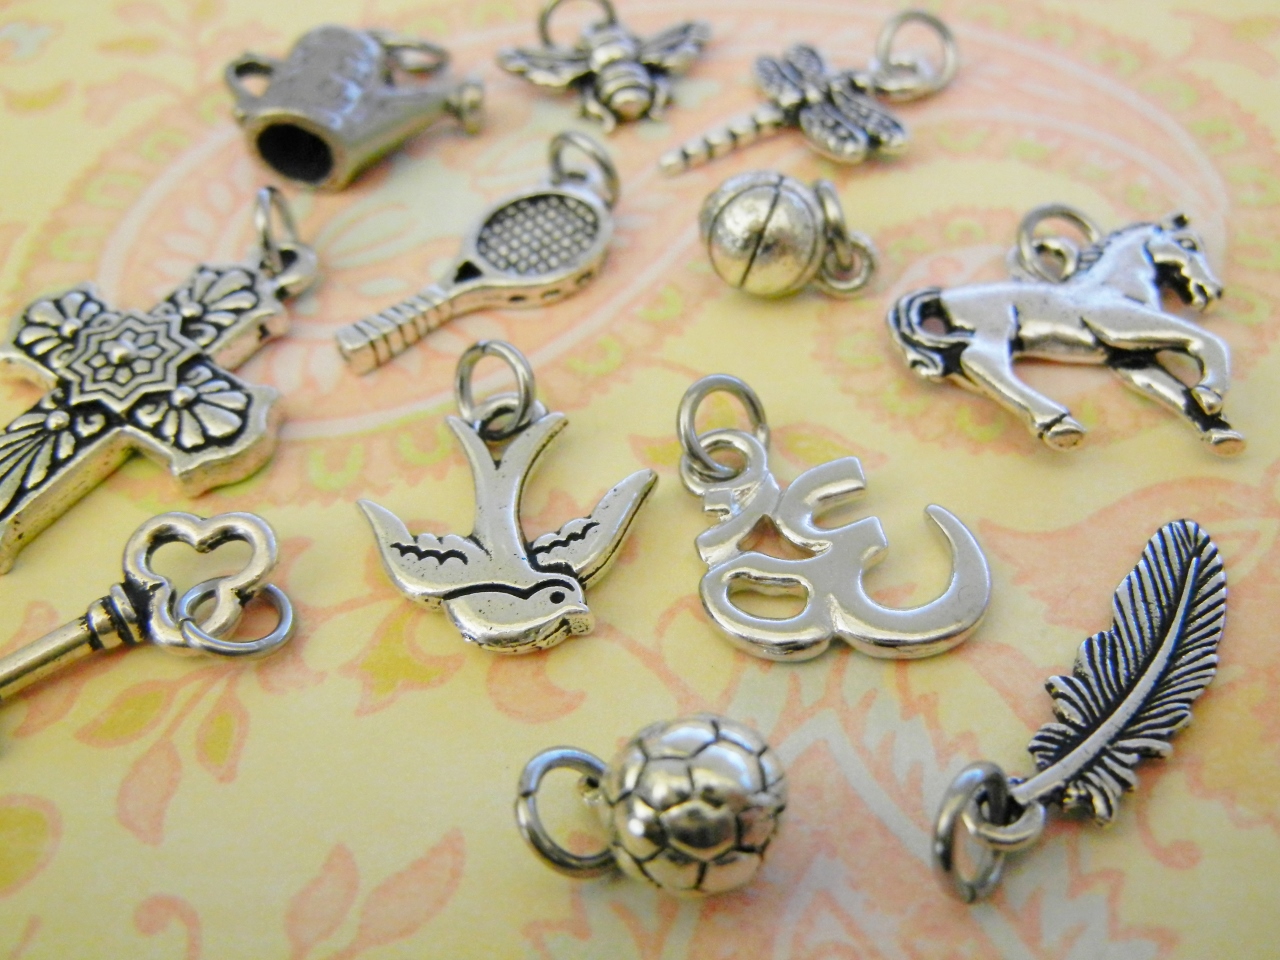
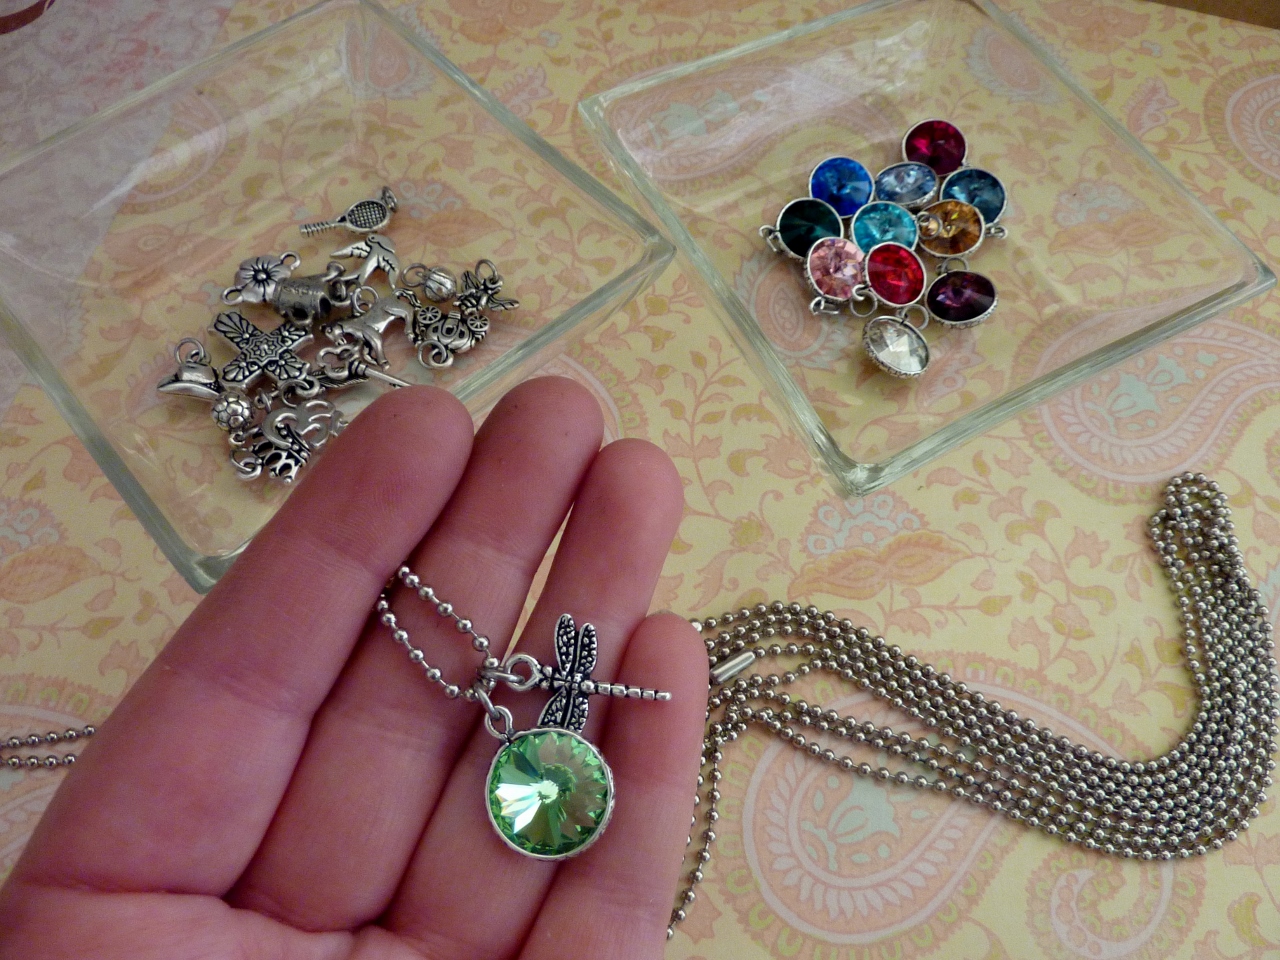
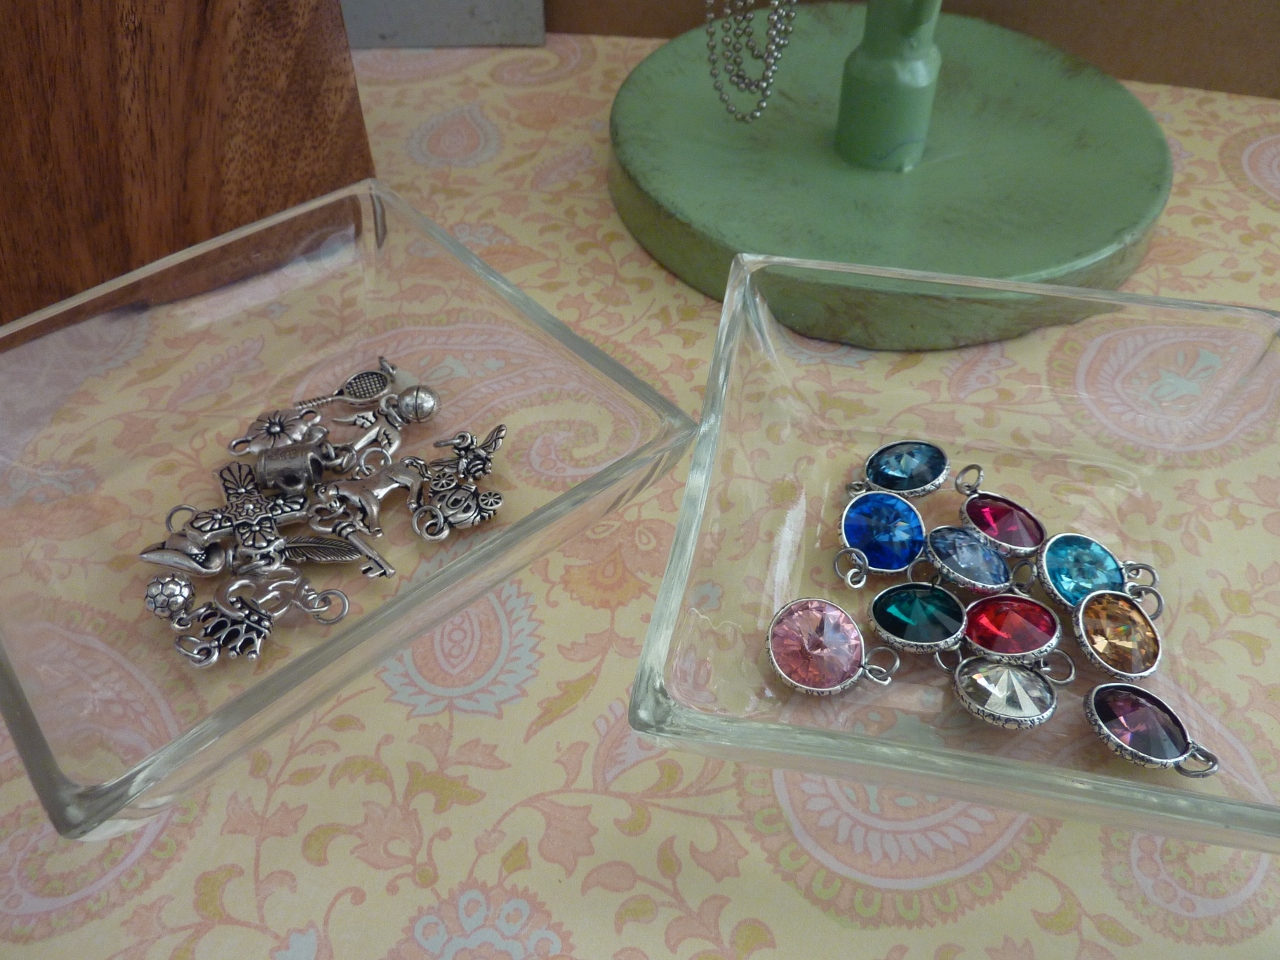
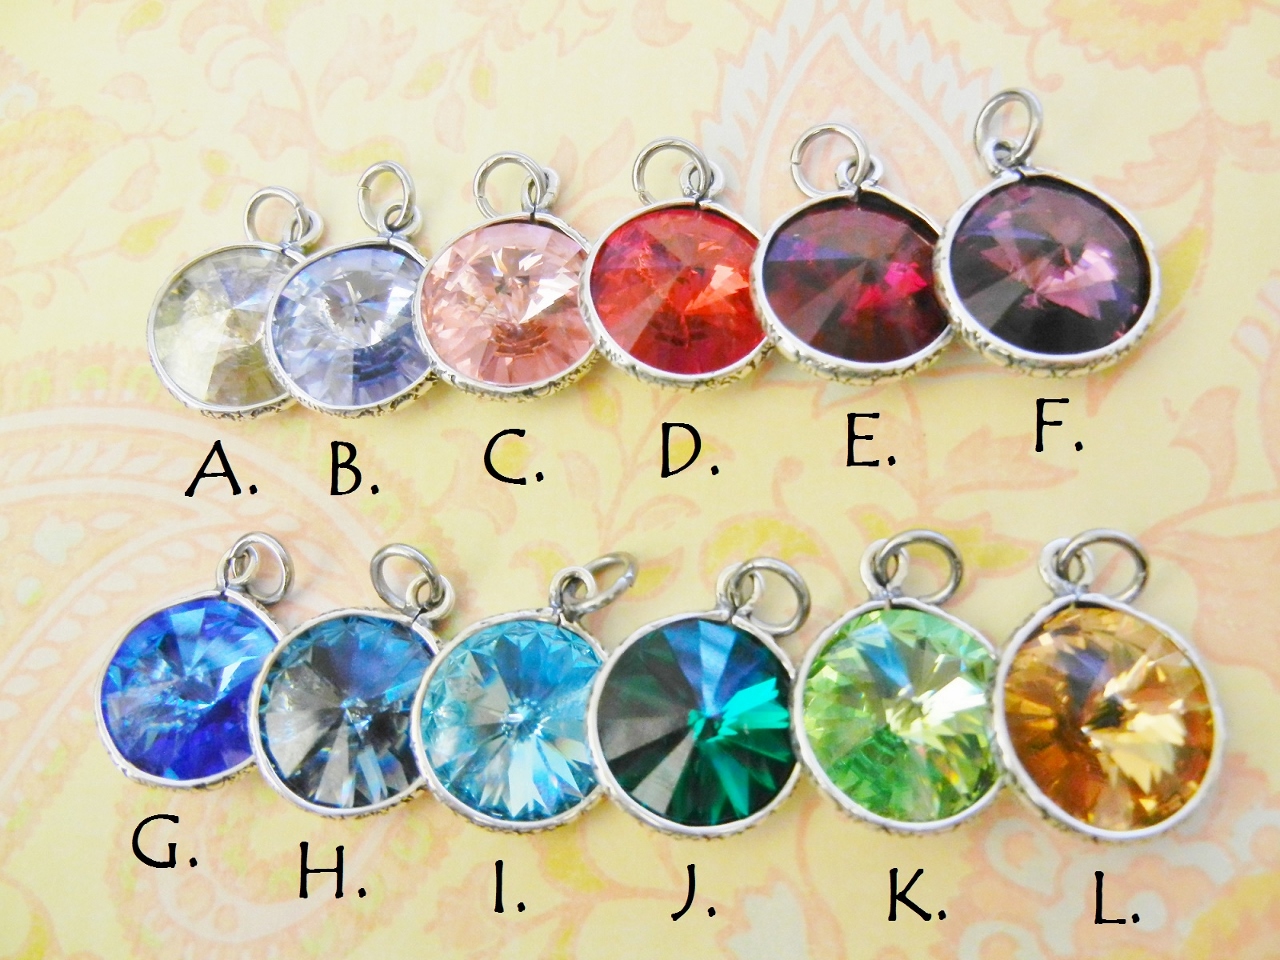
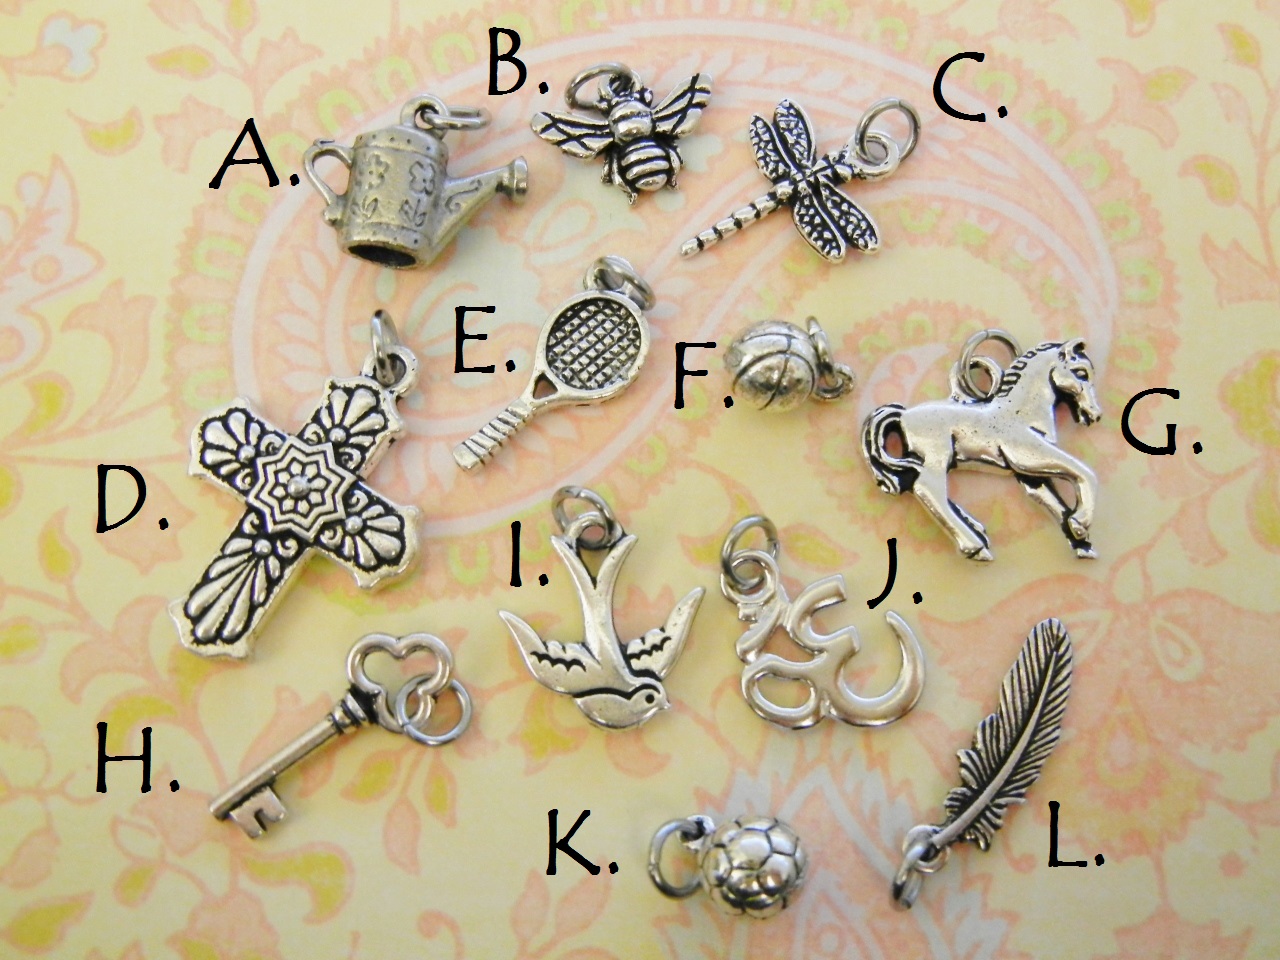
When spring time comes, I always want to make bug and leaf and flowery jewelry. I am paticularily fond of bumble bees! I knew I would have to use these raw brass bees paired with some of the new Swarovski crystal color, Metallic Sunshine. It is a beautiful warm honey color, perfect for this project! To see how to make the set, read below. All the products to make these pieces have links so you can order them and recreate this jewelry! —
Make-it-yourself Adjustable Bangle Bracelet Project
March 6, 2015Adjustable bangle bracelets are everywhere these days! They are the hottest new trend, so I just had to figure out how to make them. They are very easy to make! You can make them with brass for a gold look or silver filled wire like I did below. —
Multichain Bracelet Project
February 24, 2015I love chain! The more the merrier! When I was assigned to make something new with chain recently, I had a project in mind instantly. I wanted to make a multichain bracelet, with several styles of chain in the same plating. You could certainly make this bracelet with all the same chain, or chains in different platings as well. It is also a great way to use up chain scraps, since you only need 6-7 inch segments of chain. To see how to make this bracelet, follow the easy instructions below. —
DIY Rose Quartz Healing Necklace
February 6, 2015Rose quartz is a such a beautiful stone, pale pink and translucent. I have recently had customers for my personal business requesting more rose quartz jewelry due to the healing powers of this stone. When I looked into it, I discovered that rose quartz is a stone that promotes unconditional love and healing from emotional trauma (such as heartbreak). How perfect for Valentine’s Day! —
Busy Bee Earrings
January 16, 2015I think bees are so cute! I love to add them to my jewelry designs when I can. So when I discovered the Vintaj Bee Charms, my head went spinning with ideas! I really wanted to incorporate the phrase “busy bee” into the earrings, because that is often how I feel Like a busy little bee flying around! I love how these turned out! To learn how to create your own pair follow the simple recipe below!
Cluster Shades of the Sea Mermaid Bracelet
January 13, 2015Continue Reading…
Do-it-yourself custom bracelets
December 22, 2014They are also a great way to showcase cool found objects such as vintage buttons or foreign coins. Even the most novice crafter will be able to create one of these fun, mixed media pieces!
Continue Reading…
Custom Swarovski Rivoli and Charm Necklaces
December 5, 2014Ball Chain + Swarovski Rivoli + Silver Plated Charms
I love sweet little customized necklaces! These necklaces make the perfect gift for girls of any age! As an added bonus, these necklaces are very quick, easy, and affordable to create! They would be an ideal item for people to customize on an etsy store, or for people to create on the spot at a craft fair as a build your own necklace!
The total cost for making 20 necklaces, with a charm and a set Swarovski crystal= $85.05 or about $4.25 a necklace. That will also leave you with chain and clasp to make another 40 or so necklaces! One spool of ball chain can make over sixty 18-inch necklaces! The more necklaces you make, the cheaper each one will cost to make.
Let’s look at the cost breakdown:
- $18 for 1 spool 2.4mm white plated ball chain
- $21.80 for 20 14mm Swarovski Rivoli crystals at $1.09
- $20 for 20 Rivoli bezel settings at $1 each
- $2 for 1 package of 100 ball chain clasps
- $3.25 for 1 package of 100 stainless steel 6mm jump rings
- $20 for 20 assorted silver plated charms, approx $1 a piece
Total = $85.05
To make these necklaces you need just three tools: round-nose pliers, chain-nose pliers, and wire cutters. Follow these simple steps to make the necklaces!
Step 1: Cut your chain.
Step 2: Set your crystals.
Step 3: Add jump rings to your crystals.
Step 4: Add jump rings to your charms.
Step 5: Create! Mix and Match!
Step 6: Add a clasp to your necklace.
Craft Fair or Show Idea! Build-Your-Own Necklaces
This is a great project to do for yourself as gifts, but it is also great for a build your own necklace at a craft fair or show! Simply have all the components ready to go, and let people choose what they want! Make a price sheet that charges a base price and then additional for each charm or crystal they want to add!
Online Store Idea! Customize your own Birthstone and Charm Necklace
Have an etsy store? Etsy has made it so easy to add customizable items to your store! Take a photo of all the options of crystals and charms you offer, and make an item in your store that people can customize! People love custom items! I choose these crystals to coordinate with birthstones and a random assortment of charms, but you could pick whatever colors and charms you like!
A. Silver Shade (Diamond)- April
B. Provence Lavender (Alexandrite) – June
C. Light Rose (Rose Zircon) – October
D. Lt. Siam (Ruby)- July
E. Siam (Garnet)- January
F. Amethyst– February
G. Sapphire– September
H. Denim Blue (Blue Zircon)- December
I. Aquamarine– March
J. Emerald– May
K. Peridot– August
L. Lt. Colorado Topaz– November
A. Watering Pail
B. Bumble Bee
C. Dragonfly
D. Cross
E. Tennis Racket
F. Basketball
G. Horse
H. Skeleton Key
I. Flying Bird
J. Yoga Om
K. Soccer Ball
L. Feather Charm
Matching Earrings? Why Not!
I just love these necklaces so much! I especially love these rivoli bezels. They are super easy to use, inexpensive, and a beautiful way to frame the rivolis! Of course you can always make them into to simple matching earrings too! Just add your choice of earring wires! Total cost of the earrings, around $5! Total time to make them, about 2 minutes! Not bad! Well, I hope you can see the endless possibilities with rivoli crystals!
~Tiffany White
Make a Simple, Dainty Sterling Silver Necklace
September 5, 2014Sometimes when it comes to jewelry, less is more. That’s the case when it comes to these adorable river rock and sterling silver charm necklaces designed by Rings & Things’ Amy Mickelson. This project is easy, yet really pretty! Plus there are a ton of different sterling silver charms to pick from!
These necklaces only require one tool and a few simple components to make! The sterling silver chain necklaces are already finished with a clasp, making them a breeze to use. Plus, I just adore the contrast between the natural river rock and the dainty sterling silver charms.
Supplies and Tools Needed:
- Chain Nose Pliers (Amy used the #69-271-99 EURO TOOL 4-piece glitter set)
- Sterling Silver Jump Rings (Amy used #37-295-460, 6mm non-tarnish)
- River Rock Pendants, holey beach stones or any lovely, natural top drilled focal
- Sterling Silver Charms (Pictured, Flower and Butterfly Charm)
- Sterling Silver Necklace Chains (Pictured, Oval Curb Chain, #50-101-18-18 and Fine Curb Chain, #50-101-13-16)
Creating this necklace couldn’t be easier! Using your chain-nose pliers, pry open the jump ring a little. You only need to open it enough so that you can layer the three elements together. When opening jump rings, remember to always twist the ends in opposite directions to separate them. Do not “oval” the ring by pulling the ends apart.
Place the chain first, then the rock pendant, then your sterling silver charm onto the jump ring. Close the jump ring carefully, so that the ends line up flush.
Each finished dangle is smaller than a penny!
If you like this look, buy the parts to make these necklaces now!
You can check out additional possibilities by browsing our huge selection of sterling silver charms and sterling silver chain necklaces! My personal favorite chain is the sterling faceted ball chain, because it sparkles!
~ Tiffany
Fast & Fun DIY Flower Cabochon Bobby Pins
May 24, 2014Cabochon flowers are a super easy way to add a splash of color to your life! With flat backs for easy gluing, they’re a cinch to add to any number of craft projects. This tutorial shows you how to embellish the flowers then add them to bobby pins to make sparkling DIY hair accessories. It’s a great project for kids, seniors, girly get-togethers and parties.
Only a few supplies are required:
Flat Pad Bobby Pins
Flower Cabochons
Adhesive Dots
Paint Dabbers
Glitter!
White Glue Paint Brushes or Cotton Swabs for Glue
If desired, color the flower using paint dabbers. While the paint is still wet, dip the outer petals into glitter. If you’re not coloring your flower first, add a light layer of glue to the outer petals before dipping them in the glitter.
Apply the adhesive dot to the pad of the bobby pin.
Attached your embellished posie and you’re done!
Have fun & sparkle on!
Did you know? …
You can buy the supplies to make this project now: