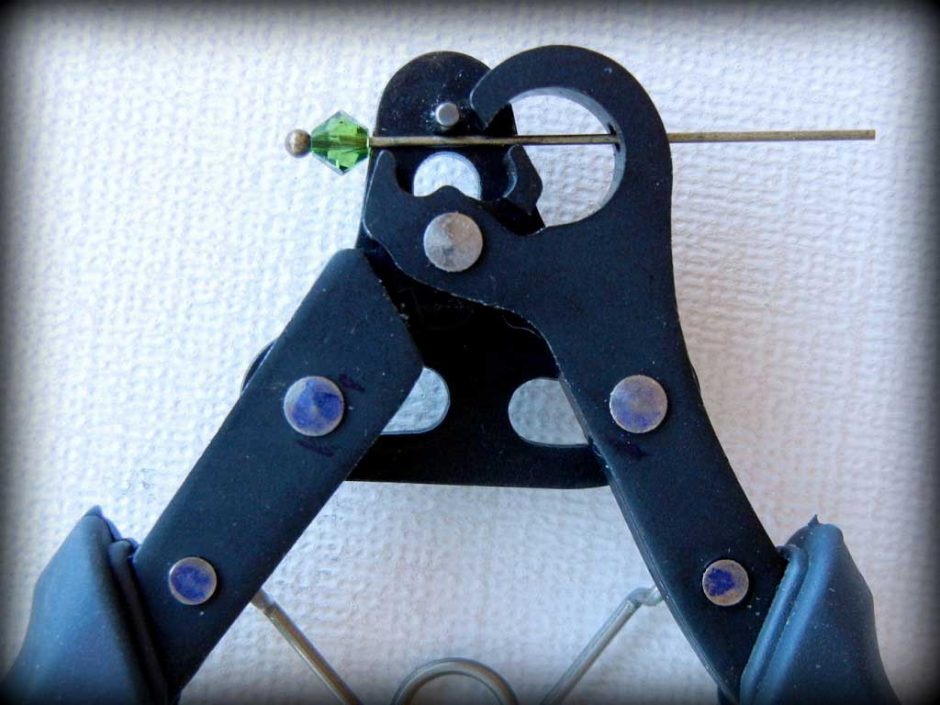
I love jewelry with lots of sparkly adornment, but making simple jewelry loops can be tricky. Creating matching loops with the perfect shape requires skill and time. It’s little wonder the “1-Step Looper” is so popular — this magical tool makes consistent loops in one quick and easy step. In fact, the process is so quick, you might miss it if you blink. Continue Reading…
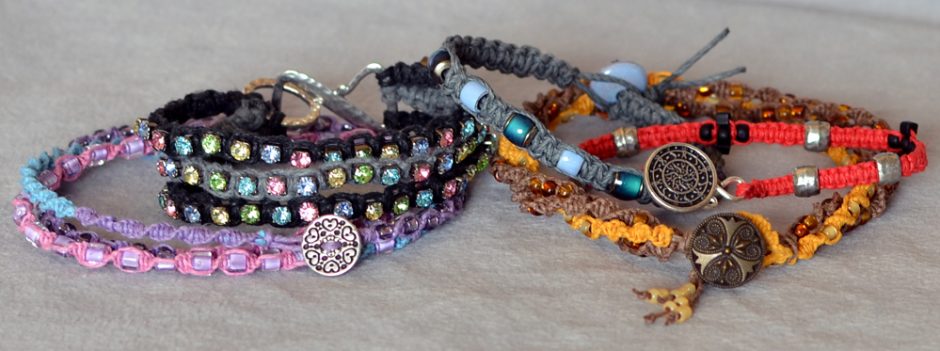
How to Macramé a Hemp Bracelet
May 7, 2013Growing up in the 1970’s, I predictably spent part of my childhood making macramé. In fact, I spent hours tied to the ends of masses of cording creating the ubiquitous plant hangers that have become an icon of the era. Call me sentimental, but I got a warm and fuzzy feeling when asked to dust off my knotting fingers and make a hemp macramé bracelet for Rings & Things’ Blog.
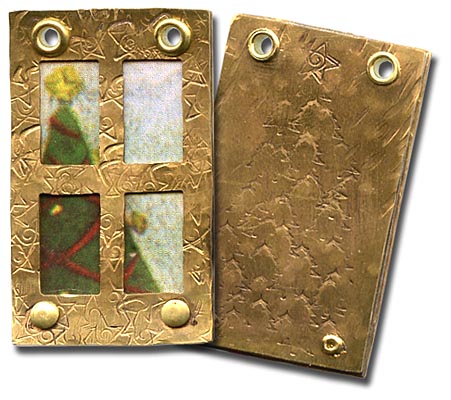
Continue Reading…Rivets
A few basic types of rivets are used when making jewelry. Each type of rivet (and eyelet) requires different tools and techniques. First I’ll show what each looks like and describe key features. In the second section, I’ll explain how to use them.
Spring 2013 Pantone Color Trends Giveaway
April 29, 2013Enter to win our Resin Flower Gluing Kit. Just comment at the end of this post — by May 6, 2013 — with your favorite Pantone Spring 2013 Color Trend to be entered into our drawing.
In celebration of Spring, here are the Spring 2013 Pantone Color Trends. Just click on any of the color swatches below and find the treasures available in our online store. Also visit our Design Gallery for all the designs you see here and many more. All designs are FREE – no login required!
Comment now with your favorite Pantone Spring 2013 Color Trend to win. Contest ends May 6, 2013.
~Jan
Conversions and Useful Jewelry Charts
April 29, 2013Wire Gauge Chart
Gauge is often abbreviated “ga” or simply “g”. If you can’t find what you’re looking for when searching a website, you may need to try the following variations: 28-gauge, 24ga, 22g, 20 gauge, and/or 18 ga to find what you want.
The most important thing to know about wire gauge is:
LARGER wire gauge NUMBERS = SMALLER/THINNER wire.
- 30 gauge wire is very thin, excellent for wire stitching and fine wire weaving.
- 21 gauge is a a popular size for ear wires in the United States (some other countries have thicker ear wires). To make nice ear wires that don’t bend out of shape, many people buy 18 gauge or 20 gauge dead-soft sterling silver wire and pull it through a draw plate to size it down, while the draw plate both work-hardens the wire, and makes it springy.
- 10 gauge is very heavy. It is likely to break inexpensive jewelry pliers, and dent or break most wire cutters. (Use a jeweler’s saw to cut heavy gauges of wire.)
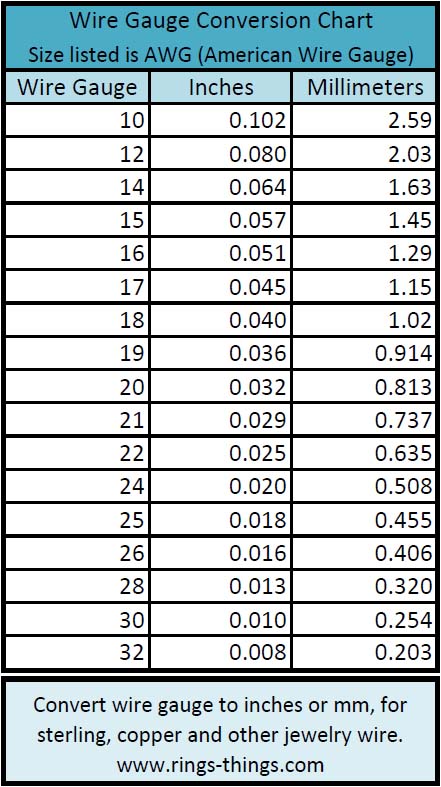
Wire Gauge Conversion Chart (AWG)
Picking the right size hole punch or drill bit for your wire gauge:
When punching a hole for a jump ring, you normally want a hole at least twice the diameter of your wire. This allows for good freedom of movement.
When riveting, either measure and drill a hole the exact right size, or punch a hole slightly too small, and then enlarge it to the perfect size with a bead reamer (or round file). Riveting with a hole that is too large, can cause your rivet to bend or slip, both of which can cause additional problems. More info @ Riveting 101 (for jewelry and small mixed media artworks).
- 1/16″ hole punch = .0625 inches or 1.59mm (a tiny bit smaller than 14 gauge) – so a 1/16″ hole, plus a few turns of a bead reamer, is perfect for riveting 14ga wire.
- 3/32″ hole punch = .0938 inches, or 2.38mm (roughly 11 gauge)
- 1/8″ hole punch = .125 inches, 3.18mm
- The new 3-hole punch by Eugenia Chan punches 1/8″, 3/32″ and 1/16″ that correspond with standard tube rivets (aka eyelets): 1.6mm, 2.4mm, and 3.2mm.
- The new 4-hole punch by Eugenia Chan punches holes that are the exact correct size for 18-gauge, 16-gauge, 14-gauge and 12-gauge wire rivet holes.
OH GOSH DARN IT! I accidentally made this live before I finished it…
Still to Add:
- bracelet sizes from old catalog page 777?
- typical # of round beads per strand
More helpful links:
- Standard (and not-so-standard) Jewelry Units of Measure (gross, mass, etc.).
- Quick (or exact… your choice) jewelry size conversions between inches and millimeters.
Riveting with TierraCast Leather Findings
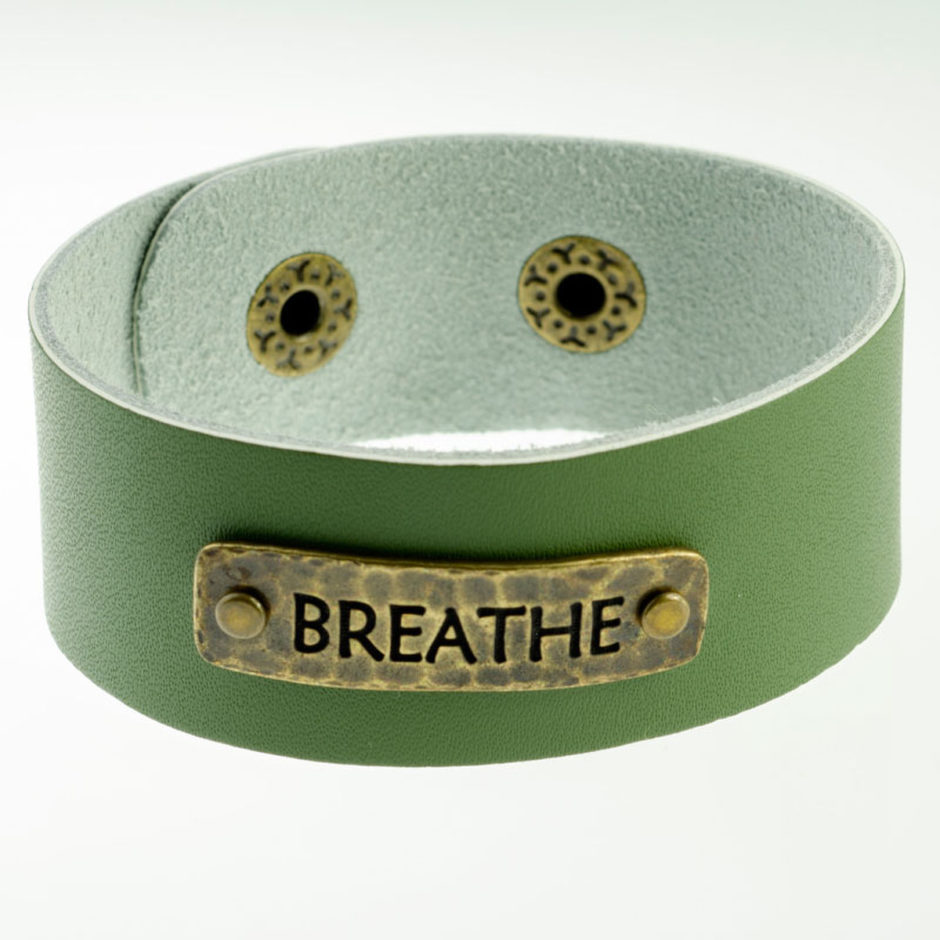
April 22, 2013The links, beads and rivets in TierraCast’s Leather Findings Collection are refreshingly easy to use — especially for those of you who are still nursing bruised fingertips from my previous riveting blog!
How to Solder Glass Pendants
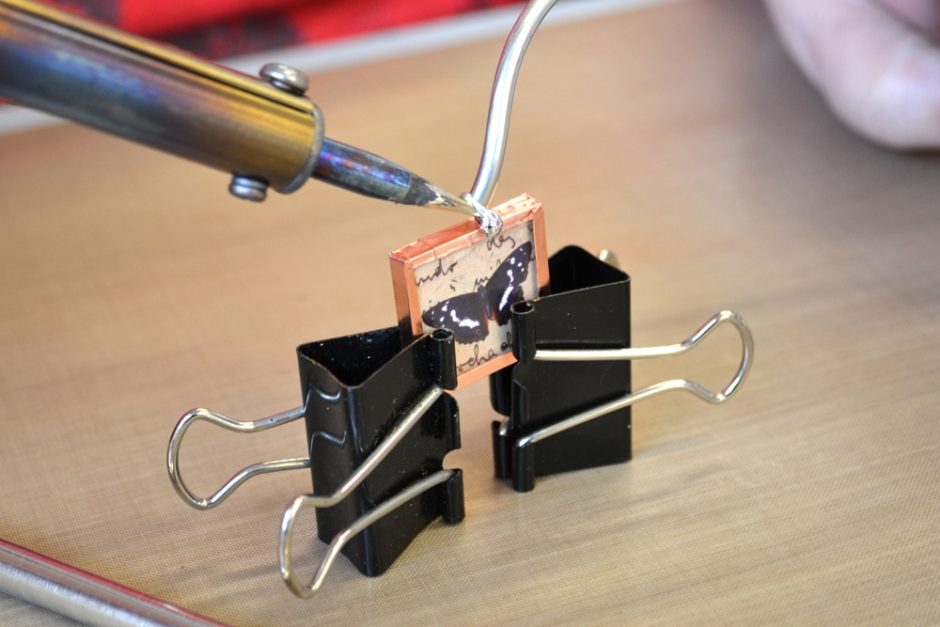
April 18, 2013Our original tutorial on “How to solder jewelry with Simply Swank Tools” has been very popular. Since the “Simply Swank” company no longer exists, I have attempted, here, to provide information on similar supplies, and to answer some questions.
Continue Reading…How to Use Fancy Wire Rivets
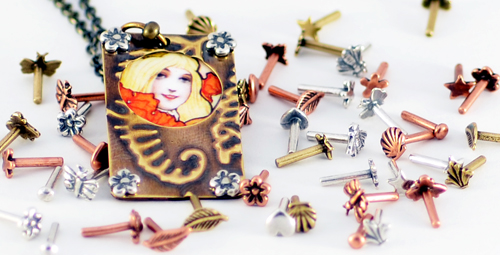
April 5, 2013Bees ~ Fleur-de-Lis ~ Leaves ~ Simple Domed ~ Shells ~ Hearts ~ Stars
If you already know how to make and set traditional wire rivets, then you only need to know one new thing about setting these fun decorative rivets:
- To prevent marring the decorative rivet head, don’t hammer with your rivet head directly on the usual steel block. Instead, set the rivet head on a piece of wood (a scrap of 2×4″ works great), or use a piece of heavy leather between the rivet head and steel block.
Square Peg – DIY Greek Leather Bracelet
April 1, 2013I love this simple, sleek Greek leather bracelet by designer Mollie Valente. And I’m not the only one who appreciates this combination of simplicity and Greek leather — it is the most popular project on our site for the first 3 months of this year!
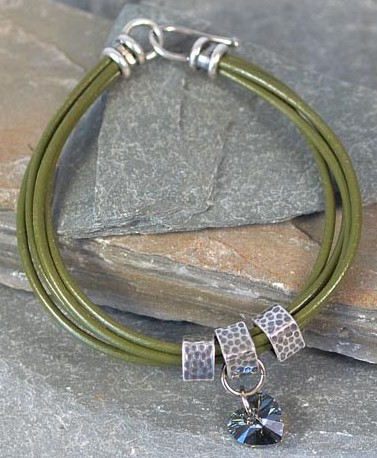
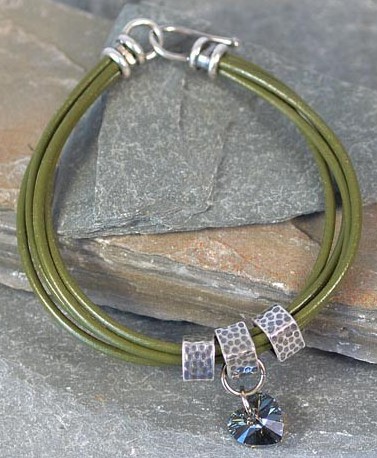
Swarovski’s Crystal Bronze Shade (see all 79 shapes!) picks up and reflects the hues nearby, and even changes color depending on the intensity and type of light coming into it — it can look bronze, olive, or even a shimmering gray-blue.
This bracelet features four 7.5″ strands of supple olive-green Greek leather:
center-crimp tube with loop
Hold the 4 strands of Greek leather together with classic center-crimp tubes. To use center-crimp tubes, select a size slightly larger than your cord — for this bracelet, the 4.5mm inner diameter perfectly holds 4 pieces of round 2mm cord. Add a dab of flexible glue to the ends, and firmly crimp the center section of the tube with round-nose or narrow flat-nose pliers.
Use a hook on one end, and an eye (or loop) on the other end of the bracelet.
The square drum beads have a 5mm hole – great for heavy cord and multistrand designs. They are available in 4 plating colors, and a slightly smaller triangular shape too. A large 8mm round jump ring fits nicely around the bead, so you can hang charms, small pendants or beaded dangles.
Browse our Design Gallery for 100’s more jewelry design ideas and techniques (it’s always free — no login required!).
Questions about this or any other design in our Gallery or catalog?
Comment below, or ask us on Facebook! ~Polly
Copper Soldering Tutorial – Part 2
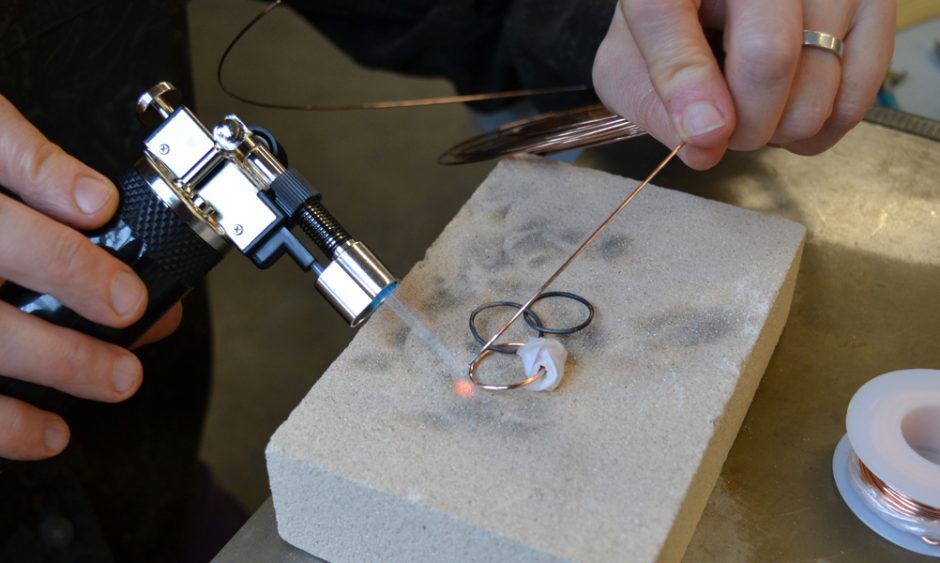
March 7, 2013Today’s DIY: How to solder copper links with beads
If you like bead-embellished wire links, but wire wrapping is not your forte, then this is an excellent project for you!
See previous blog post for basic soldering instructions, including links to torches, soldering surfaces, basic tools and setup.
- When cutting or soldering, wear eye protection to protect your eyes from flying bits of wire or solder.
- Make a few coils: as many as you can comfortably fit on your ring-bending pliers, a suitable size of Wubbers bail-making pliers, or the fun new shapes of Wubbers mandrel pliers. For round links, I prefer ring-bending pliers for 20-22mm loops (3/4″ – 7/8″), and the X-Large bail-making pliers for 12mm and 15mm links.

