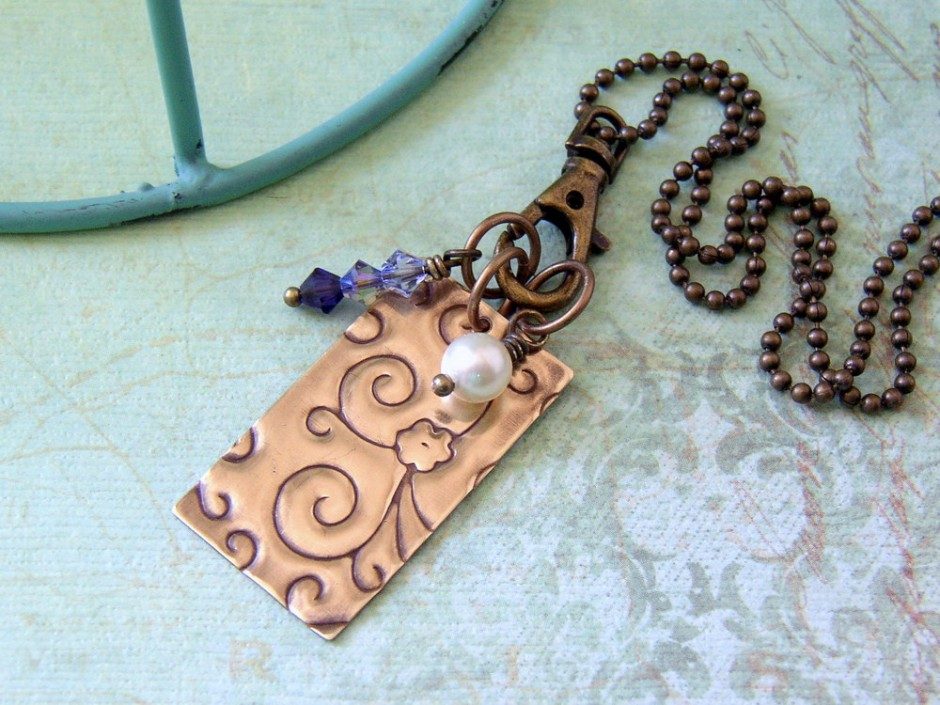
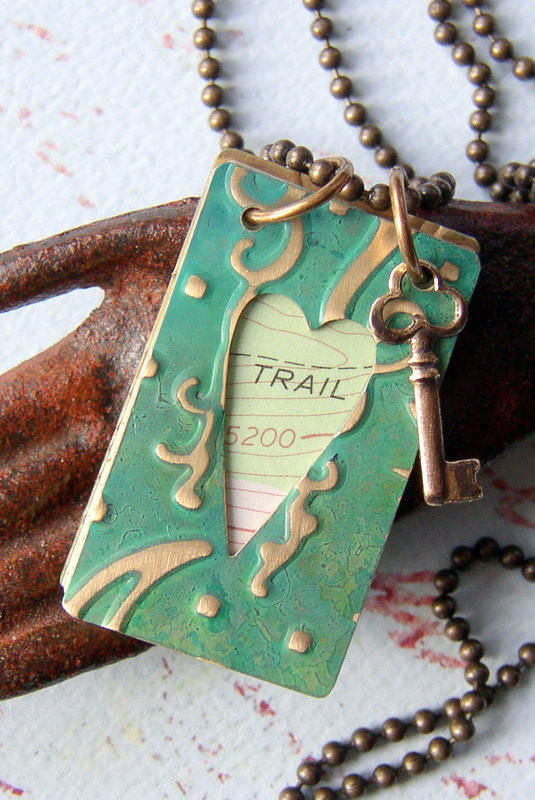
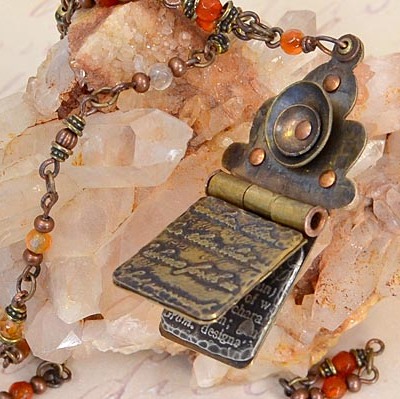
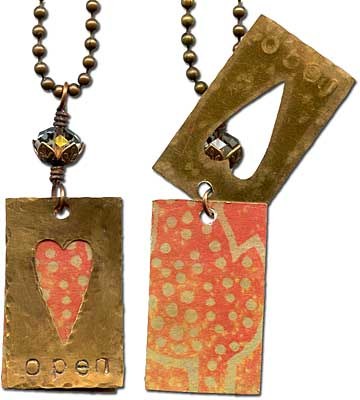
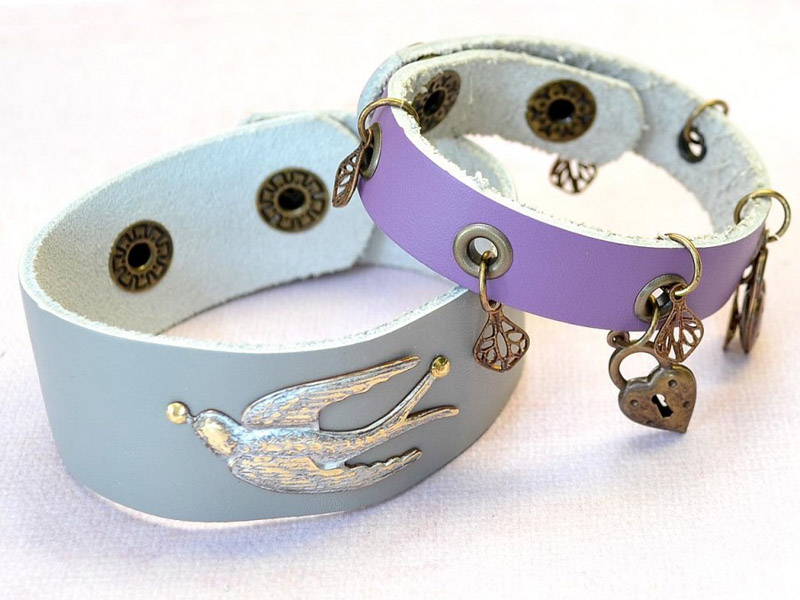
Vintaj Special Edition BIGkick Machine by Sizzix (out of production, and replaced/upgraded by the Big Shot Jewelry Studio) is the perfect tool for adding detailed patterns to metal. Unlike a rolling mill, the BIGkick machine is affordable, compact, and doesn’t require a lot of strength to use. It comes with the main machine body, a solo platform and shim, and a pair of cutting pads. There are dozens of DecoEmboss and DecoEtch dies in a variety of popular themes; these are sold separately so you can select the designs you like best and add to your collection over time. Finally the embossed and etched blanks can be polished to a high shine, or colored with Vintaj patina inks. Continue Reading…
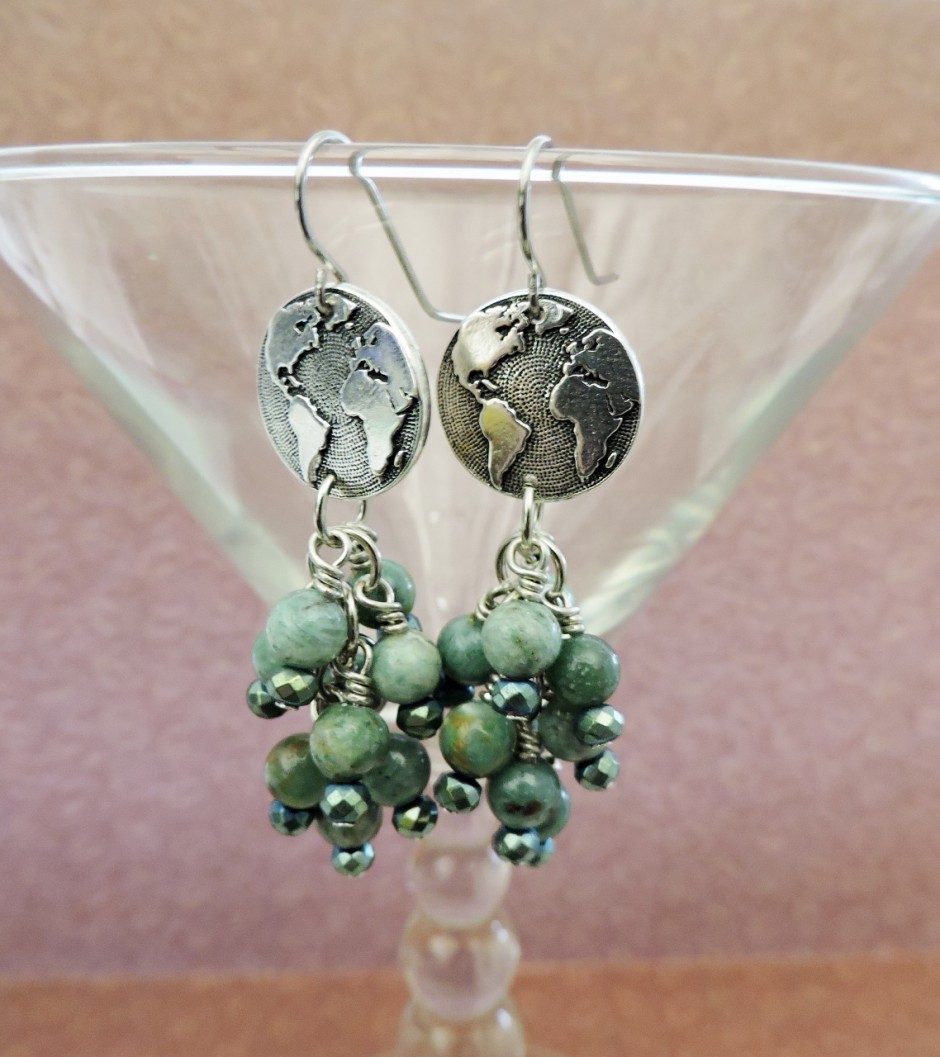
Planet Earth Earrings
March 24, 2015Earth Day is just around the corner! And the timing couldn’t be better! We just got in the new TierraCast Earth Buttons and I thought some planet Earth earrings would be perfect! Check out below how easy these earrings are to make! —
DIY Glass Tile Image Jewelry Tutorial
January 27, 2015You can create personalized image jewelry with glass tiles and glue-on findings from Rings & Things. In fact, if you can cut paper and glue, you can make image jewelry! Just follow the detailed steps below to turn any image into a wearable piece of art. Continue Reading…
DIY Swarovski Applique
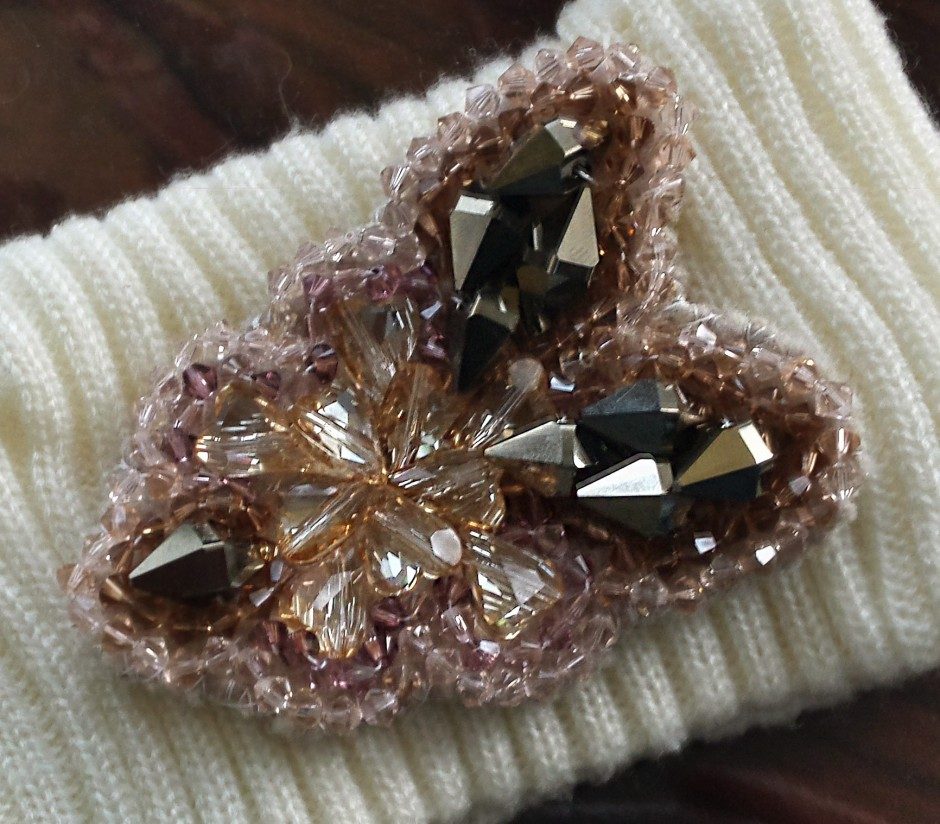
December 9, 2014Did anyone else notice that winter hit overnight? The below-freezing temps are here and it’s time to snuggle up in our warm winter-wear! While I hate being cold, I love wearing coats and all of the fun accessories that go along with them – so I obviously need to be cute while doing it! I’ve also found a passion for the ‘DIY’ trend that seems to be everywhere these days, and I have created a basic tutorial for applique work using Swarovski crystals and an old headband I found in my closet!

Supplies
1 – John James Beading Needle, Size 10
1 – The Beadsmith Braided Bead Thread, .006in, 28yd spool (I used White)
288pcs (2 gr) – Swarovski Crystal Jams, 4mm (I used Bohemian Rhapsody) OR any color Swarovski Crystal Bicones, 4mm
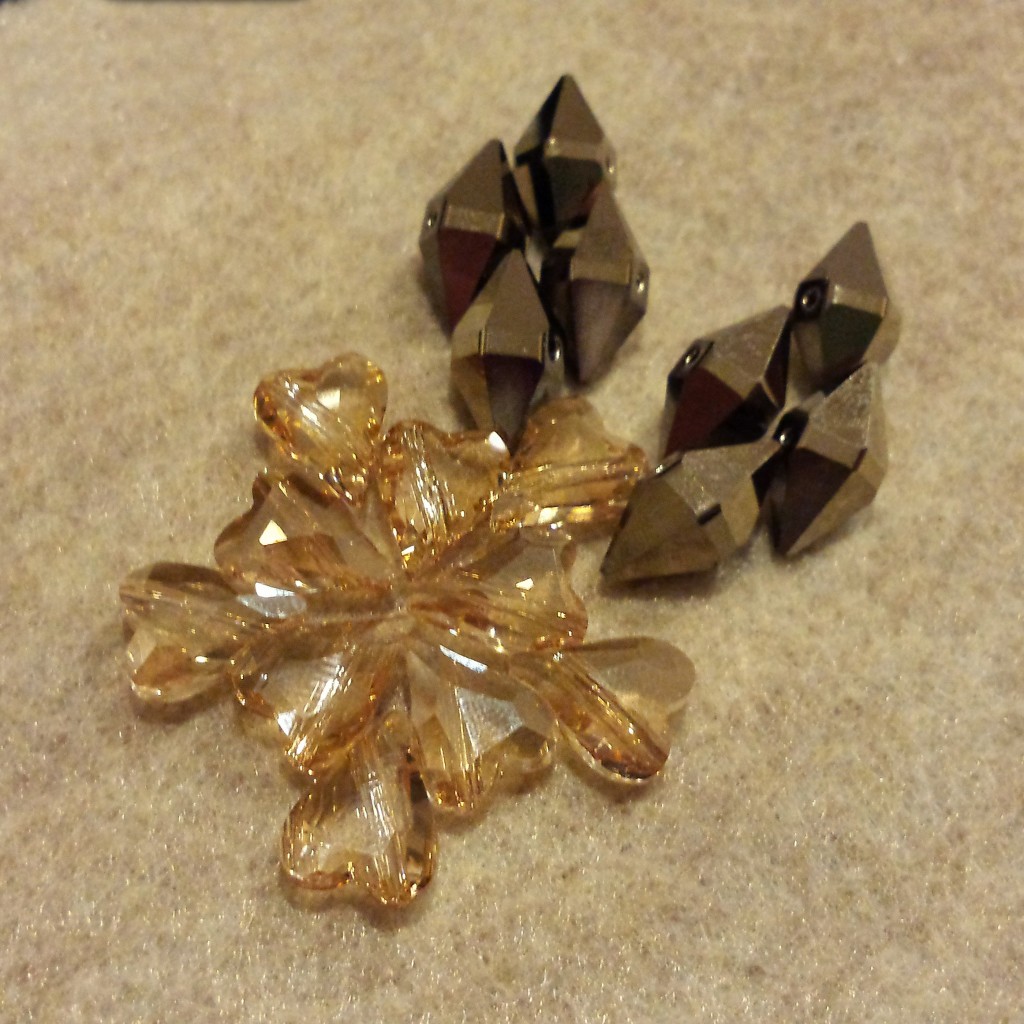
9 – Swarovski Double Spike Beads (I use 12mm Metallic Light Gold 2x)
10 – Swarovski Wild Heart Crystal Beads (I used 12mm Golden Shadow)
2 – felt squares, about the size of your hand
Pair of scissors

Now the Fun Part!
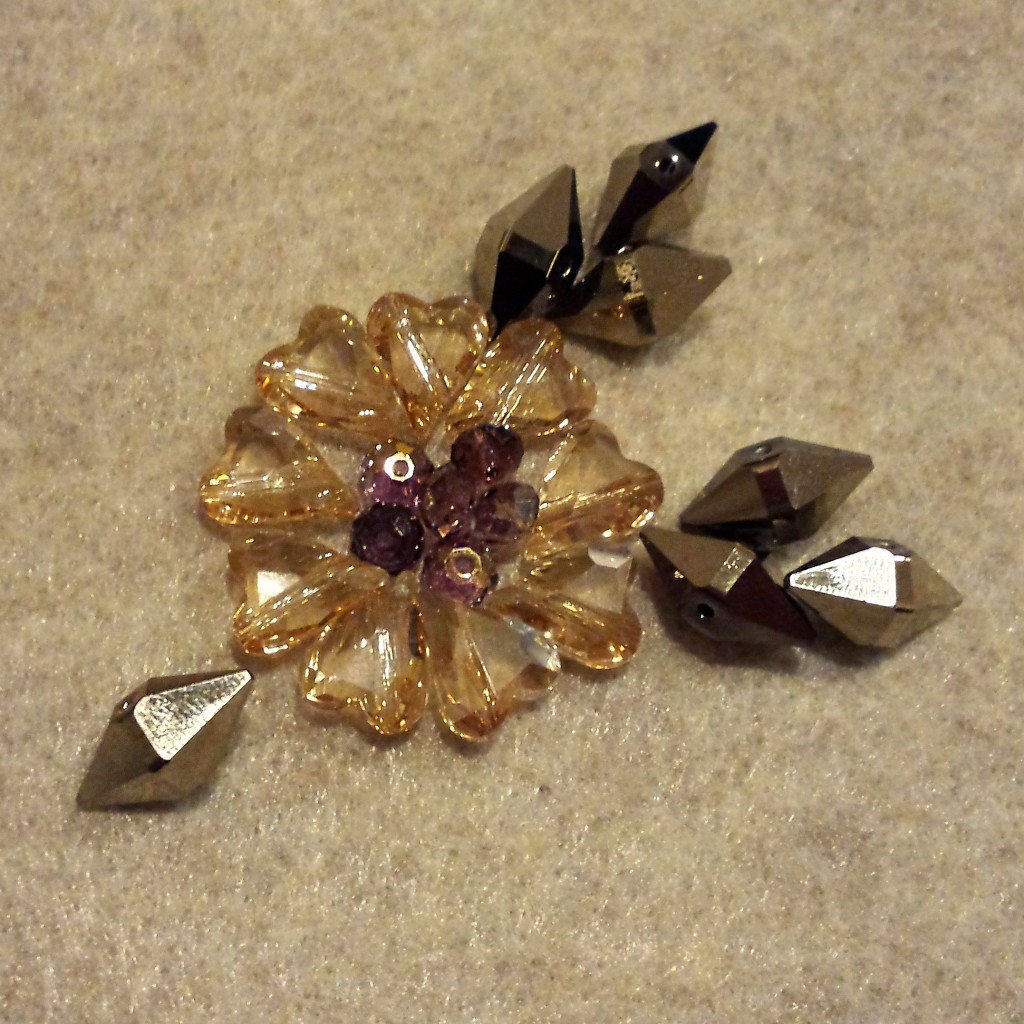
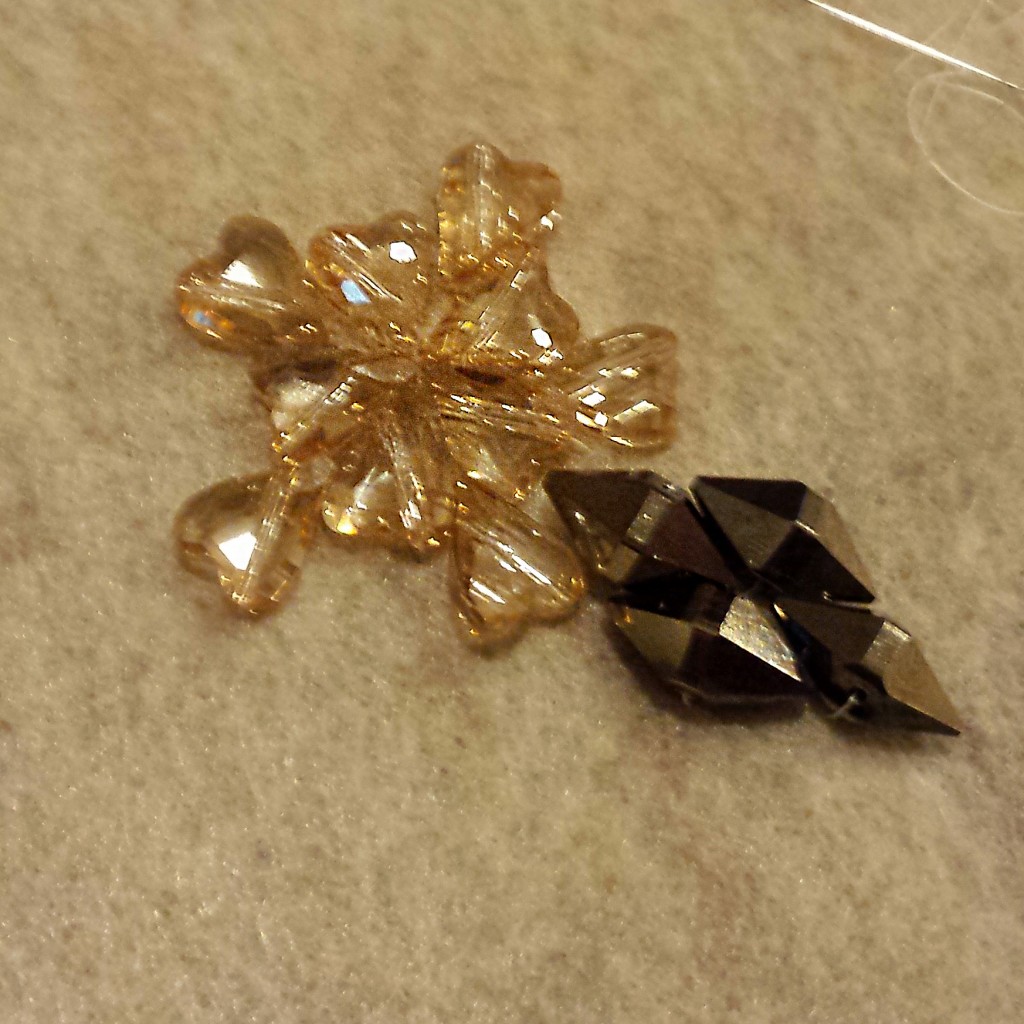
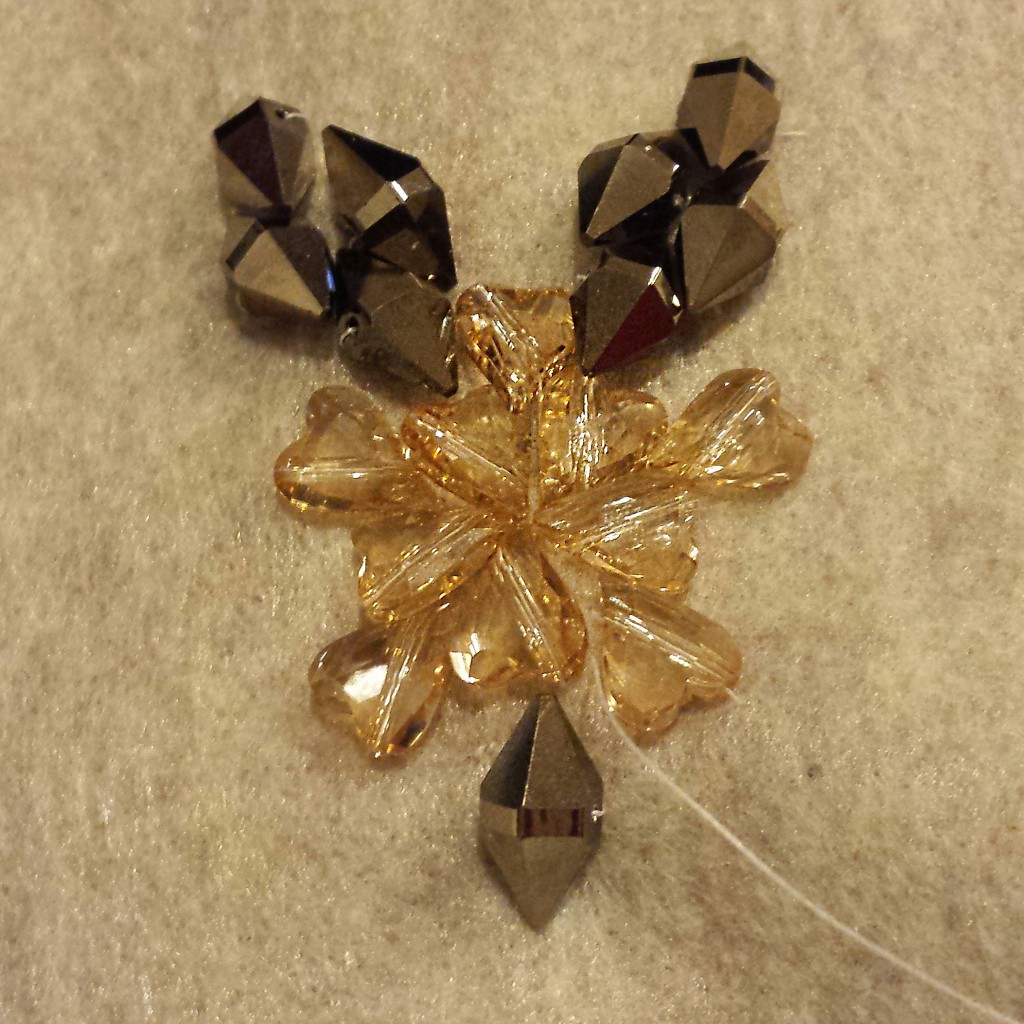
The beauty of this project is that you can use an assortment of crystals! I try and keep a good balance of large and small crystals, with the larger ones being the focal point. My image above shows my color and size assortment. I went for more of a neutral color palette, really playing off of the golds and light pinks. The Rings & Things Exclusive Swarovski Crystal Jams bead mixes are great for something like this, as they can help you develop a strong color story from the beginning.
First, I started by arranging my larger beads in various patterns (2 options I came up with are above). I knew I wanted to do some kind of floral-inspired design. For some people, it may be easier to roughly draw something as well.
Needle & Thread Basics
I began by cutting a strand of Power Pro bead thread that was about the span of my arms; you can start with a smaller strand than this as this may be easier to manage at first. This thread is pretty amazing – I would not recommend using other threads that you may find at the fabric store because the crystals can actually cut through that type of thread! Power Pro by The BeadSmith is much more sturdy, and you would hate to lose your Swarovski crystals because of the wrong thread!
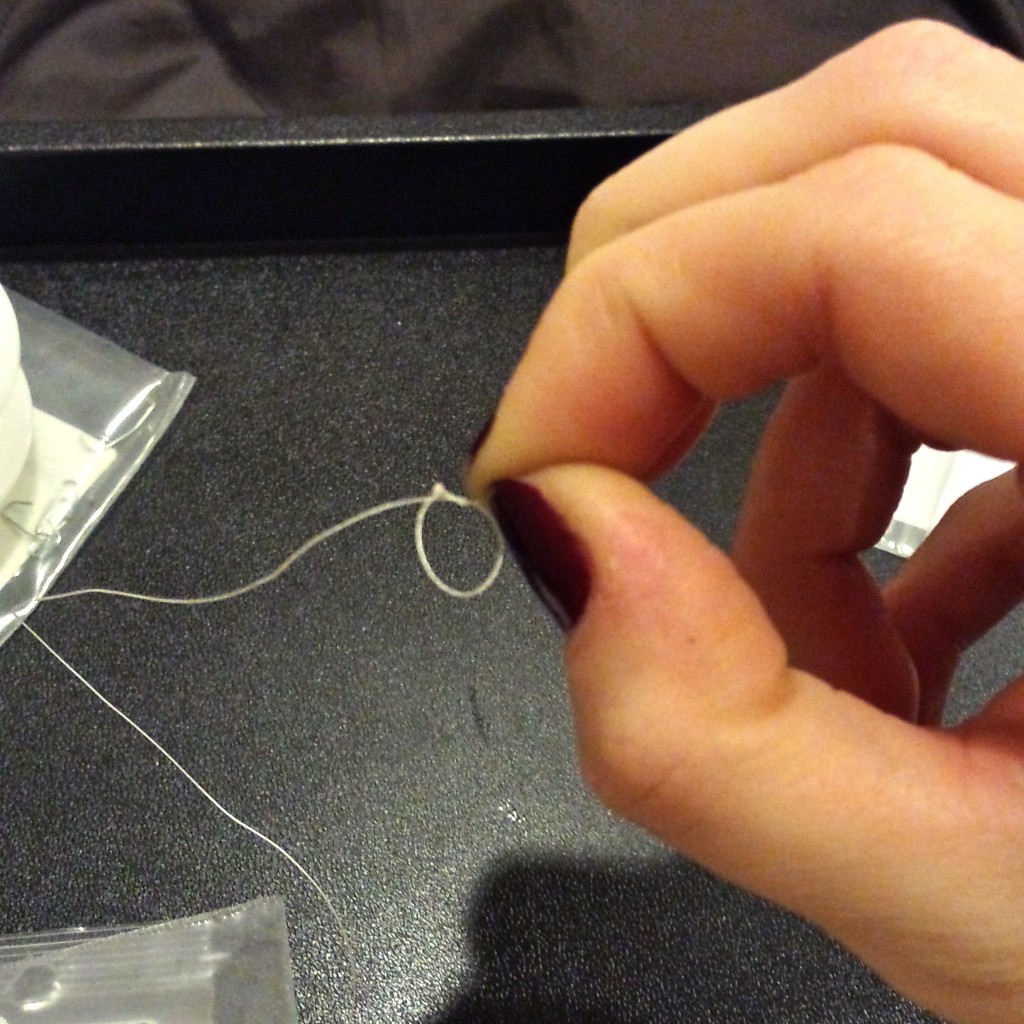
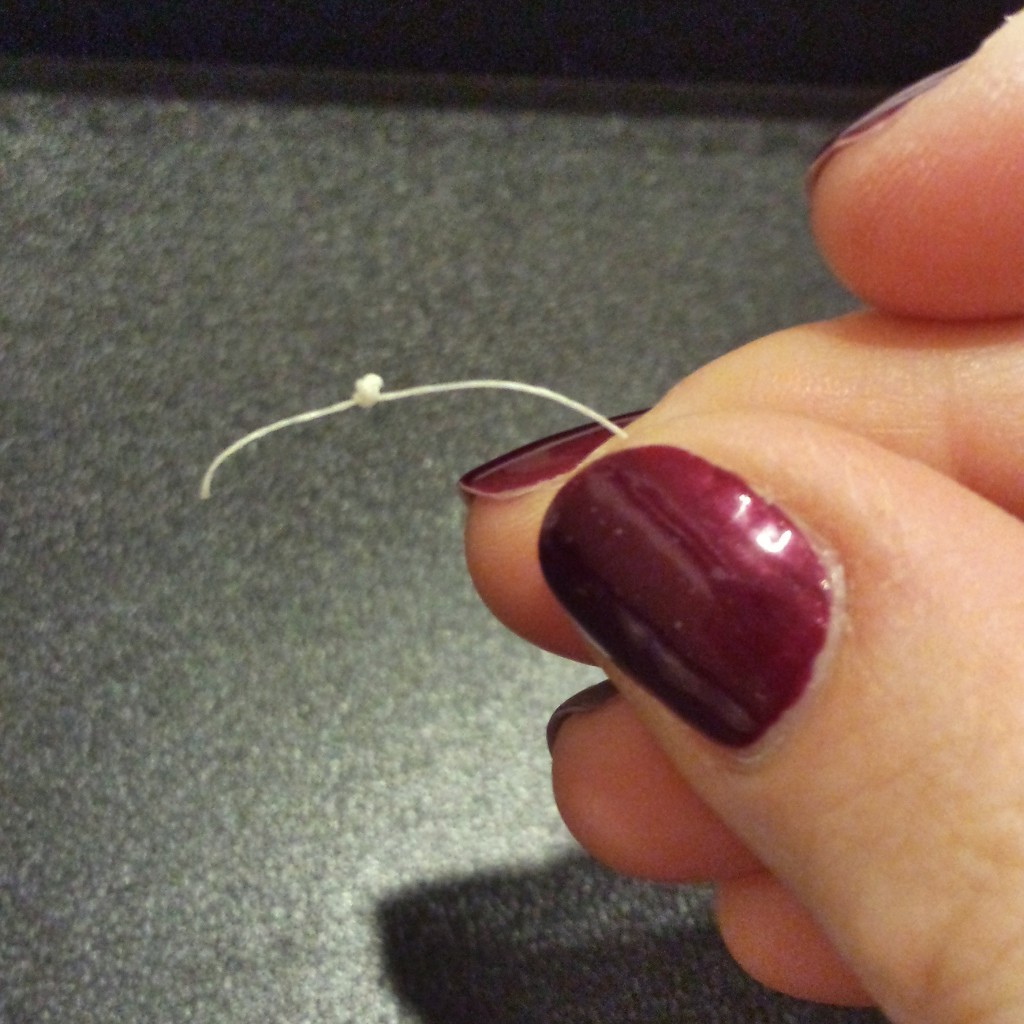
Once the needle is threaded, tie a basic knot; I did three loops to create a thicker knot.
Step by Step
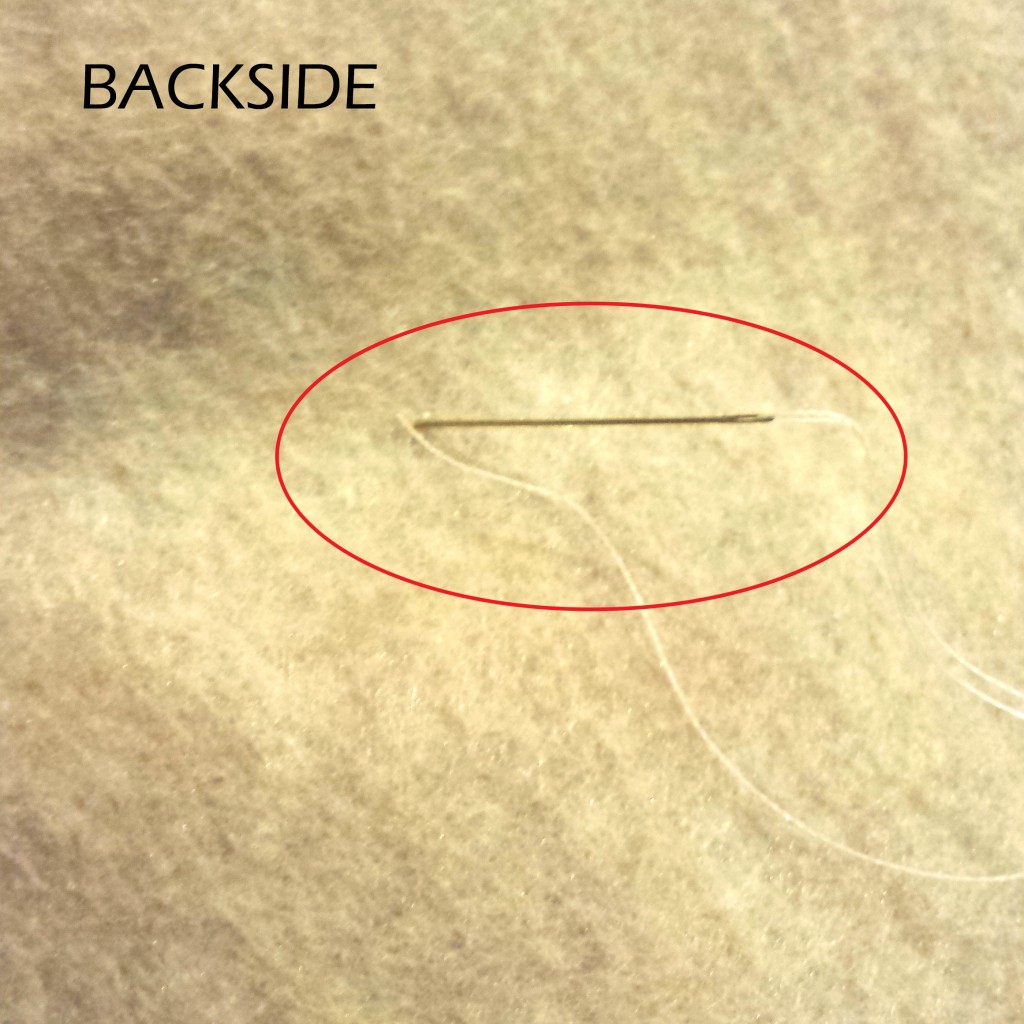
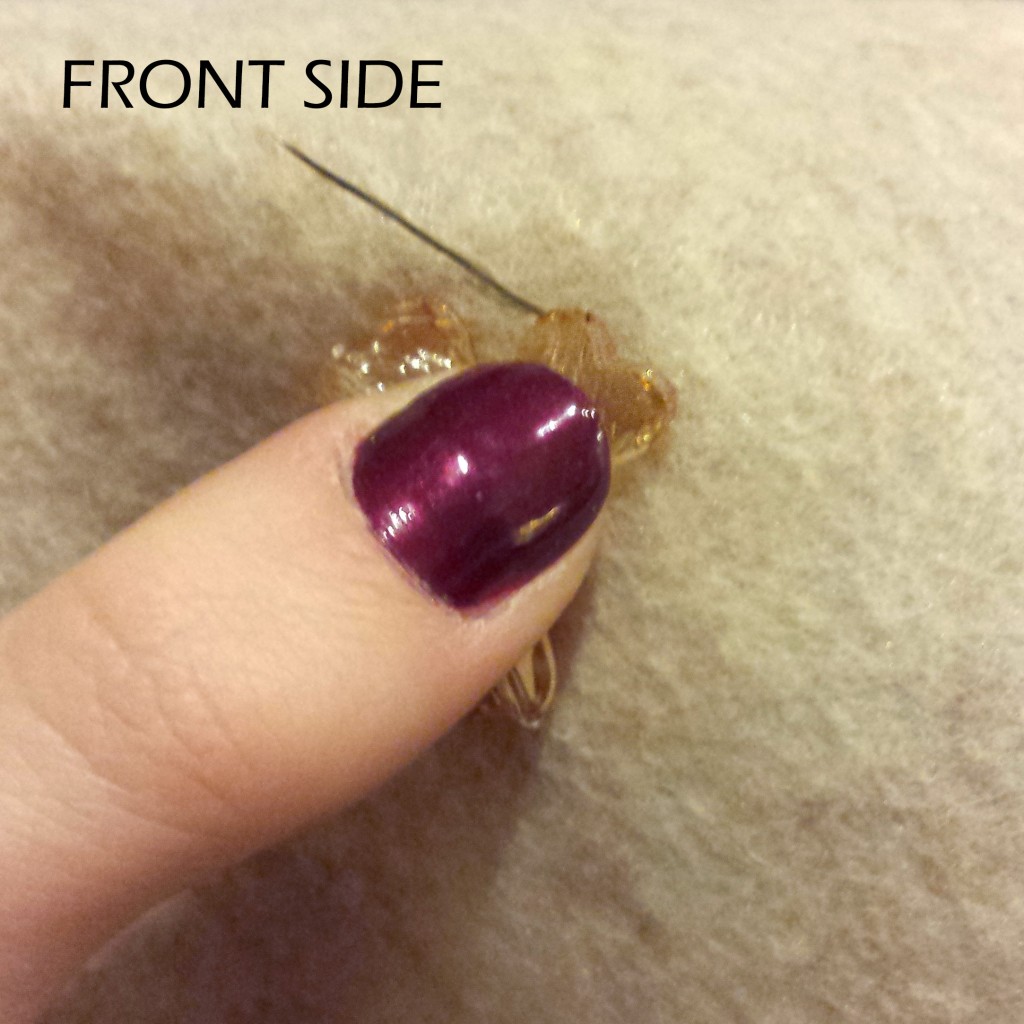
1. Now it’s time to sew the final design onto the felt. I like to start at the center of my design when I’m sewing on the crystals. Since you have the basic design laid out and your needle threaded, start by holding one crystal in place with your thumb and index finger; insert the needle from the BACK SIDE of the felt so that the needle appears near the edge of the crystal where the hole is located (see FRONT SIDE image below). The knot that you made should be on the back side of the fabric.
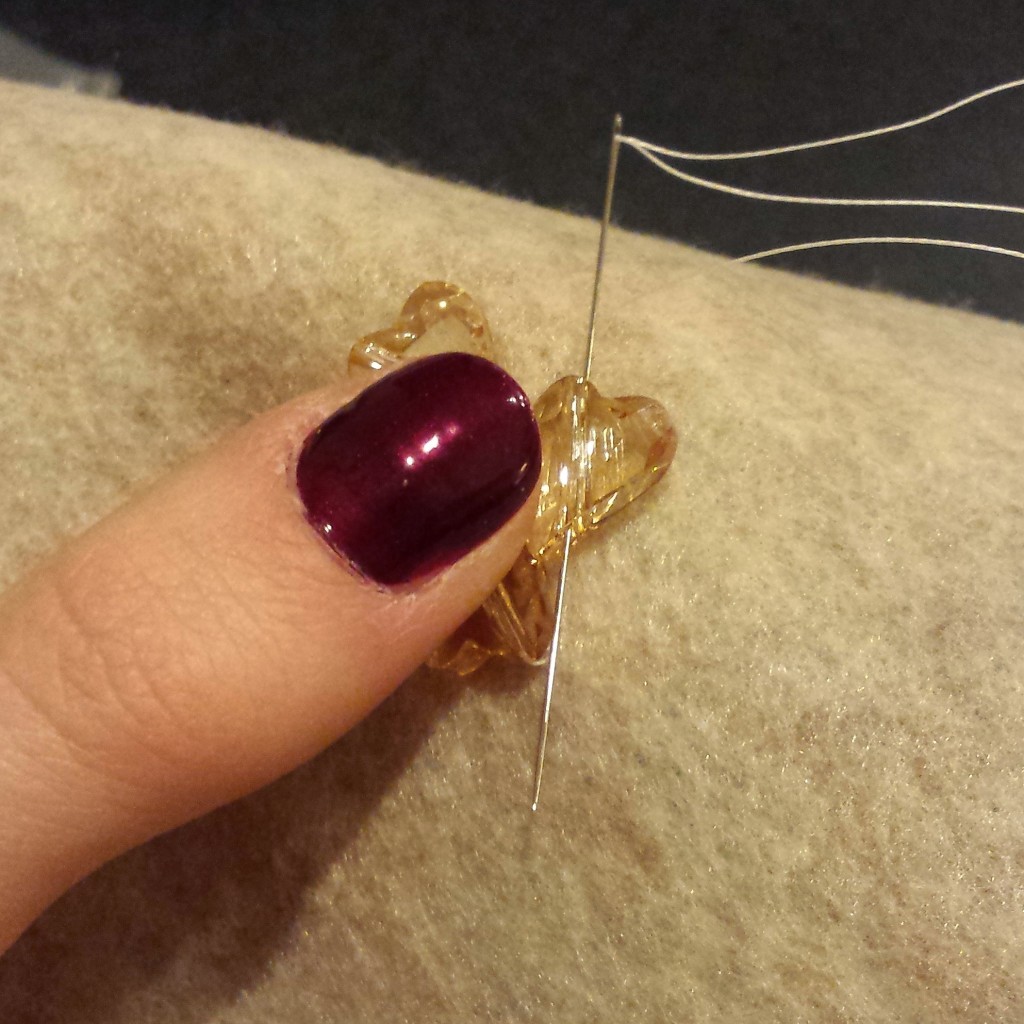
2. Thread the needle through the hole in the crystal, and insert the needle back into the felt. Make sure to stay near the crystal’s edge where the needle just exited the hole.
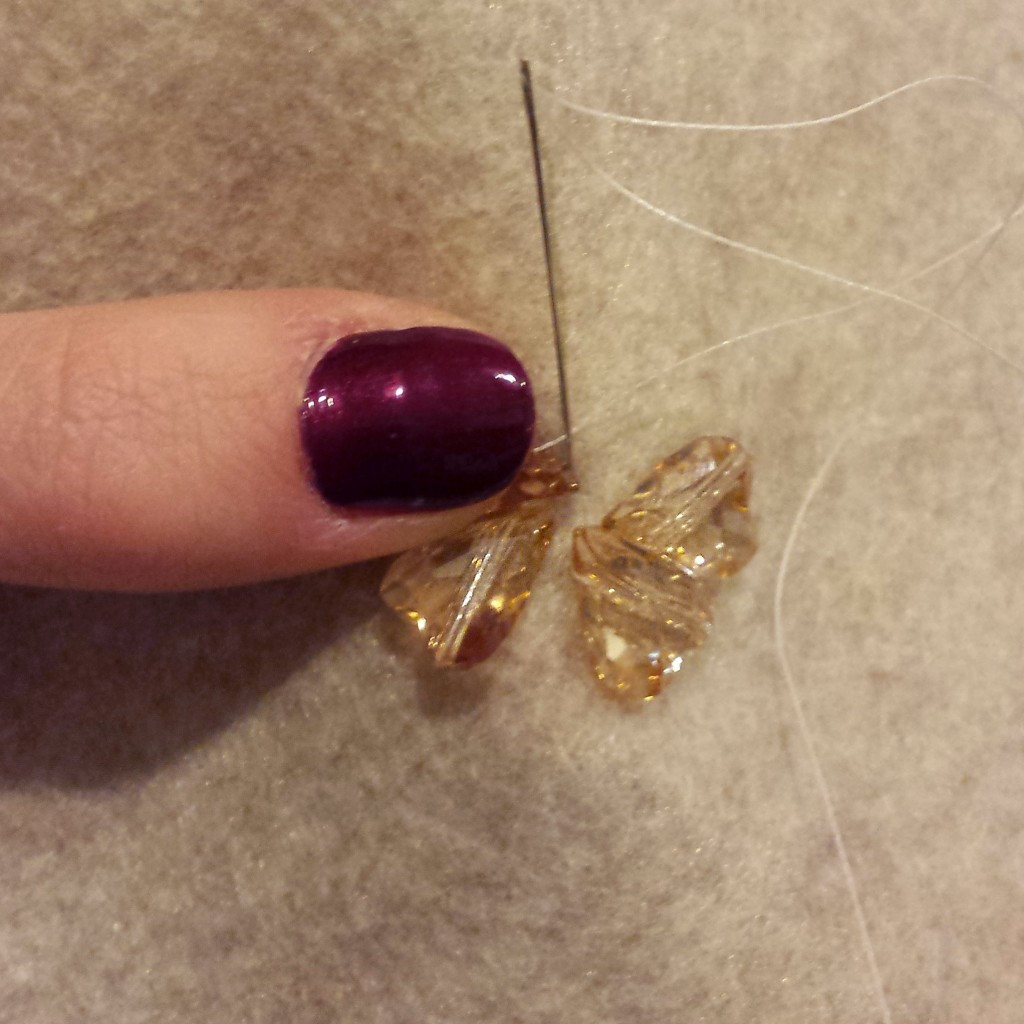
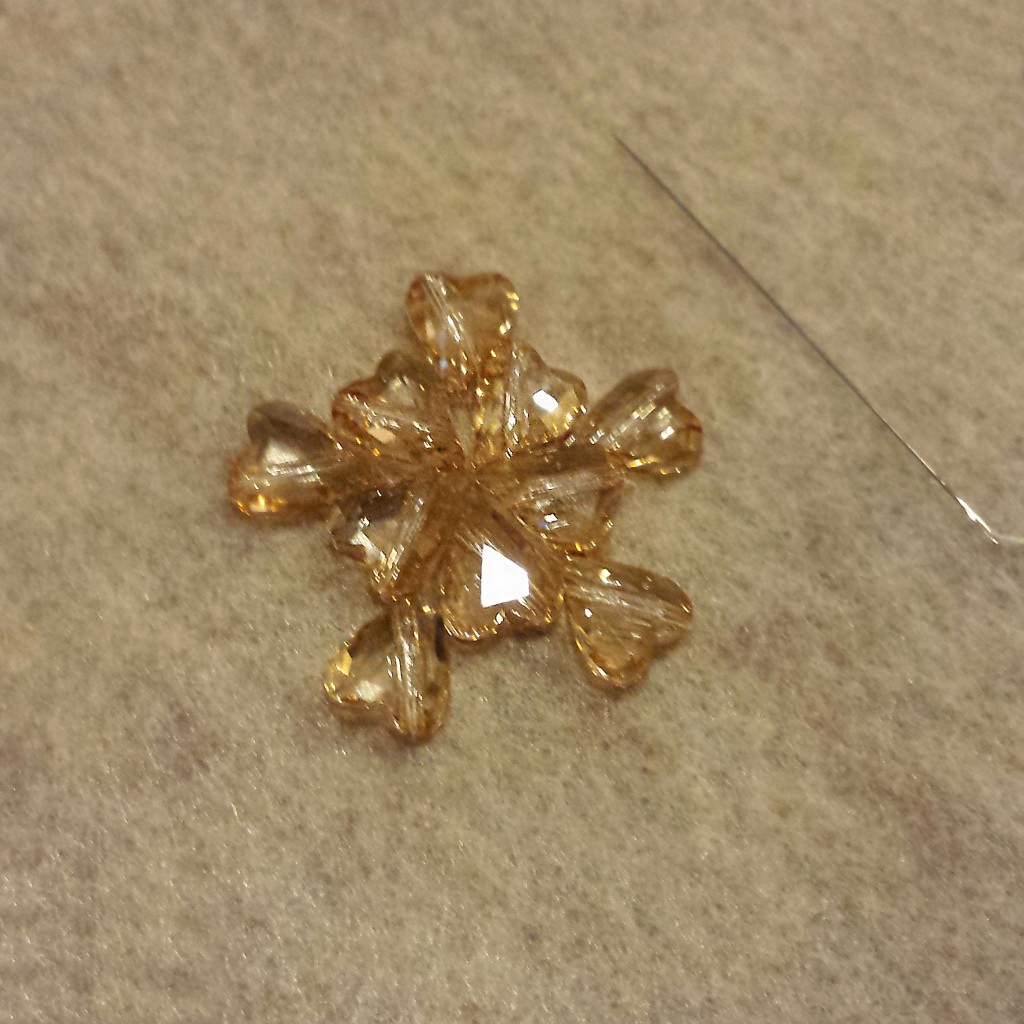
3. Continue doing this for the center crystals (ie. my ‘petals’) and expand to any other large crystals you have (ie. my ‘leaves’). Once you have each of these sewn on, leave your thread where it is. No need to knot anything.
4. Go ahead and grab your smaller beads – Here, I’m using the 4mm Swarovski Bicone Crystal Jams. We will begin where your left your thread after completing the larger crystal beads. Place 2 bicone crystals on your needle and push them down the thread. I wanted to arrange my bicones around my larger crystals as an outline. As soon as they fit snug against the felt, insert your needle back into the felt, staying close to the edge of the bicone. Continue your way around, using two bicones at a time
This is a fun time to play with color! My outlines consist of 3 or 4 different colored bicones, and they really play off of each other in different lights!
**If you ever run out of thread, just tie a knot on the backside of the fabric, and start a new needle & thread!**
5. Once I made my way around, I decided to add a second outline with the bicones. It is completely up to you – be creative and try some different things! Once you have finished sewing all of your Swarovski Crystals, insert the needle down through the front side and tie a knot in the back; you can use the same knot technique that was demonstrated earlier!
Creating a Finished Edge
1. Cut the felt around the crystals, leaving 1/4 inch allowance on the outside.
2. Take your second piece of felt and cut an identical piece
3. Time to start with some fresh thread! Tie the same knot as shown above and insert the needle from the backside, to the front side like below. Pull the needle through until the knot is snug underneath.
4. Grab your second piece of felt and place it underneath your original piece. Insert your needle through both pieces of felt, starting with the new piece. See photo below for reference. Pull all the way through; the felt should curl up as you pull the thread as tight as you can.
This second piece of felt hides all of the thread work you have underneath, while also stabilizing and protecting these stitches from wear and tear.
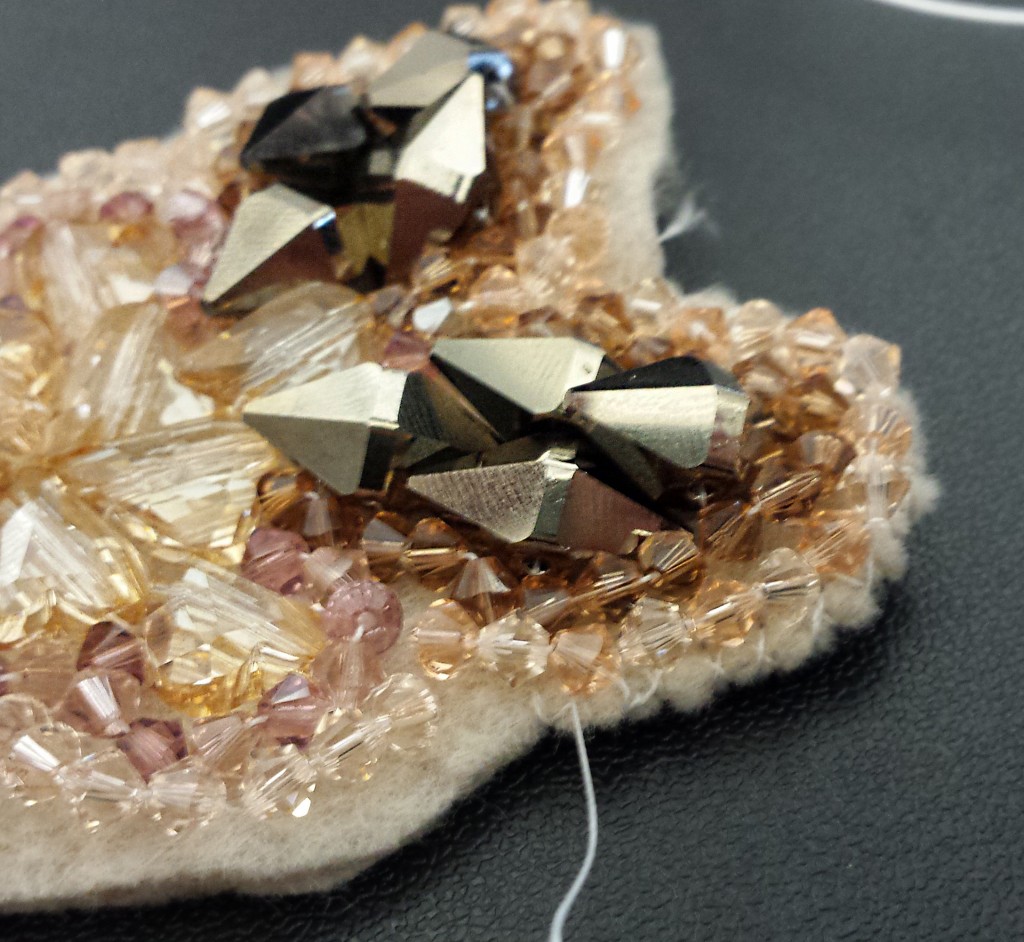
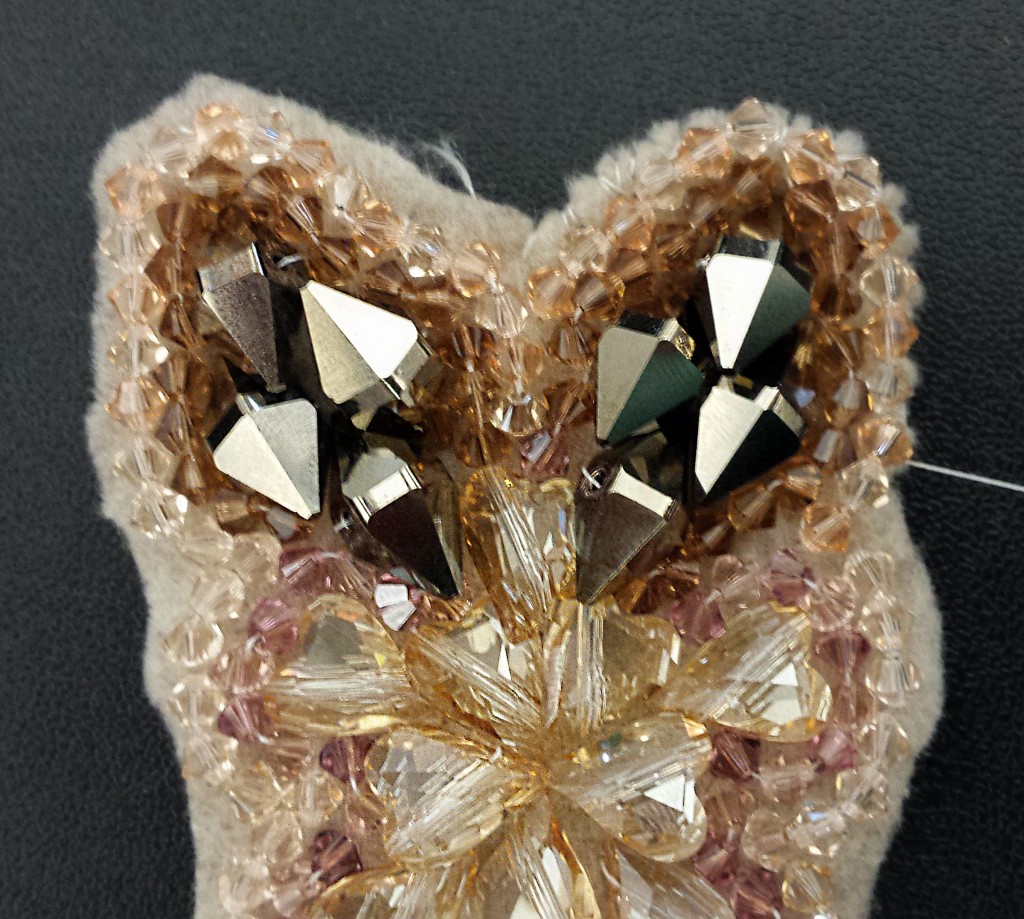
5. Start working your way around the felt, using the same technique in step 4. You can see the difference in the two photos below – I have completed the technique on the upper right hand side.
6. Once you have completed this step, your applique is complete! You can use this for scarves, headbands, gloves, apparel, etc. I have attached this to a headband, and I used the same technique from steps 4 & 5. It’s that simple!
All of us at Rings & Things would love to see any applique work you have created! Please send us pictures or post them below! 🙂
Happy Winter!
– Laura
How to Use Center Crimp Cord Ends
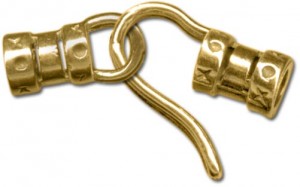
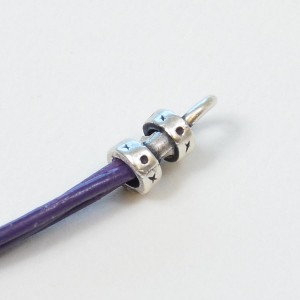
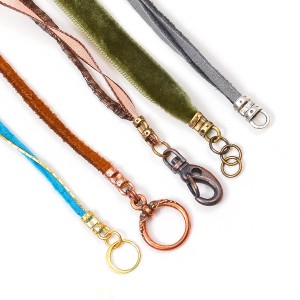
October 14, 2014When you’re making jewelry, center crimp cord ends are an easy way to cleanly finish the ends of a wide variety of jewelry cord including but not limited to leather, silk ribbon, and chain.
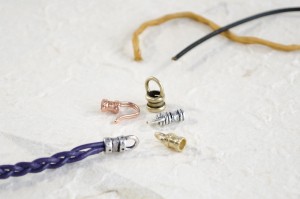
Center crimp cord ends are an easy way to cleanly finish the ends of a wide variety of jewelry cord.
You can finish your necklace or bracelet with a loop and a hook:
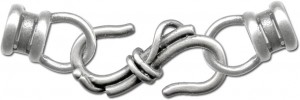
Or, use two loops and the clasp of your choice (shown here is an “S” hook clasp):
Here is how to apply the crimp ends:
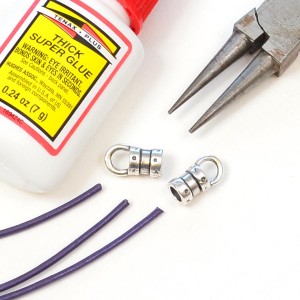
1. Gather your supplies. All you really need are the crimp ends, some round nose pliers (or non serrated chain nose pliers) and of course your cording material. Super glue is optional, but adds extra security.
2. For added security, put a dab of super glue inside the crimp end. Slide the cording end(s) into the crimp end. Do this quickly before that dab of glue dries.
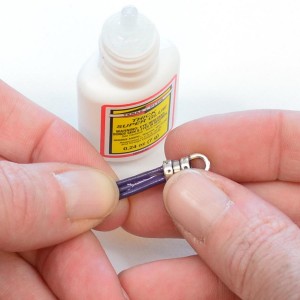
Insert the cording into the center crimp end. A dab of glue will offer added security to your clasp.
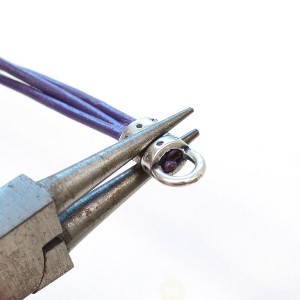
3. Holding the crimp in place over the cording, use your pliers to firmly squeeze the center portion of the crimp and clamp it down on the cording.
4. Once crimped, the center of the end piece will be flattened down on the cording. Crimping the metal on top of the glue will ensure a secure connection for jewelry designs.
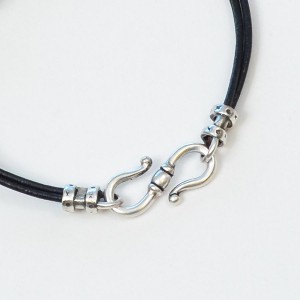
Center crimp ends with loops combined with an “S” clasp and leather cording make a simple yet stylish bracelet.
Here are some jewelry inpirations that incorporate the use of center crimp ends. These designs and more can be found in our Jewelry Design Gallery where you will find the complete supplies list as well as tips from the designer. Click on the images to take you there.
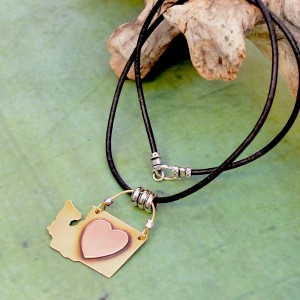
Go West Necklace Tutorial by Mollie Valente
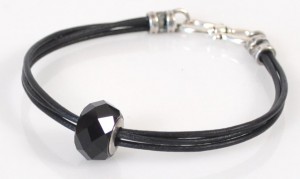
Basic Black Bracelet Tutorial by Rita Hutchinson
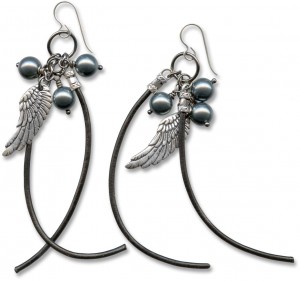
Bastian’s Earrings Tutorial by Lindsey Green
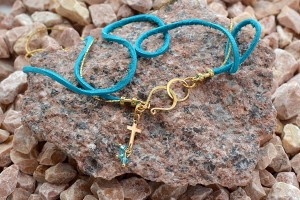
New Connection Necklace Tutorial by Karin Davis
Now that you know what to do with center crimp cord ends, don’t be shy! Use them to make bracelets, necklaces, earrings and more.
Did you know? You can Shop for center crimp cord ends here.
Happy creating! ~ Val
Easy to Make Leather and Trade Bead Wrap Bracelet
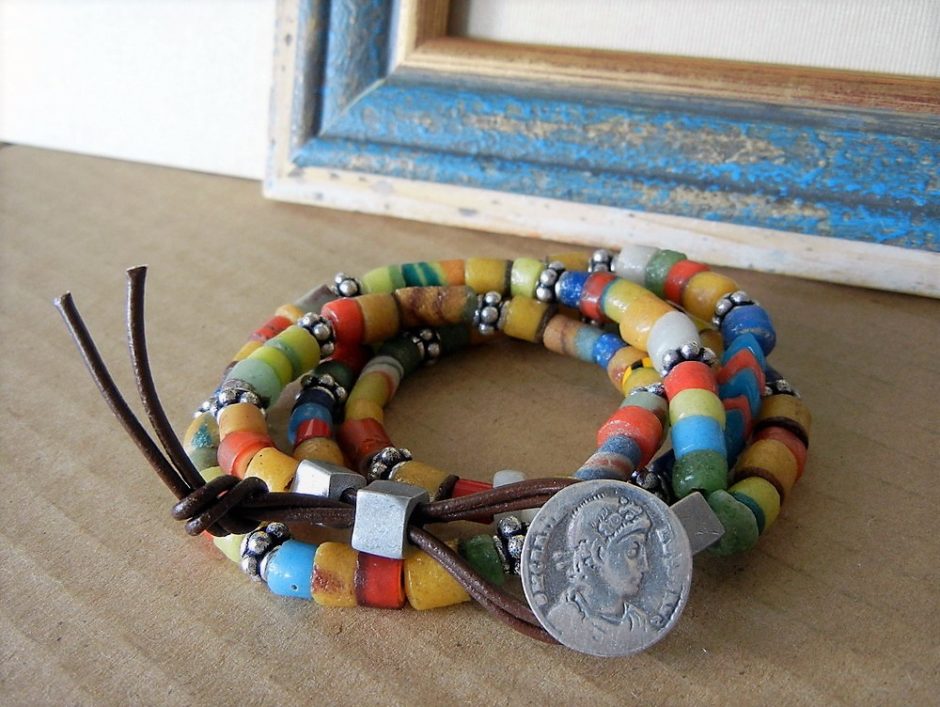
September 17, 2014Making a wrapped-leather bracelet doesn’t have to be difficult or take a lot of time – this colorful African bead bracelet is proof of that. In fact, if you can string beads and tie a simple overhand knot, you can make the “Volta River” Wrap Bracelet. It’s an easy afternoon project!
How to make Wire Links with Wubbers Mandrel Pliers
August 7, 2014
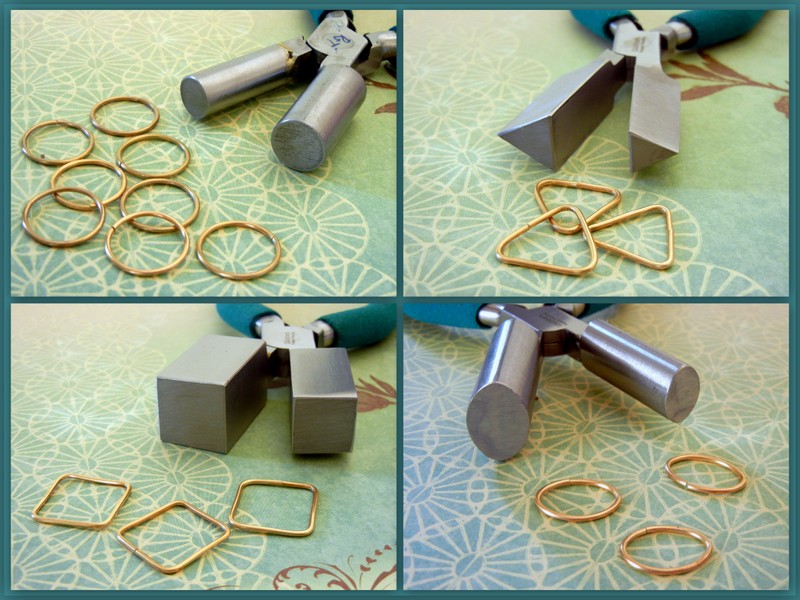
If you are looking to expand your tool selection, Wubbers® Pliers are a great addition to any jeweler’s bench. The pliers have comfy padded handles, are made of high quality stainless steel, and have box-joint construction. Wubbers offers traditional jewelry pliers in two sizes (which are awesome), but the pliers that caught my eye are the mandrel pliers. Mandrel pliers are available in several shapes and sizes. And best of all, they are perfect for forming wire links, like those featured in designer Polly Nobbs-LaRue’s two blog posts on making soldered-link bracelets: “I Love Copper Solder!” and “Copper Soldering Tutorial – Part 2”.
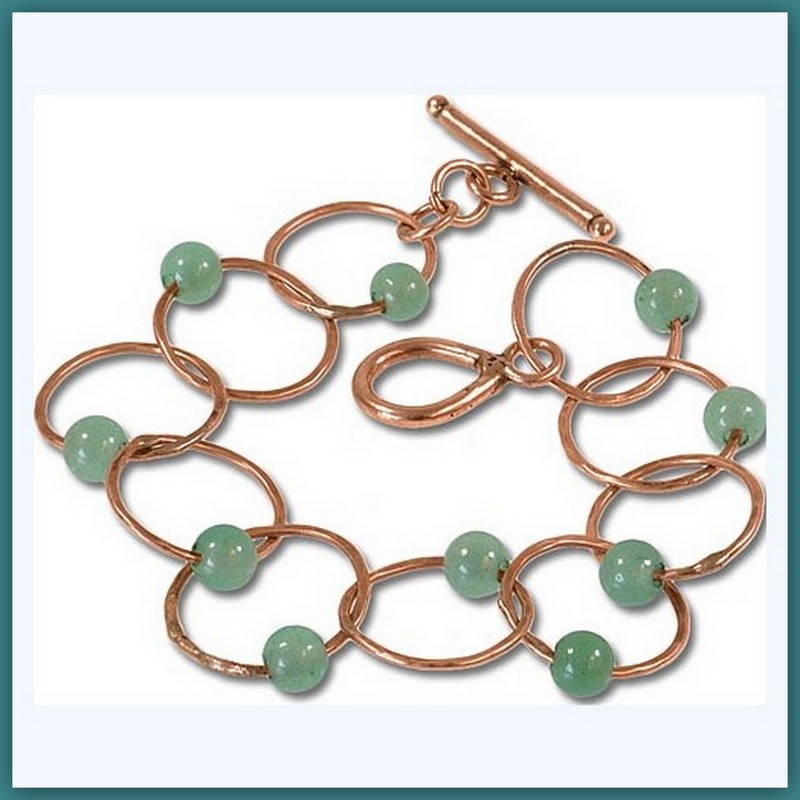
“Captured Aventurine” Bracelet Tutorial by Rings & Things’ designer Polly Nobbs-LaRue
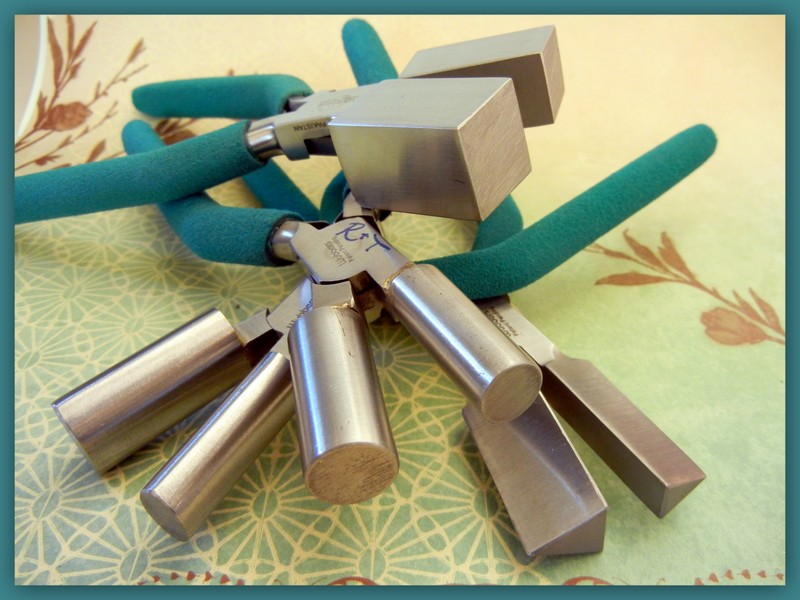
Wubbers mandrel pliers are available in several shapes: round, square, triangle, oval, and half-round (not pictured). Each shape is available in a variety of sizes. Plus each pliers’ jaw has two mandrel sizes.

Check out the Wubbers packaging for gauge recommendations and an access code for Wubbers University.
An added bonus: inside each package is your invitation and access code for free online classes and tutorials at Wubbers University! You will find a wide variety of classes for the beginning to advanced jewelry maker; just what you need to build new skills.
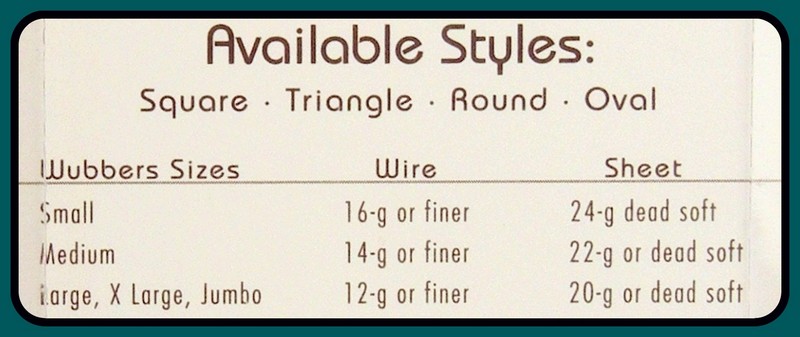
Follow the wire and sheet metal gauge recommendations for your size of mandrel pliers — an easy to follow chart is featured on each package.
Recommended tools for the jeweler’s bench:
- Nylon-jaw flat-nose pliers for straightening the wire
- Wubbers mandrel pliers for forming the wire
- Jewelers saw frame and saw blades for cutting the wire
- Swivel vise for holding the wire coil (and so many other valuable tasks!)
- Bench pin for holding the wire coil
- Flat-nose and chain-nose pliers for aligning the cut wire ends
Follow these steps to form and cut wire links using Wubbers mandrel pliers and a jeweler’s saw:
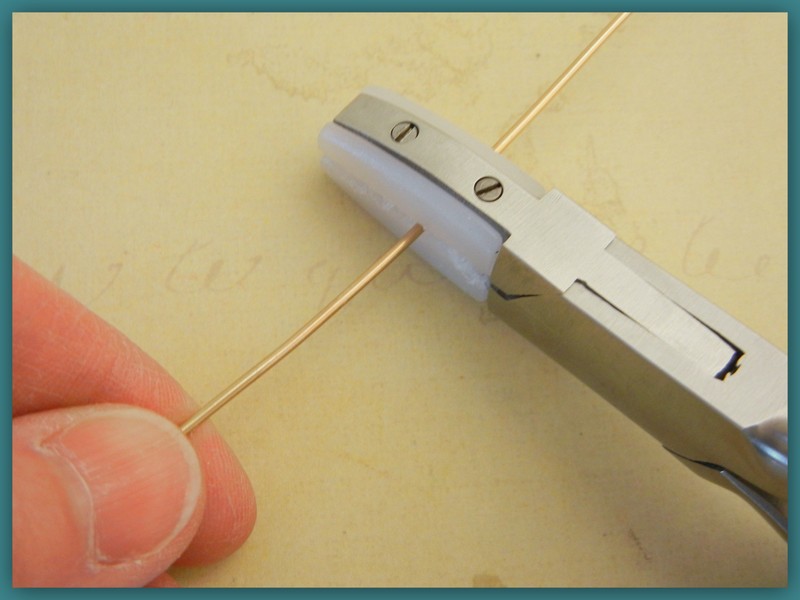
Step 1: Begin by straightening the wire. Pull the wire through nylon-jaw flat-nose pliers to easily straighten it. If you are planning to solder your links, avoid plated wire; instead use solid brass, copper, nickel, sterling or silver-filled wire.
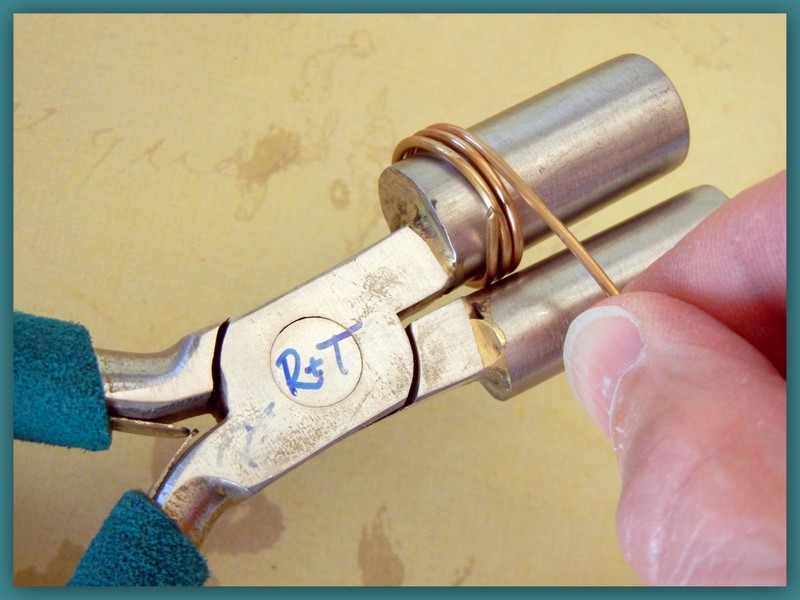
Step 2: Begin wrapping the wire around your mandrel of choice. As you coil, maintain even pressure so the links come out uniform. With the round mandrels, you can rotate the wire on the mandrel to make a continuous coil; for other shaped pliers, you will need to open and close the pliers’ jaw with each complete pass.
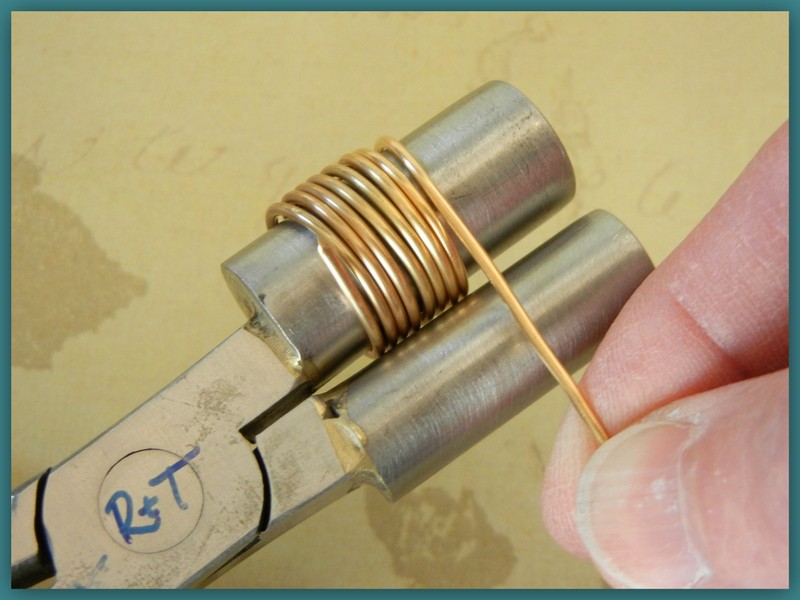
Step 3: Continue coiling the wire. Make a coil that is two wraps more than the number of links you need; the first and last coil will not make a complete link.
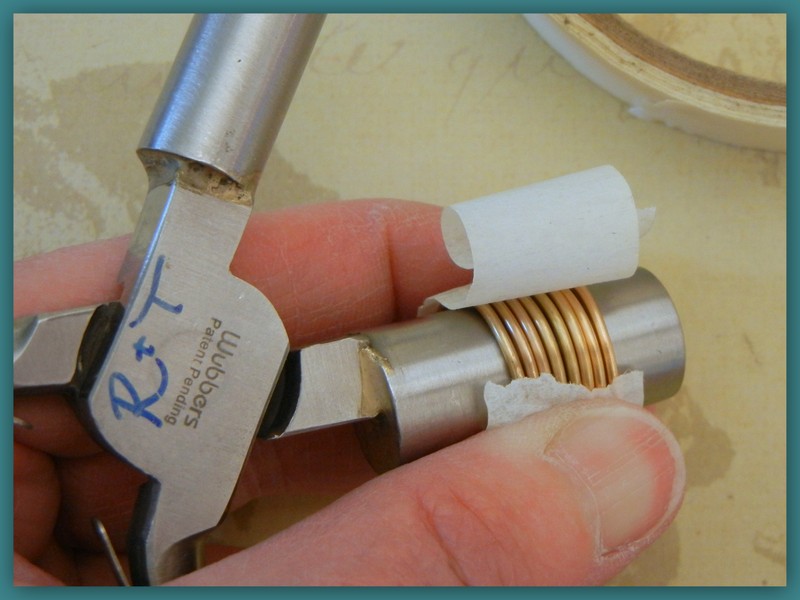
Step 4: Pinch the wire coils tightly together, and apply a layer of low-tack masking tape around the coil. This will keep the wire in place while sawing. Slide the taped coil off the mandrel pliers.
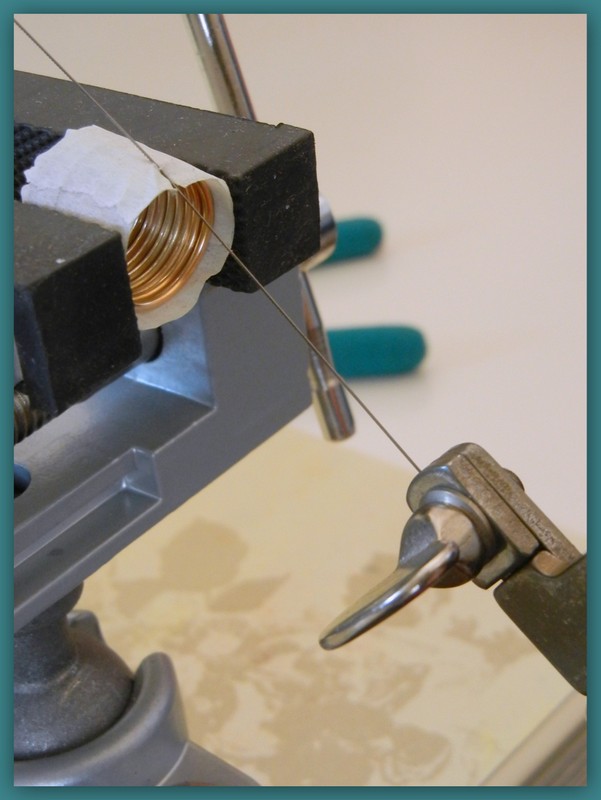
Step 5 – Version A: Attach a swivel vise to your workbench and place the wire coil in the padded jaw. Gently tighten the jaw so the wire coil is held firmly in place–but not so tightly the coil becomes misshapen. Thread your jeweler’s saw with the blade’s teeth facing down and out. You are ready to begin sawing. To avoid nicking the wire, angle the saw blade slightly so the blade only touches the wire being cut.
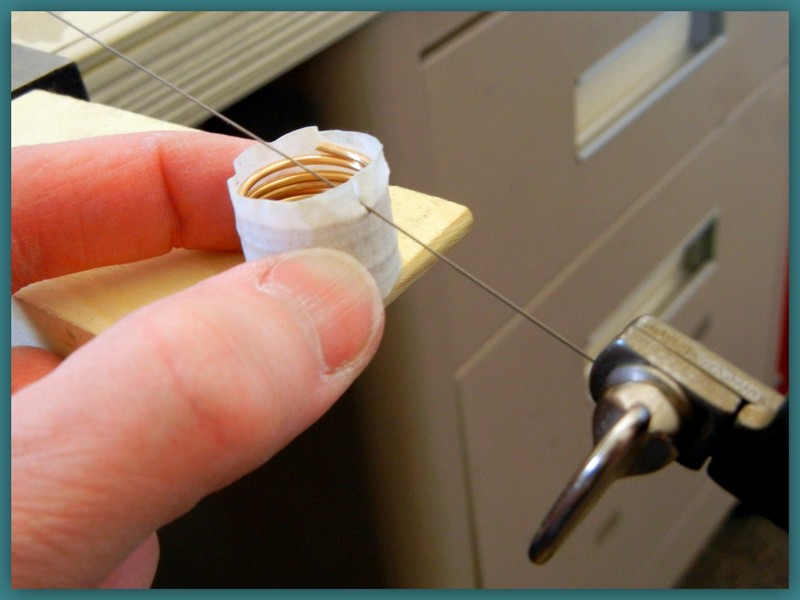
Step 5 – Version B: Attach a bench pin to your workbench and firmly hold the wire coil on the edge of he pin. Use a jeweler’s saw to cut the wire coil from top to bottom. To avoid nicking the wire, angle the saw blade slightly so the blade only touches the wire being cut.
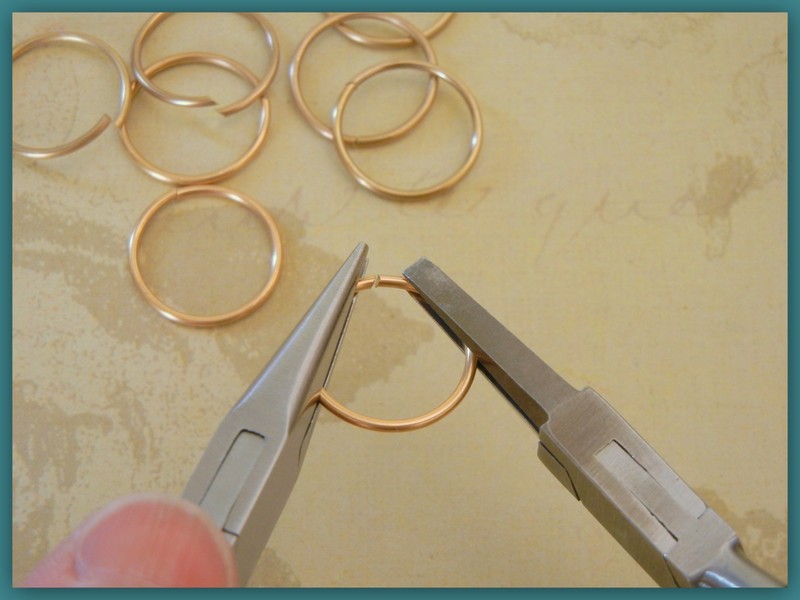
Step 6: Use flat-nose and chain-nose pliers to align the cut ends of the wire links. The cut ends need to fit snugly together for soldering. Your wire links are ready to solder.
Make things!
Mollie
Create a Journal Necklace with Piddix Images
July 24, 2014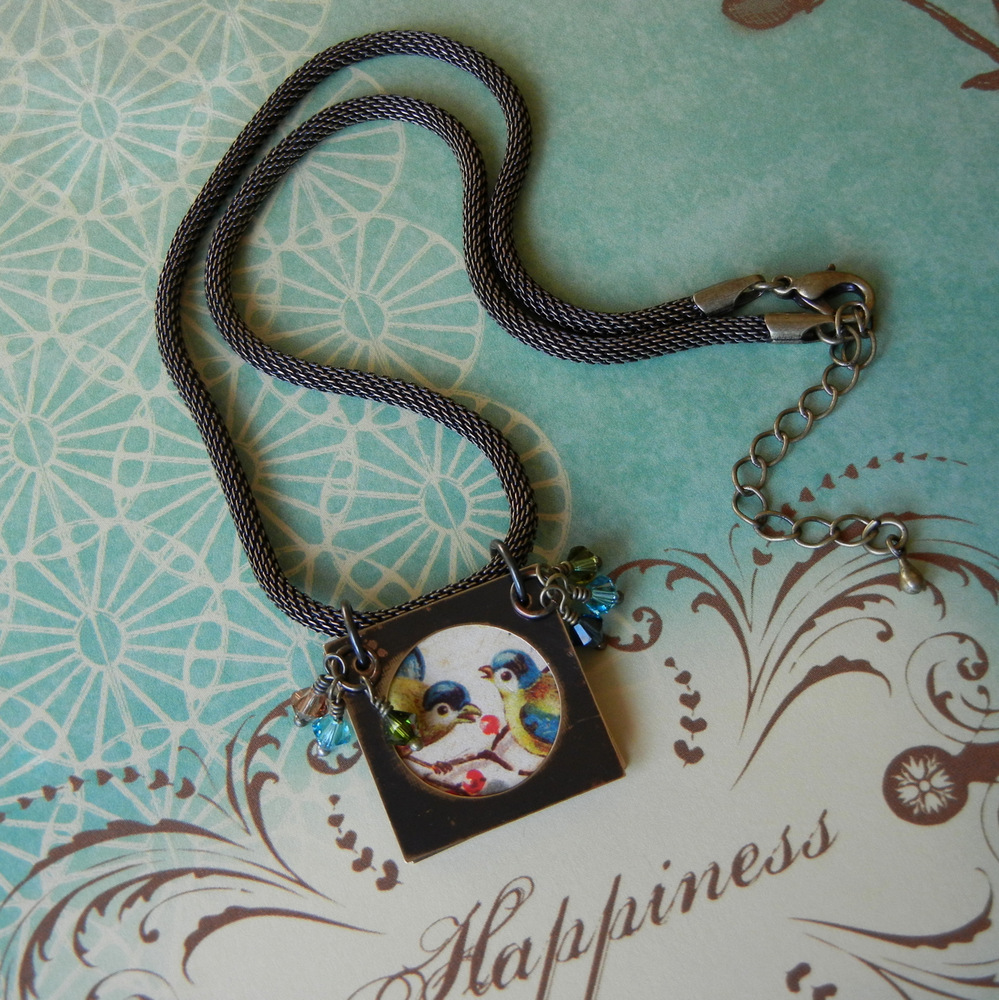
Flora & Fauna Journal Style Necklace made with Rings & Things brass “fairy door” blanks and Piddix Collage Sheets.
Creating a journal necklace is fun and easy using Rings & Things precut brass “fairy door” blanks and Piddix collage sheets or your own personal images. Just follow these steps:

Step 1: Gather the tools and supplies necessary to make a journal necklace. Select your favorites from the many styles of “fairy-door” blanks and Piddix collage sheets
You will need the following supplies:
1 set Brass Sandwich Blanks (Fairy Doors) (I used #44-721-11: square-with-circle window brass blank)
1 each Metal-mesh choker (I used #52-293-16-6: antiqued-brass-plated metal-mesh choker)
5-10 images Piddix collage sheet (I used #83-231-01-006: square flora & fauna)
6 each Crystal Jams™ Assortment (I used #05-328-04-916: Somebody’s Heartbreak)
6 each ball-end head pin (I used #37-091-15-6: 1.5″antiqued-brass-plated ball-end head pin)
2 each 5mm round jump rings (I used #37-136-6: 5mm round antiqued brass jump rings)
2 each 8mm round jump rings (I used #37-167-6: 8mm round antiqued brass jump rings)
Oxidizer & Antiquing Solution ( I used Novacan black patina)
And the following tools:
800-1000 grit sanding sponges or polishing paper
Extra Fine Point Sharpie®
1.25mm round hole punch pliers
cotton swab
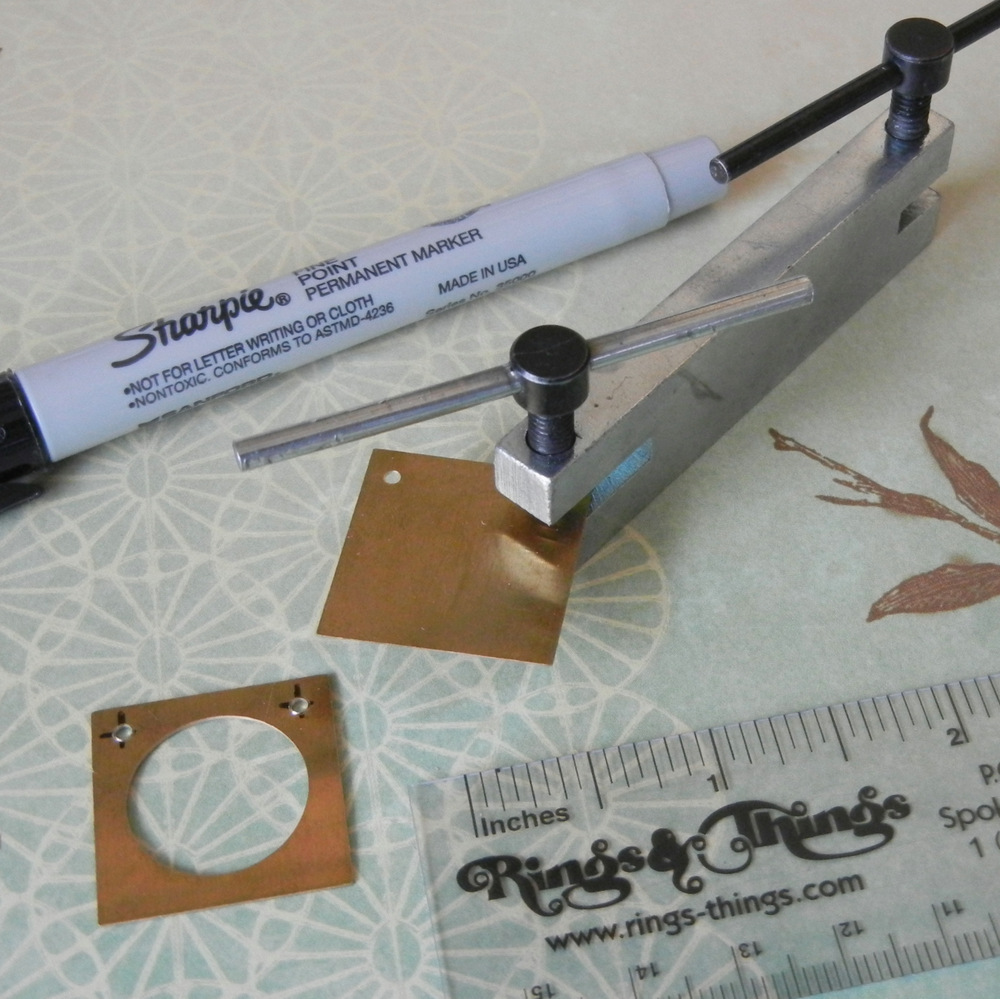
Step 2: Measure and mark the hole position on the brass blanks. The apex of the hole should be positioned 1/8″ from the sides on the top two corners. Punch holes at the marked positions with the two-hole metal punch. Make sure the hole placement on the front and back blanks line up.

Step 3: Prepare the brass blanks for patina by gently sanding with a 3M ultra-fine polishing sponge. Use a cotton swab to apply Novacan black patina to the front and back side of both blanks. Polish the brass blanks to attain the desired shade of patina.
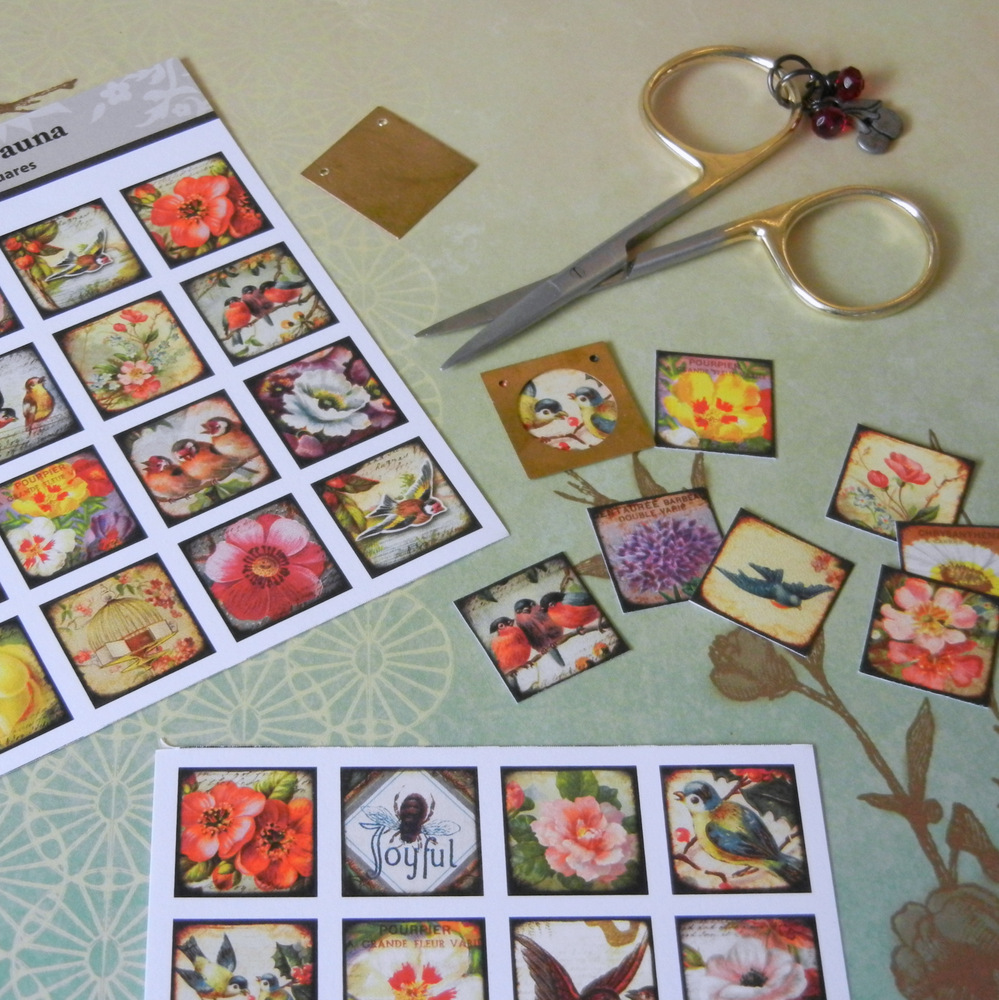
Step 4: Use fine-point craft scissors to cut out image “pages”. The pages should measure slightly smaller than the size of the brass cover blanks. Five to ten pages per journal works best.
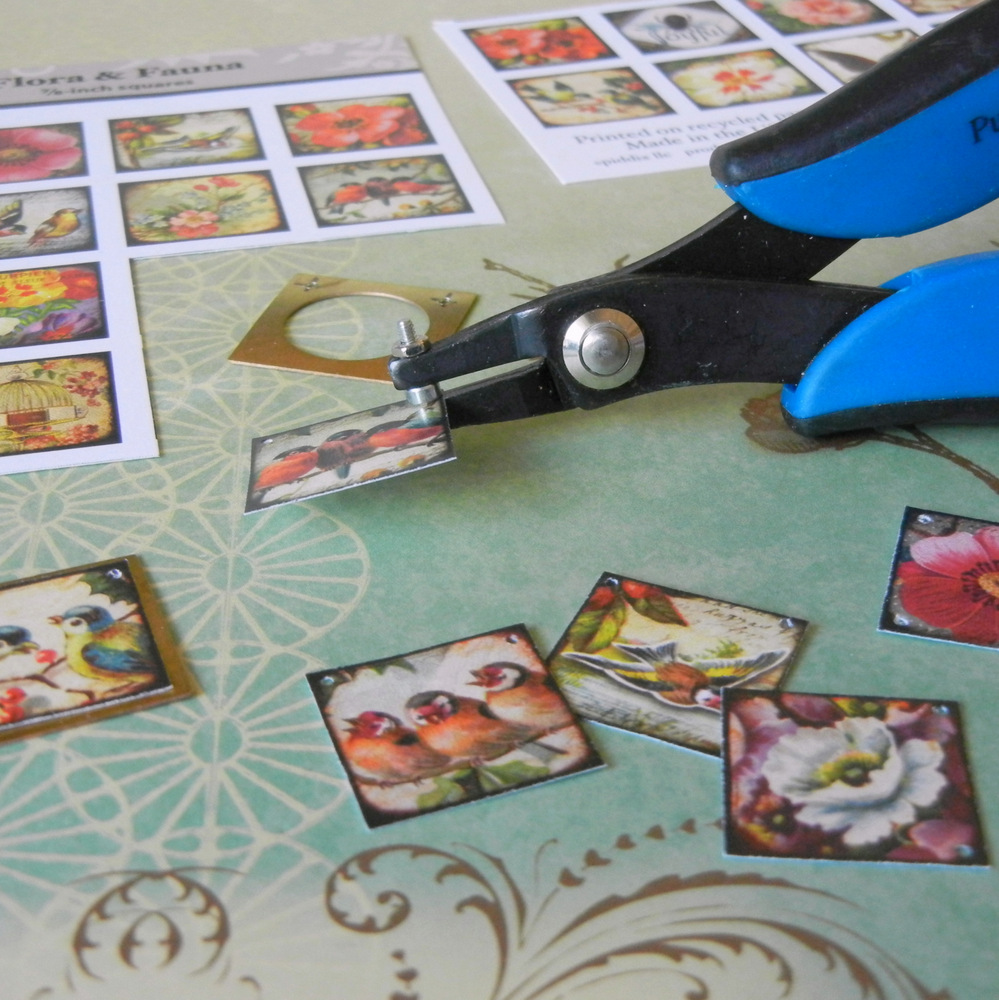
Step 5: Mark and punch holes in the paper image pages. Use the metal blanks as a guide to mark hole position on the upper two corners of each page. Punch holes with a 1.25mm hole punch.
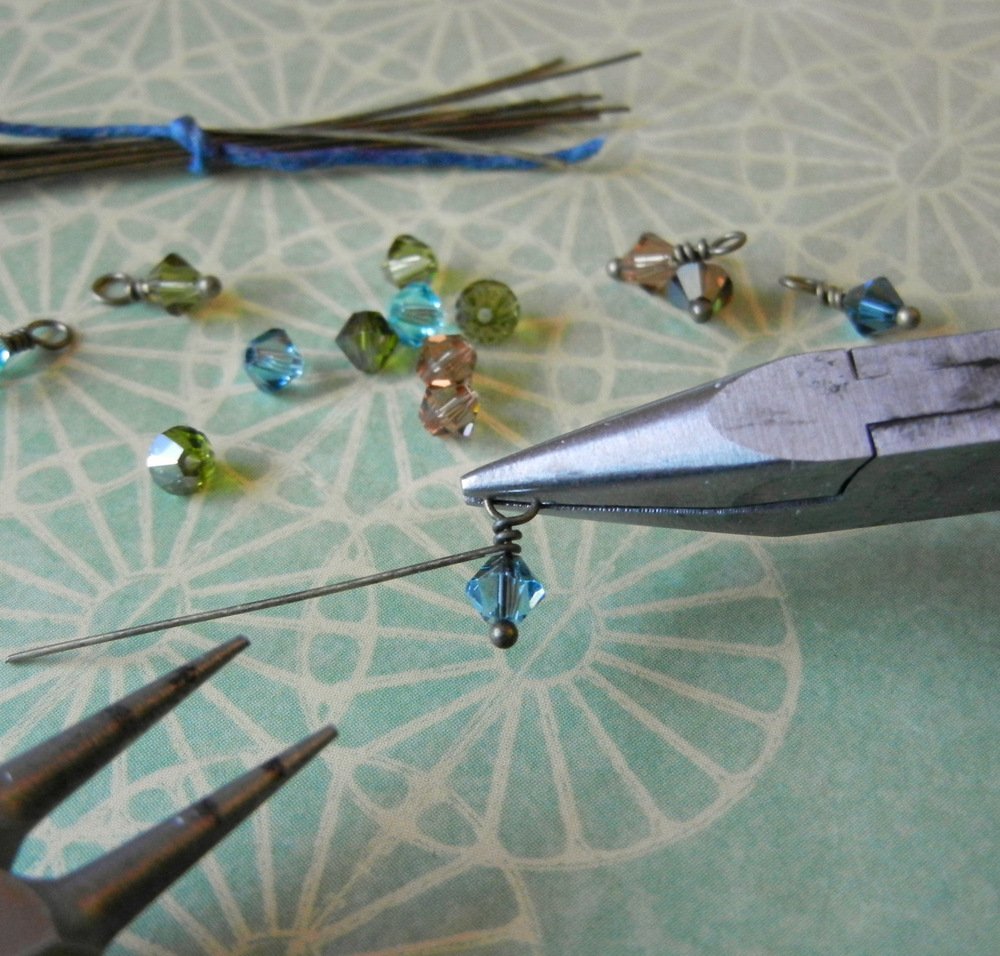
Step 6. Make six crystal dangle charms, follow the instructions for making wire-wrapped loops in the Rings & Things Jewelry Basics 101.

Step 7: Assemble the journal pendant by stringing the brass blank back, image pages, and brass blank front onto jump rings. Add three crystal dangle charms on each jump ring and then close the jump rings. String the pendant onto a metal mesh choker. Your necklace is ready to wear.
If you enjoy making the “Flora & Fauna” journal-style necklace, try these variations:
Make Things!
Mollie
Vintaj® & Leather Go So Well Together!
July 16, 2014Vintaj Natural Brass findings and leather bracelets go together like butter on bread! You can unite them with rivets, thread, jump rings and more.
With just a few supplies, you can create stylish and unique cuff bracelets, incorporating popular and trendsetting Vintaj Natural Brass findings. For this riveted version, all you need is:
Continue Reading…How to make chain maille (from a kit)
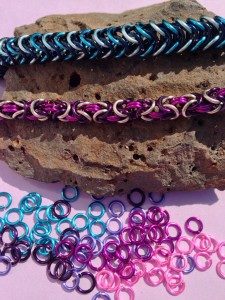
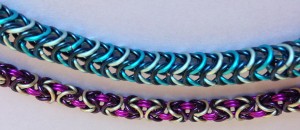
May 14, 2014Rings & Things has added a whole new line of enameled copper jump rings and clasps from Weave Got Maille, and a handful of Byzantine kits and box chain kits to go with them.
Melissa and I tested the kits, to produce some quick example pieces for our website, and I have to say, I think the kits are a great way to go for anyone who is new to chain maille, or to a specific weave of maille.
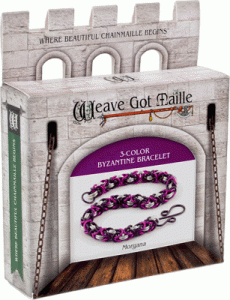
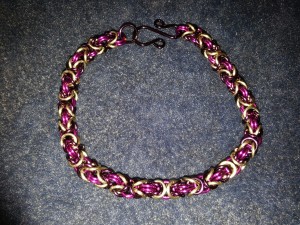
I chose to use the Morgana kit, which produces a 3-color byzantine chain maille bracelet. There are enough rings in the kit to make a bracelet up to 8 1/2″ long, but the final length can be shortened easily by stopping at the end of any completed unit.
The instructions are the property of the kit maker, so I won’t be listing the step by step instructions here, but the step-by-step sheet included has great close-up pictures and is easy to follow (and once you have made up the kit project, you have the instructions to make as many more as you like, by just purchasing additional jump rings and clasps).
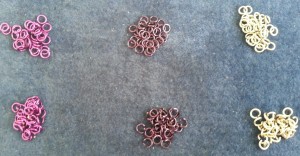
Jump rings from Weave Got Maille kit
Here are my thought and hints for weaving chain maille painlessly.
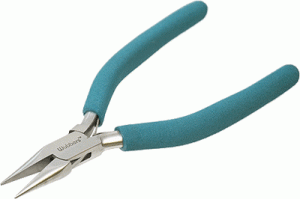
- Yes, you do need two pair of chain nose pliers. Do not try using a pair of flat nose or a pair of round nose as a substitute. They can both be regular, or bent, or a combination of styles, but you want smooth pliers, because serrated nose pliers will mar the finish on the rings. The smaller the rings that you are using, the more important it is to have pliers with a narrow tip, and ones that are comfortable to hold. My personal choice for comfort and pricing are the full size wubbers pliers. The longer cushioned handle helps prevent hand fatigue and the tips are reasonably narrow. For extremely narrow tips, lindstrom pliers can’t be beat, but they are a definite investment.
- To weave the maille quickly, you will need to pre-open some rings, and pre-close others. Only open the rings as wide as you need to slip them over the appropriate quantity of other rings. If you open the rings too wide, it is harder to close them neatly and tightly. For the pre-closed rings, make the closure as seamless as possible. It is much easier to close the rings neatly at this stage than it is when weaving. An illustration of the correct way to open and close rings is included in the instructions.
- Use a soft surface to work on. The bead mats are ideal, since they allow you to “scoop” up the closed rings without catching on the material, and the rings that you drop (and you will) don’t go very far.
- When weaving, rest your hands on the surface, or as close as you can comfortably be to the surface. The extra support will help prevent the project from slipping and rings from escaping.
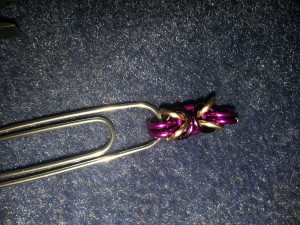
One of the tools in the kit is a large paperclip. Attaching this to the beginning of the project accomplishes two things, it gives you a “handle” to work on the chain while it is short, and it reminds you which end you are working on.
Here is my finished project. You may notice that the design doesn’t quite match the design on the box. This is because I made a mistake on the second unit of the chain, by reversing my “b” and “c” colors. Rather than take it apart and re-do the section, I chose to work with this as a new pattern, and alternated each correct unit with an incorrect one. I kind of like the variation in the design. Sometimes errors allow for new ideas.
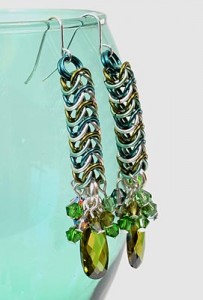
Melissa made a box chain bracelet, and then, having learned the pattern, designed this pair of Night in Emerald City box chain earrings.
Are you a chain maille maker? Reply below if you have any great hints to share.
~ Rita ~

