
“Ruby Ballerina” Hair Sticks with Red Sparkly Glass
Recently, we have delved into the enchanting world of hair findings. Our design team was challenged to use some of our new findings to make some unique hair decorations. I was given the task of creating something with our cherry
hair sticks that resemble chopsticks.
I wanted to make something easy, yet whimsical that could cascade through your locks and add a touch of “ooh-la-la” to the ordinary messy bun. I came up with two designs, that could easily be altered to fit your style or match any outfit. Simply pick whatever beads you like! You could go fun and flirty or sophisticated and elegant (think wedding party?). Whatever you decide, this project is easy, affordable and a great way to tackle the winter blues!

“Hippie Chic Ballerina” Hair Stick with Buddha Head Beads
Make your own Hair Sticks with:
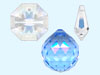
- Various beads of your choice!
- Screw in eyelets to hang your ribbon
- Organza Ribbon from your local craft store
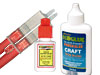
- E-6000 Adhesive
- Hair Sticks, of course!
Here are a few more ideas for creating hair findings! Or take a peek at our Jewelry Design Gallery for tons of free project ideas!

“Spring Flowers” Hair Clip by Cindy Morris

“The Birds” Bobby Pins by Jaclyn White

“The Blue Bee” Bobby Pin by Sondra Barrington
Check out some of our other fun hair findings at Rings & Things and let the creativity begin! We have a great selection of bobby pins, hair combs, barrettes, and hair picks waiting for your personal touch!
Tiffany
Rings & Things Showroom
Design Team
PS: here are some handy links to some other how-to’s in the Rings & Things blog!
- How to wire-wrap a briolette
- How to dap & dome metal jewelry
- How to use heat to patina brass charms & filigrees
- How to make interchangeable magnetic jewelry with 1″ buttons
- How to make polymer-clay pie earrings using mini bottle caps as pans
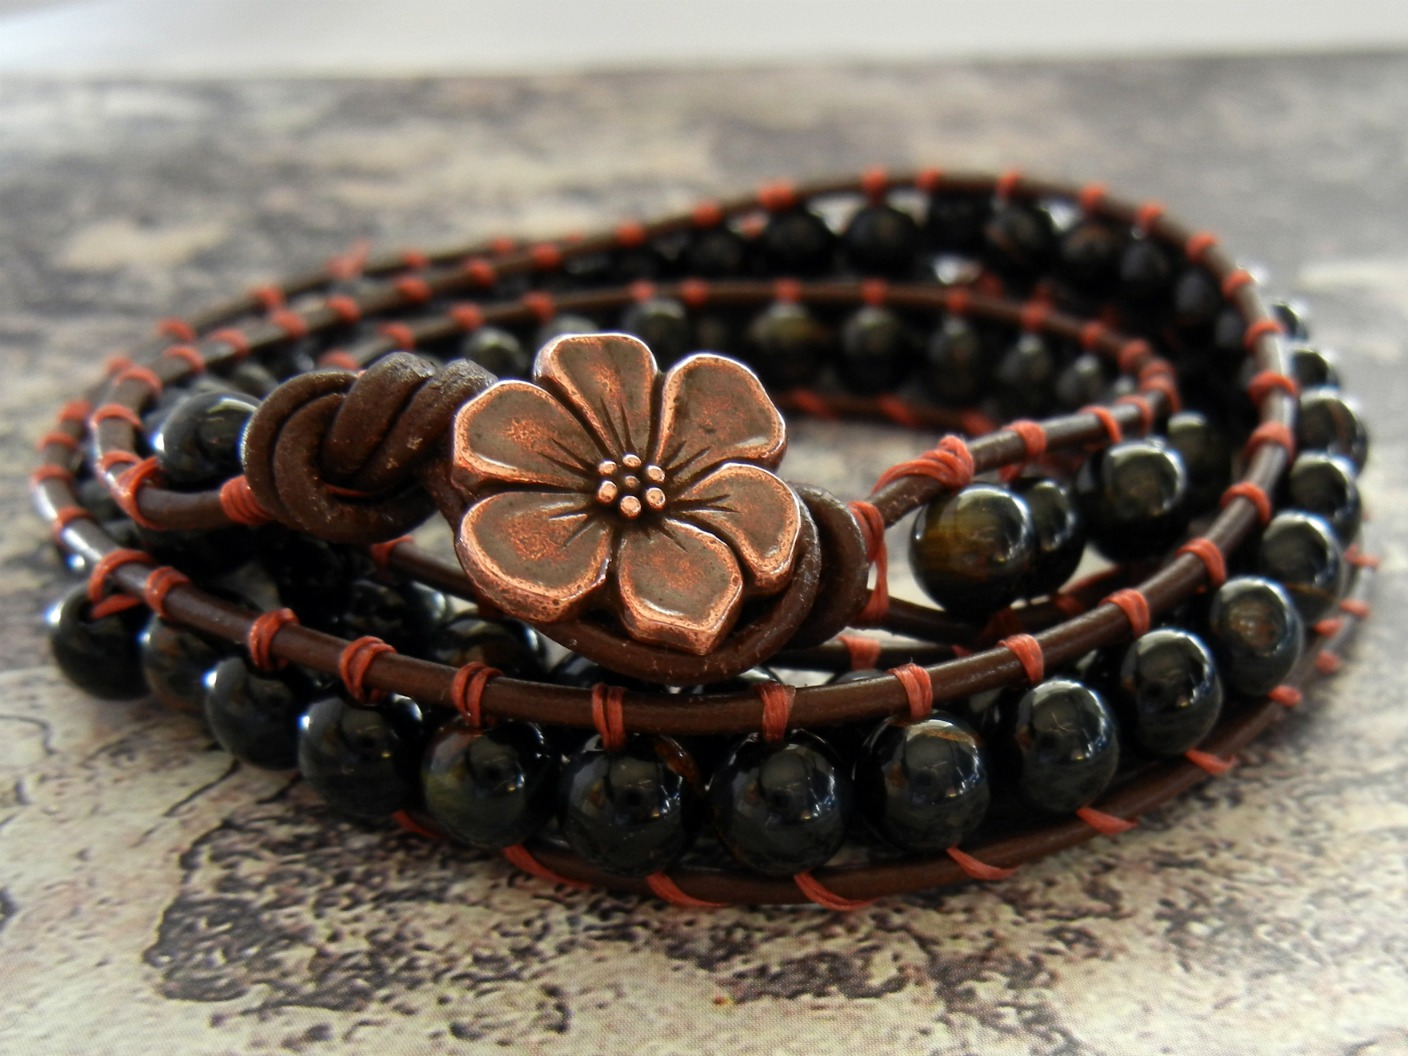
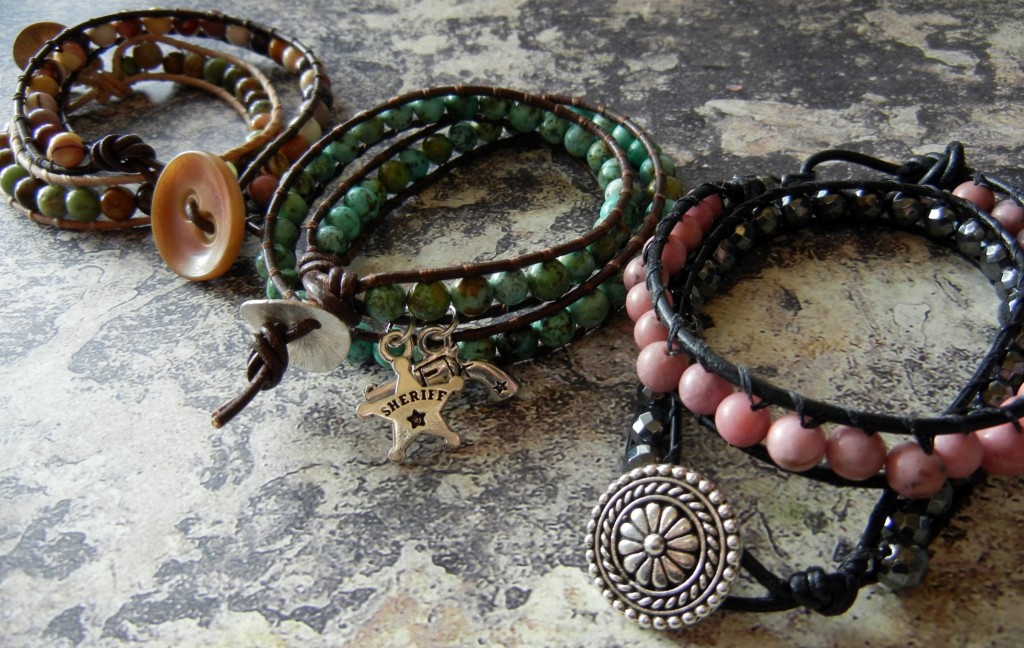
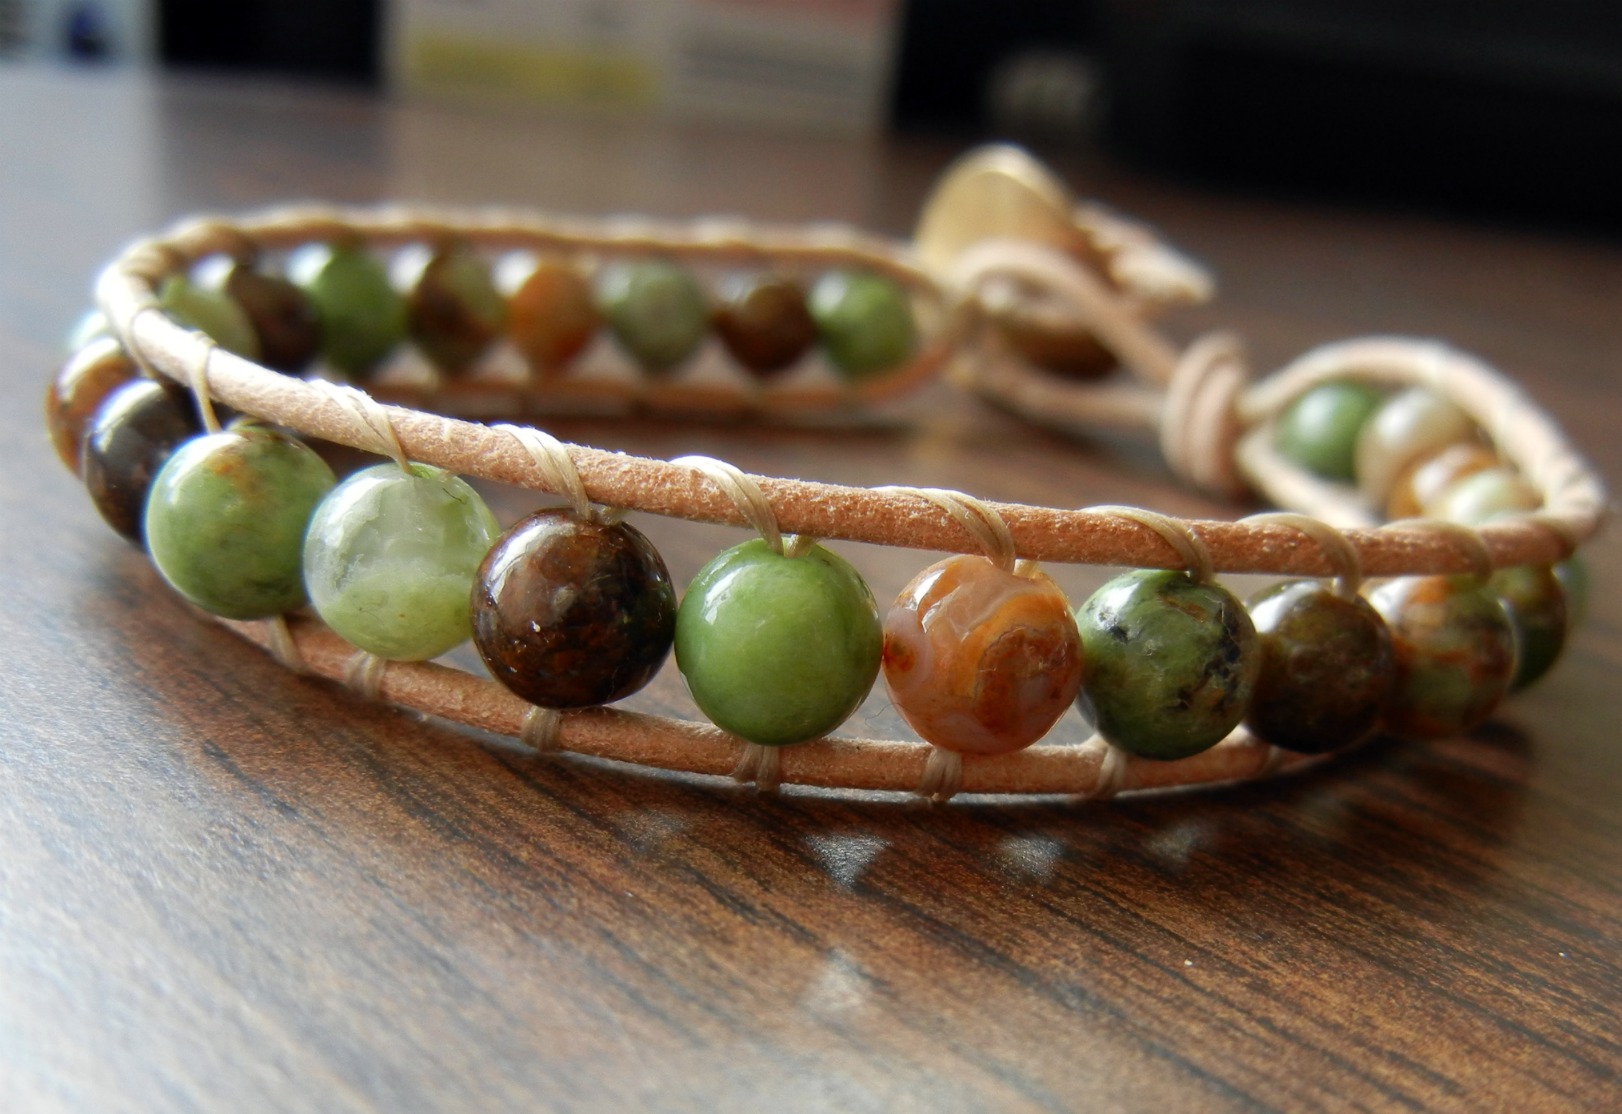
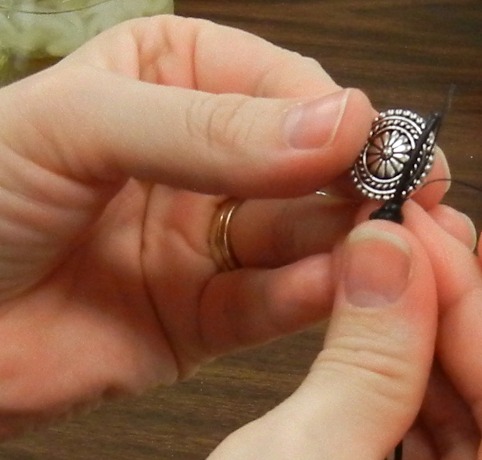
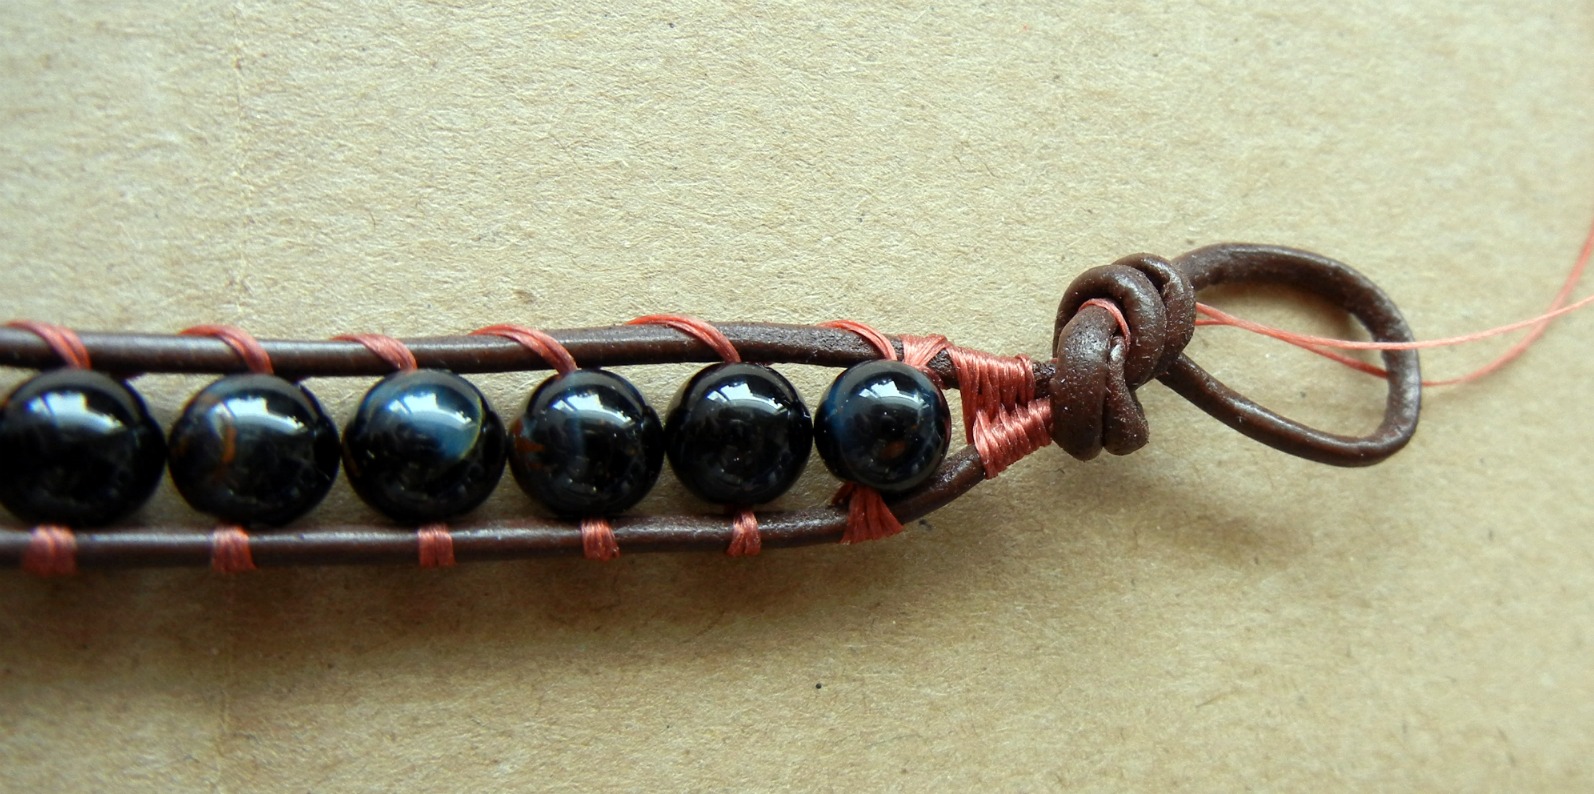
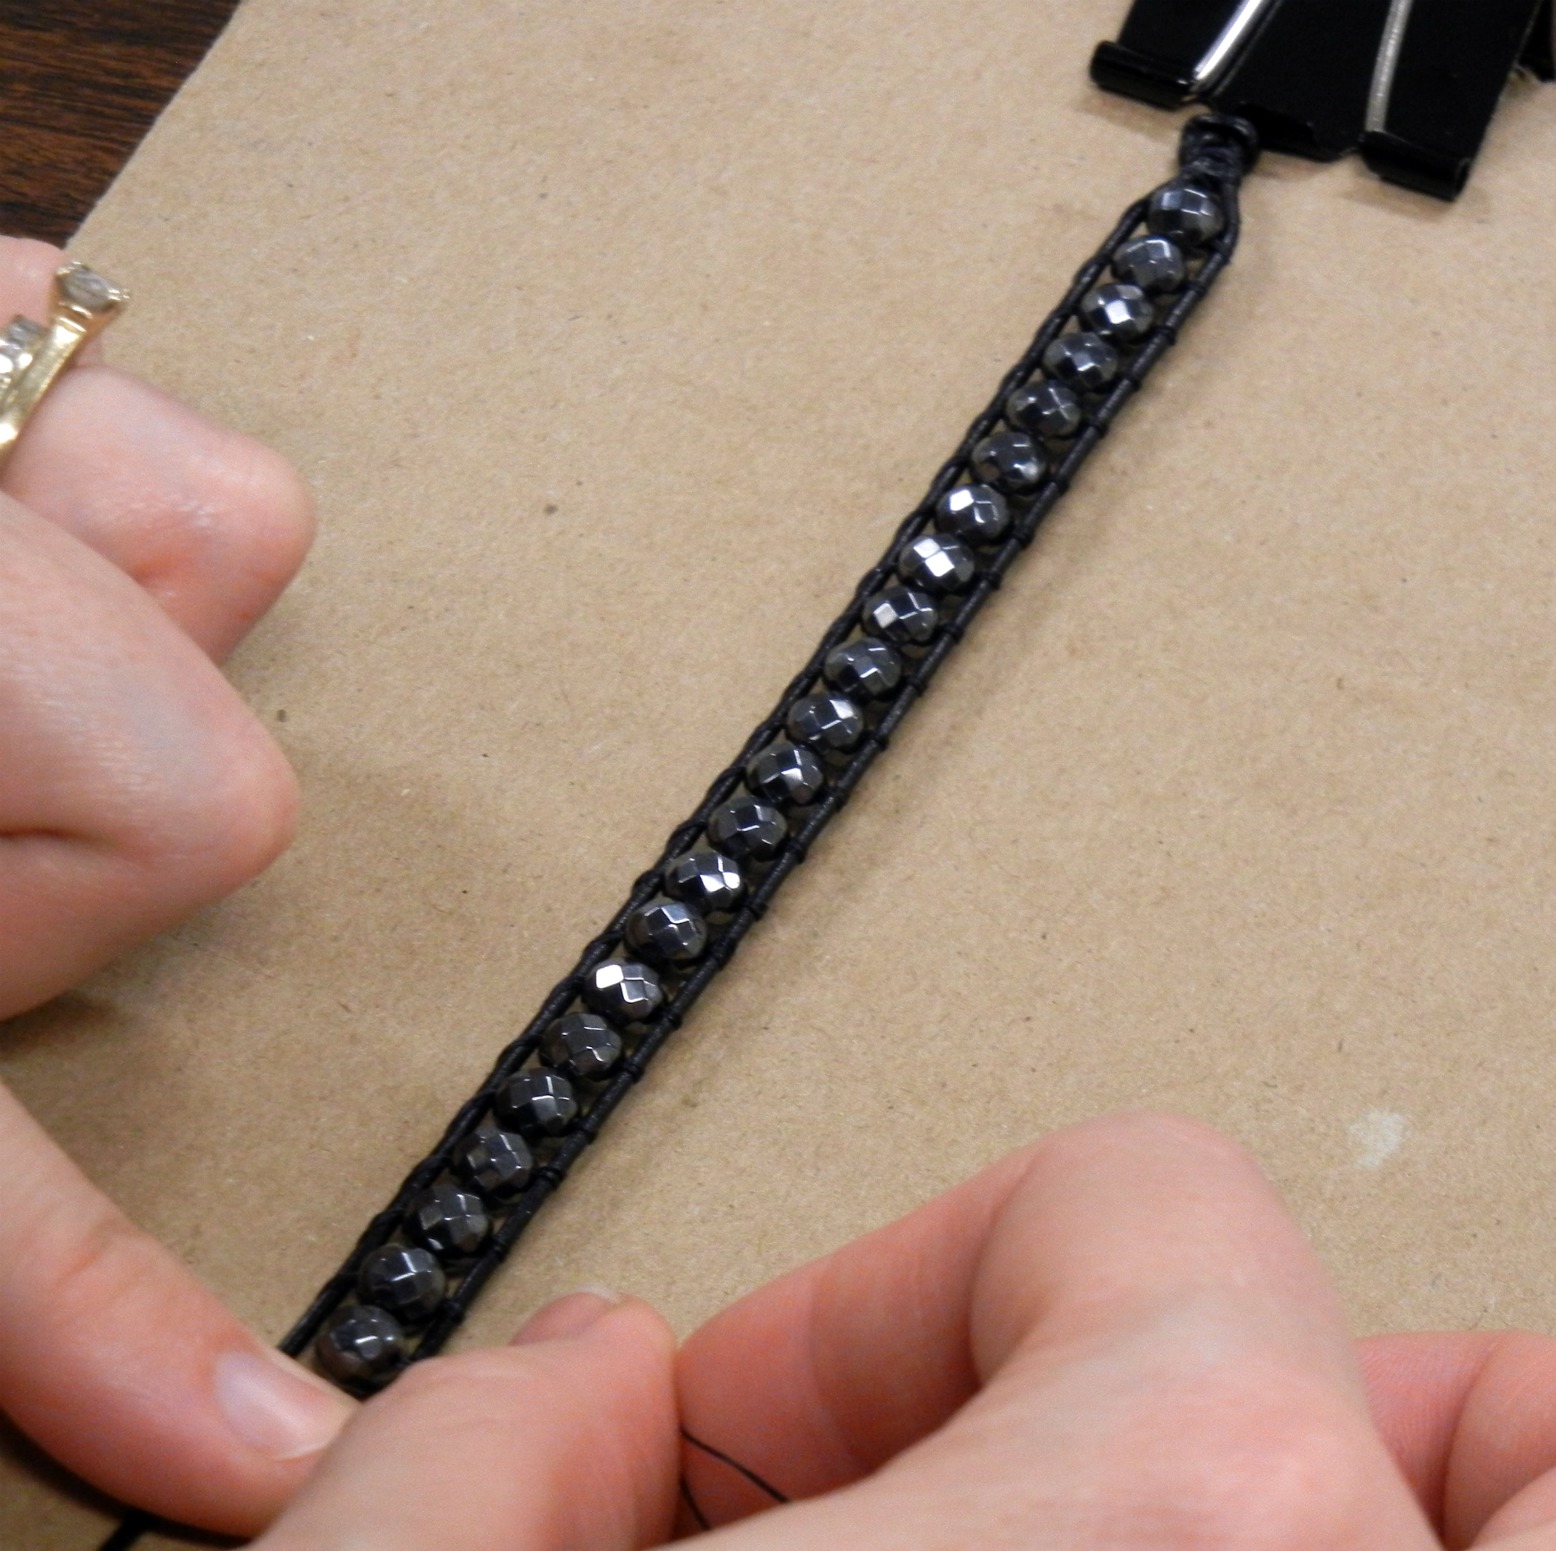
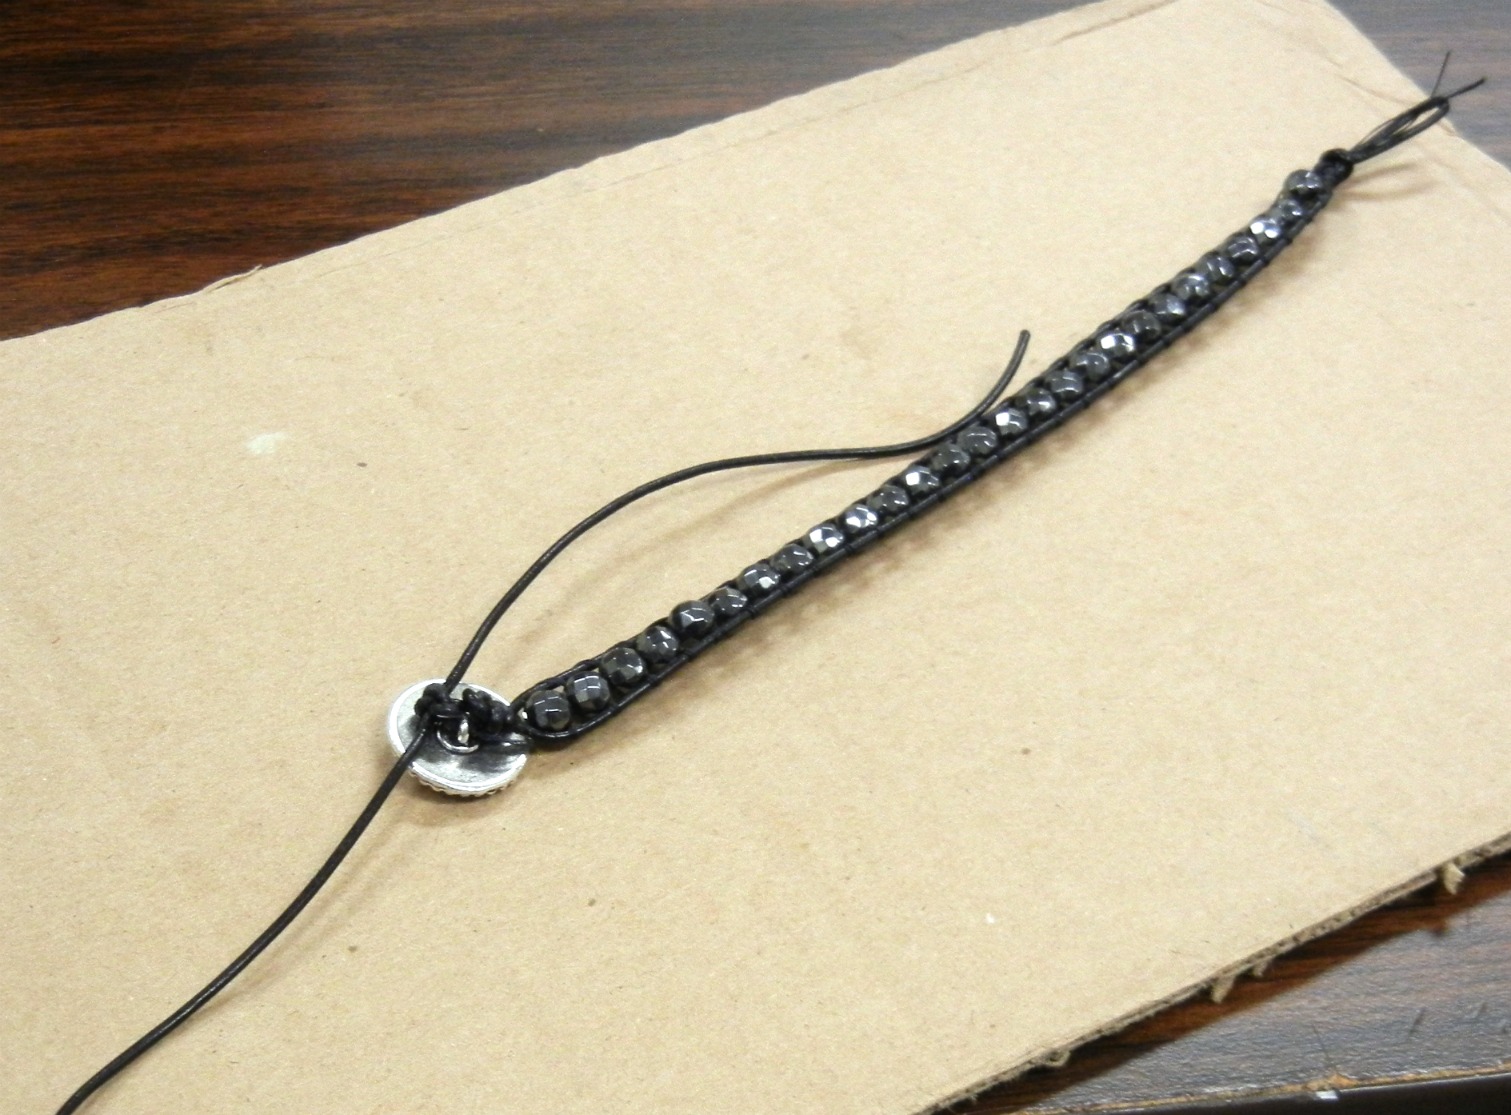
- How to make wrapped leather bracelets
- How to use leftover beads to make a statement piece