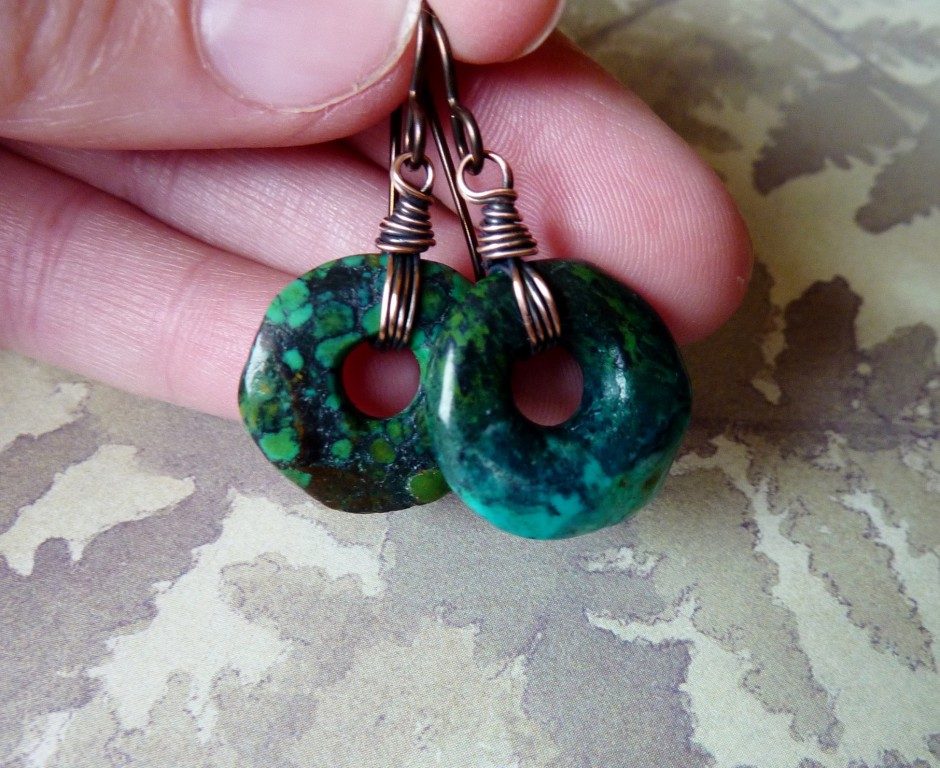
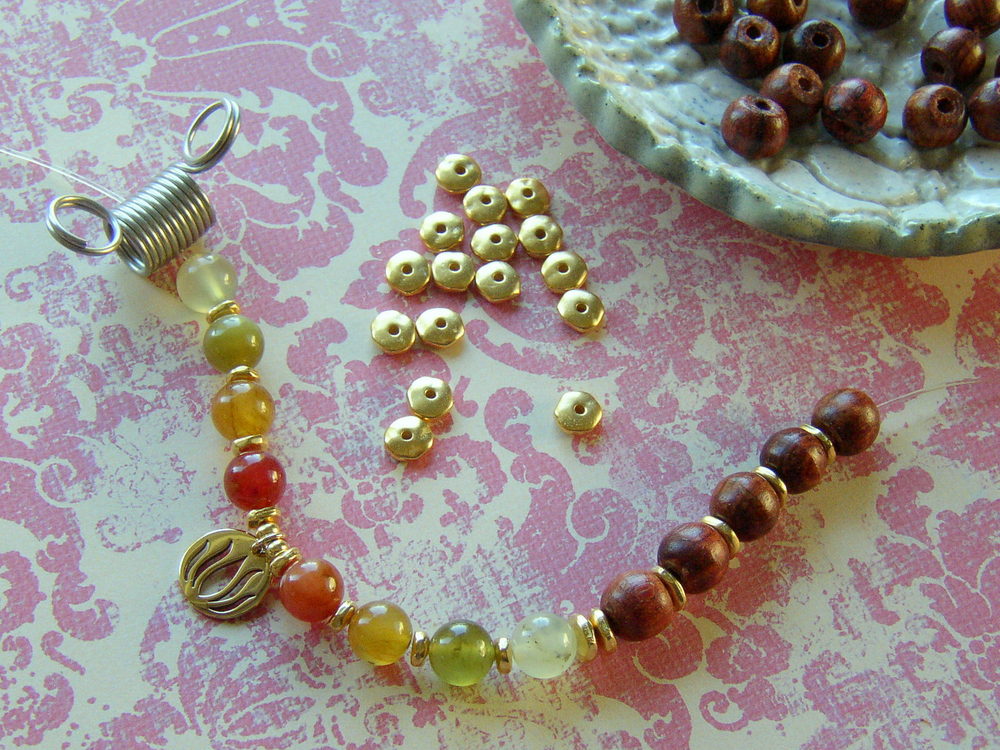
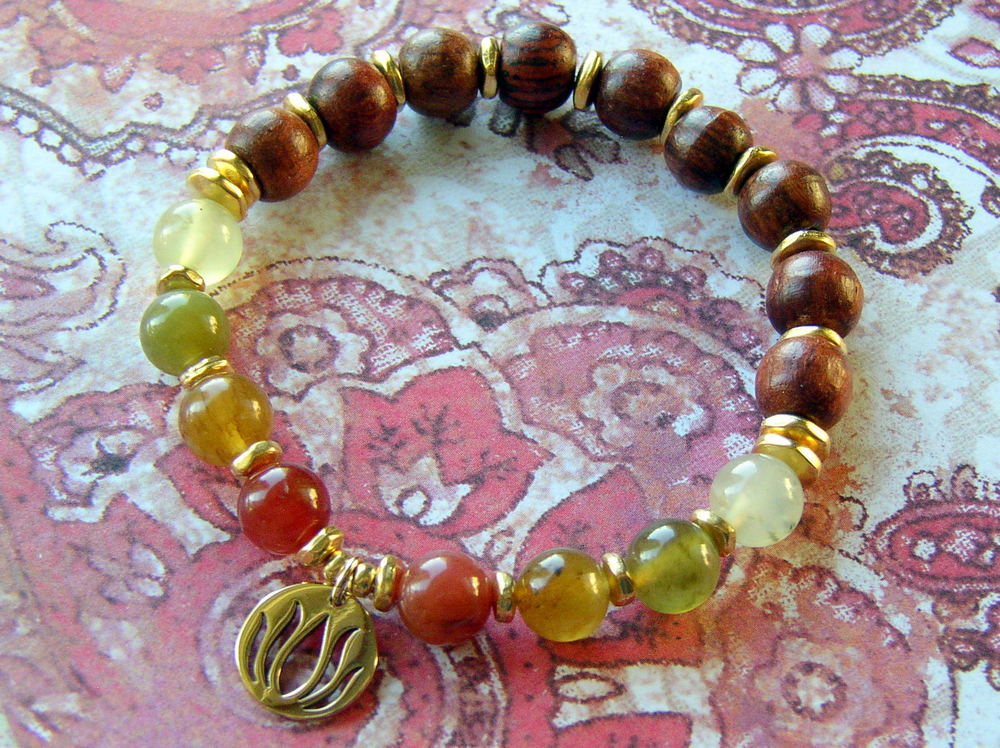
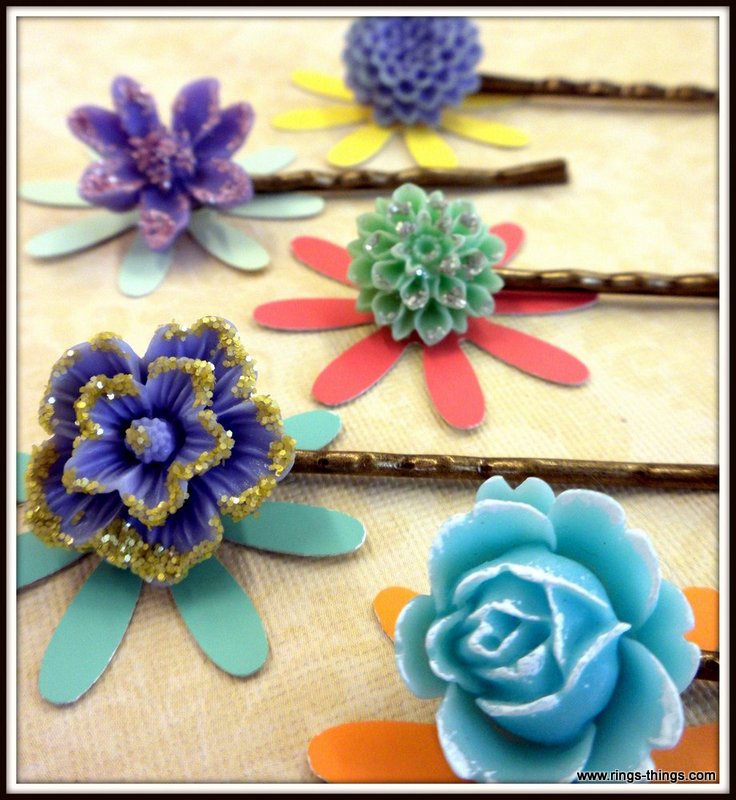
Gemstone donuts come in a variety of stones and sizes! I love gemstones in all shapes, sizes and colors! But recently, I have been having fun with one shape in particular, gemstone donuts. They are round, washer-shaped gemstones, with a hole in the center. They come in a variety of sizes, from dime sized, to palm sized! They also come in a variety of stones. Continue Reading…
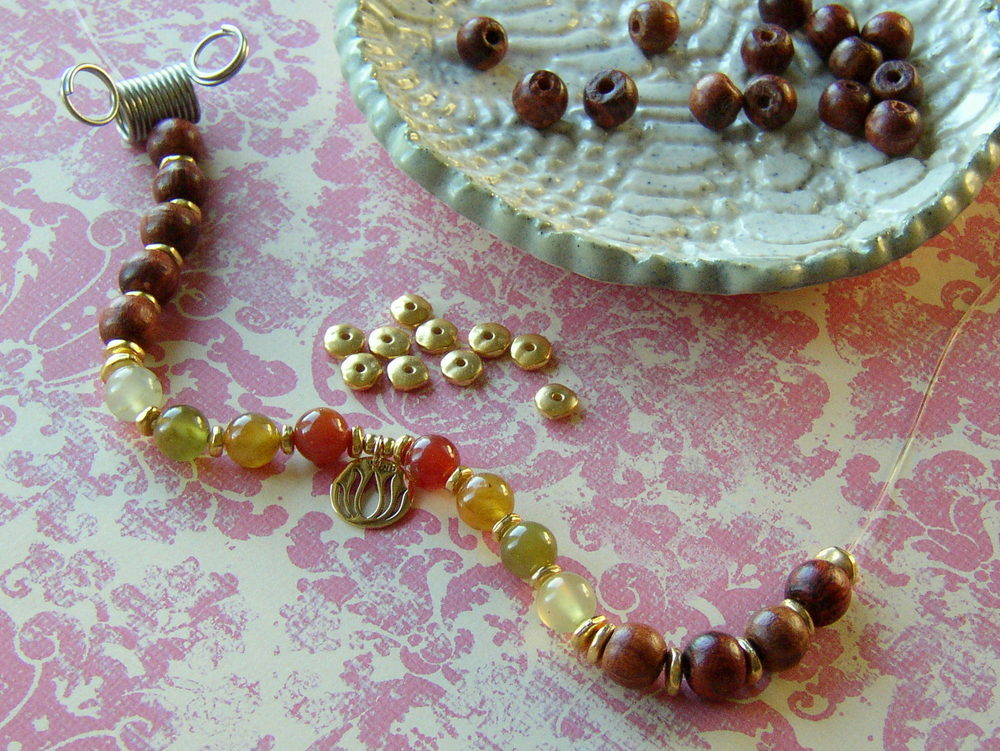
How to transform gemstone donuts into simple earrings and necklaces!
November 25, 2014