
You can create personalized image jewelry with glass tiles and glue-on findings from Rings & Things. In fact, if you can cut paper and glue, you can make image jewelry! Just follow the detailed steps below to turn any image into a wearable piece of art.
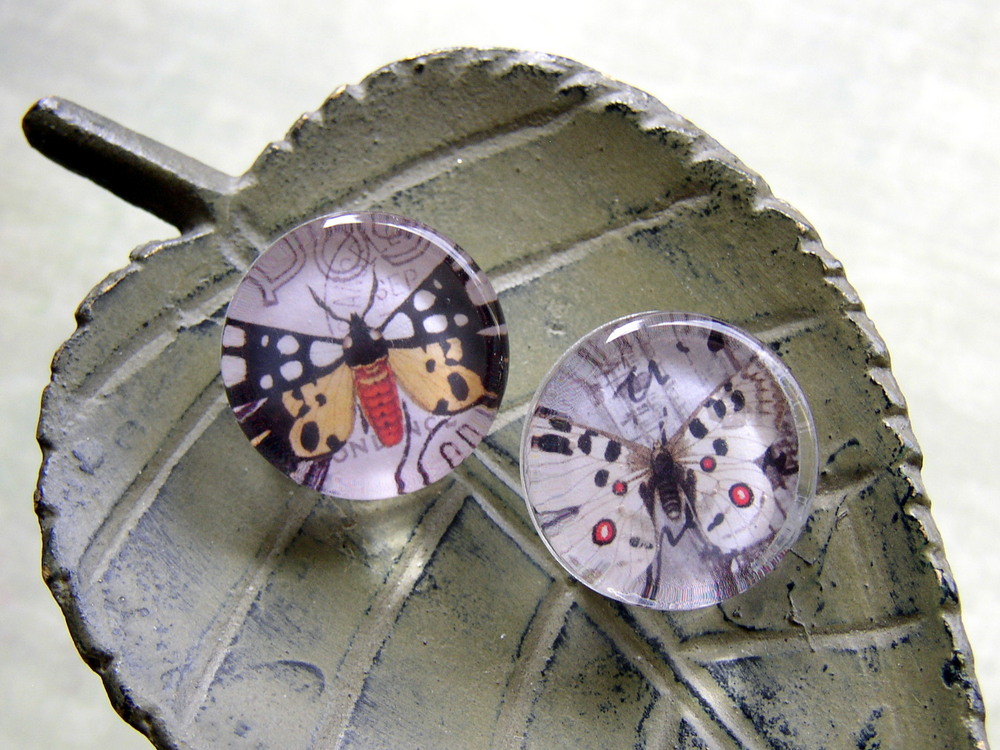
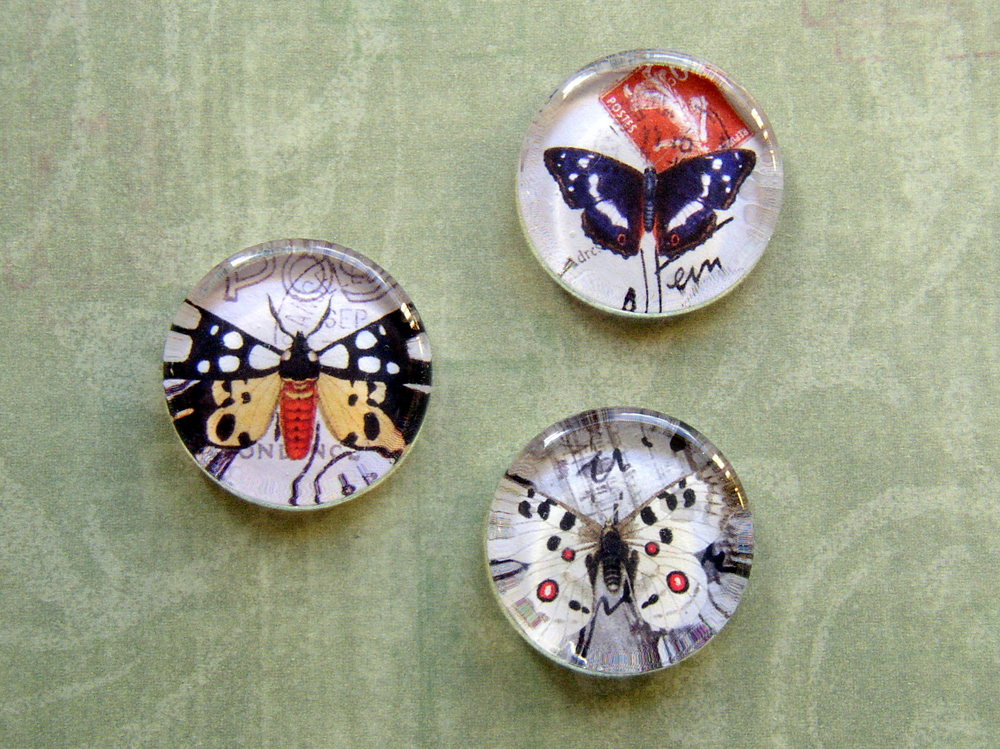
“Butterfly” Pins made by Rings & Things designer Mollie Valente combine glass tiles, Piddix collage sheet images, and glue-on pin back findings.
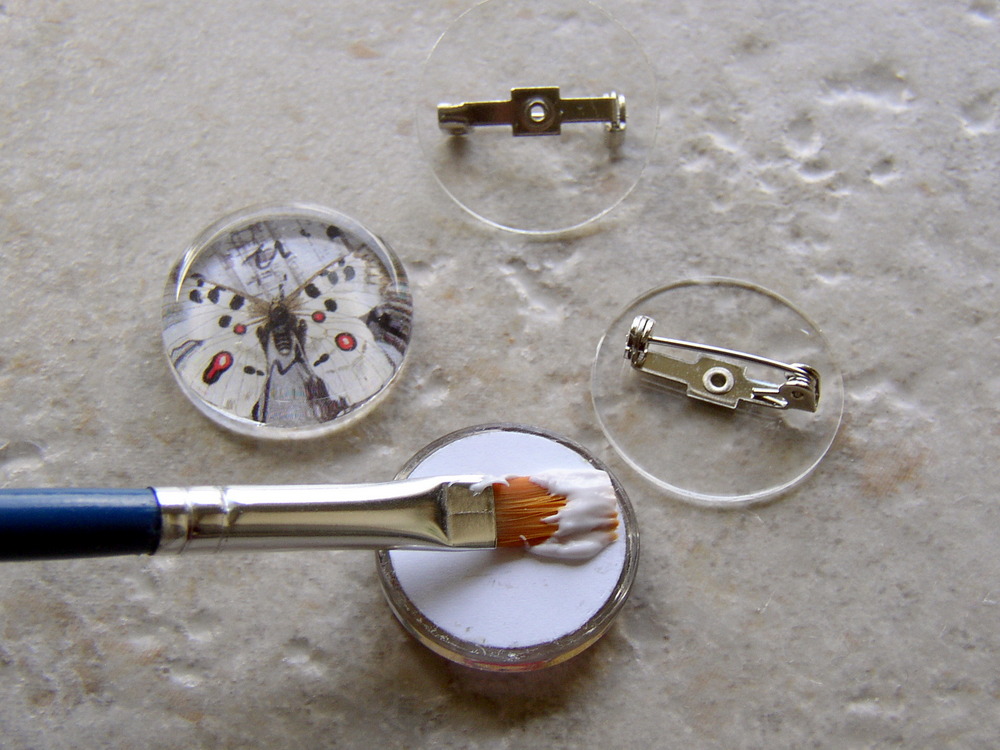
Gather your supplies:
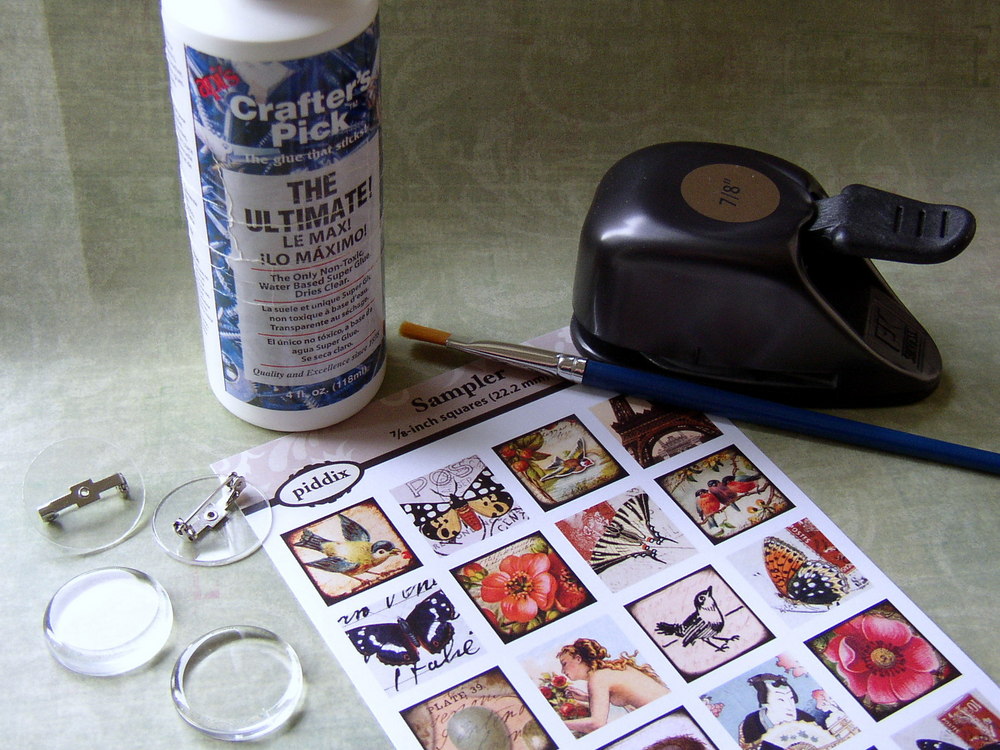
With just a few supplies you can turn any image into a wearable pin.
You’ll need the following components:
>> Pin back finding (I used item#38-950-01-1: 25mm white-plated plastic-pad bar pin)
>> Glass tiles (I used item #83-510-01-042: Glass Tile, Circle)
>> Piddix collage sheets (Or use personal images of your choice)
>> Crafter’s Pick™ The Ultimate Adhesive
And you will need these additional supplies:
>> 7/8″ round paper punch from a craft store (or use a circle template and scissors)
>> isopropyl alcohol from the pharmacy section of a grocery store
>> paper towels from a grocery store
>> small paint brush from a craft store
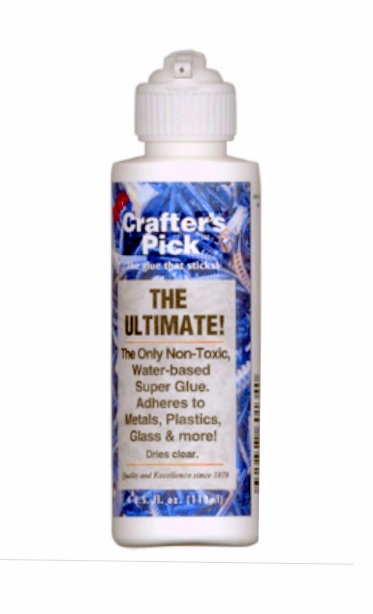
Product Spotlight: The Ultimate! crafter’s adhesive is water based, nontoxic and washable, and dries clear. It adheres to plastics, metals, vinyls, fiberglass, wood, fabrics, ceramic, glass, leather, and paper. For more information on selecting the perfect glue for your jewelry project, check out the Rings & Things “Gluing Tip Sheet”.
Follow these easy steps:
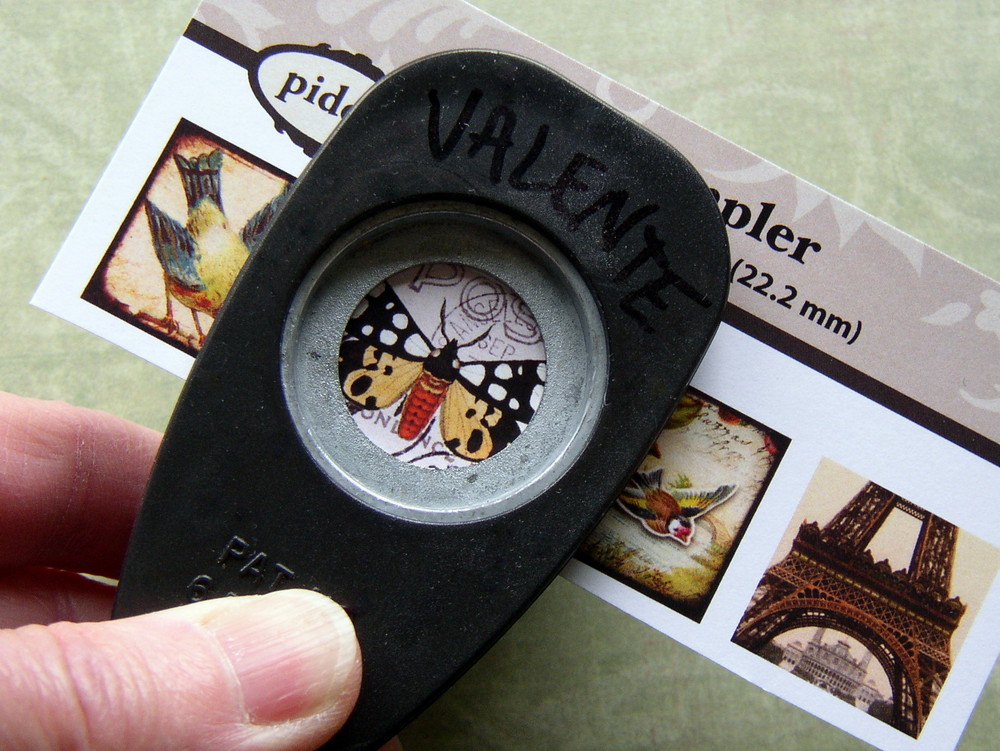
Step 1: Cut out the image. First center the image in the hole punch’s window, then punch. I used a 7/8 inch hole punch–but you can also use a circle template to mark your hole and scissors to cut it out.
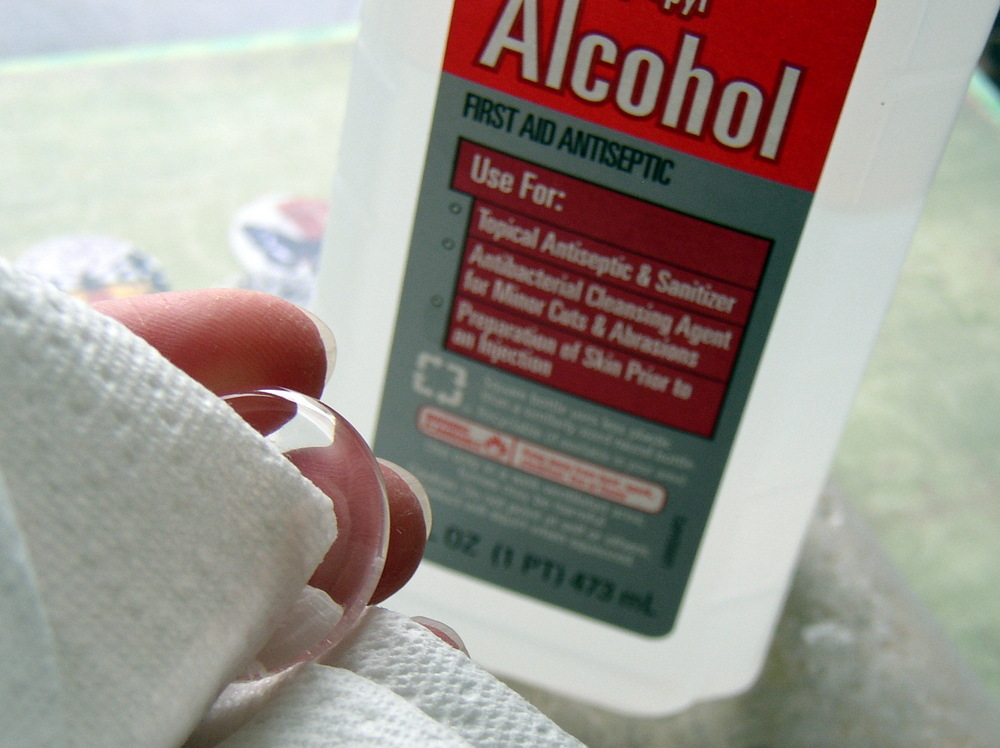
Step 2: Clean the glass tile with isopropyl alcohol and a paper towel. This will remove any contaminants and ensure the adhesive bonds to the glass.
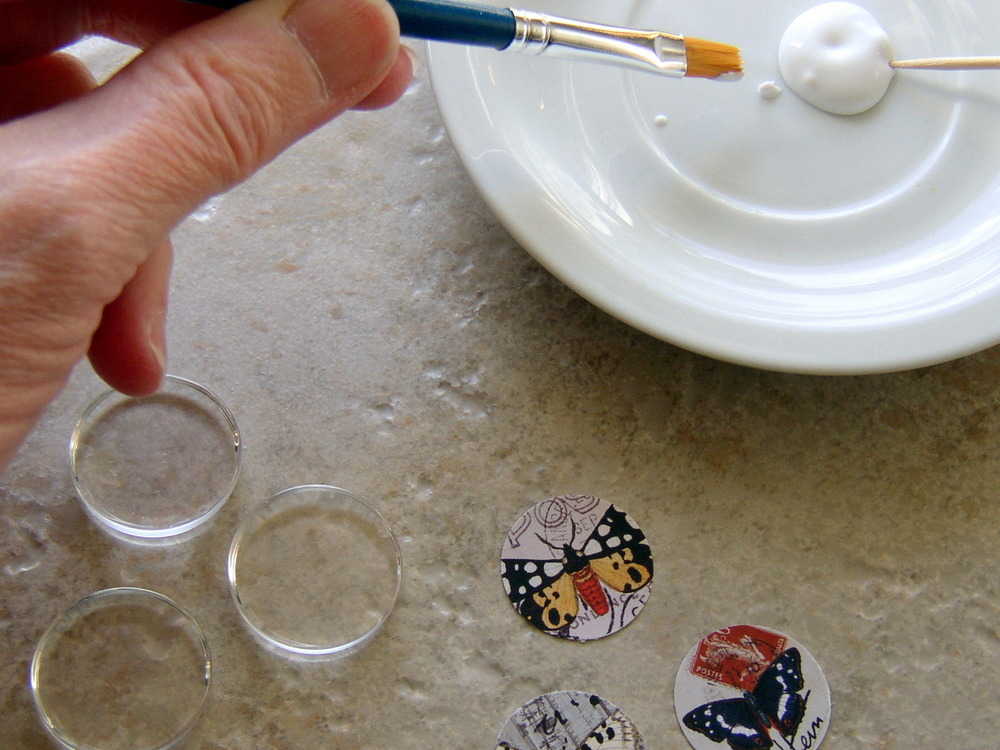
Step 3: Squirt the adhesive onto a clean working surface. A small flat paint brush is ideal for applying the adhesive.
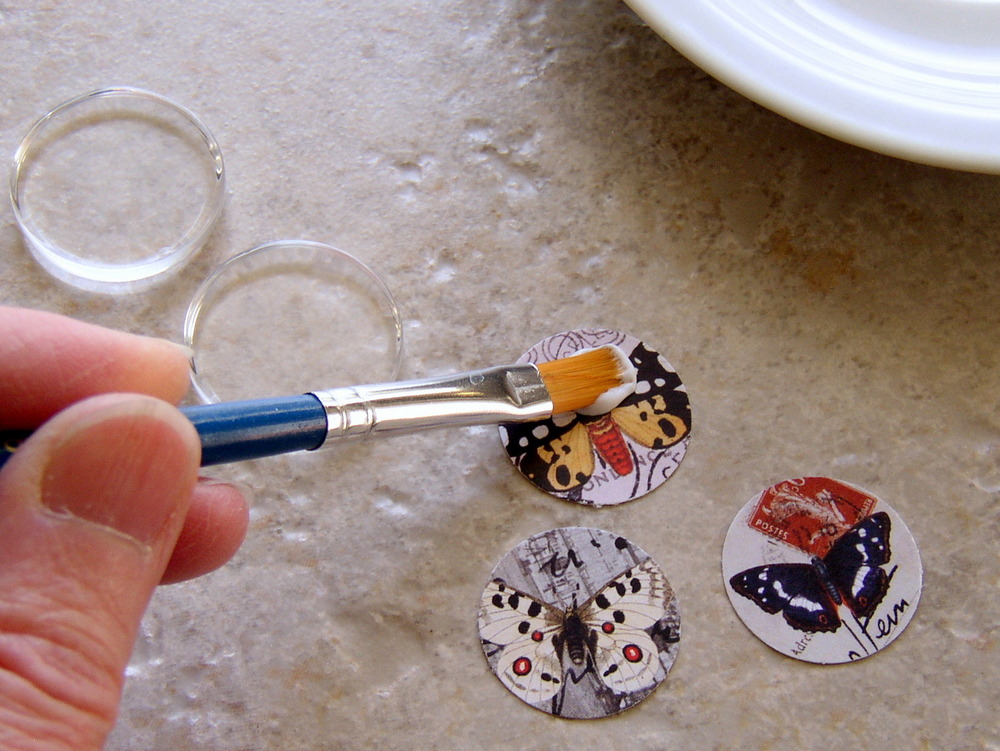
Step 4: Apply the “Ultimate Adhesive” to the paper image cutout.
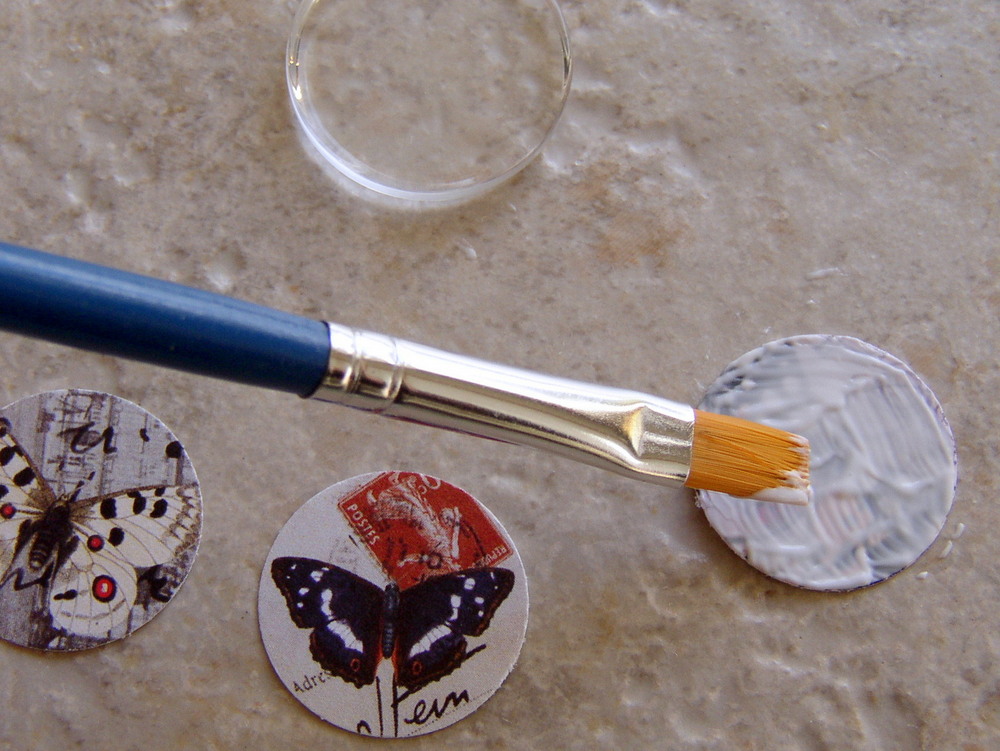
Step 5: Use the flat paint brush to spread an even, liberal coating of the adhesive on the paper image.
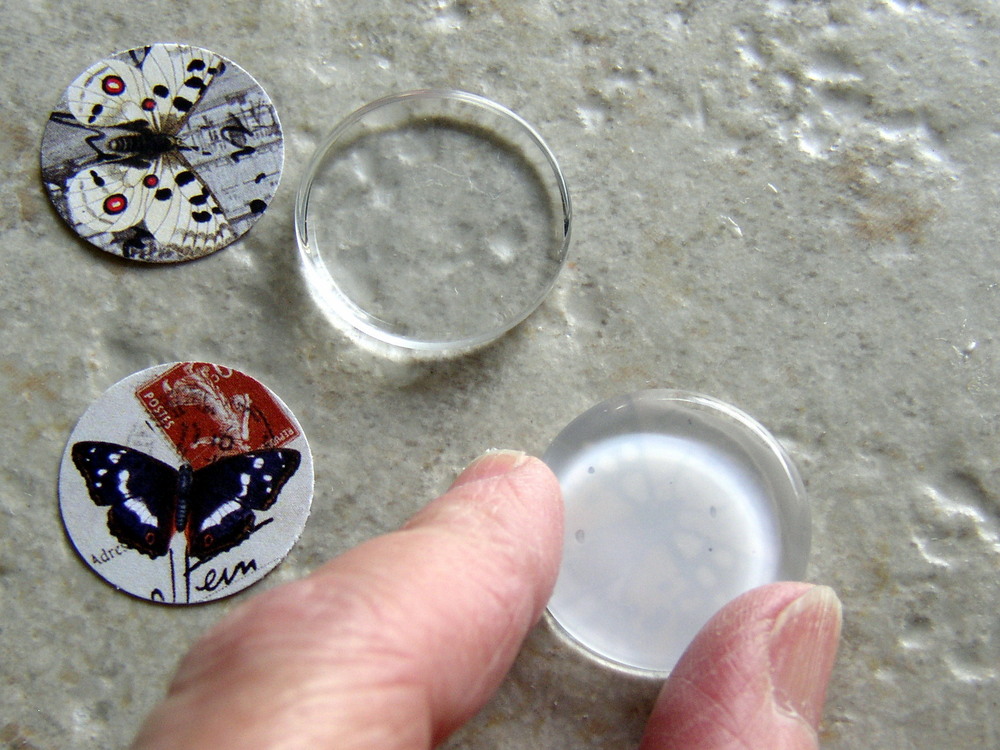
Step 6: Place the clean glass tile (flat side down) onto the image and push down firmly.
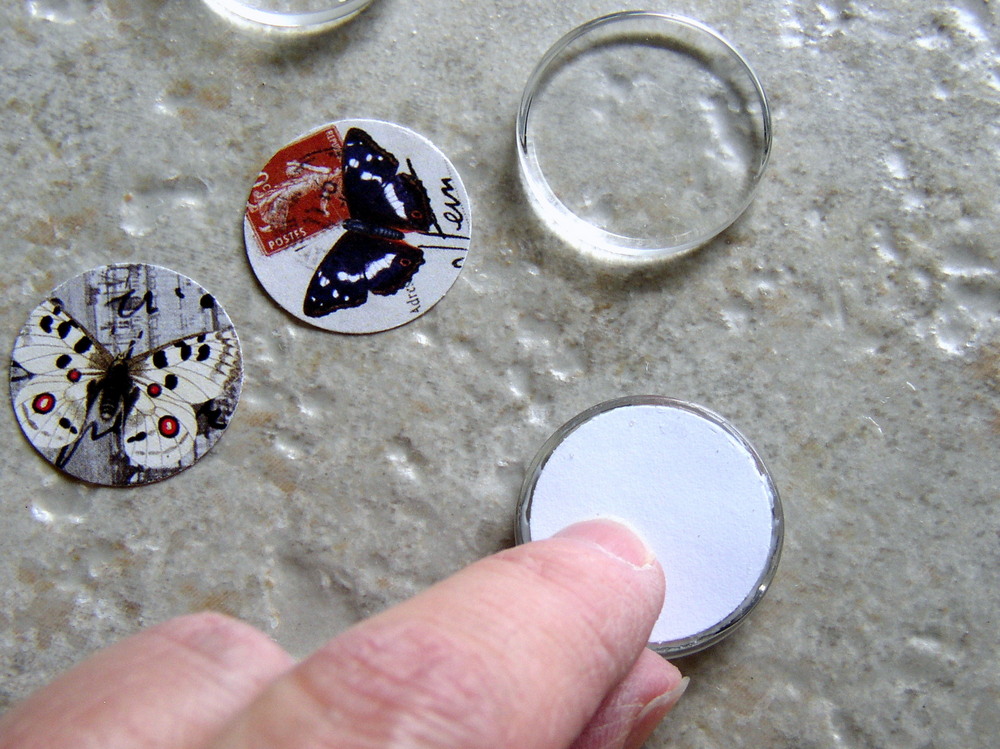
Step 7: Turn the glass tile over and gently apply pressure to the paper image; this will help to even out the adhesive layer and remove trapped air bubbles.
Step 8: Turn the glass tiles over and view them from the front side. Make sure all air bubbles are removed. The wet adhesive will appear cloudy, but will dry clear.
Step 9: With the paper side up, place the glass tile aside in a warm place to fully dry. While you wait, clean up the glue surface and paint brush with warm water.
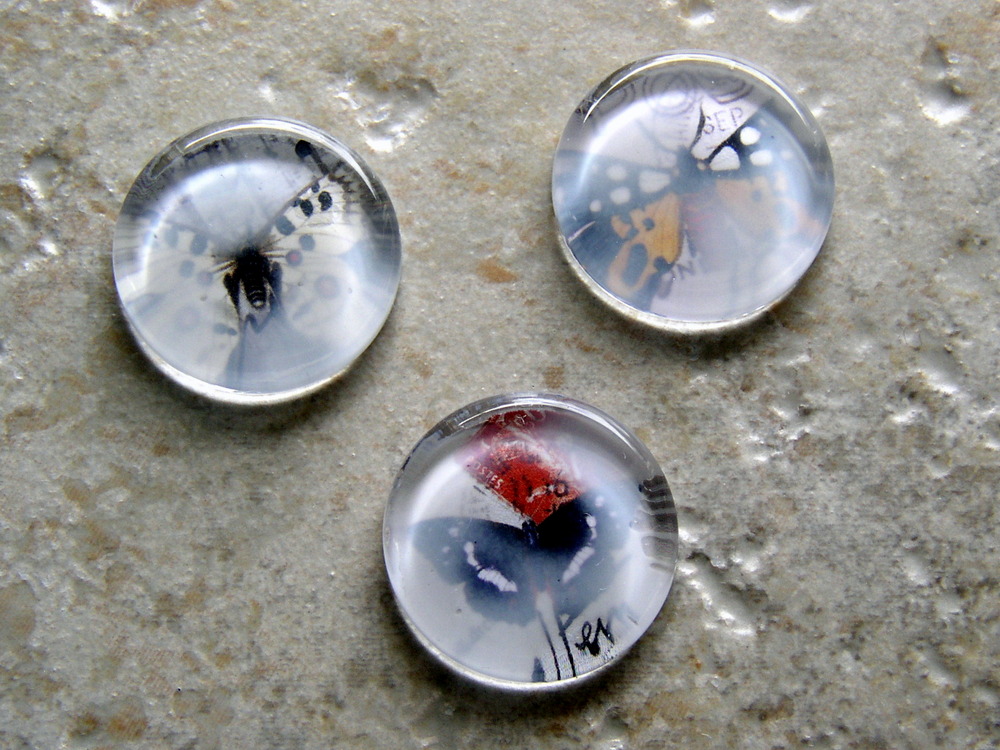
Step 10: After a few hours of drying time, check the glass tile to make sure the adhesive has fully dried. All cloudiness should be gone.
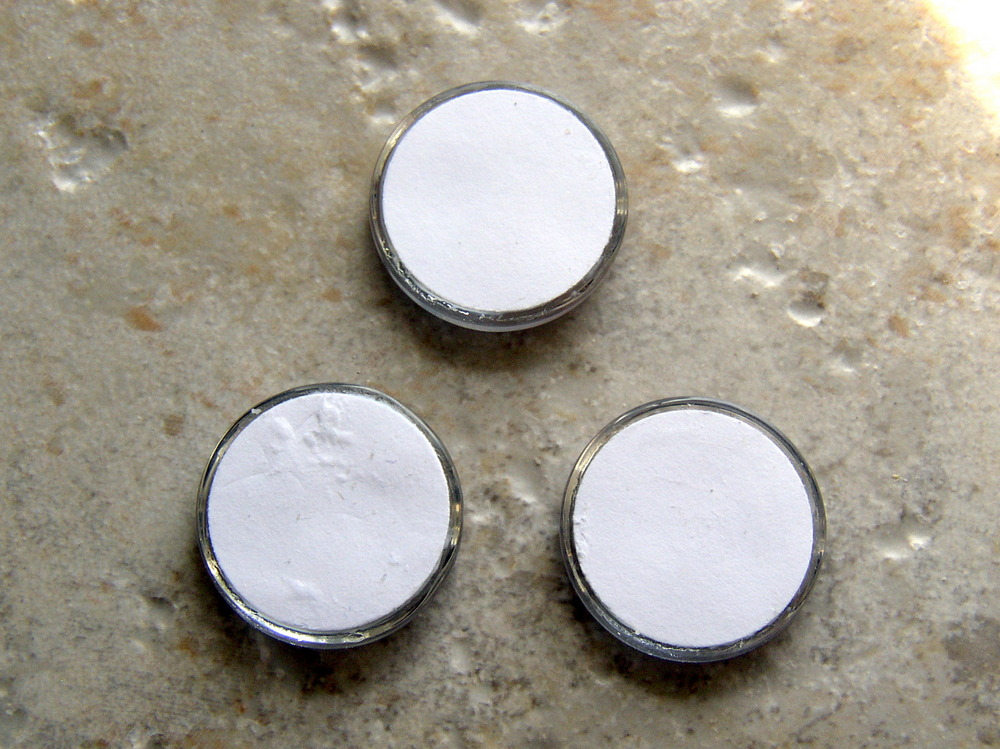
Step 11: Apply an even coat of the “Ultimate Adhesive” to the back side of the image tile.
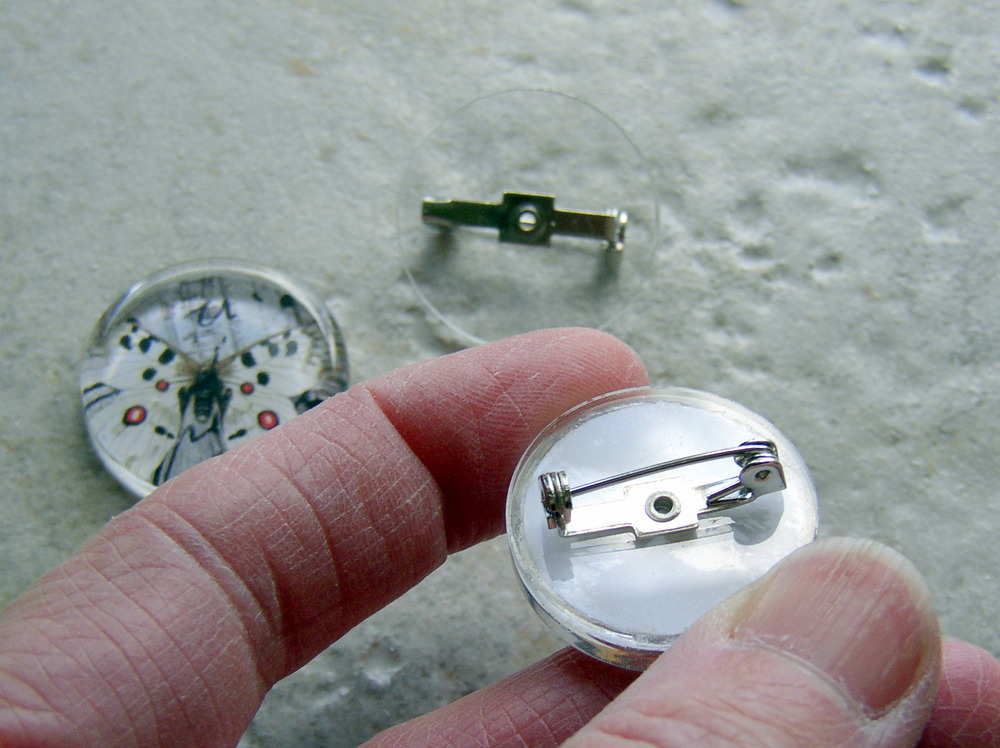
Step 12: Apply the smooth side of the glue-on pin finding to the adhesive-coated image tile. Apply even pressure to remove trapped air bubbles. Pay close attention to the pin direction and the image direction so they coincide. Also be sure the image tile is centered on the pin back. Once you are satisfied with the placement, set the pin aside in a warm place to dry. It is best to allow a full 24-hour drying time.
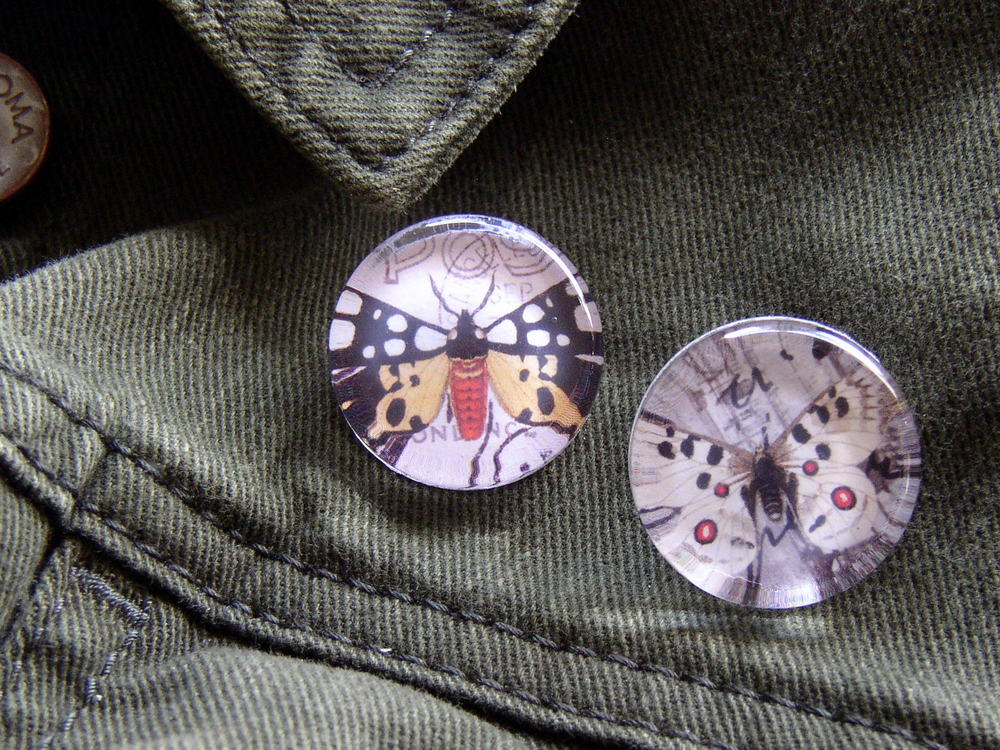
Once fully cured, the glass-tile image pins are ready to adorn a favorite jacket or backpack!
>>>—- ♥ – ♥ – ♥ – ♥ – ♥ – ♥ – ♥ – ♥ – ♥ – ♥ – ♥ – ♥ —-<<<
And follow these steps to create an image pendant:
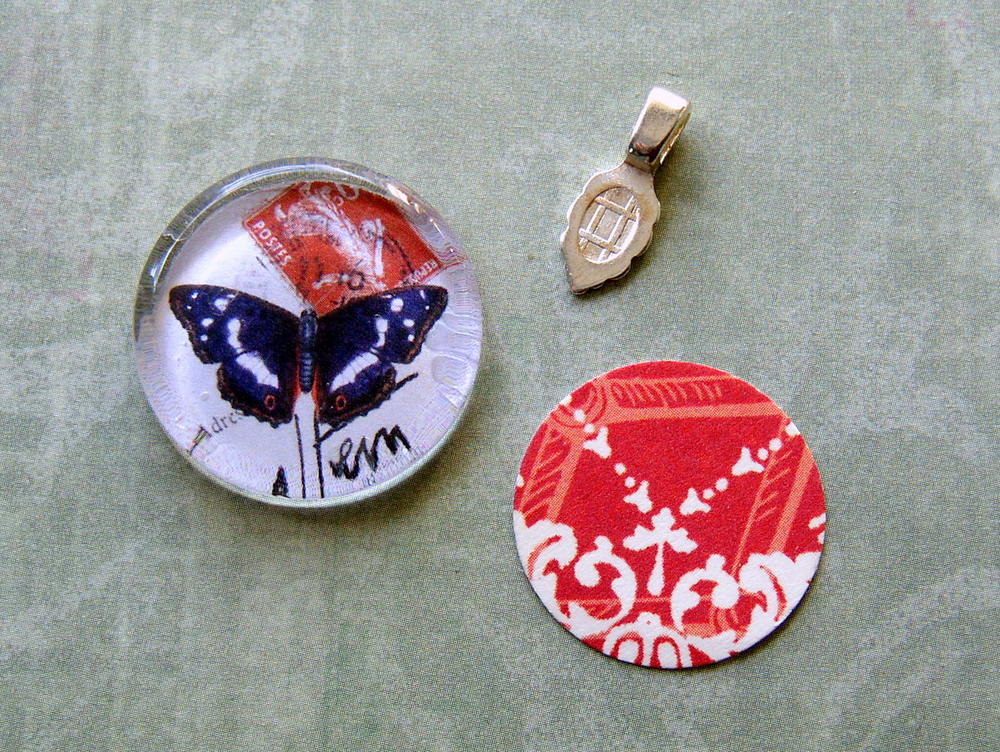
Pendant Step 1: Follow steps 1-10 for making a pin. Cut an additional decorative paper circle. Select a glue-on bail that is appropriately sized for your pendant.
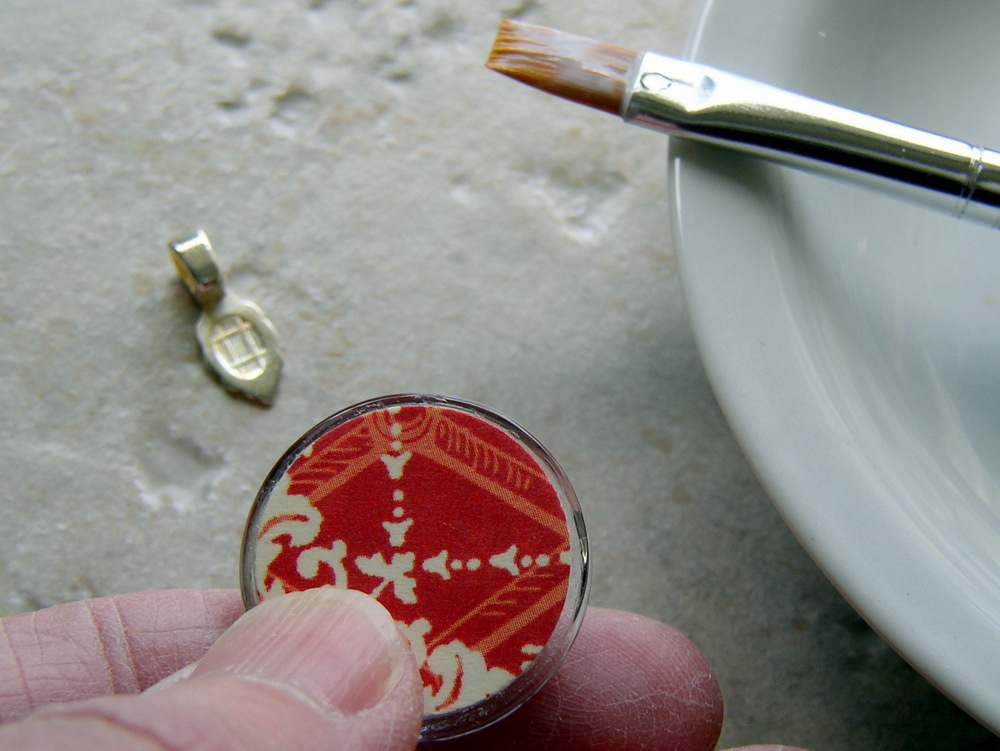
Pendant Step 2: Apply glue to the back of the image-adorned glass tile and adhere the decorative paper circle. Make sure the decorative elements coincide with the image on the front of the pendant. Now you have a pretty backside to the glass pendant.
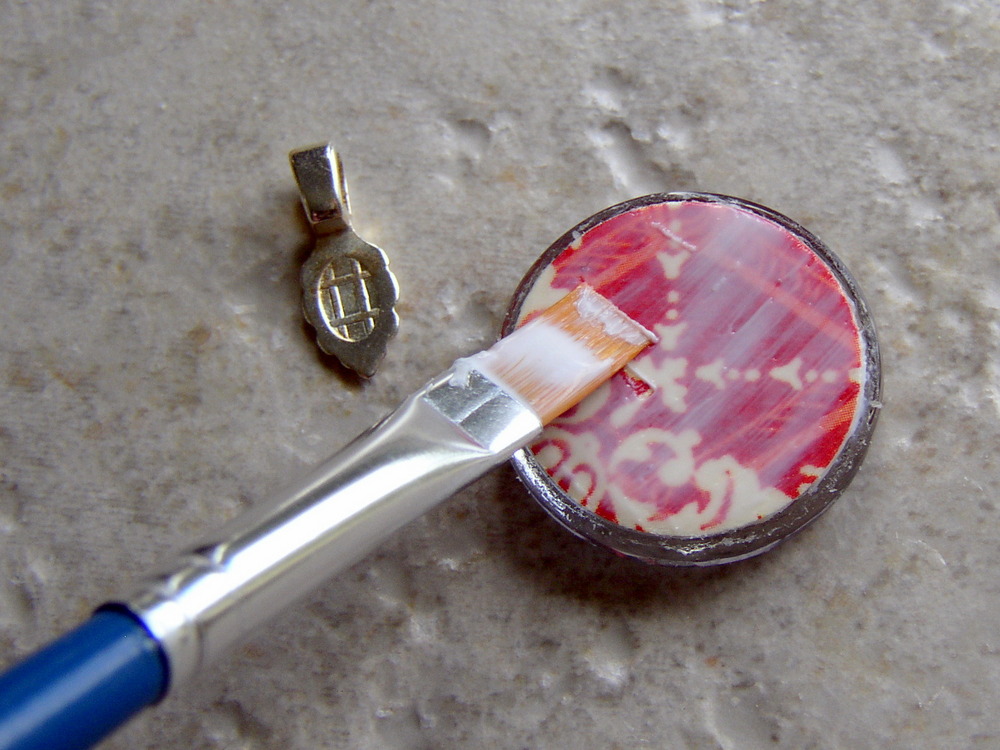
Pendant Step 3: Apply a thin layer of “The Ultimate” adhesive to the backside of the pendant. Once cured, this layer will seal and protect the pendant.
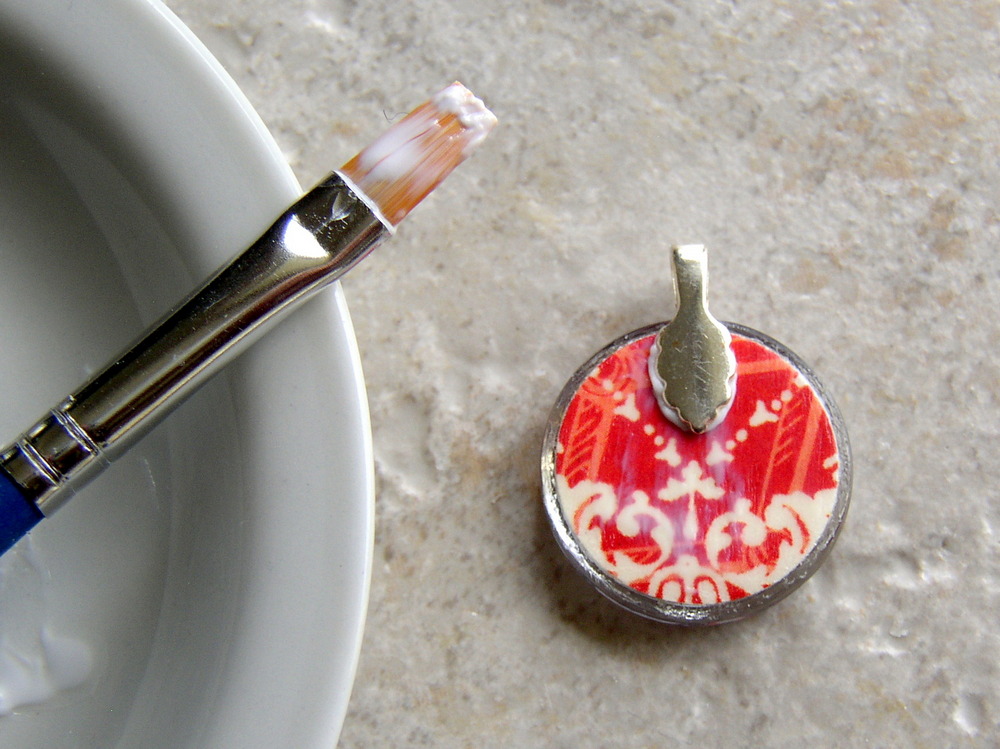
Pendant Step 4: Apply a generous coating of adhesive to the gluable surface of the bail. Position the bail on the backside of the glass tile and press it in place. Check to make sure the bail placement and the image direction line up. Set the pendant aside in a warm area to cure for 24 hours. Finish the pendant with a ball chain necklace of your choice; it is ready to wear.

“Butterfly” Necklace made by Rings & Things designer Mollie Valente. You can easily turn an image-adorned glass tile into a pendant by adhering a glue-on bail to the backside.
♥ Make Things,
Mollie

4 Comments
These are so lovely. Do you have a supplier for the glue on pin findings?
Thanks
Hi, thanks!
Yes we do, and here it is! http://www.rings-things.com/Products/Glue-On-Jewelry-Findings/
–Polly
Is the process the same if using a photo instead of paper?
Aloha
Hi Becky,
I haven’t tried the process with actual photos, but the paper and ink are different. I think the slick, plasticky finish of photos might cause problems. Instead, I would suggest photocopying your photos onto a lightweight cardstock. This can be done relatively cheaply at a photo-copy center.
Good luck with your project!
Mollie Valente
Rings & Things