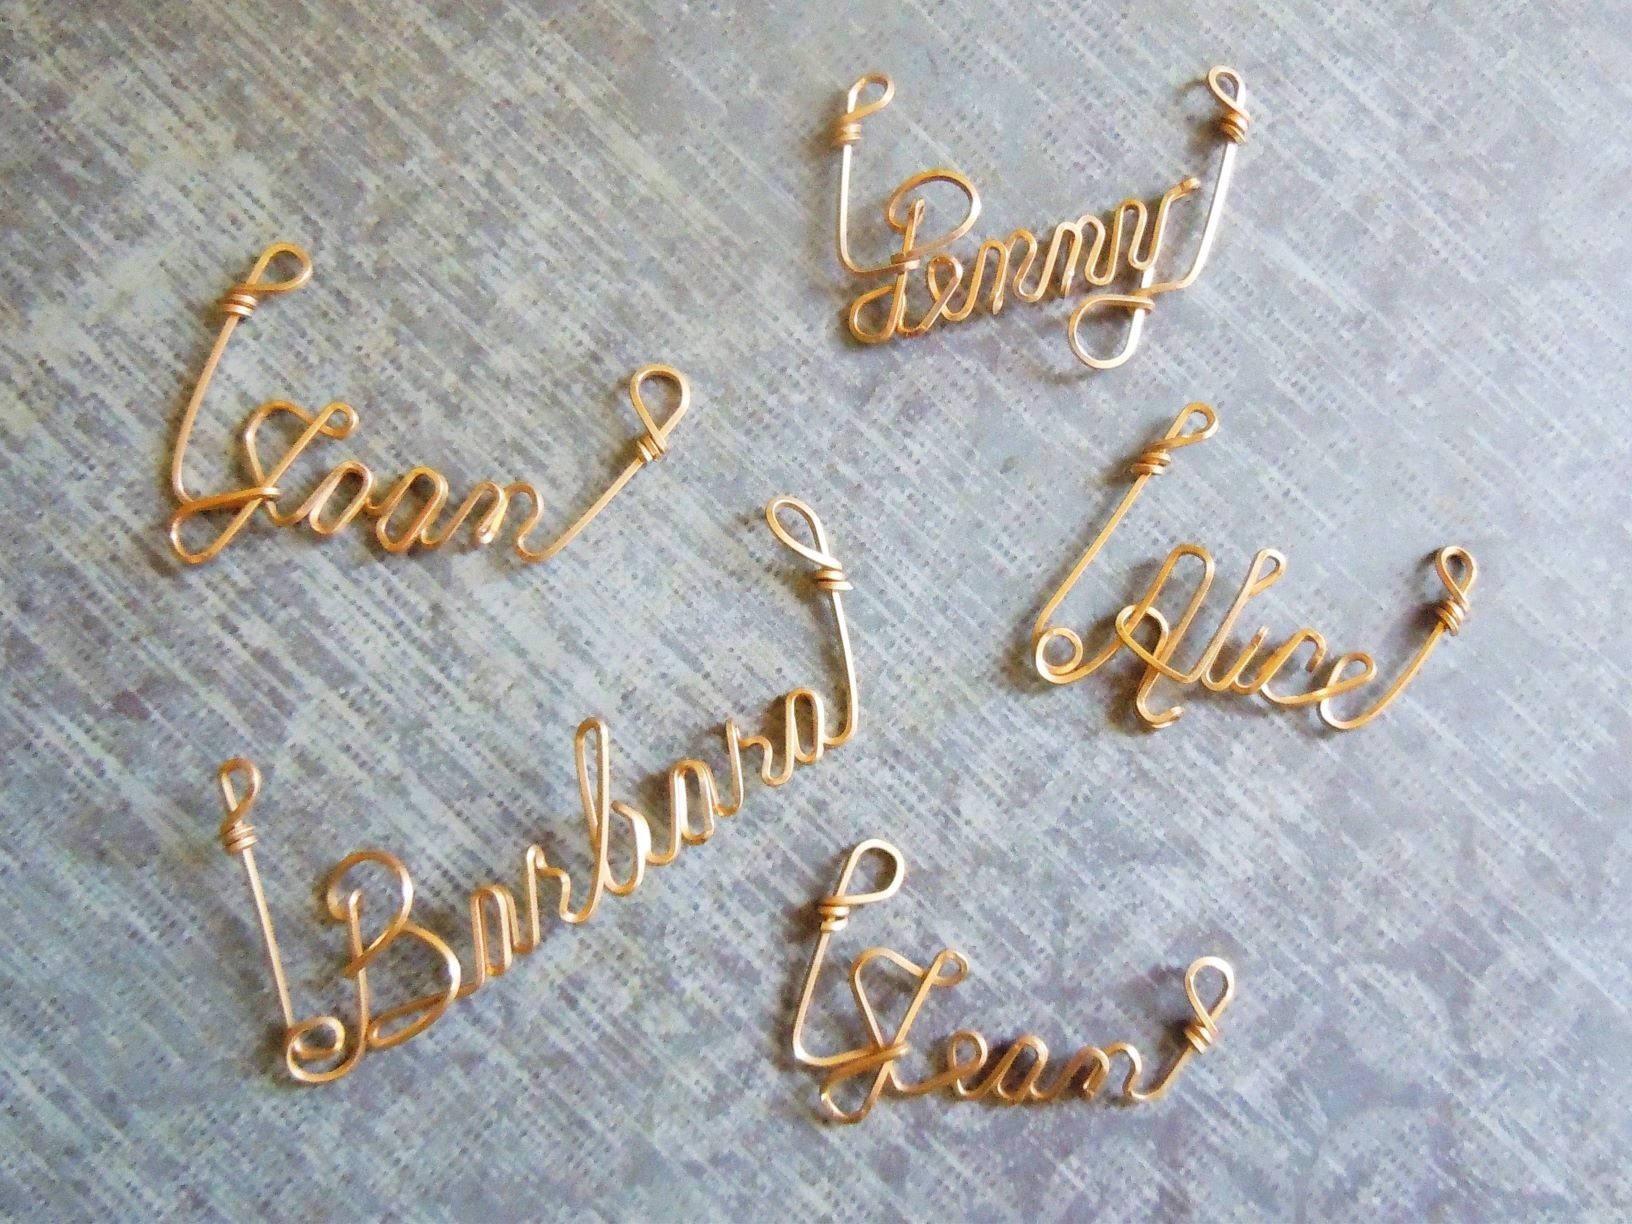
I don’t make wire-worked jewelry (aside from the little wire-wrapped loops on the top of bead dangles). This lack of wire-working ability makes me the perfect person to create a beginning wire jewelry project, because if I can make it so can you. My initial wire interest was inspired by a recent “find” in our Rings & Things Showroom; there hidden among the standard Rings & Things stock was a handful of gold-filled, wire-wrapped, name pendants. The pendants are vintage items made by Rings & Things’ founder Russ Nobbs. In the mid-1960’s Russ handcrafted gold-wire name pendants and pins for sale at county and state fairs around the Pacific Northwest.
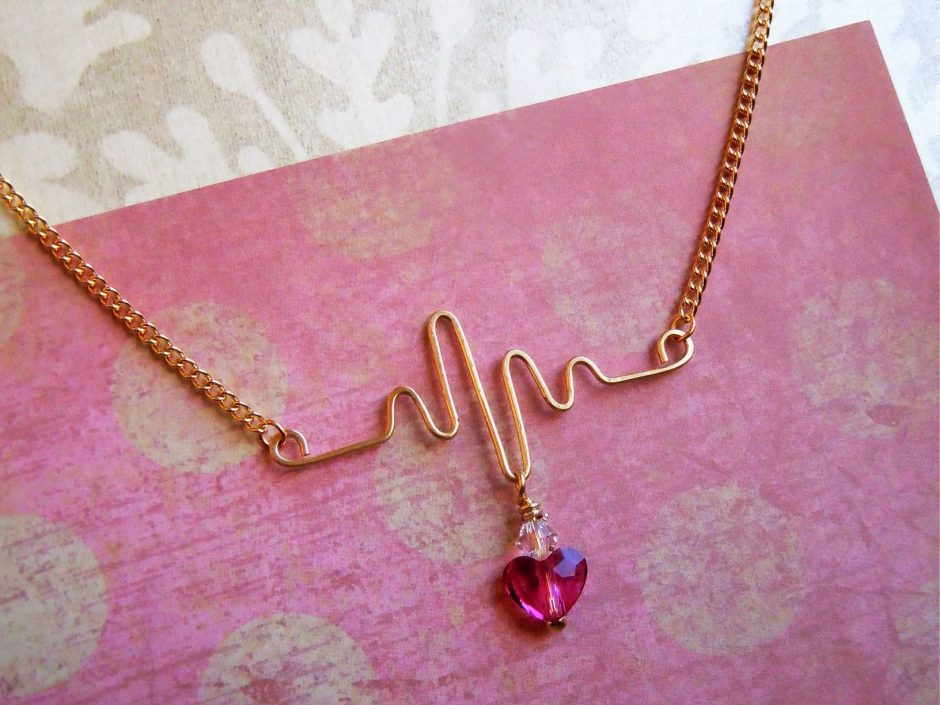
Here is my “heartbeat necklace”tutorial; and for further inspiration, I have included an image of some of Russ’s vintage name pendants. Enjoy!
You will need these supplies:
- 1 each Swarovski 8mm Love Beads (Heart Beads) (I used item #05-741-08-13)
- 1 each Swarovski 4mm Faceted XILION Crystal Bicone Beads (I used item #05-328-04-01)
- 6″ 20-gauge round wire (I used item #47-205-20)
- 1 each 1.5” Ball End Head Pin (I used item #37-099-15-4)
- 1 each 18” Medium Curb Chain Necklace (I used item #40-218-4)
- 2 each 3mm Round Jump Ring (I used item #37-101-2)
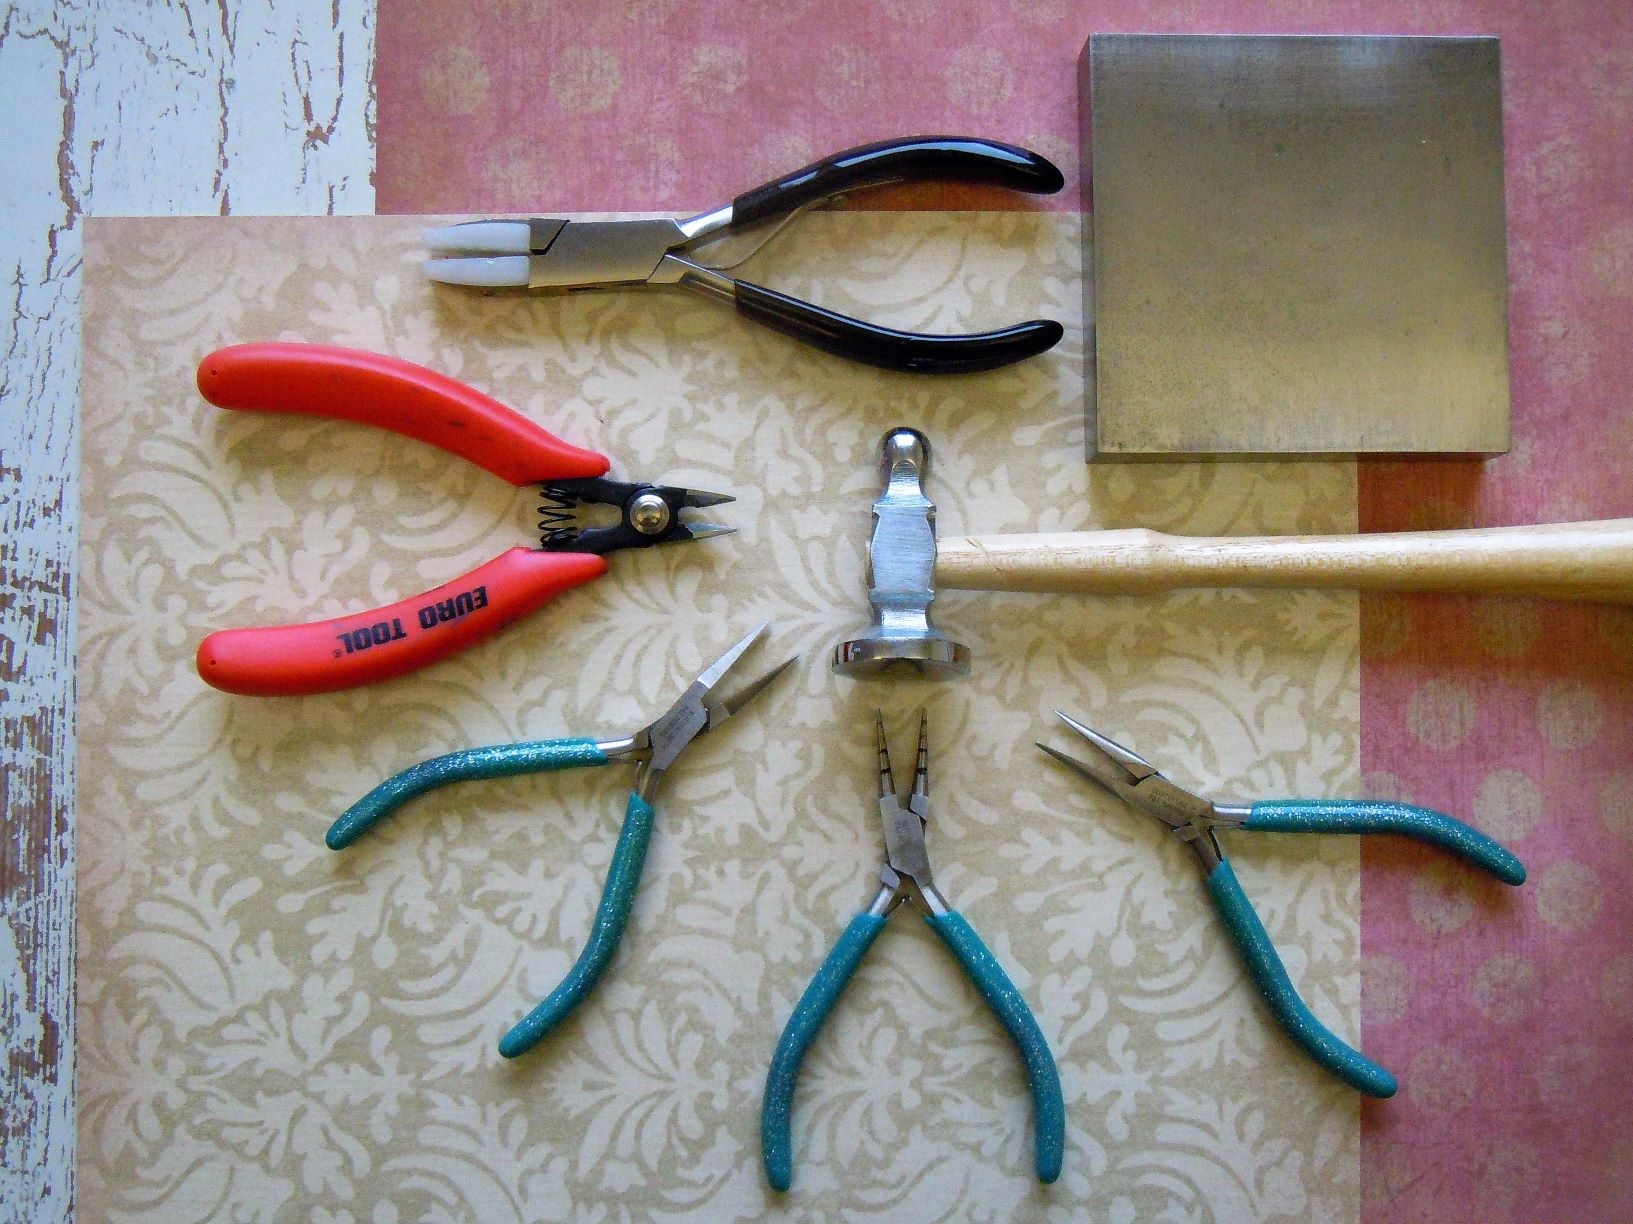
You will need these tools:
- #69-271-91 EURO TOOL Glitter, Nylon Jaw, Flat-Nose Jewelry Pliers
- #69-271-02 EURO TOOL Glitter, Round-Nose Jewelry Pliers
- #69-271-08 EURO TOOL Glitter, Flat-Nose Jewelry Pliers
- #69-271-03 EURO TOOL Glitter, Chain-Nose Jewelry Pliers
- #69-056 EURO TOOL Side Flush Cutter
- #69-138 EURO TOOL Hammer, Chasing
- #69-125 Steel 4″ Square Block
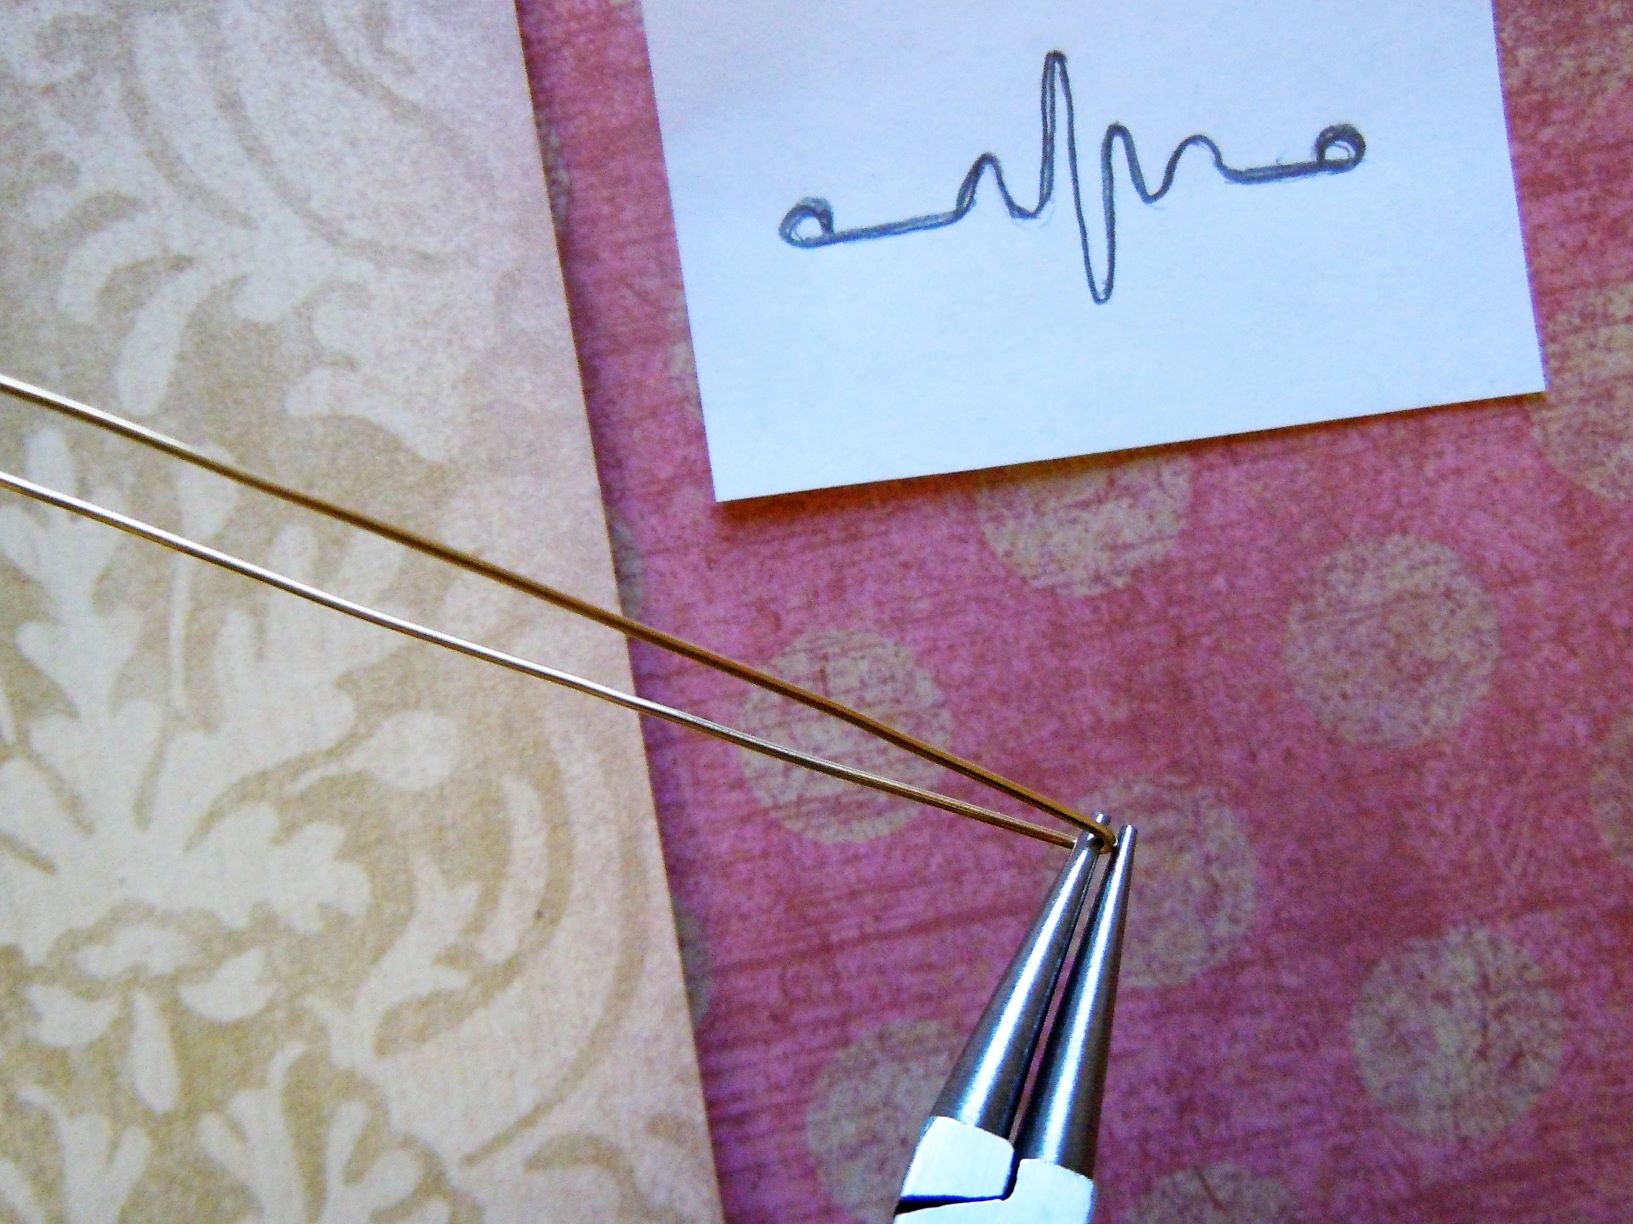
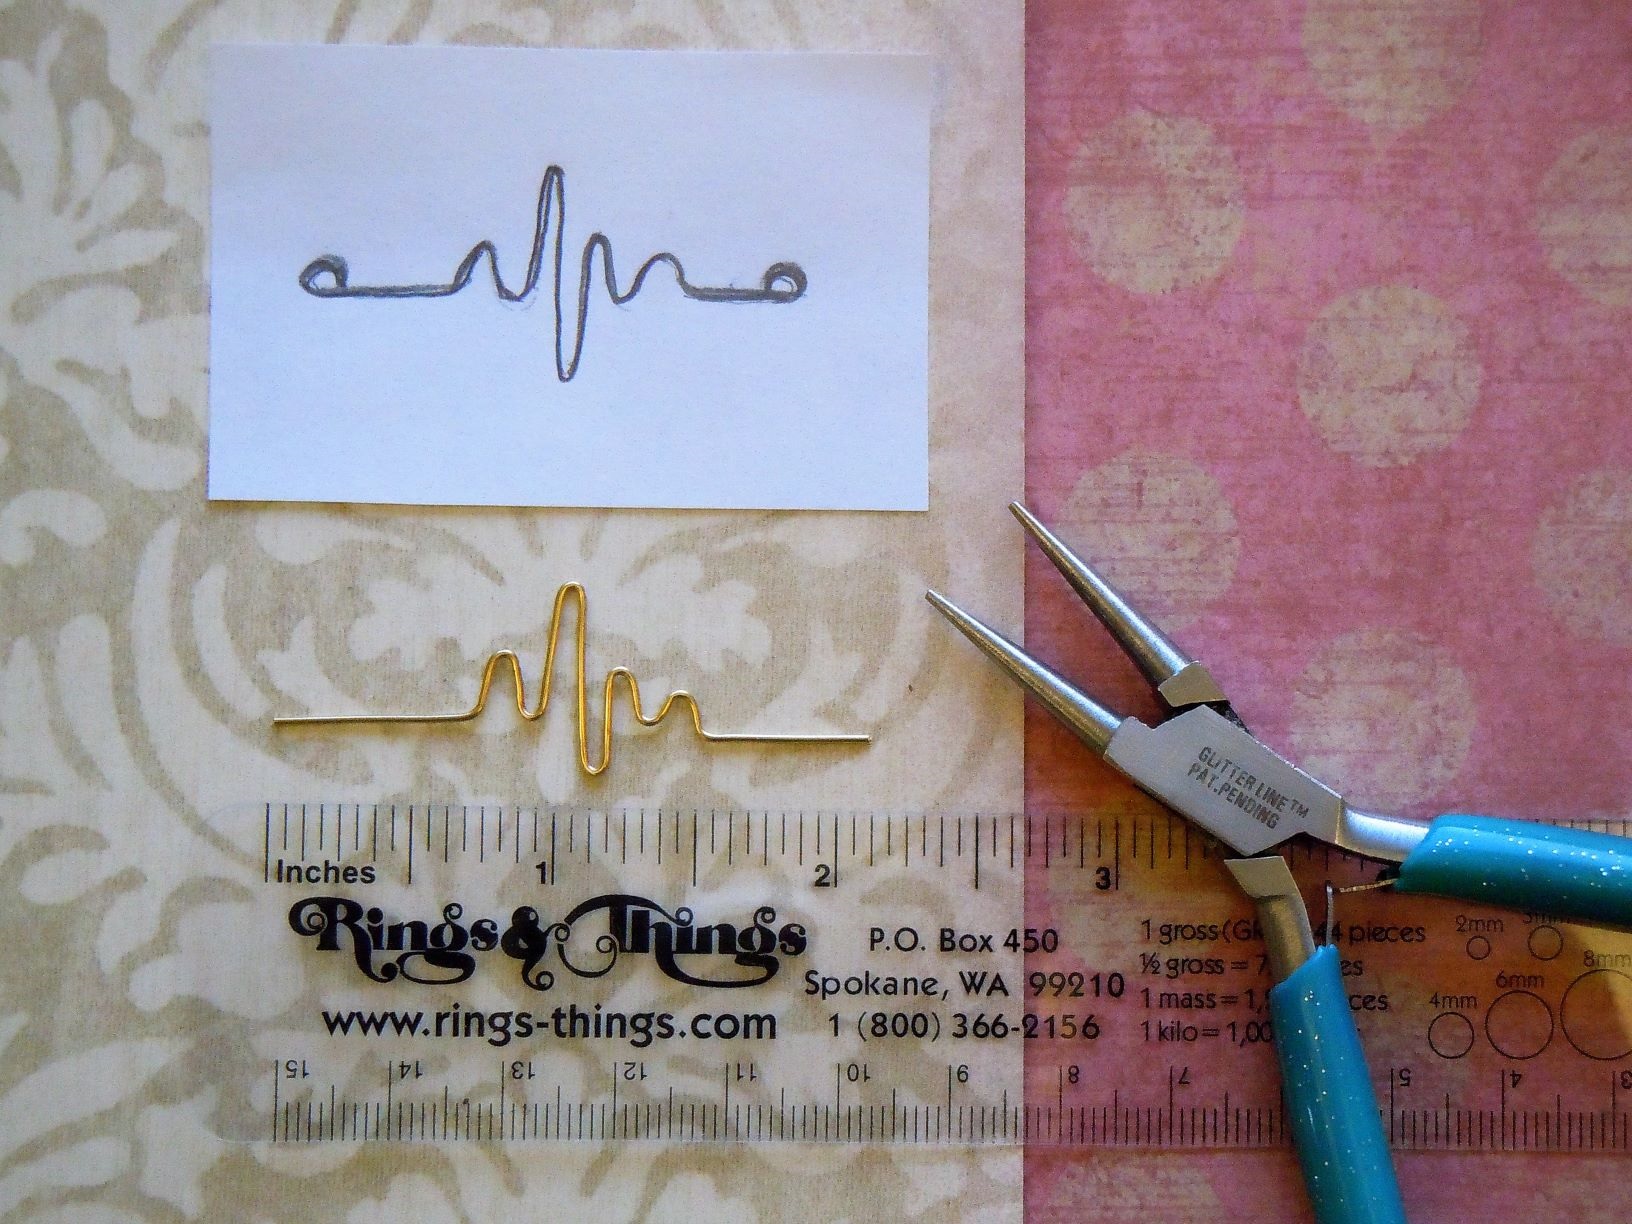
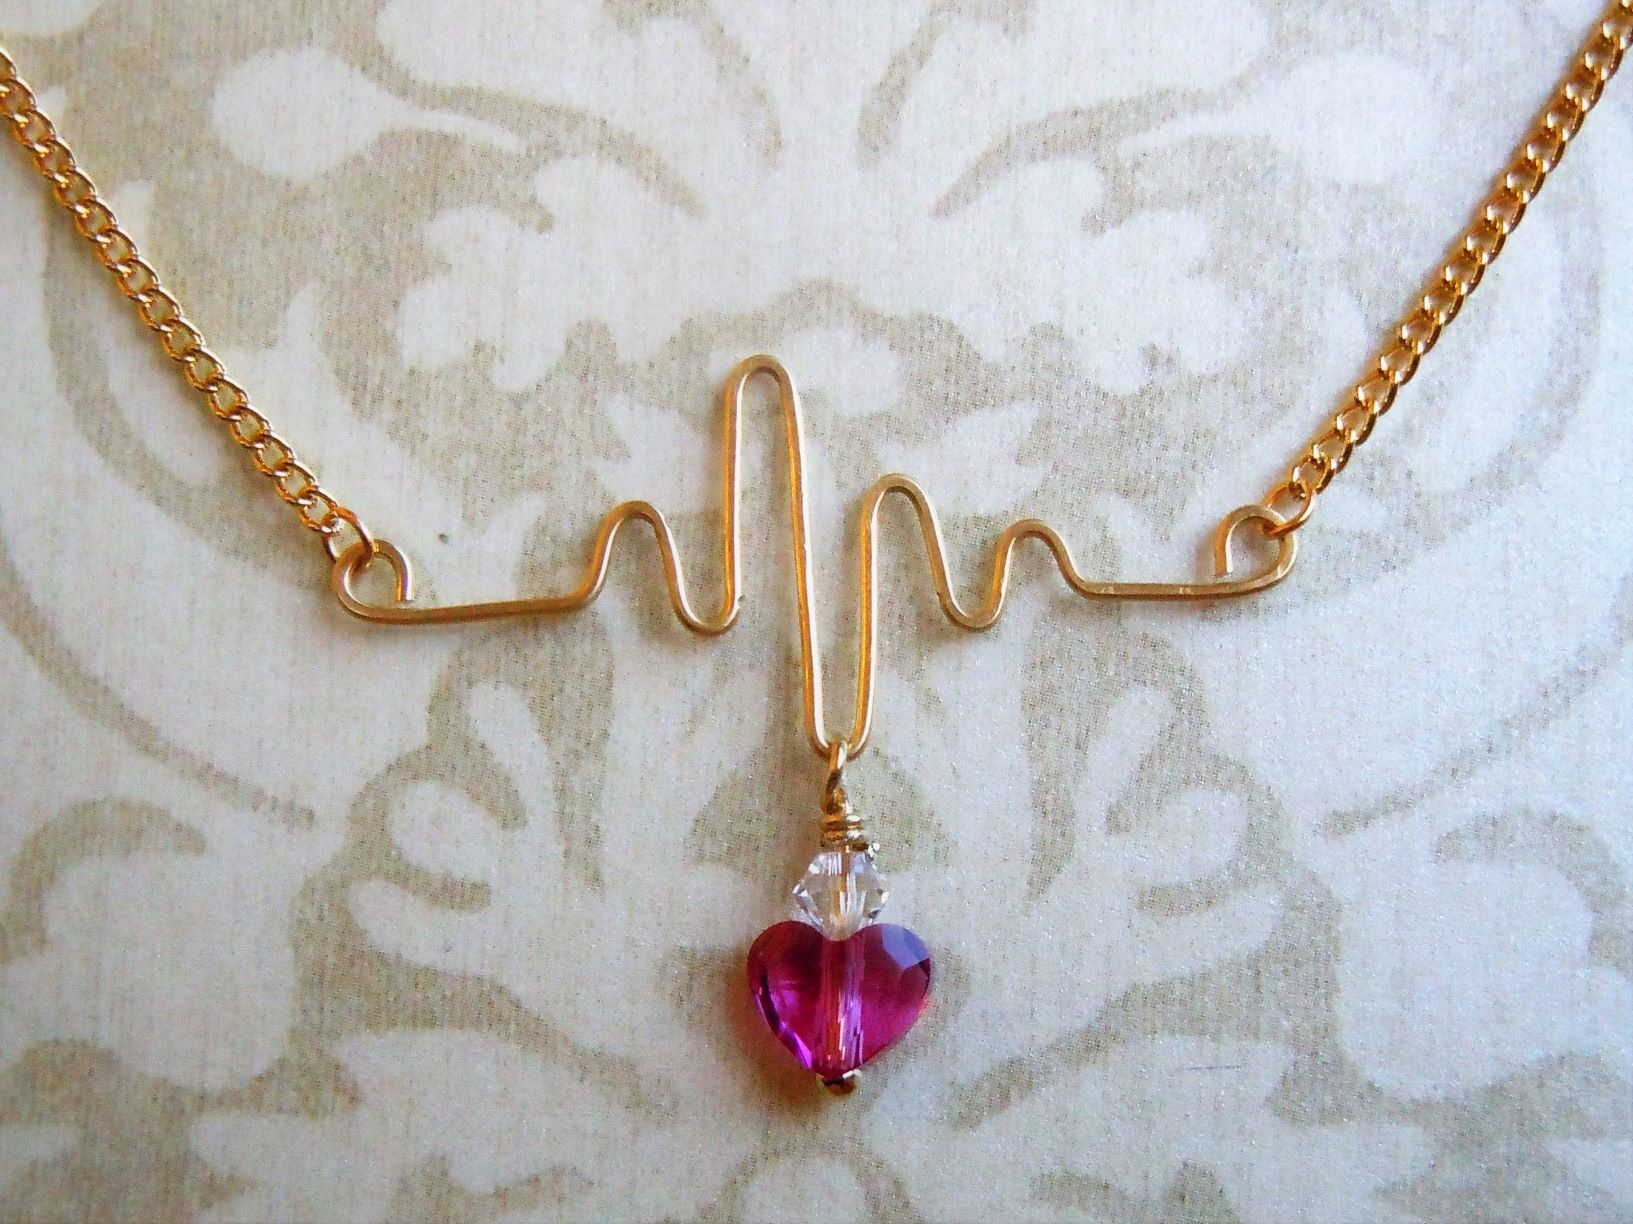
Draw an actual-size pattern for the “heartbeat” pendant (I adjusted my heartbeat design for balance and aesthetic purposes). You can also print an actual EKG from images online.
Straighten the wire by pulling the length of it through the nylon-jaw, flat-nose pliers several times.
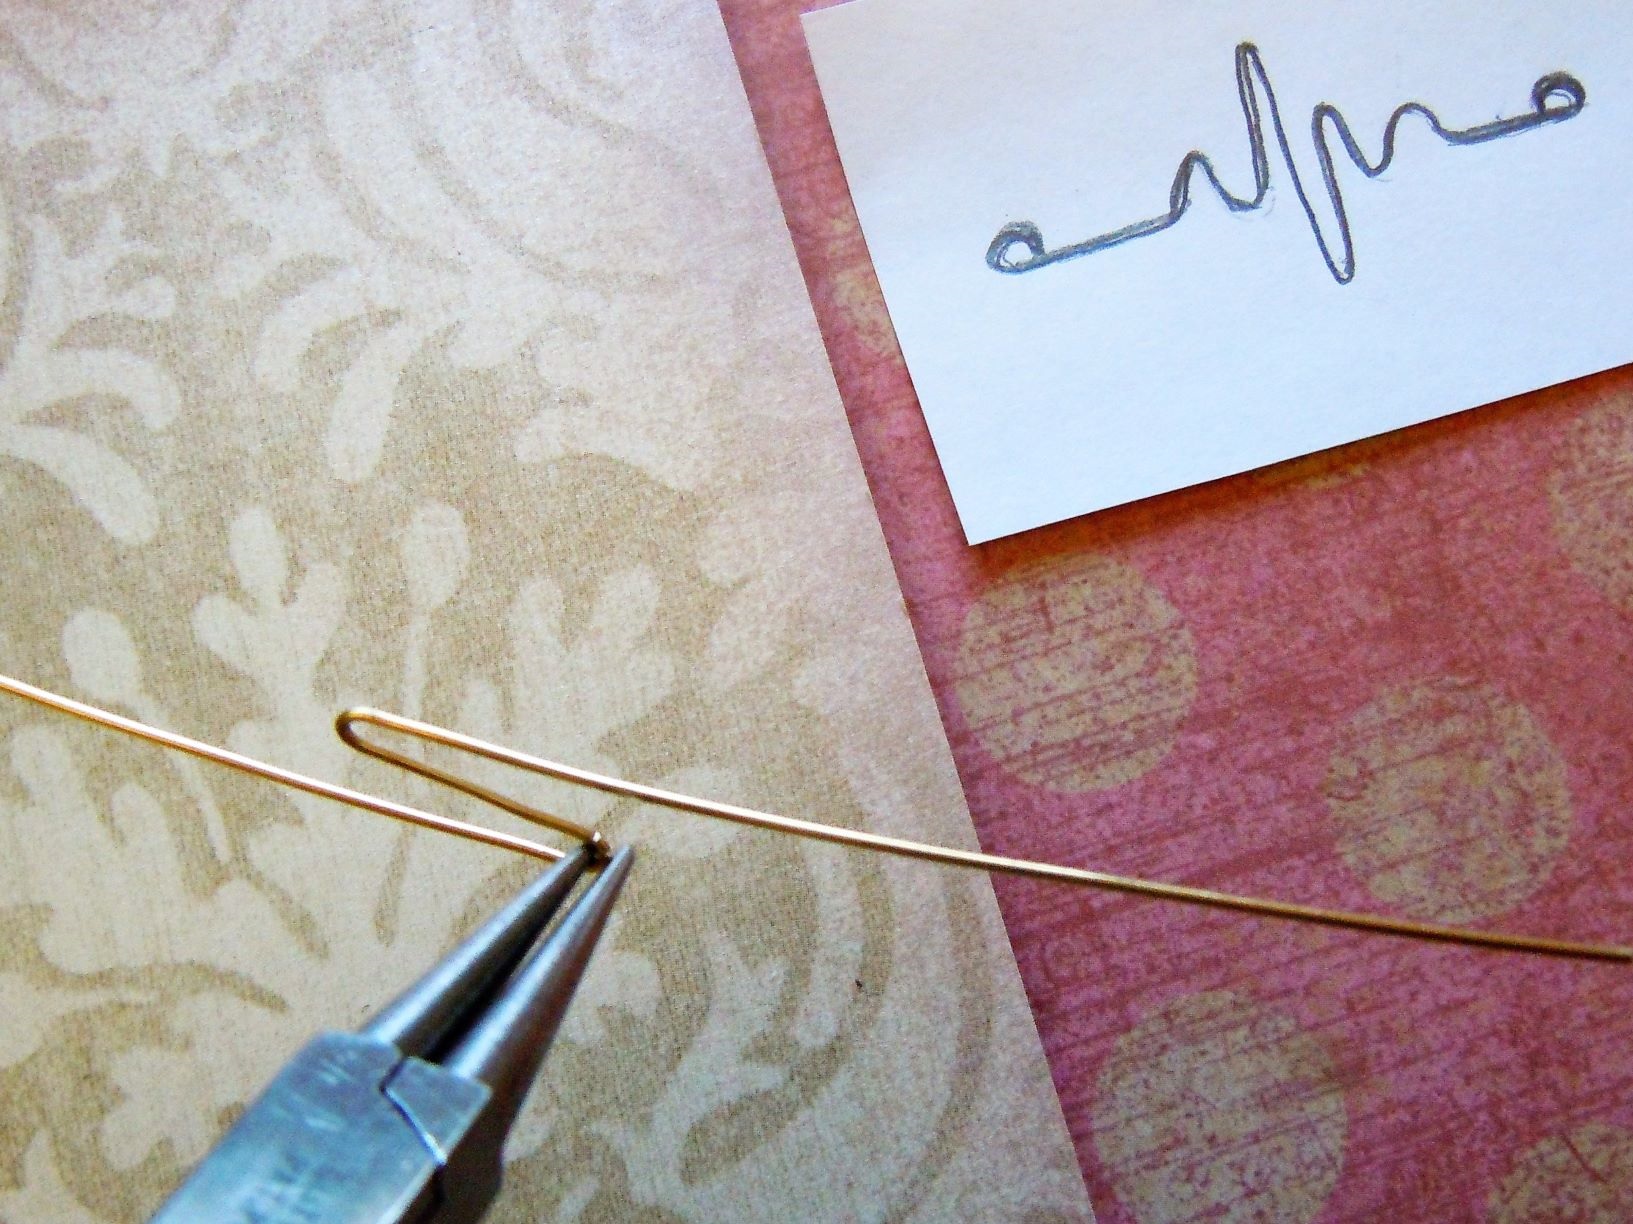
Use round-nose pliers to make a sharp bend in the middle of the wire. This forms the tall upward beat of the heartbeat design.
Using your heartbeat design image as a guide, make a second sharp bend. This forms the downward beat.
Use the same technique to continue making bends to match the heartbeat pattern. Once formed, use semi-flush side cutters to cut the ends. Allow about 1/4″ extra length on each side for forming a hanging loop.
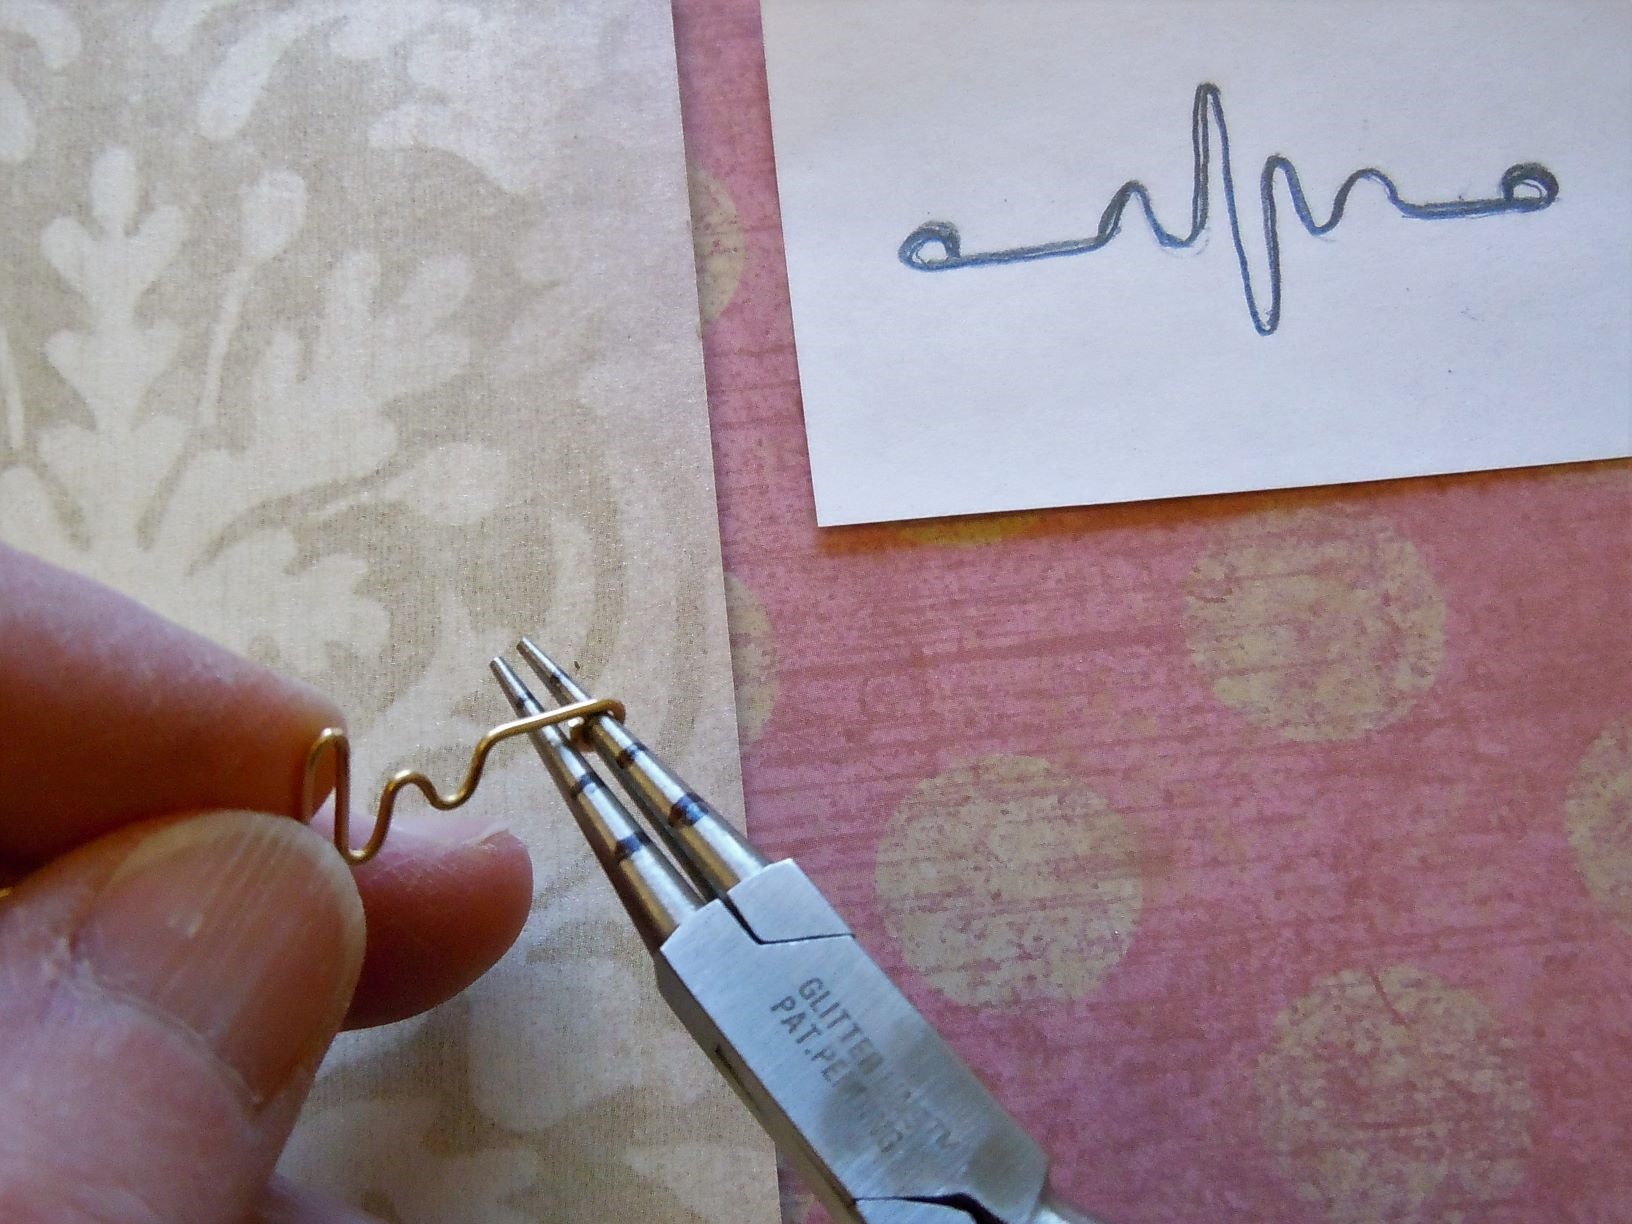
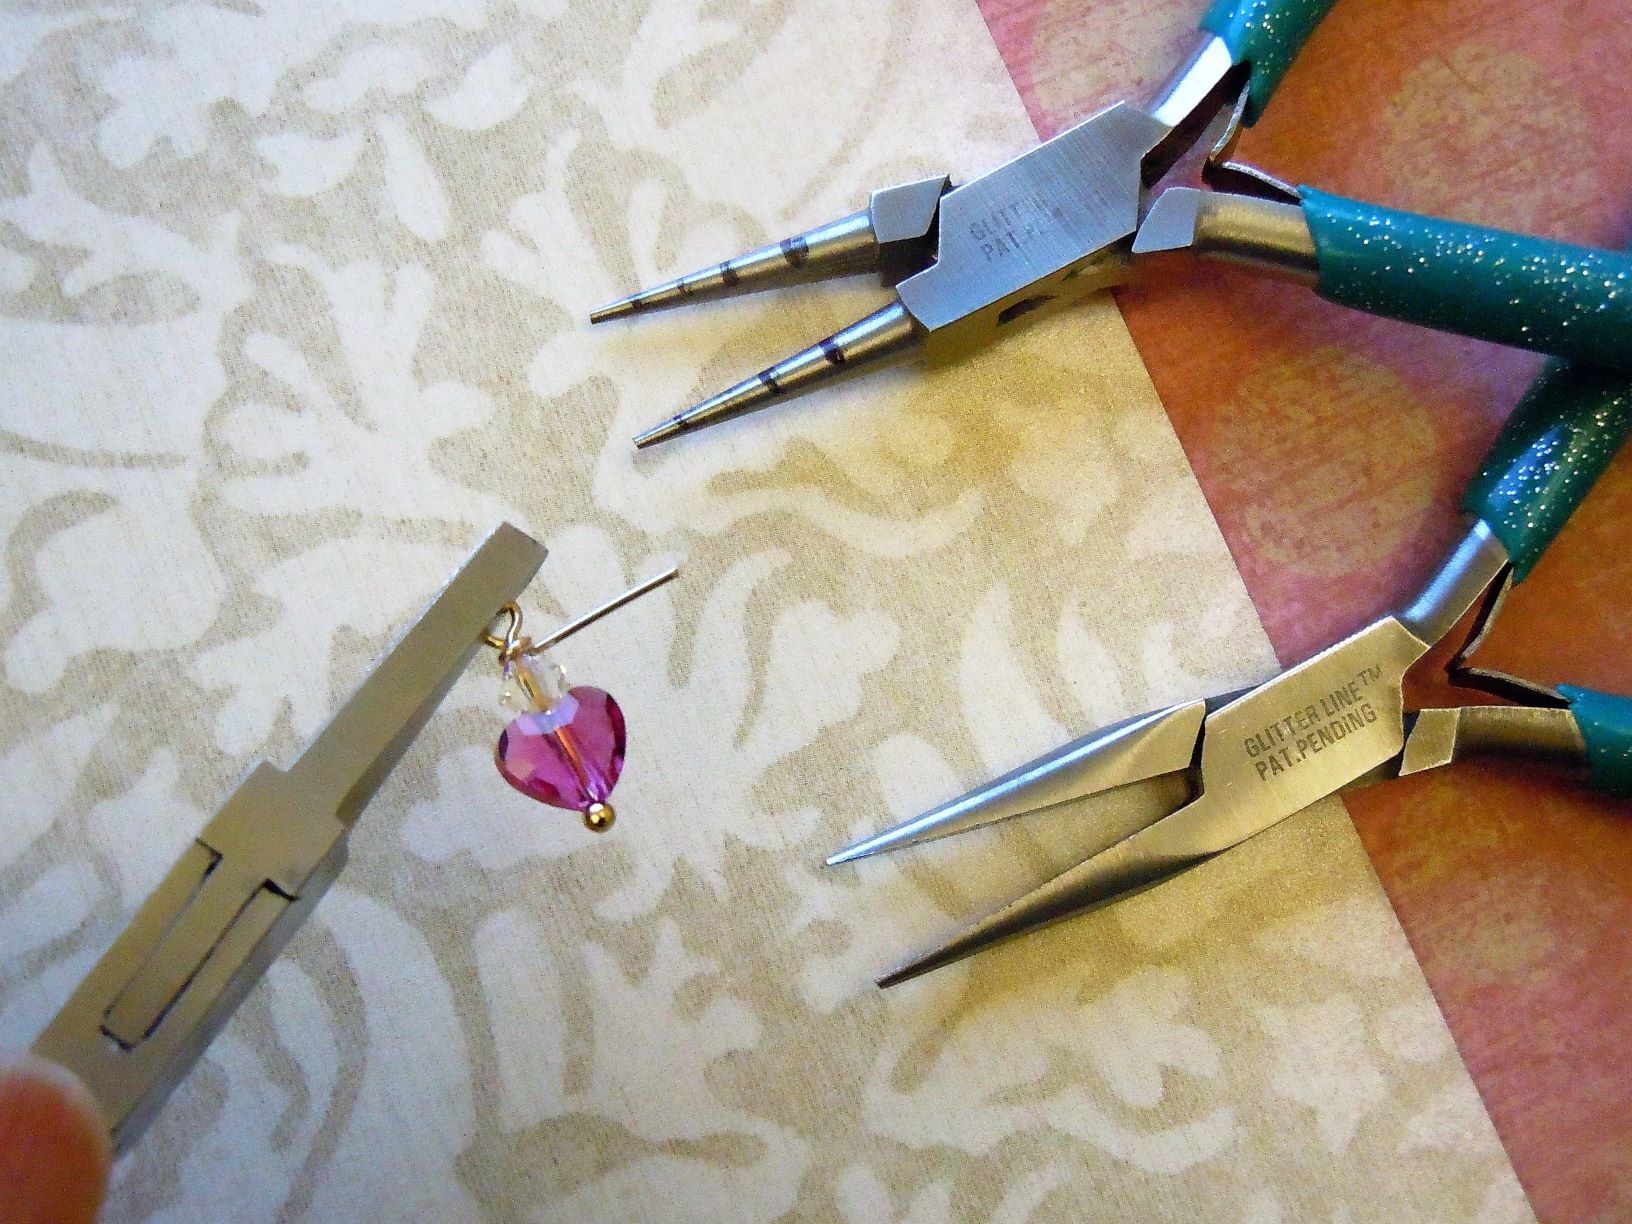
Use round-nose pliers to form a loop on each wire end. Simply grip the end of the wire and roll it around the pliers. Each loop should be flat on the bottom and curl upwards.
Jewelry-making Tip: Use a permanent marker to add reference marks to your round-nose pliers’ jaw. This will allow you to make matching loops every time.
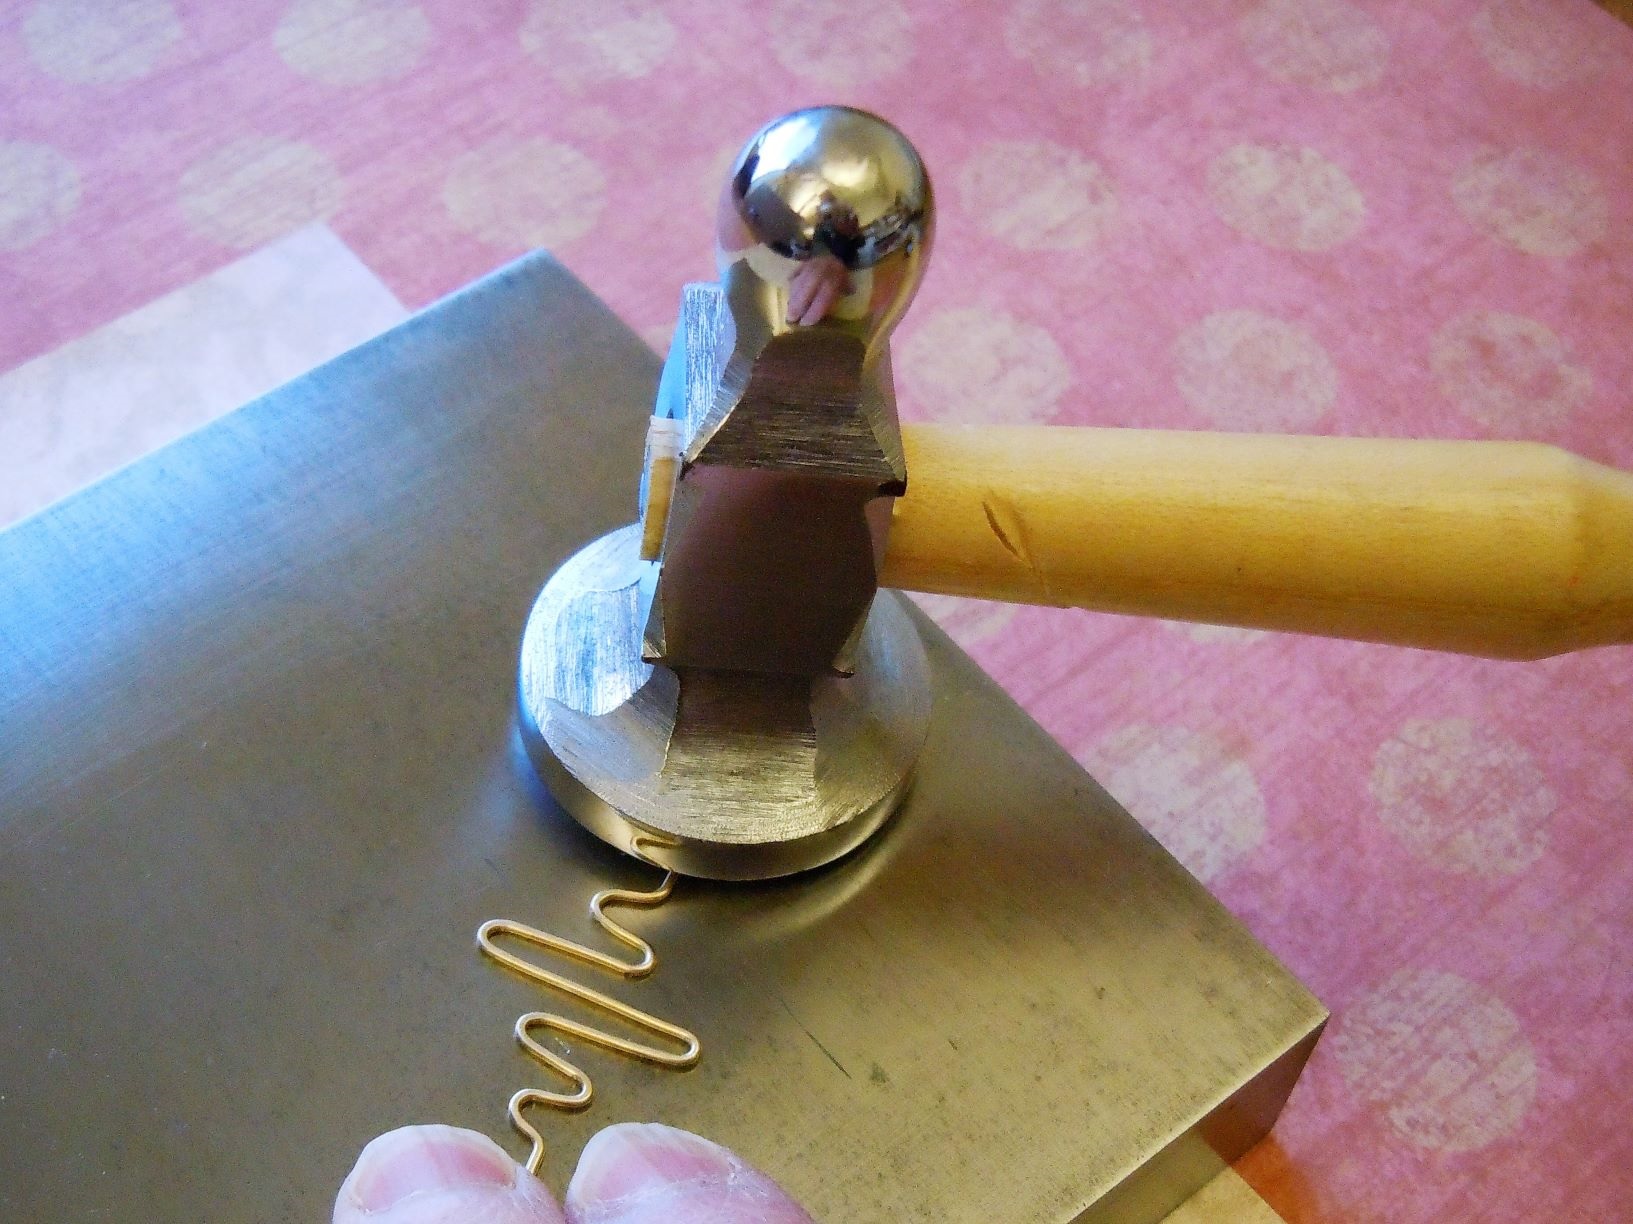
Lay the heartbeat pendant flat on the steel block. Use the rounded-face hammer to slightly flatten the wire. Flattening the wire adds a decorative feature and also work hardens the wire.
♥ ♥ ♥ Tool Spotlight ♥ ♥ ♥
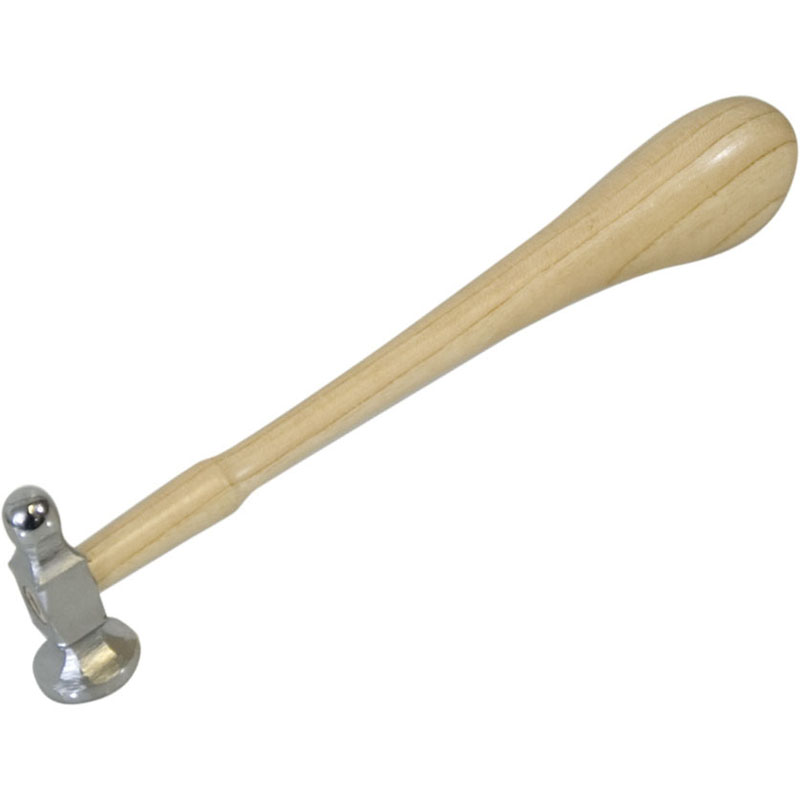
EuroTool chasing hammer has a large, slightly rounded face that is perfect for flattening wire without leaving marks from the edge of the hammer’s face.
String the Love bead and the bicone bead onto the ball-end head pin and then form a wire-wrapped loop.
Use side cutters to cut the necklace chain at the middle link. There will now be two chain pieces; this is the left and right side of the necklace.

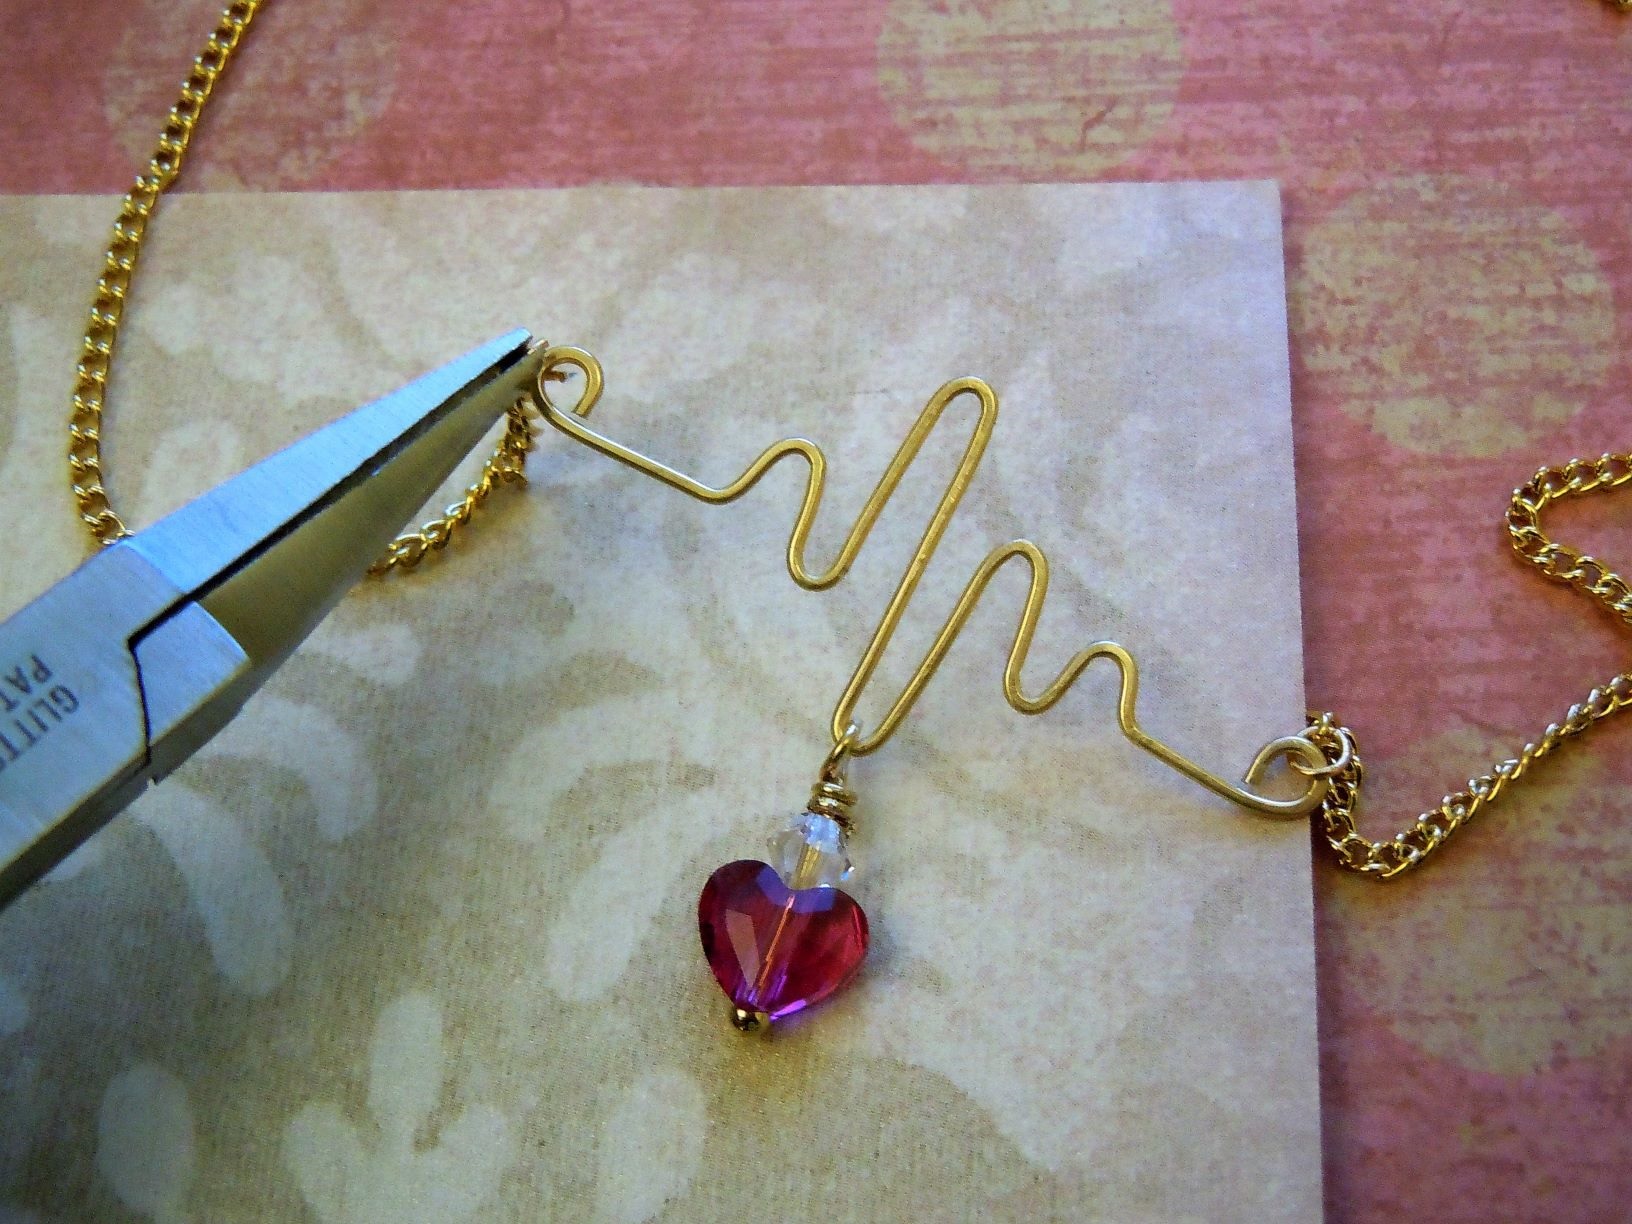
Twist open one side of the heartbeat pendant and string on the Love bead charm to rest on the downward beat. Then twist the loop closed.
Use a jump ring to connect a chain piece to the right hanging loop on the heartbeat pendant. Repeat with the left hanging loop.
“Cardio Amour” Necklace by Rings & Things designer Mollie Valente.
♥ Make Things,
Mollie






No Comments