
Ball Chain + Swarovski Rivoli + Silver Plated Charms
I love sweet little customized necklaces! These necklaces make the perfect gift for girls of any age! As an added bonus, these necklaces are very quick, easy, and affordable to create! They would be an ideal item for people to customize on an etsy store, or for people to create on the spot at a craft fair as a build your own necklace!
The total cost for making 20 necklaces, with a charm and a set Swarovski crystal= $85.05 or about $4.25 a necklace. That will also leave you with chain and clasp to make another 40 or so necklaces! One spool of ball chain can make over sixty 18-inch necklaces! The more necklaces you make, the cheaper each one will cost to make.
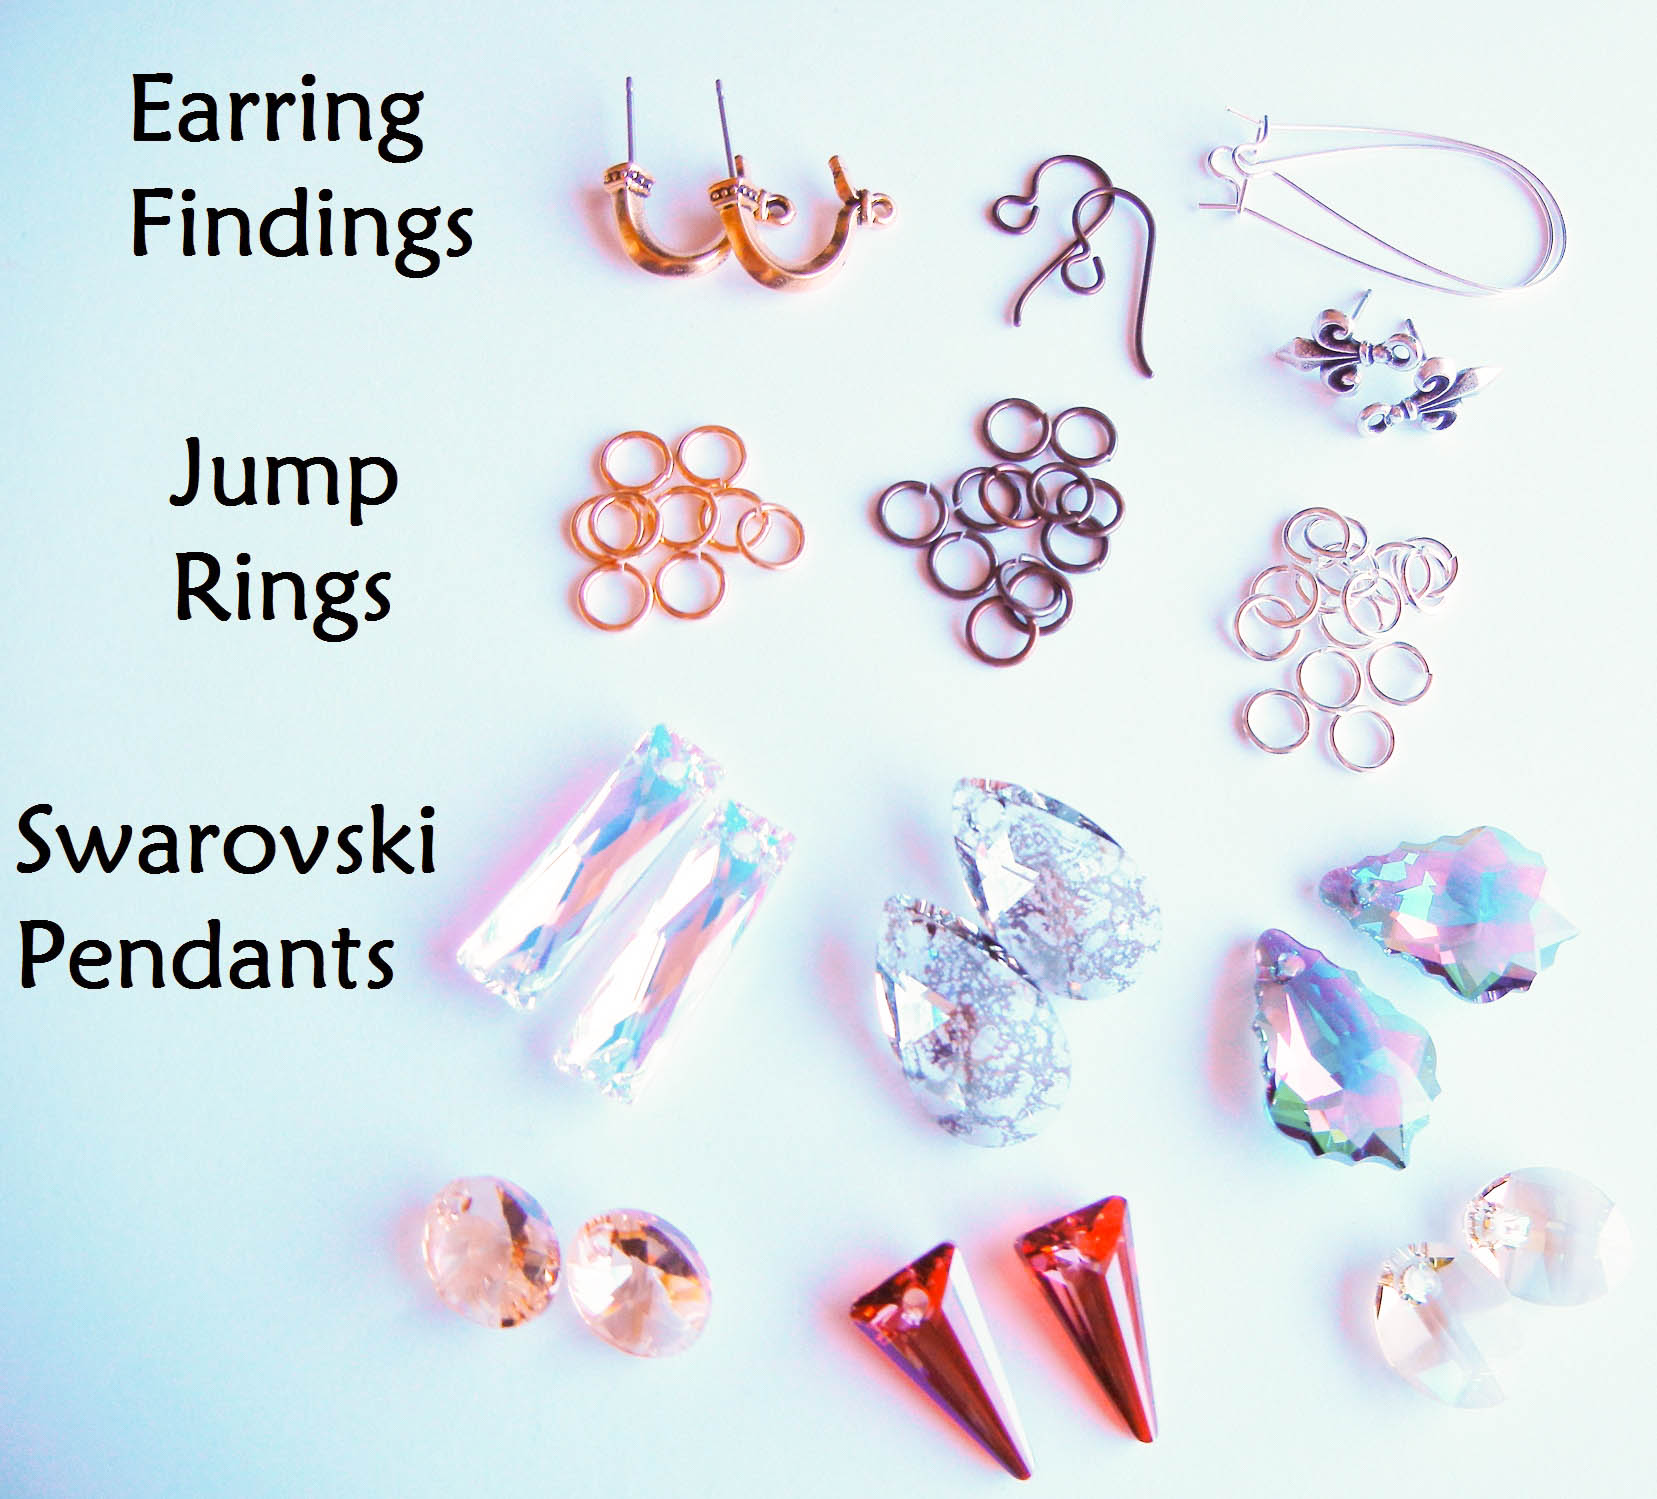
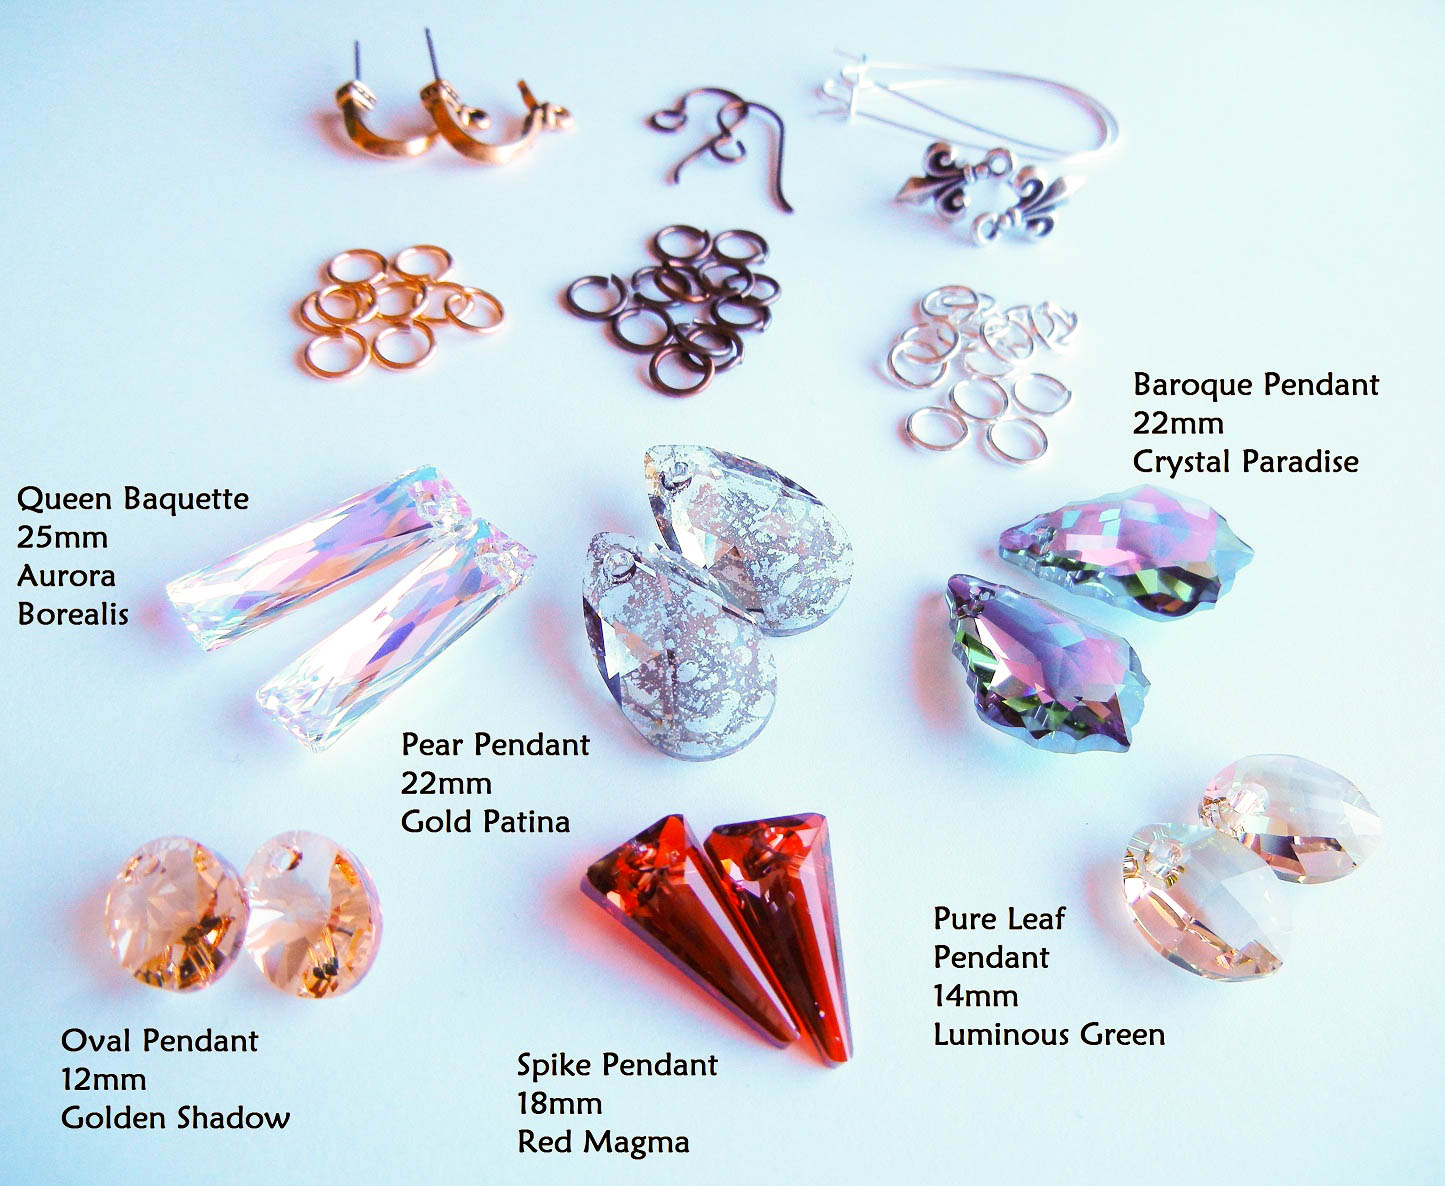
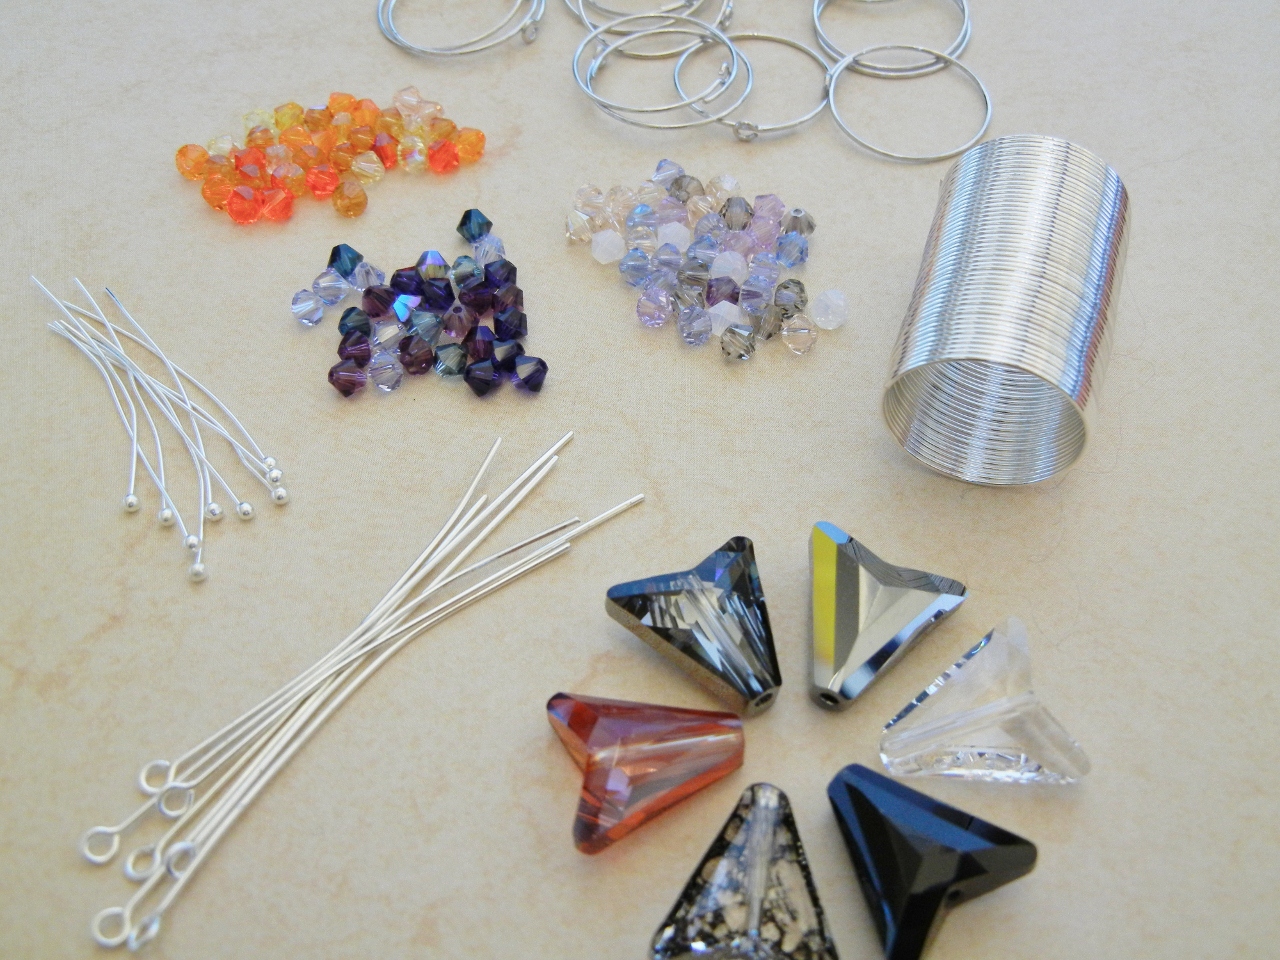
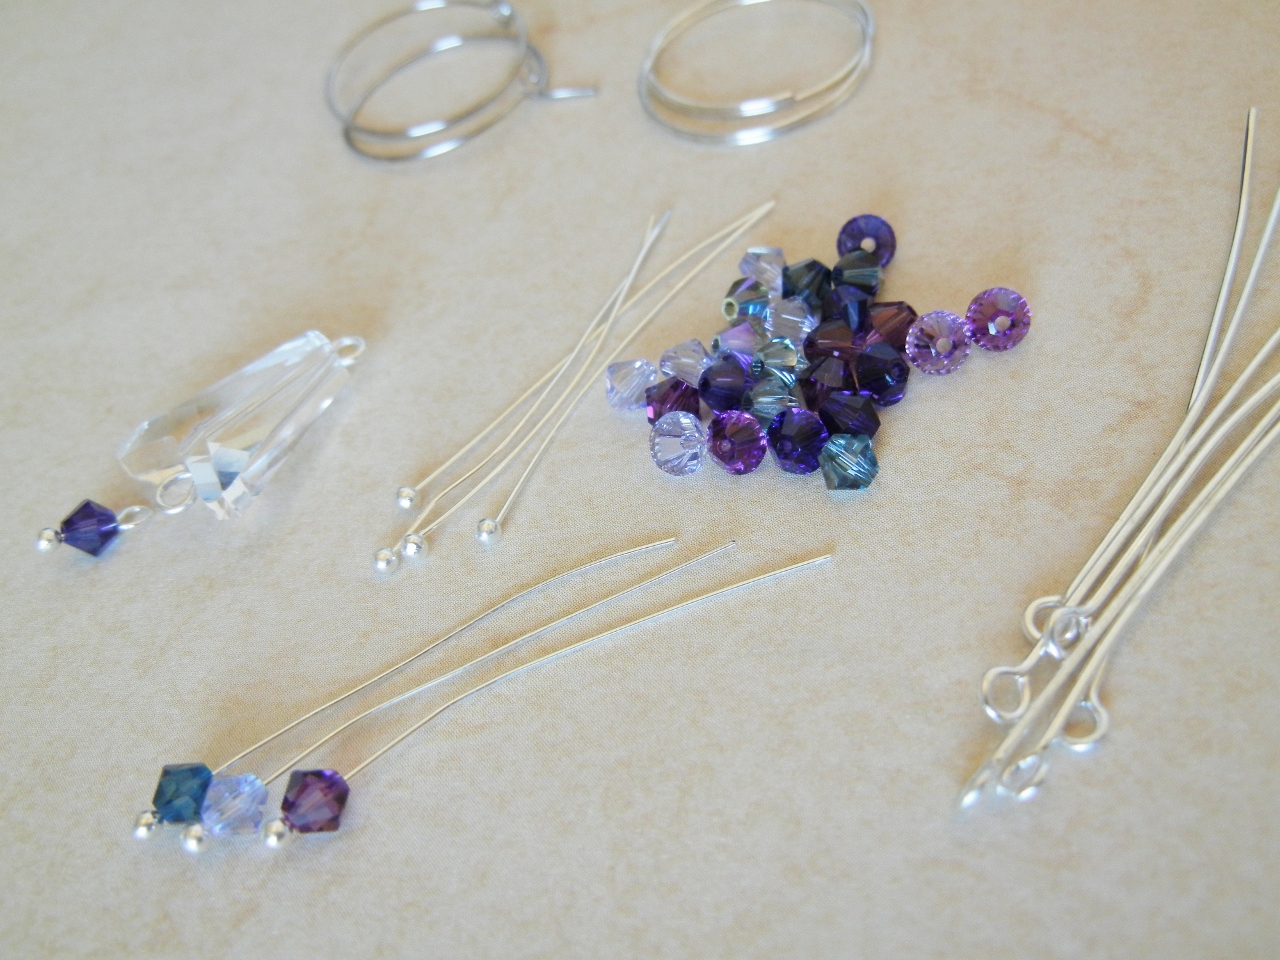
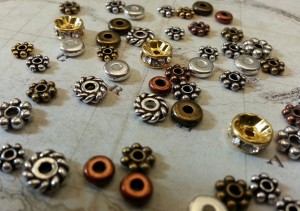
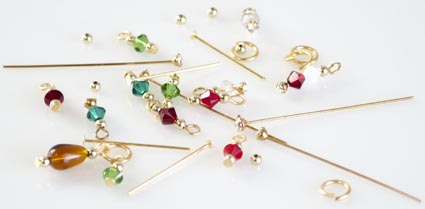
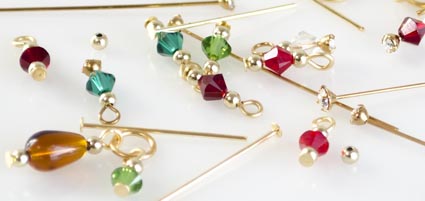
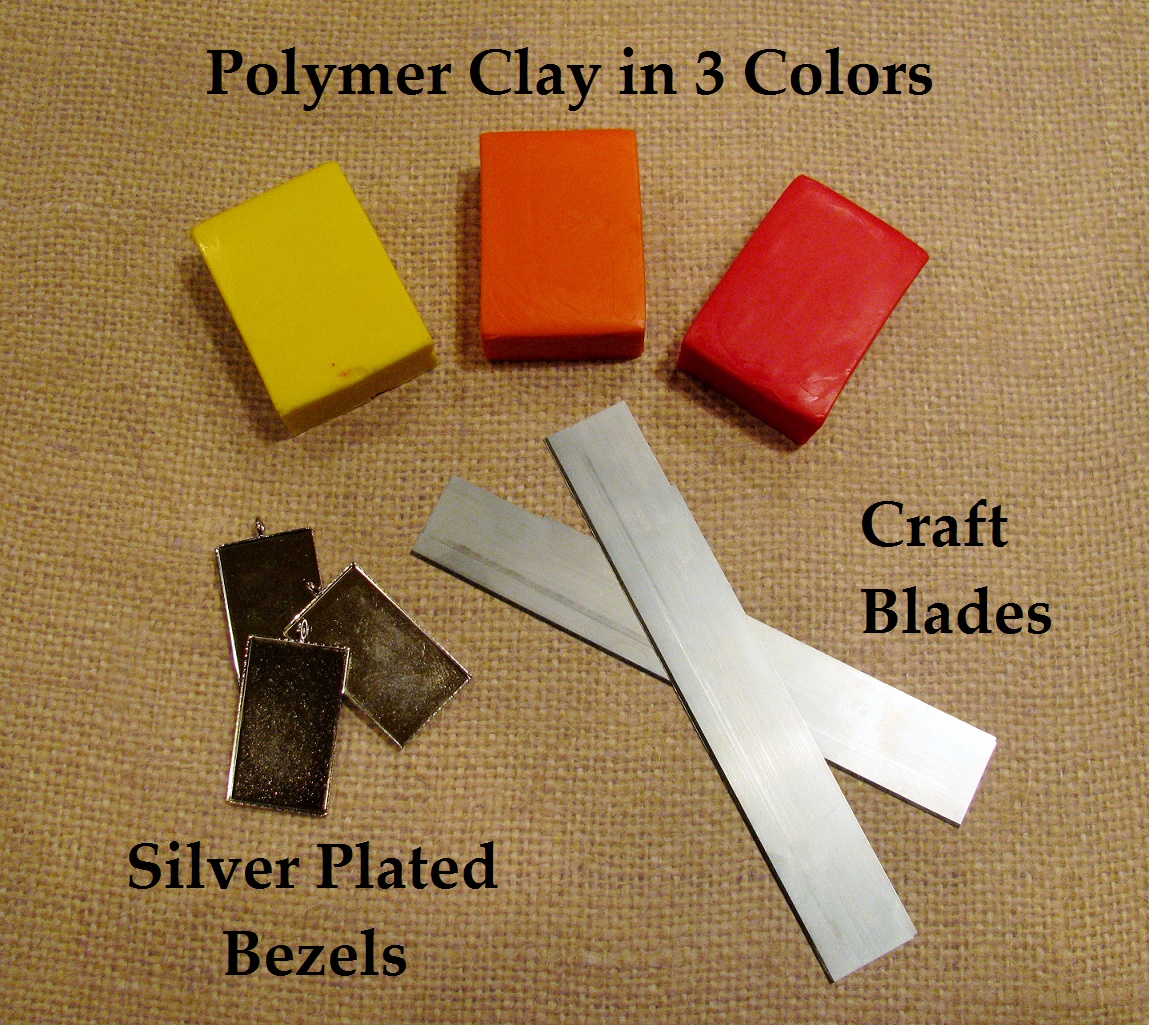
 Supplies for this project (plus jump rings and ball chain clasps, not pictured)
Let’s look at the cost breakdown:
- $18 for 1 spool 2.4mm white plated ball chain
- $21.80 for 20 14mm Swarovski Rivoli crystals at $1.09
- $20 for 20 Rivoli bezel settings at $1 each
- $2 for 1 package of 100 ball chain clasps
- $3.25 for 1 package of 100 stainless steel 6mm jump rings
- $20 for 20 assorted silver plated charms, approx $1 a piece
Total = $85.05
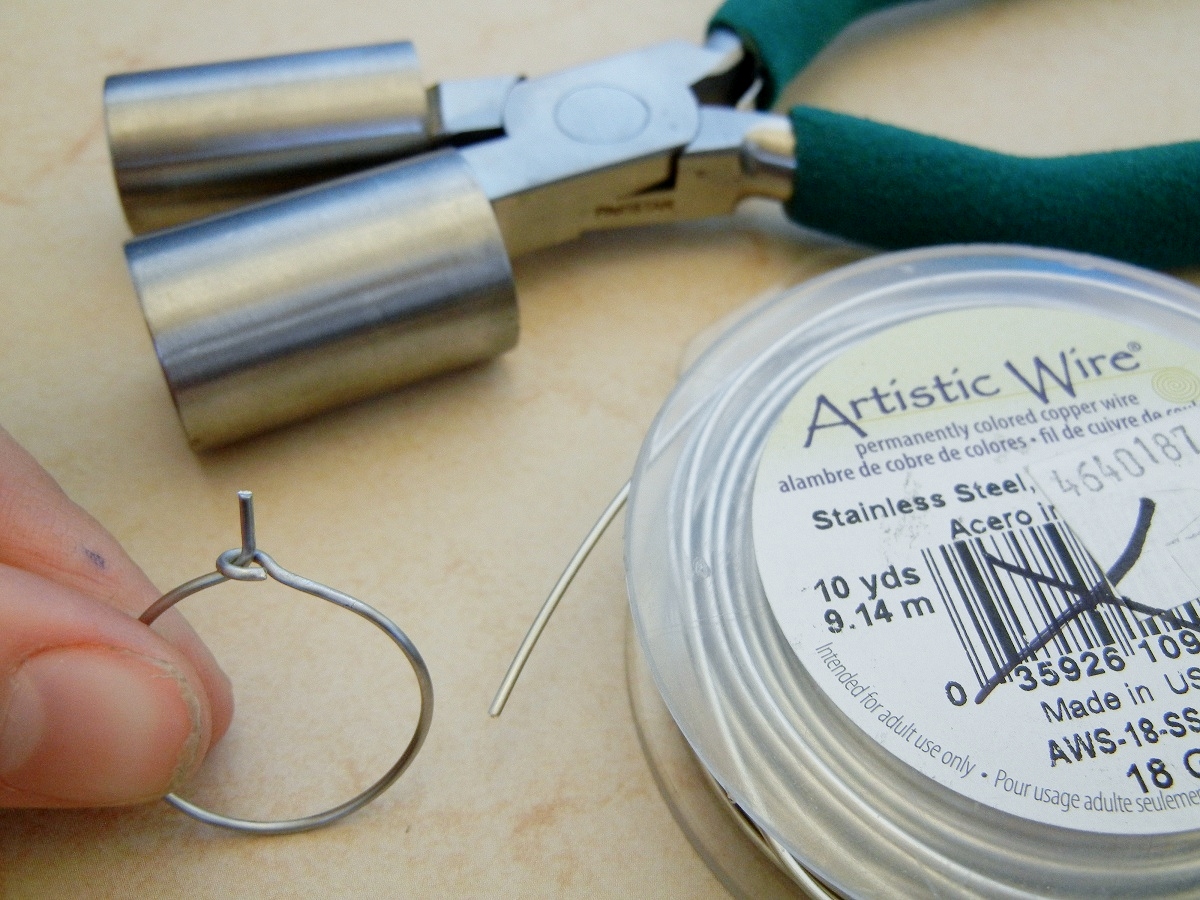
To make these necklaces you need just three tools: round-nose pliers, chain-nose pliers, and wire cutters. Follow these simple steps to make the necklaces!
Step 1: Cut your chain.
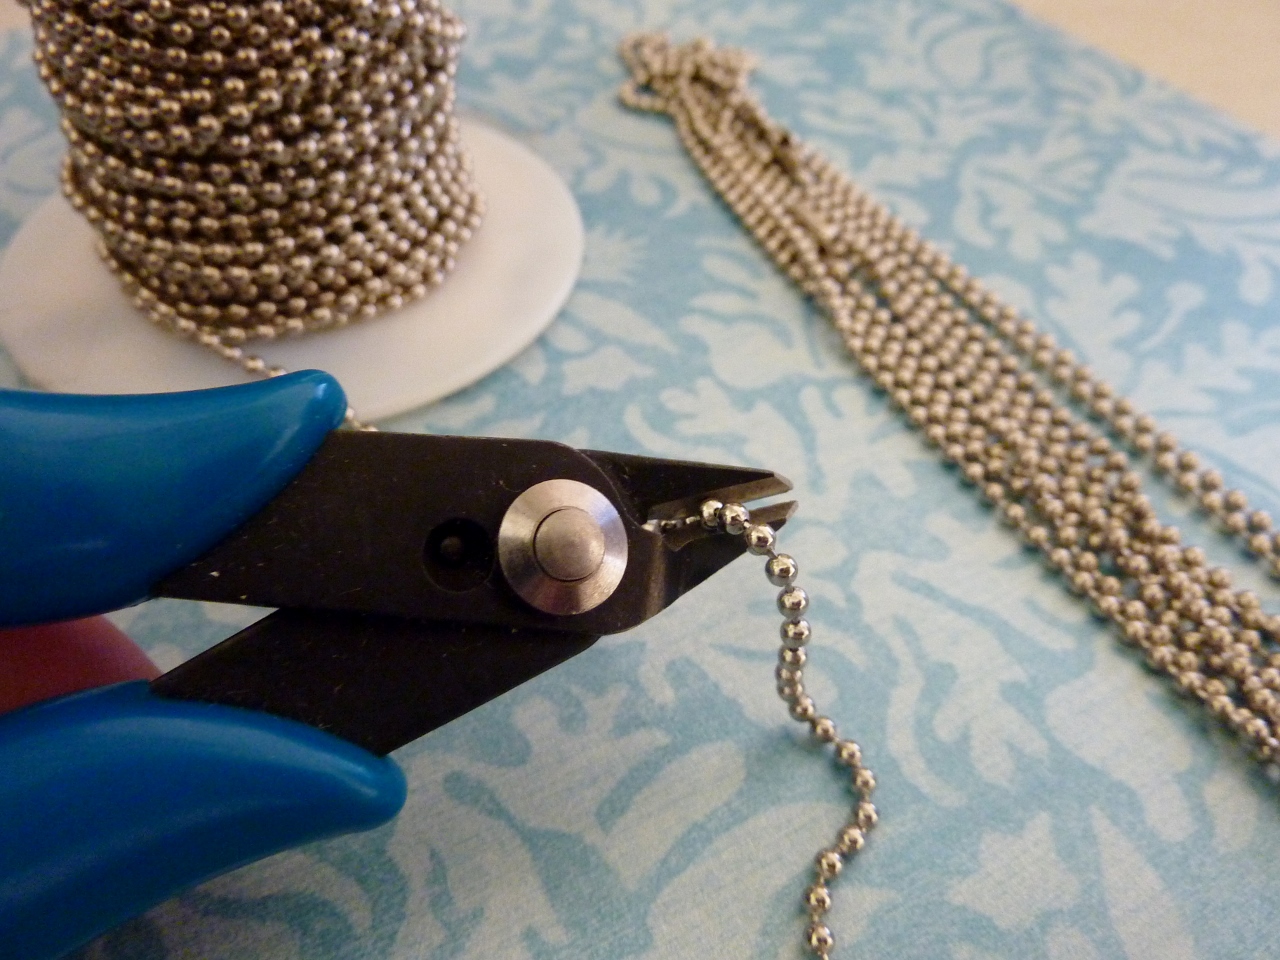
Cut chain in between two ball segments

18 inches is standard length. If you are going to do this as a build your own for a craft fair or event, cut several at the same time.
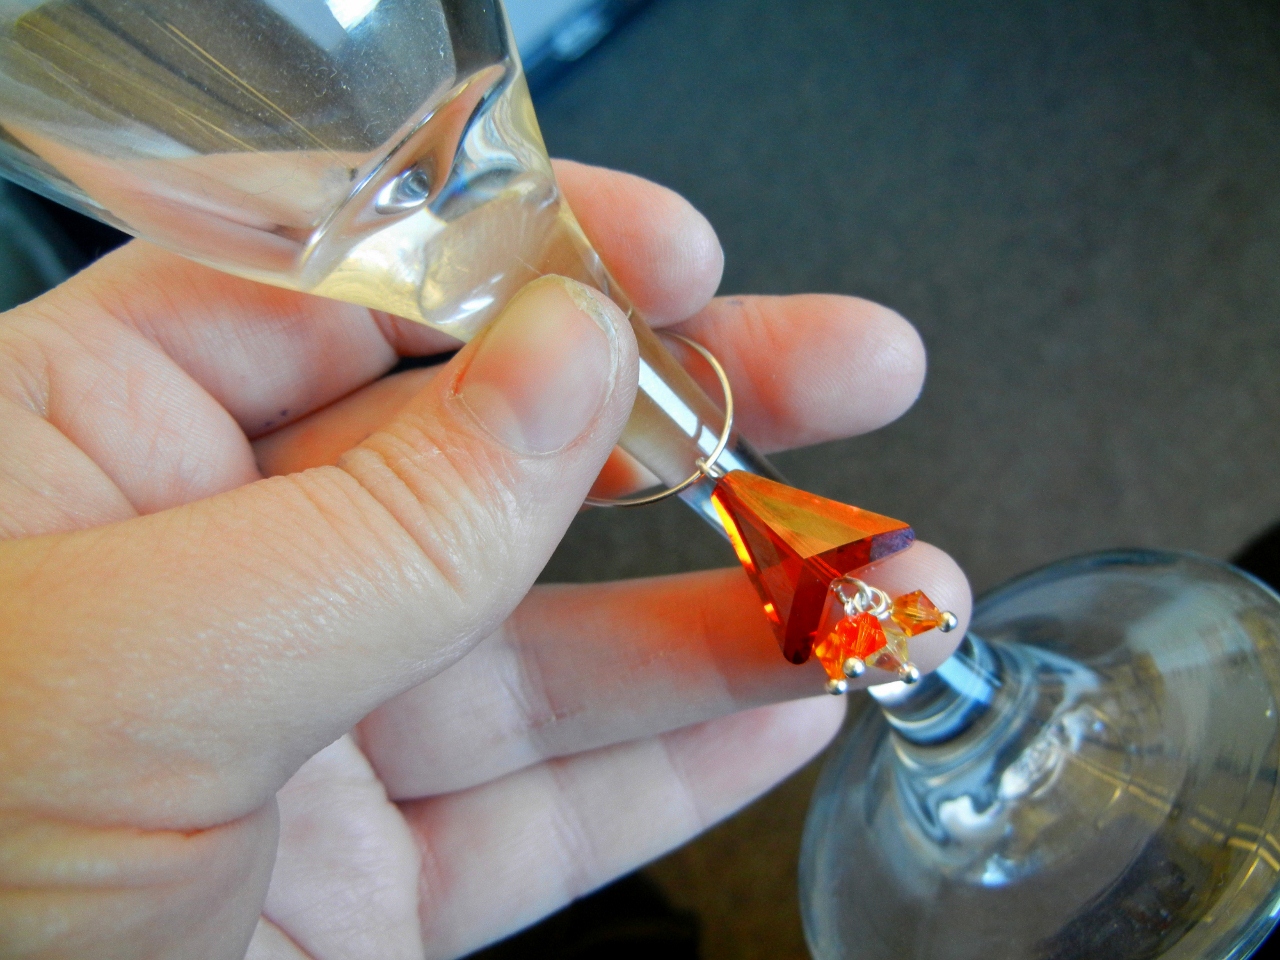
Step 2: Set your crystals.
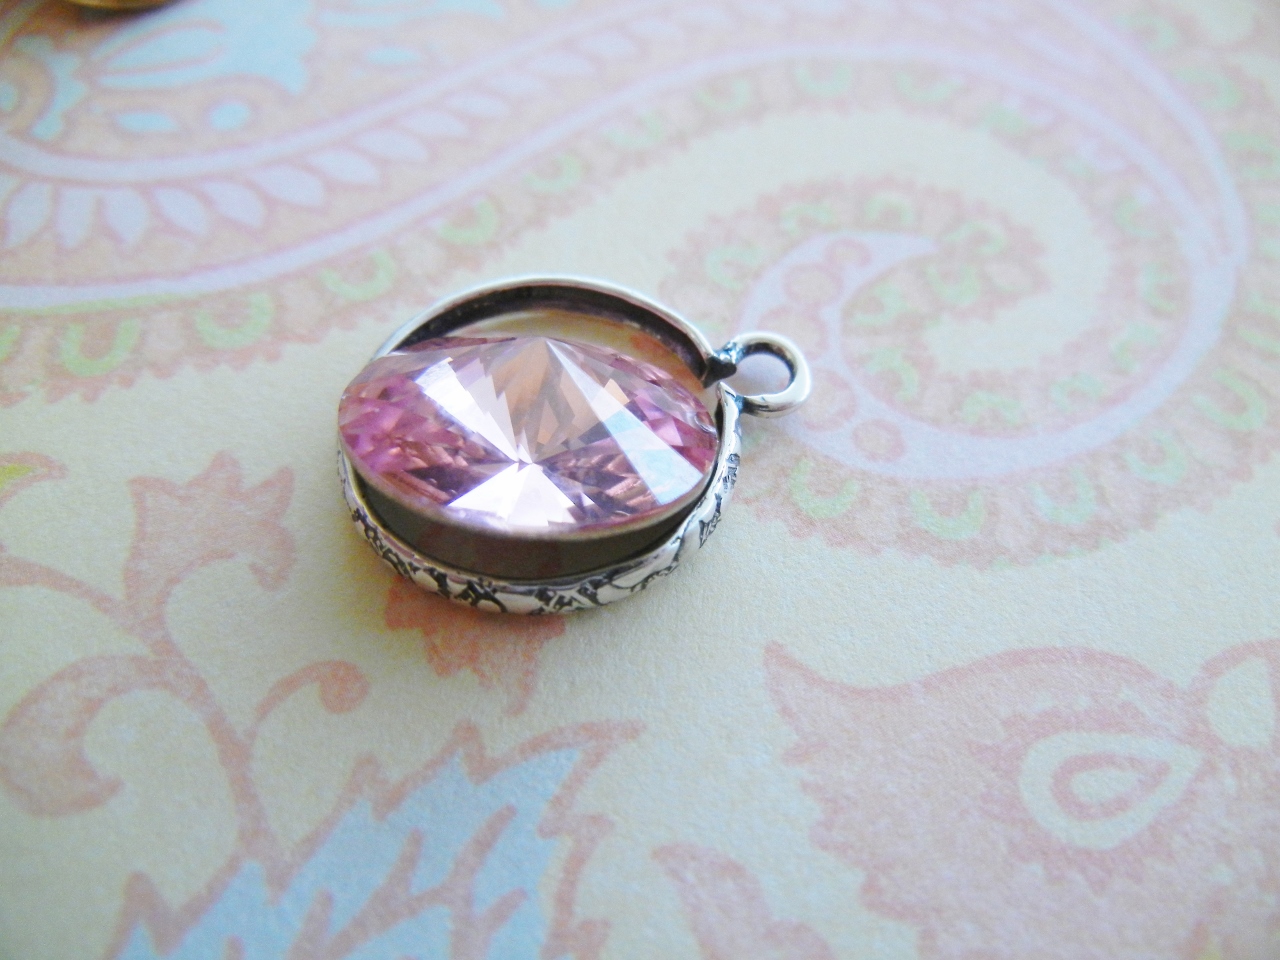
The 14mm rivolis will be just a little loose in the bezel setting.
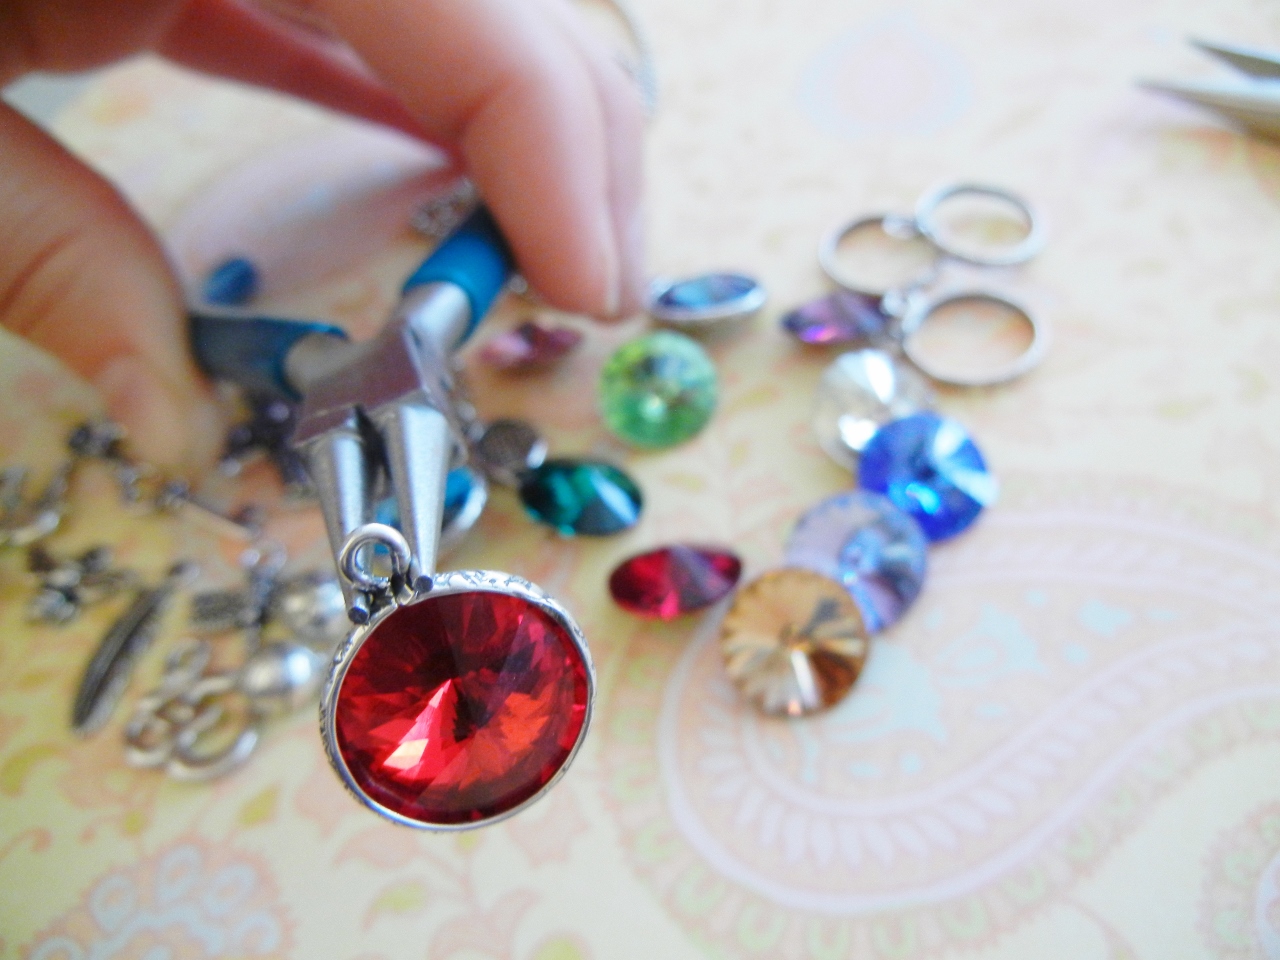
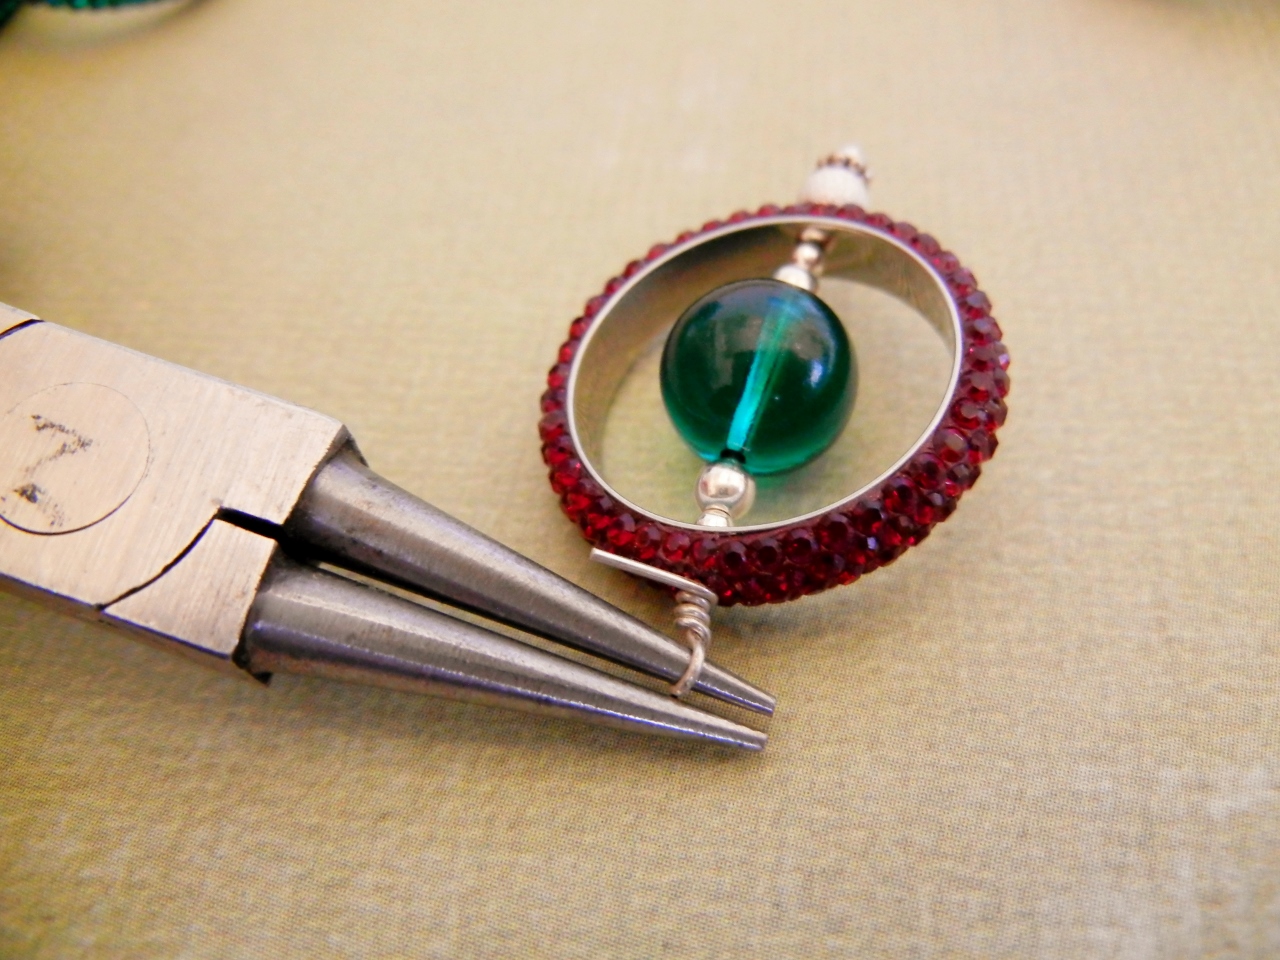
Squeeze your round nose pliers around the loop at the top!
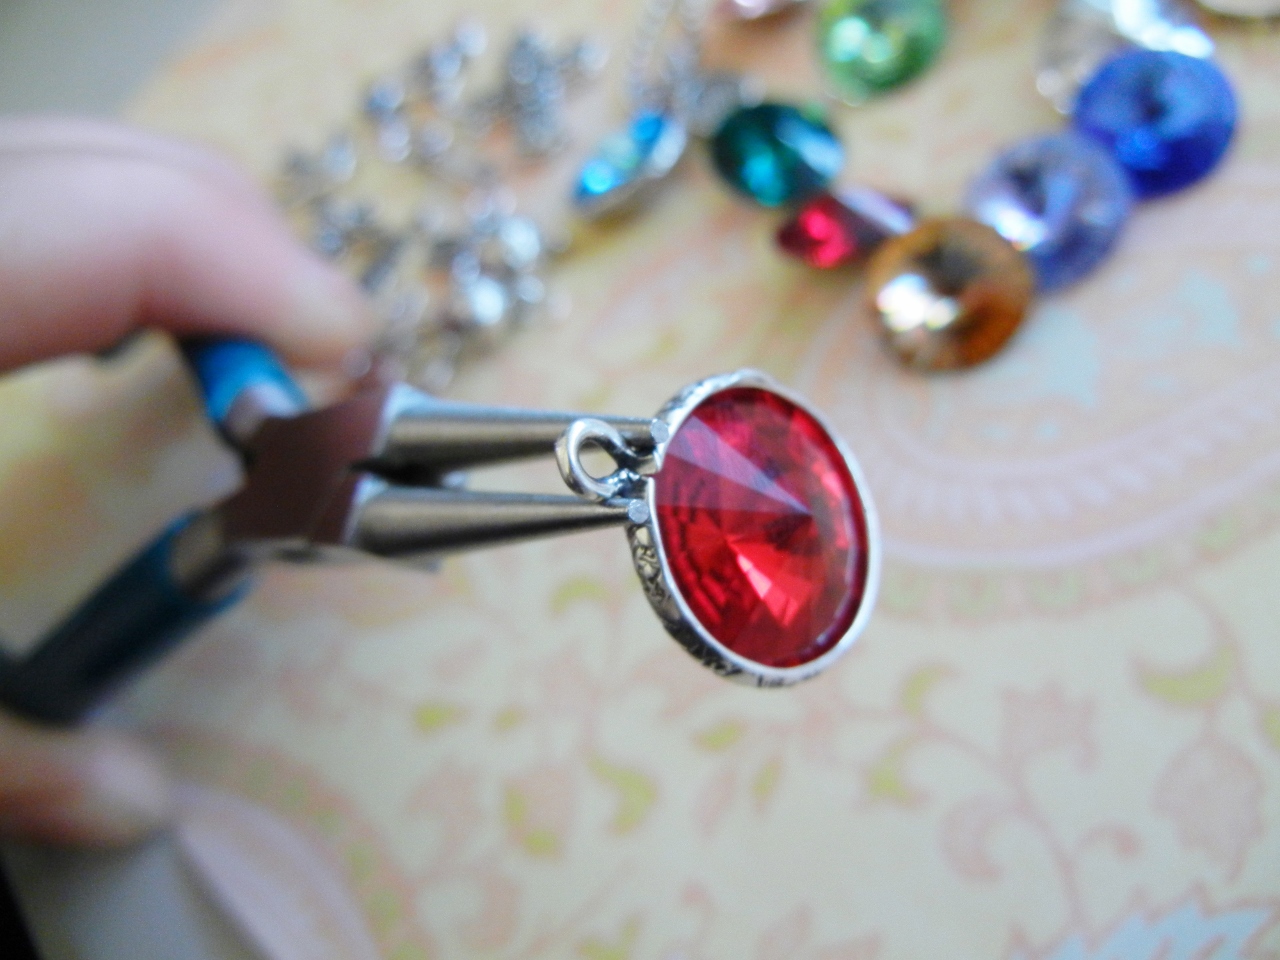
It only takes a few seconds to set the crystals! Once the bezel is squeezed the crystal will be secure in the bezel.
Step 3: Add jump rings to your crystals.
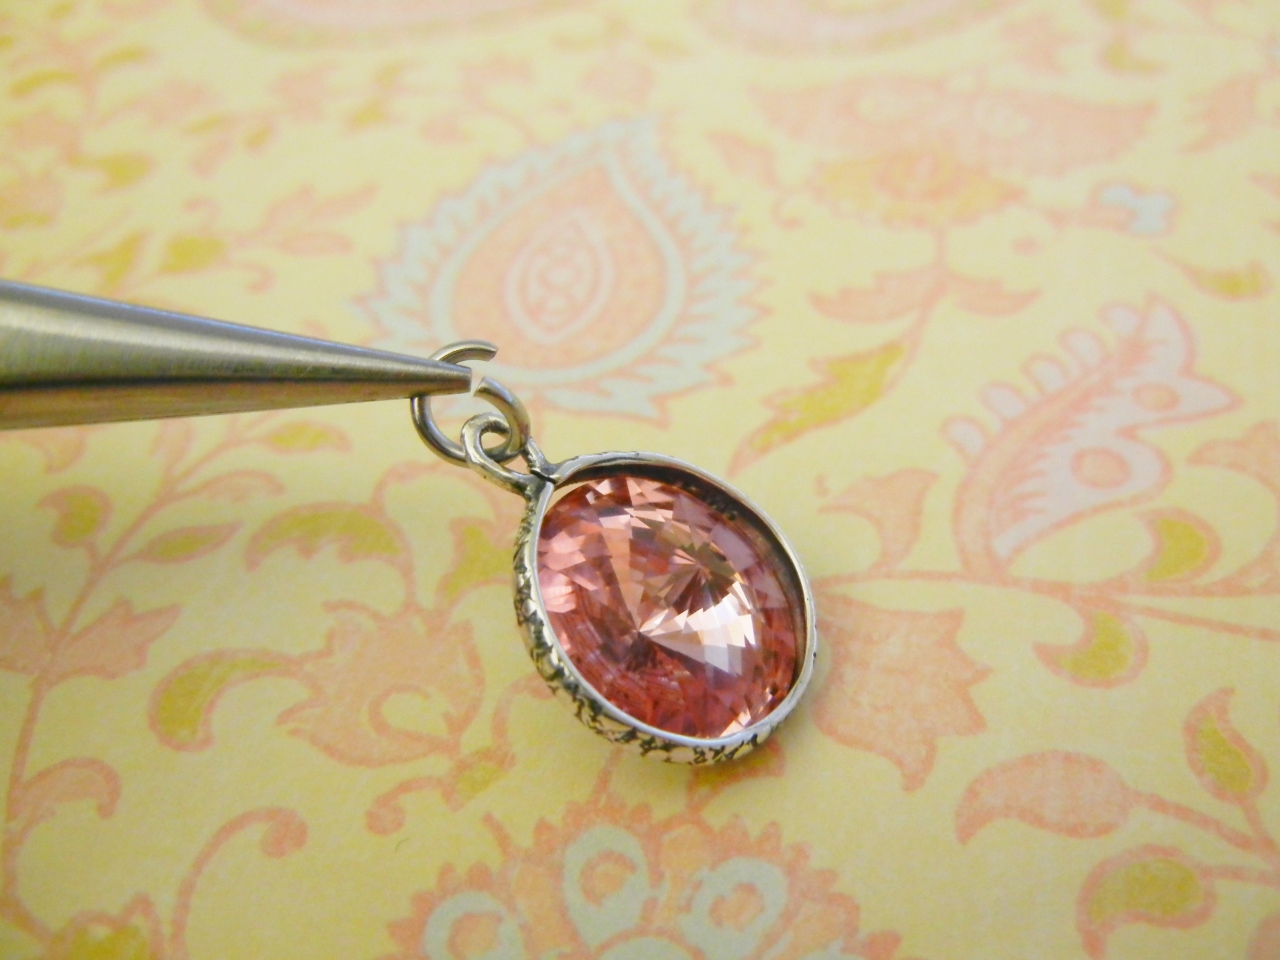
Use the stainless steel jump rings for extra security. Remember to twist the jump ring apart, not pry it open.
Step 4: Add jump rings to your charms.

Same deal, twist apart, don’t pry open. This way the jump ring will close flush!
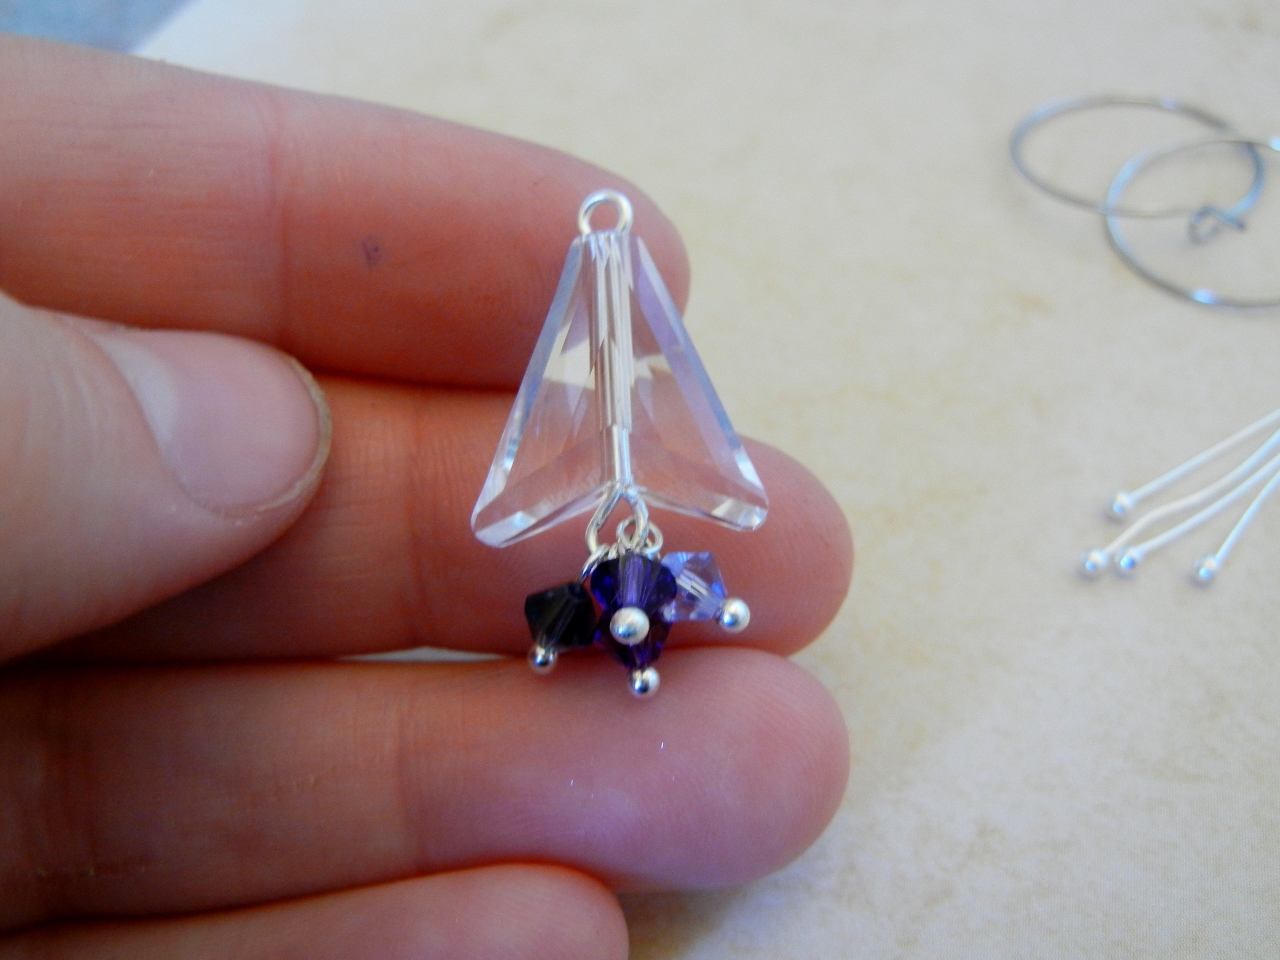
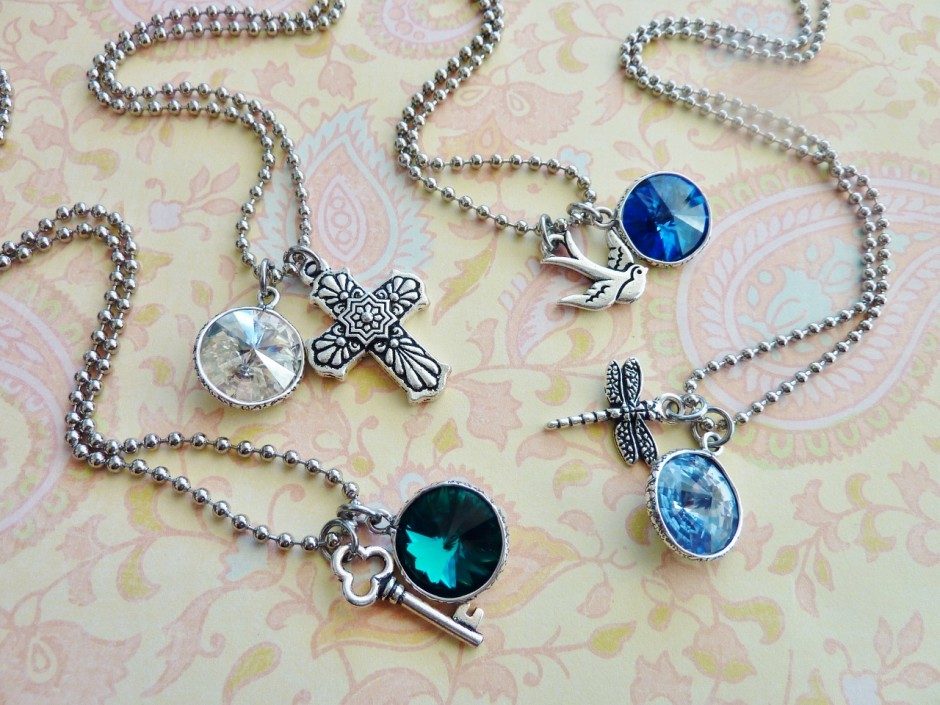
Step 5: Create! Mix and Match!
Pick a crystal!
Pick a charm!
String onto cut chain.
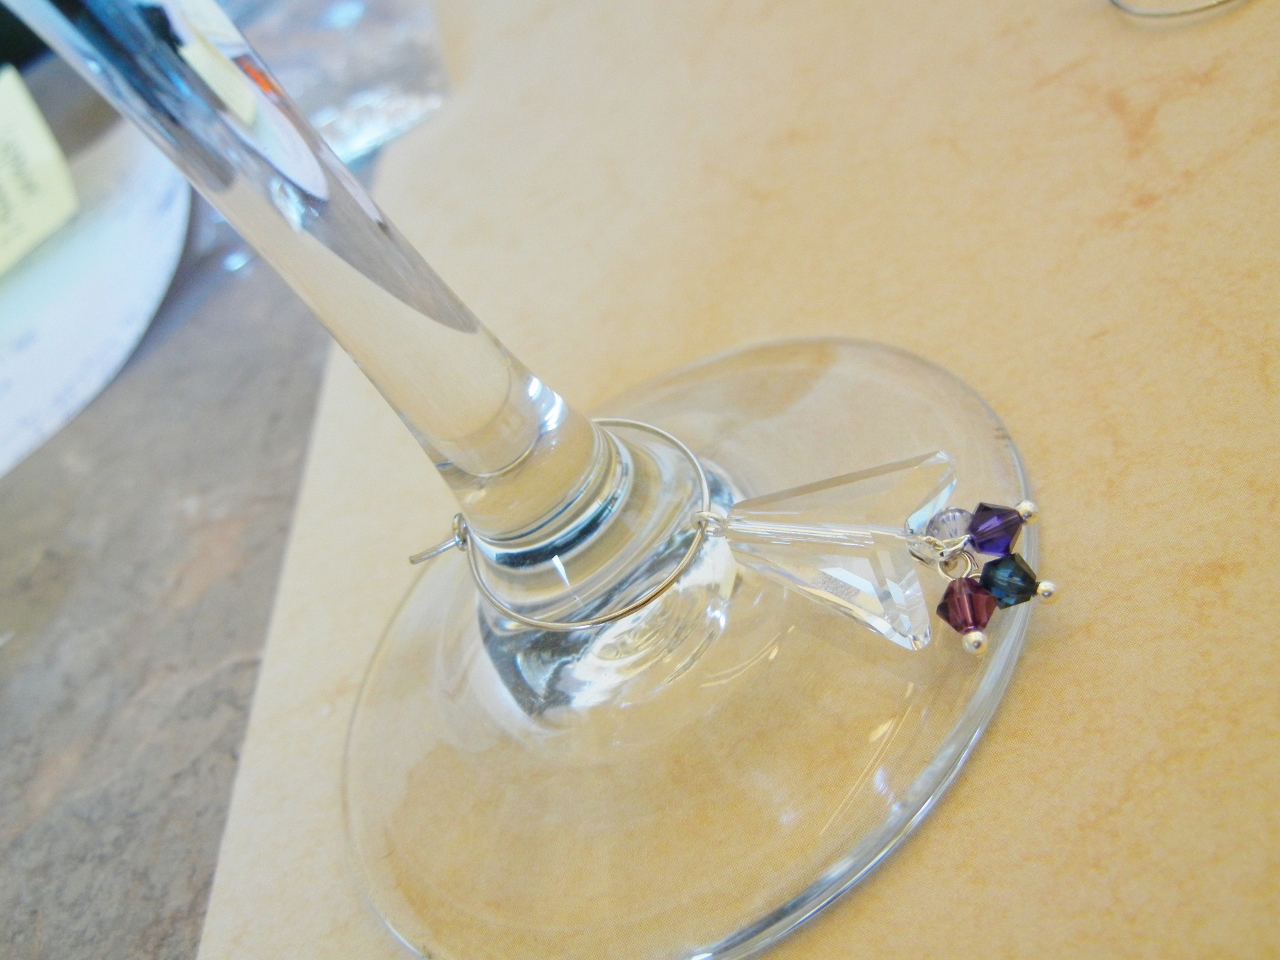
Step 6: Add a clasp to your necklace.
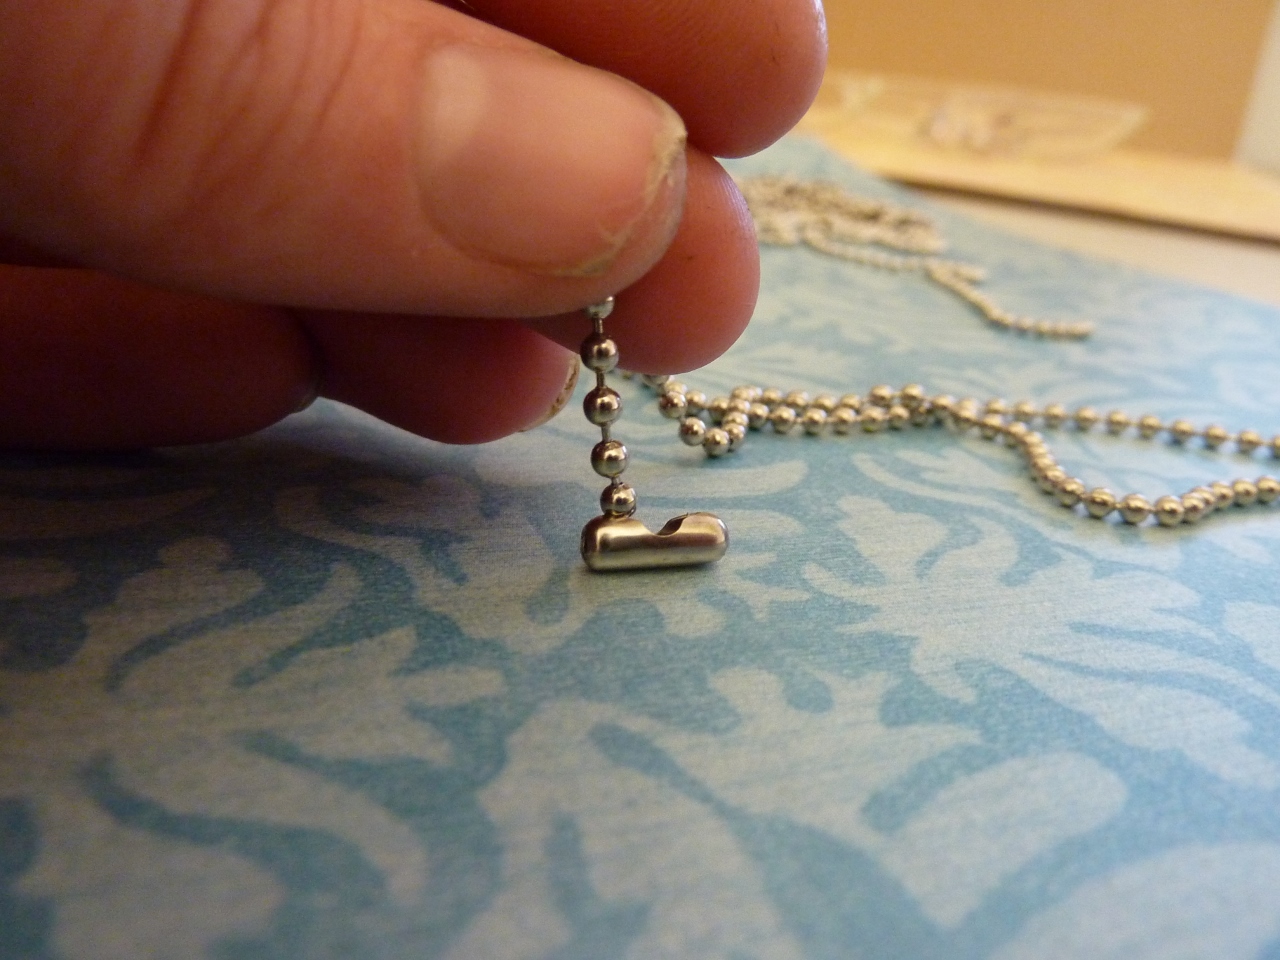
Drop ball end into the opening on the clasp.
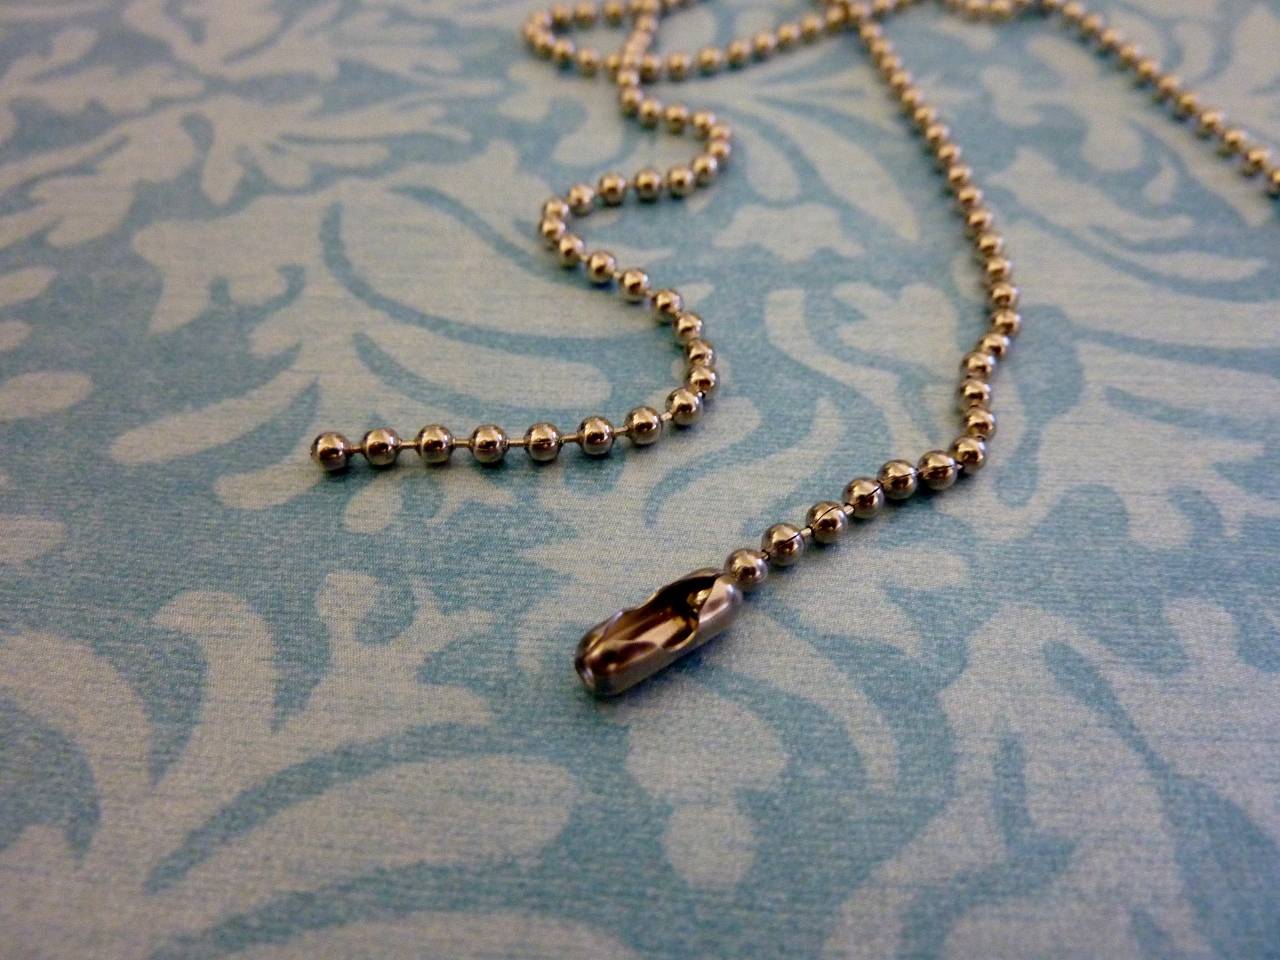
Pull chain to the side, so that it clicks into place!
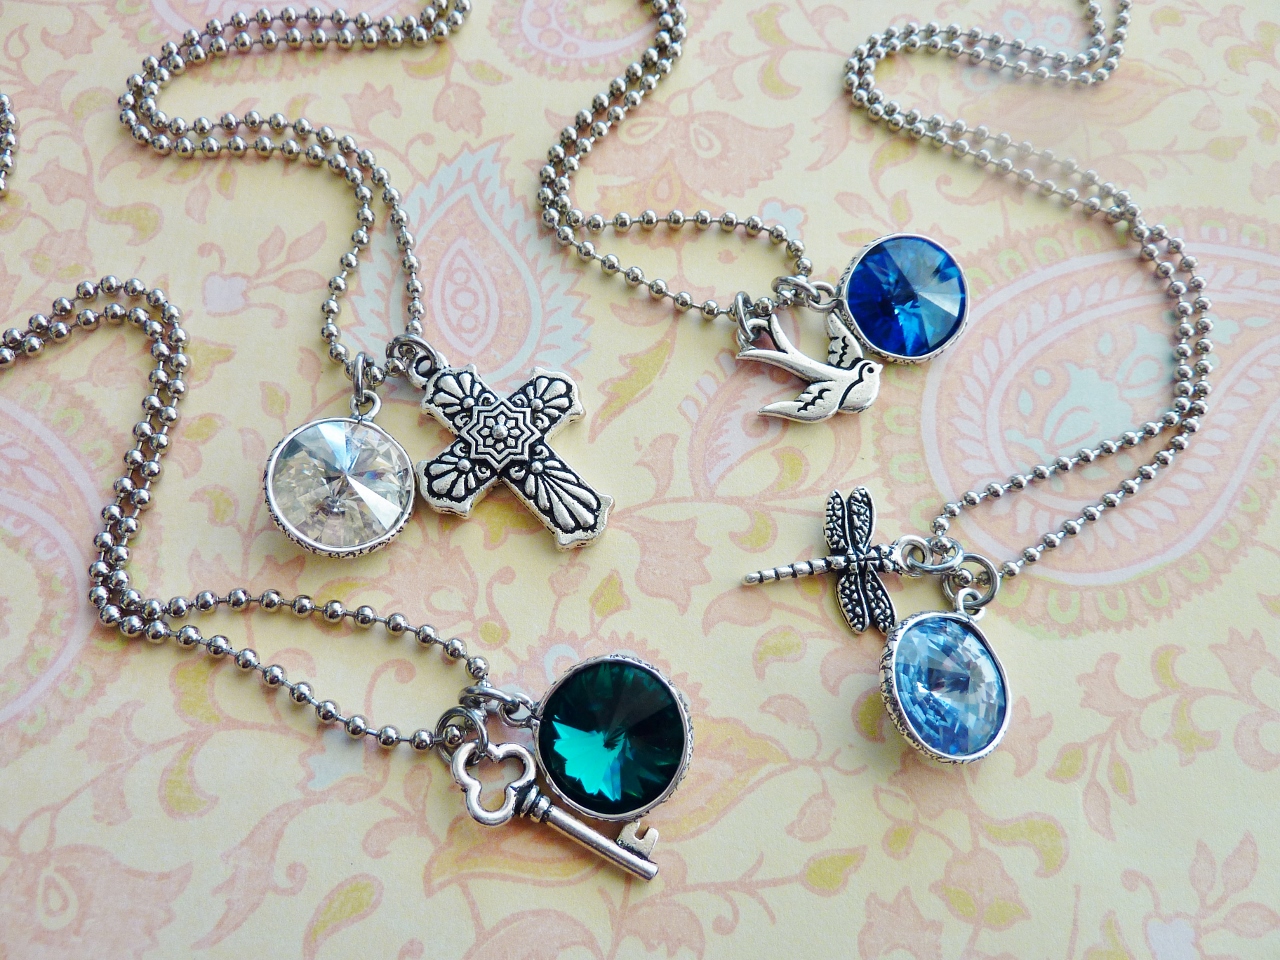
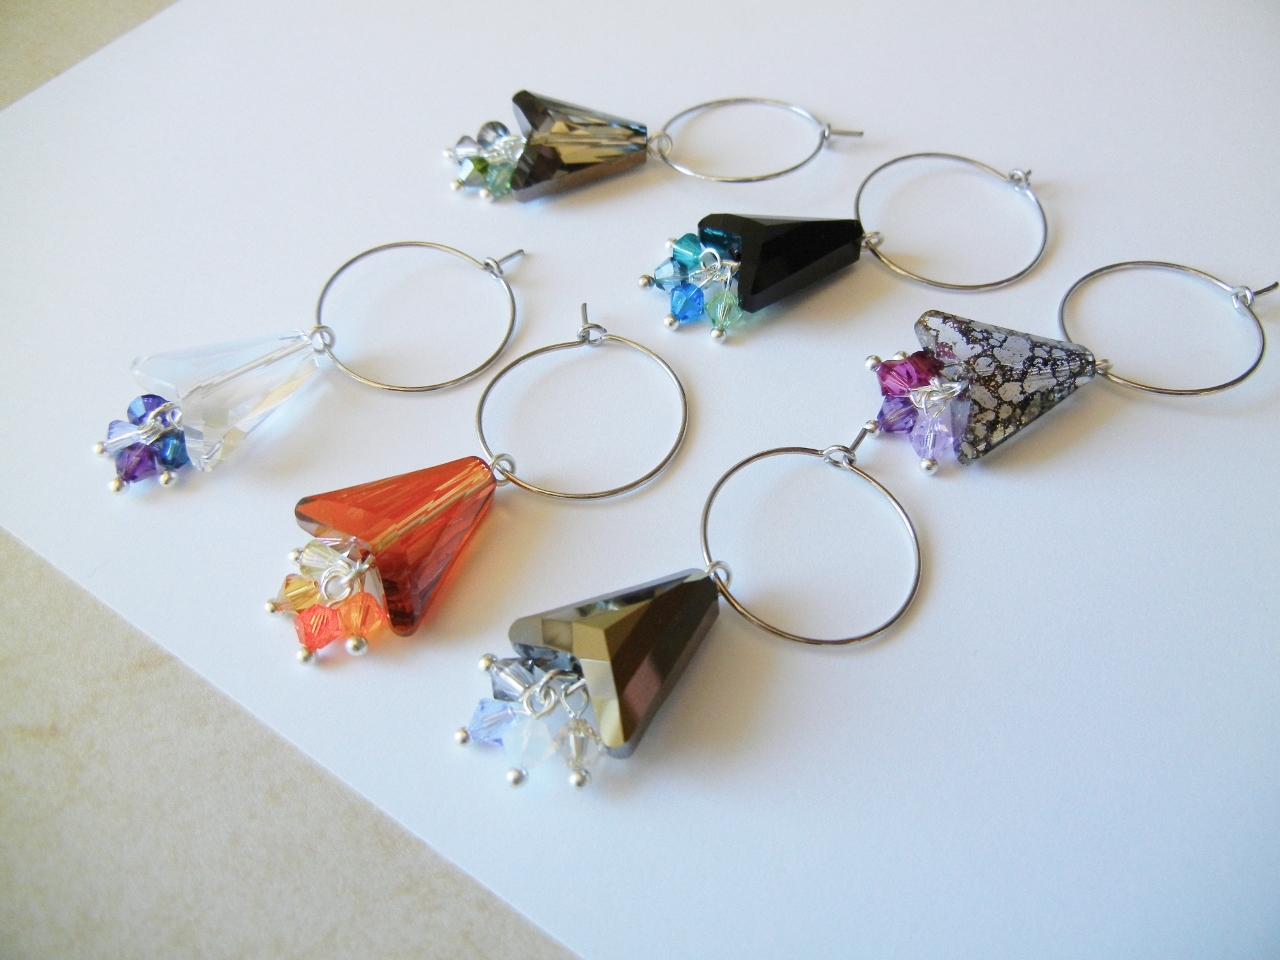
Endless possibilities!
Craft Fair or Show Idea! Build-Your-Own Necklaces
This is a great project to do for yourself as gifts, but it is also great for a build your own necklace at a craft fair or show! Simply have all the components ready to go, and let people choose what they want! Make a price sheet that charges a base price and then additional for each charm or crystal they want to add!
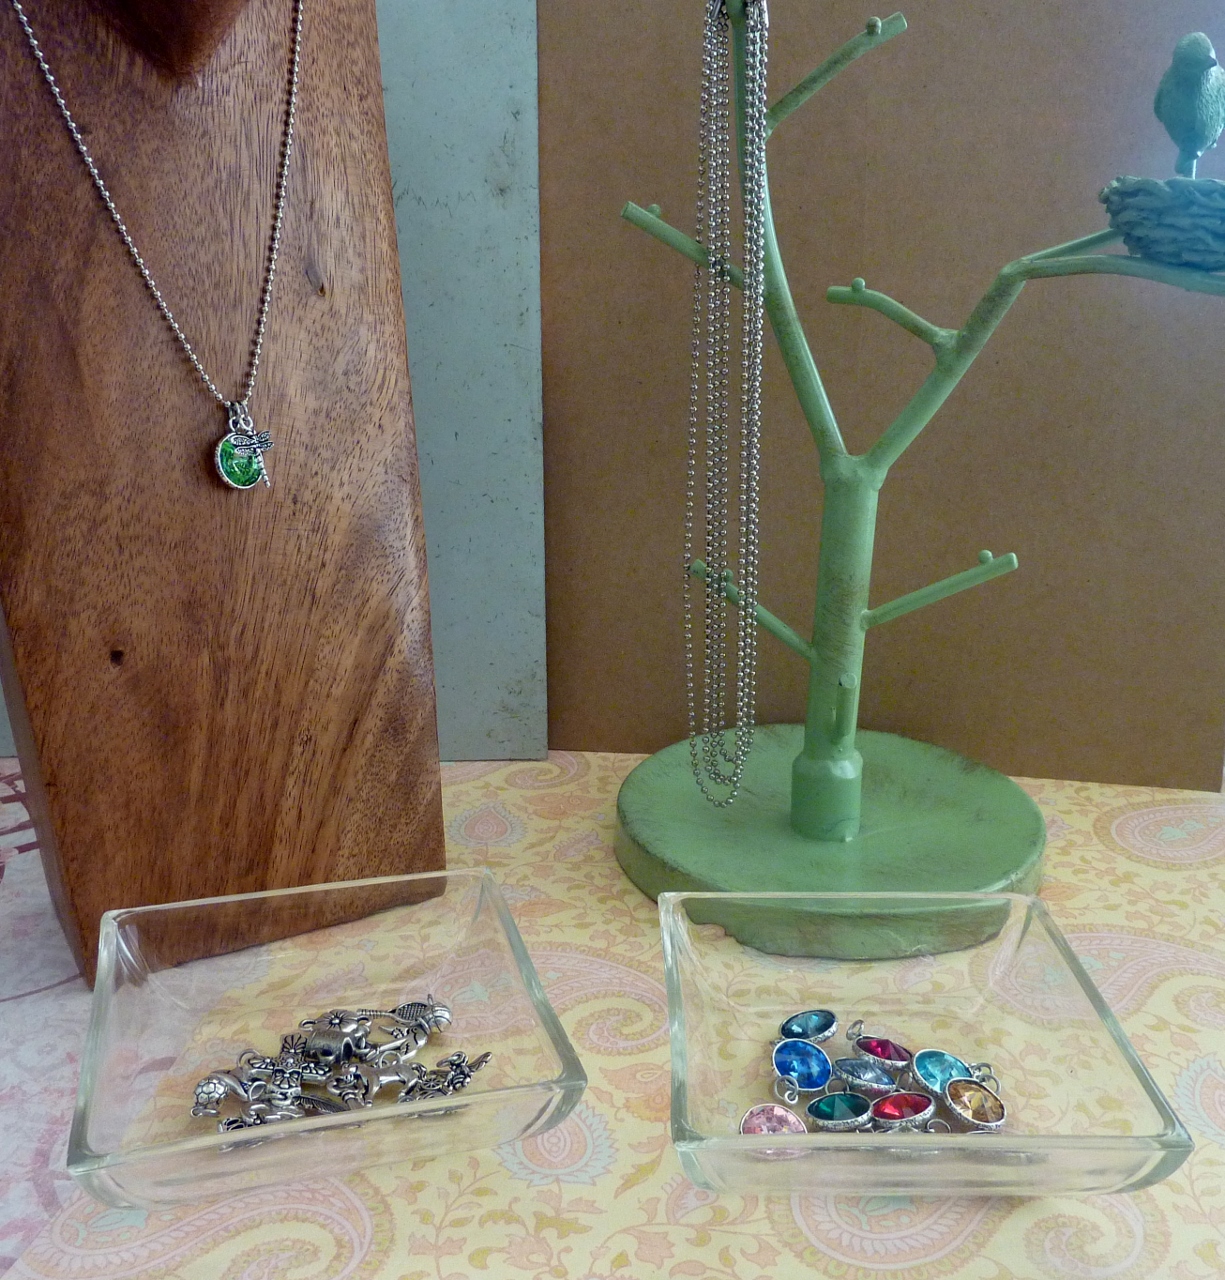
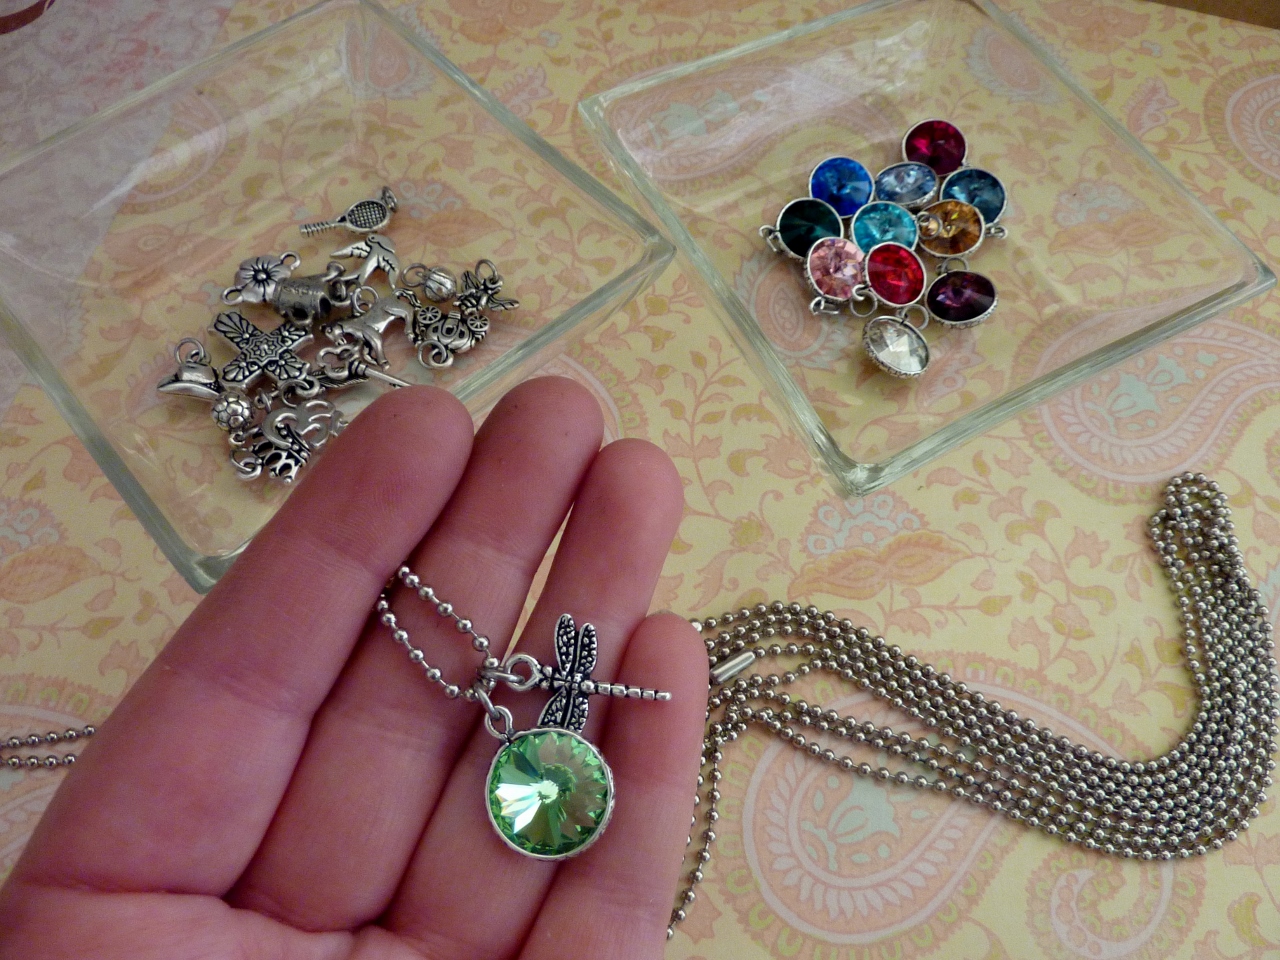
Make a display/station at a show where people can make their own necklace!
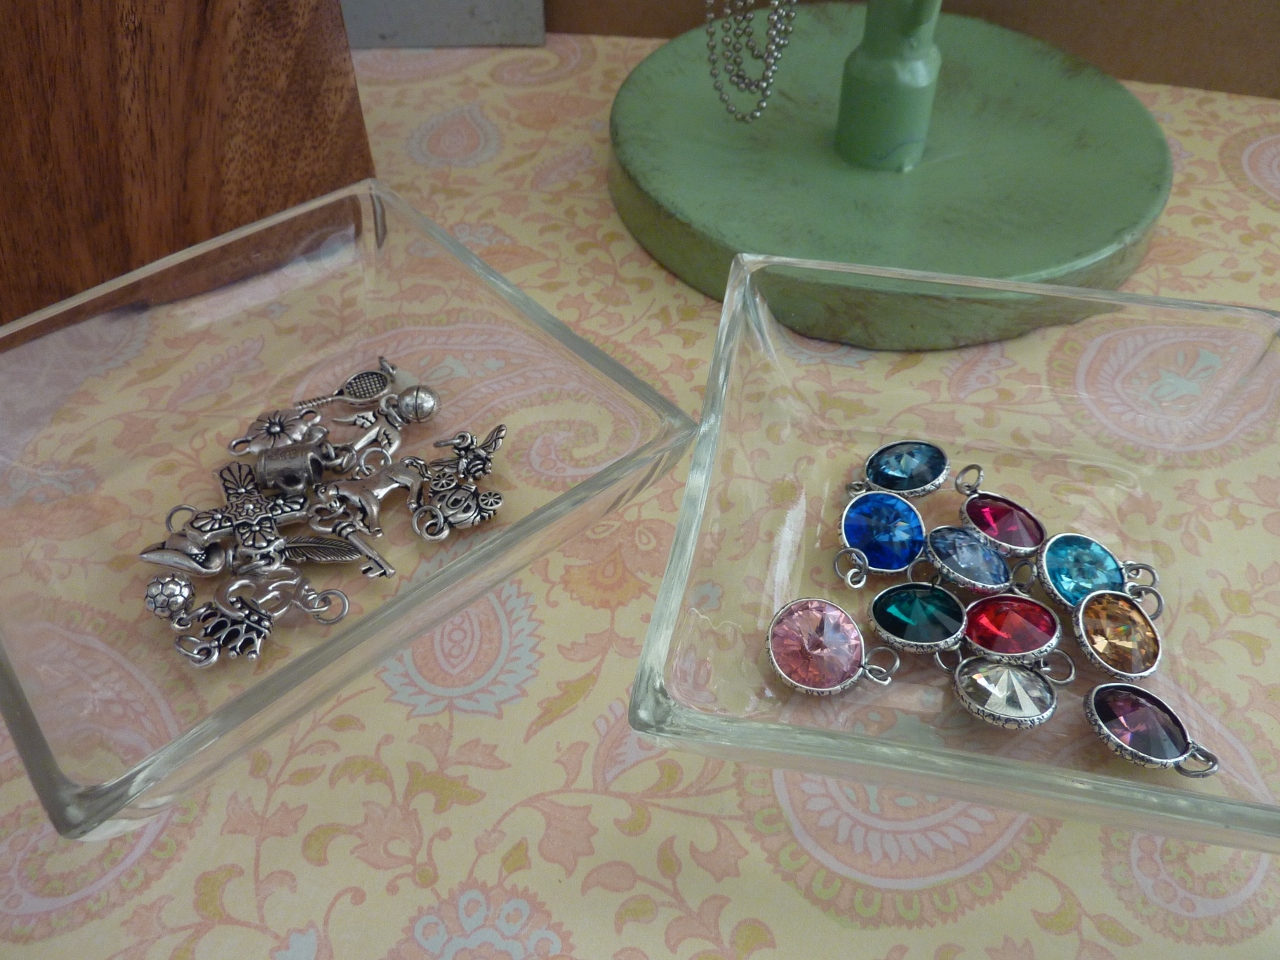
One dish with charms, one dish with crystals.
Online Store Idea! Customize your own Birthstone and Charm Necklace
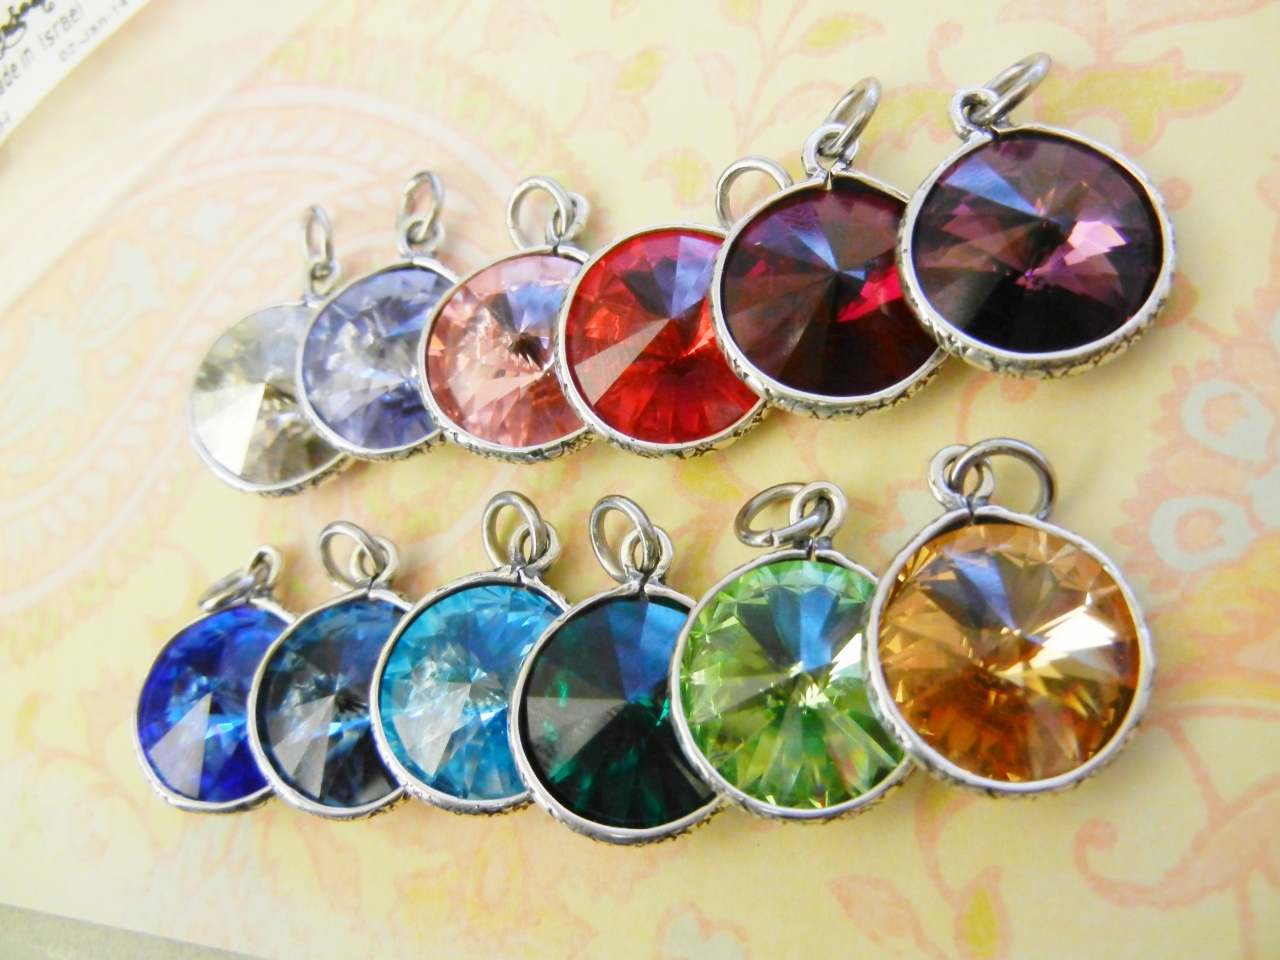
Have an etsy store? Etsy has made it so easy to add customizable items to your store! Take a photo of all the options of crystals and charms you offer, and make an item in your store that people can customize! People love custom items! I choose these crystals to coordinate with birthstones and a random assortment of charms, but you could pick whatever colors and charms you like!
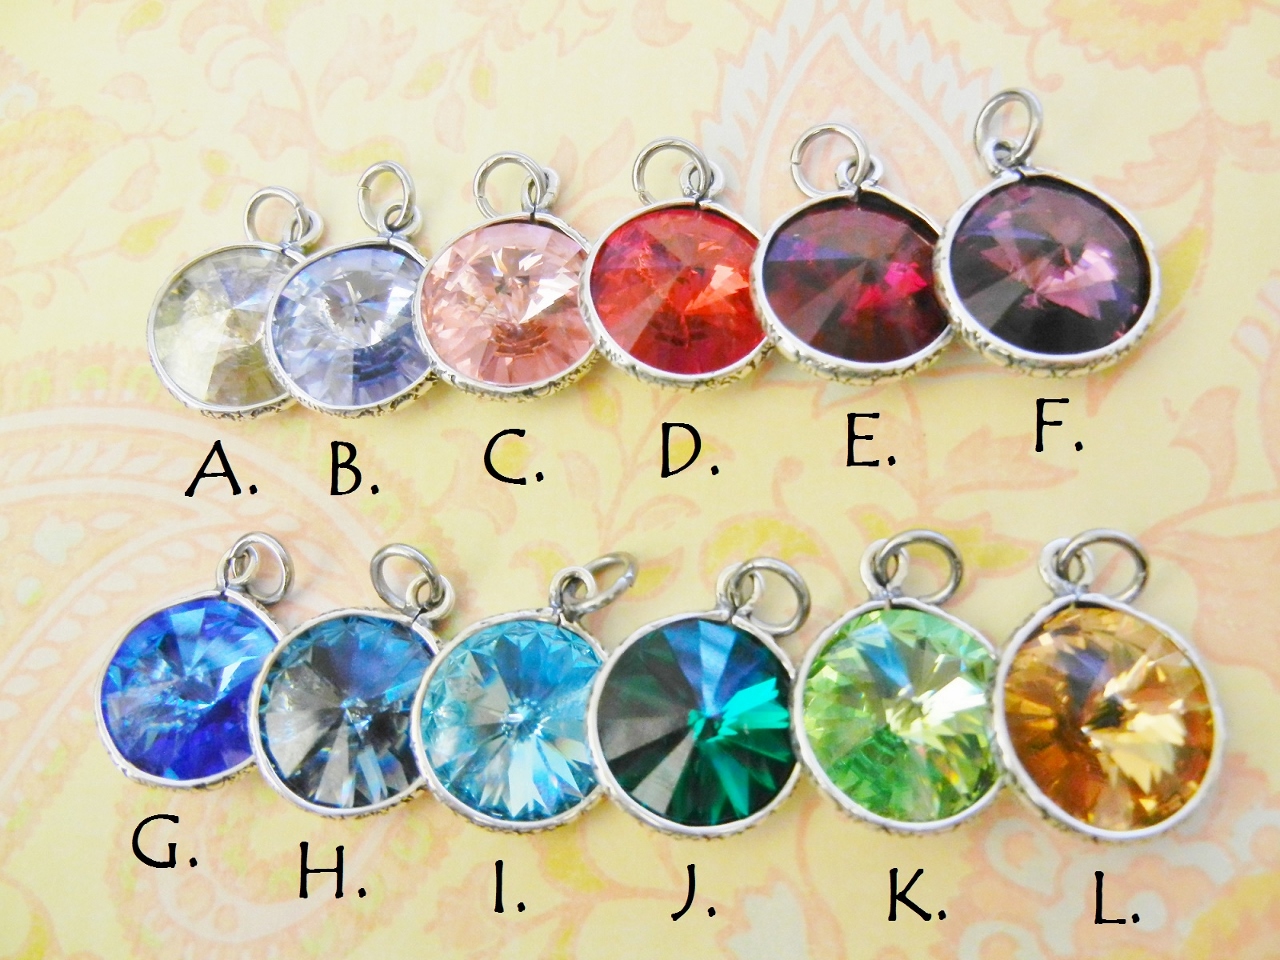
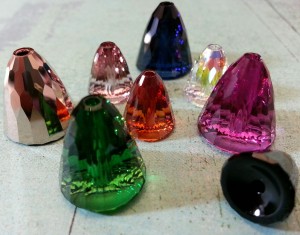
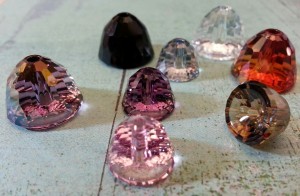
Choose your crystal color!
A. Silver Shade (Diamond)- April
B. Provence Lavender (Alexandrite) – June
C. Light Rose (Rose Zircon) – October
D. Lt. Siam (Ruby)- July
E. Siam (Garnet)- January
F. Amethyst– February
G. Sapphire– September
H. Denim Blue (Blue Zircon)- December
I. Aquamarine– March
J. Emerald– May
K. Peridot– August
L. Lt. Colorado Topaz– November
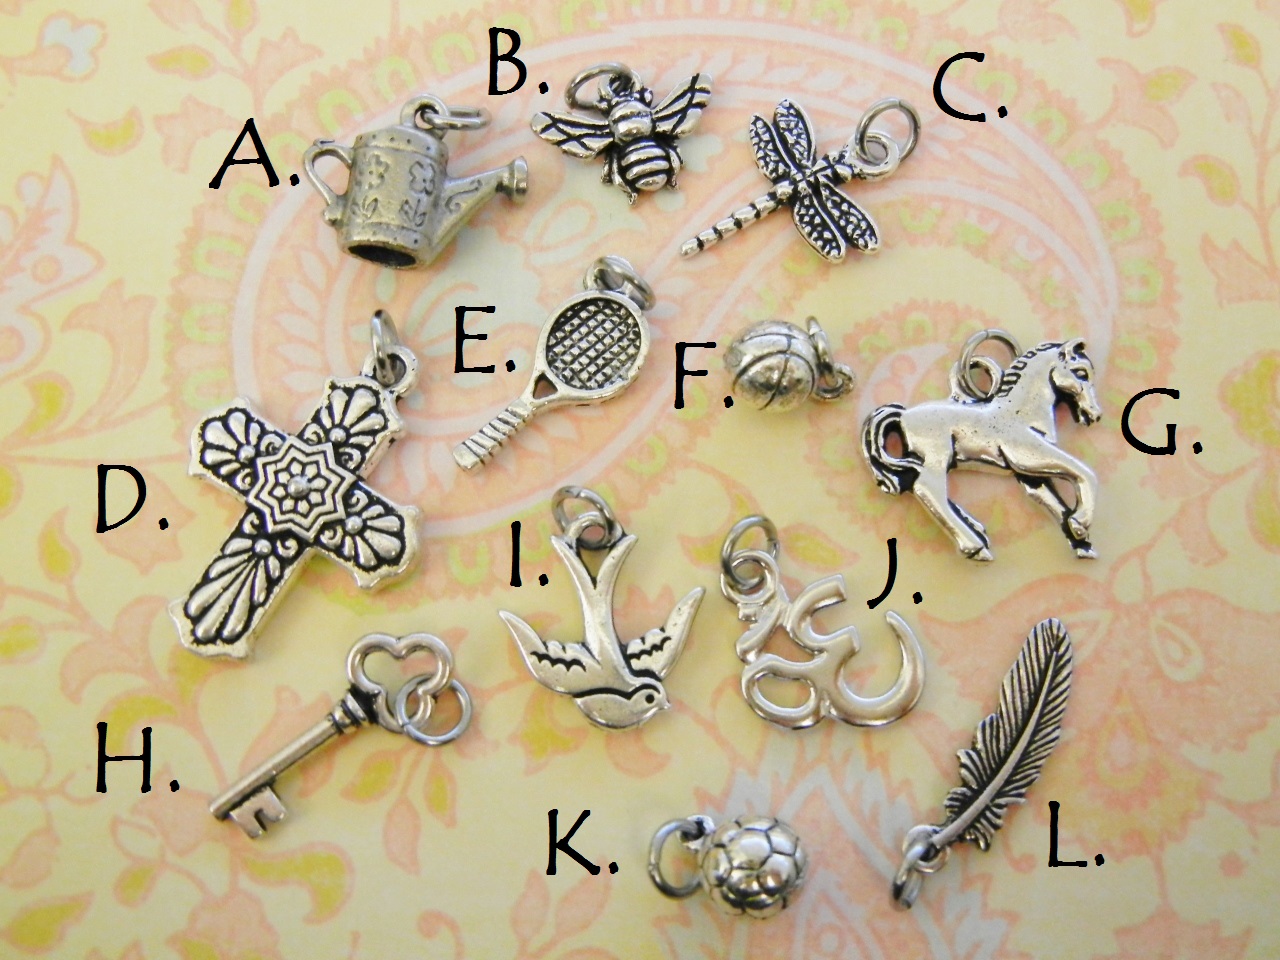
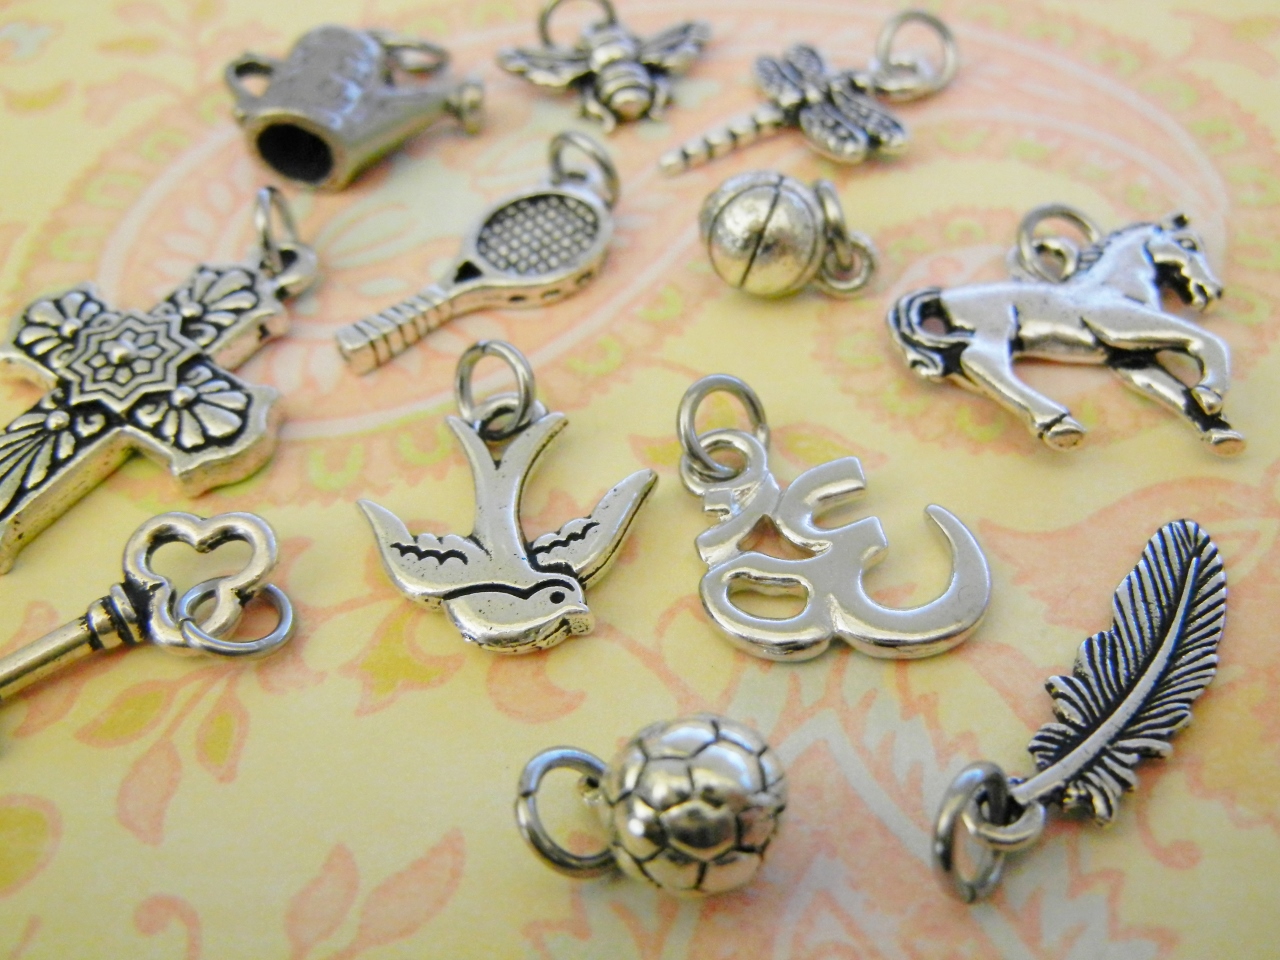
Choose your charm!
A. Watering Pail
B. Bumble Bee
C. Dragonfly
D. Cross
E. Tennis Racket
F. Basketball
G. Horse
H. Skeleton Key
I. Flying Bird
J. Yoga Om
K. Soccer Ball
L. Feather Charm
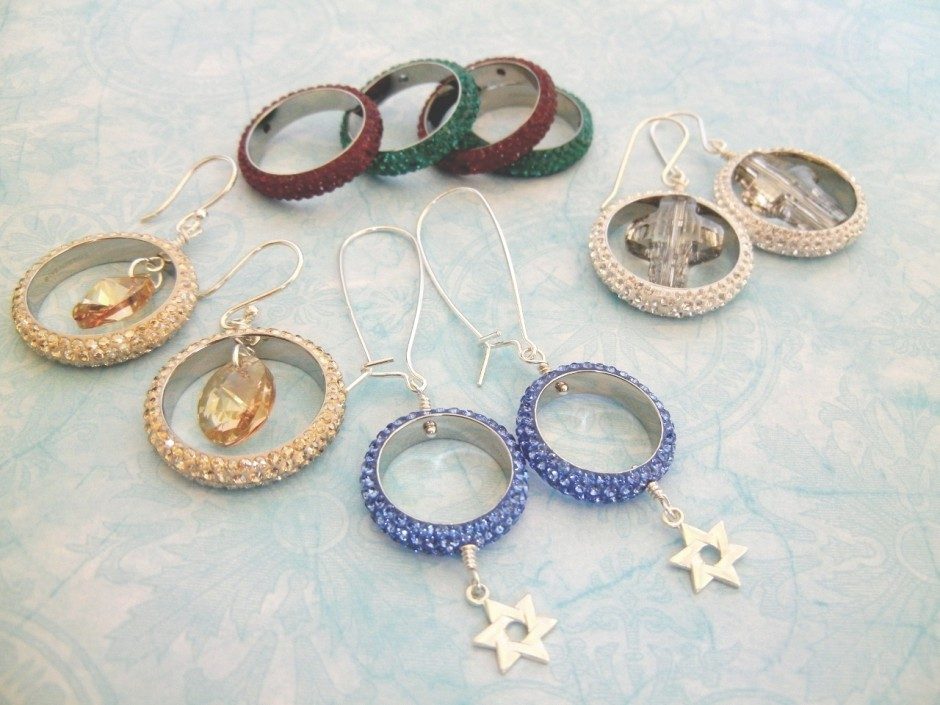
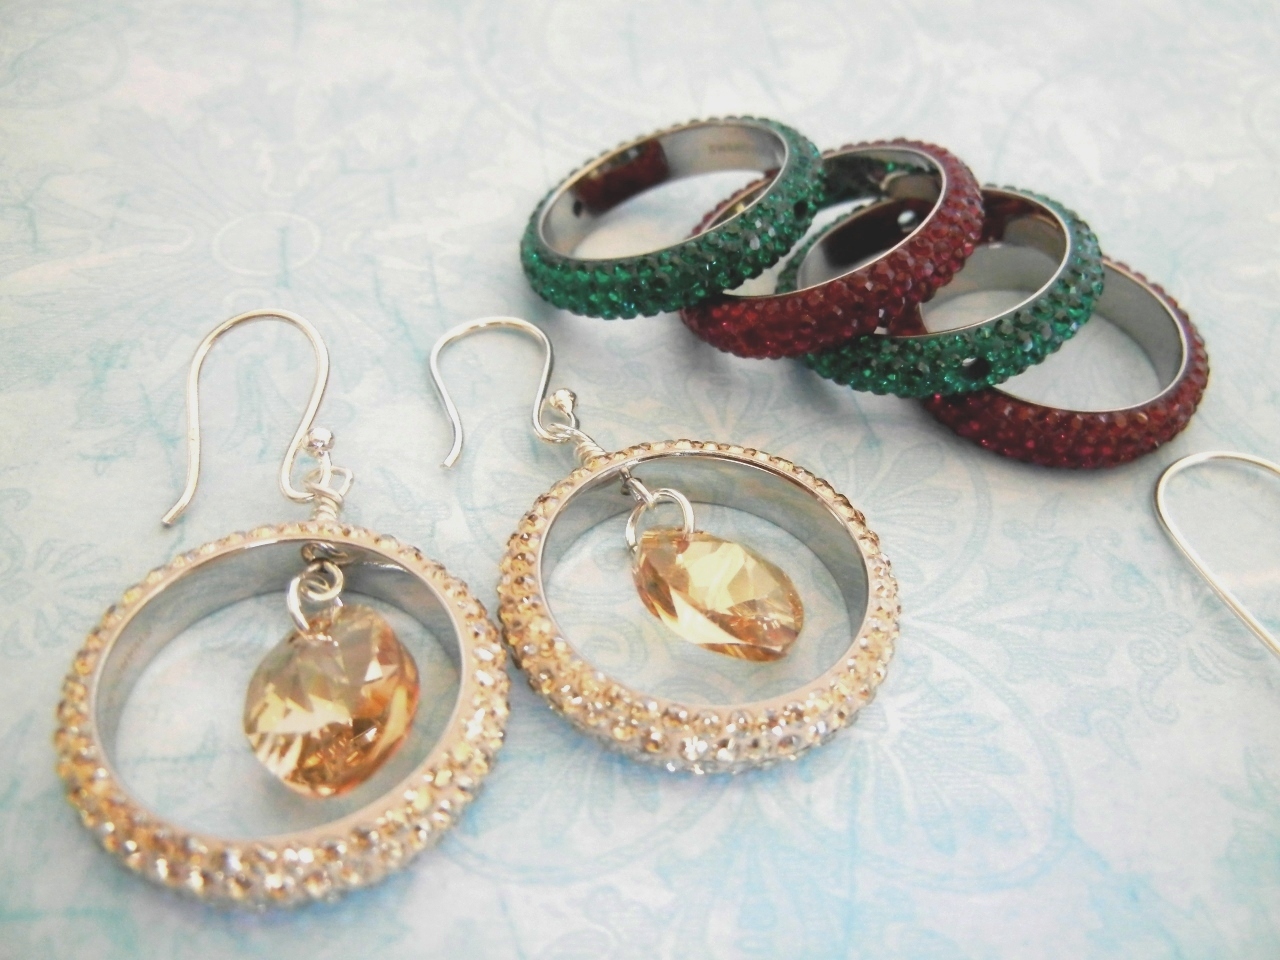
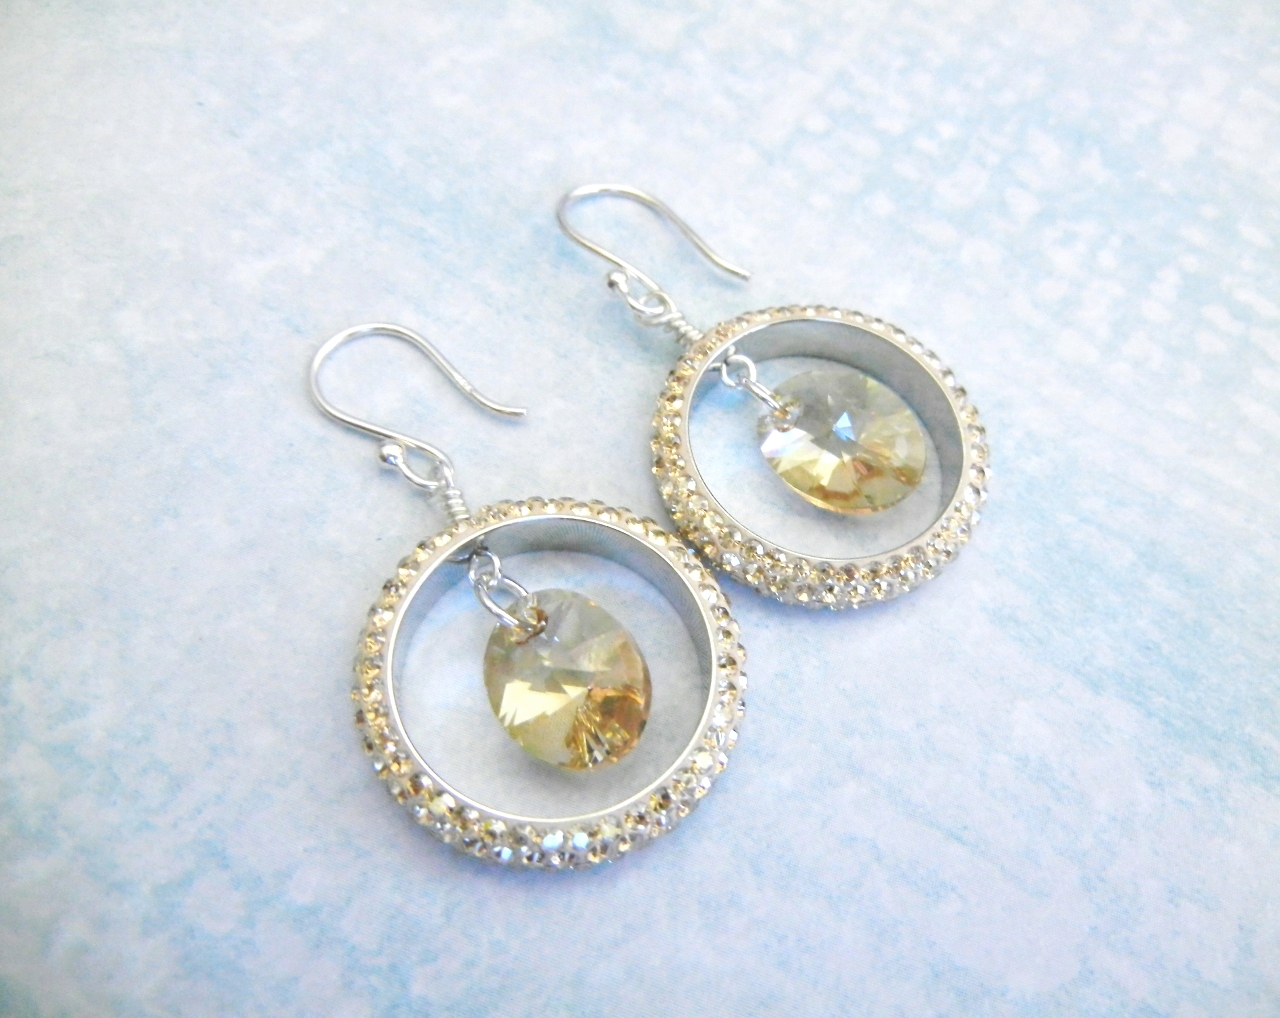
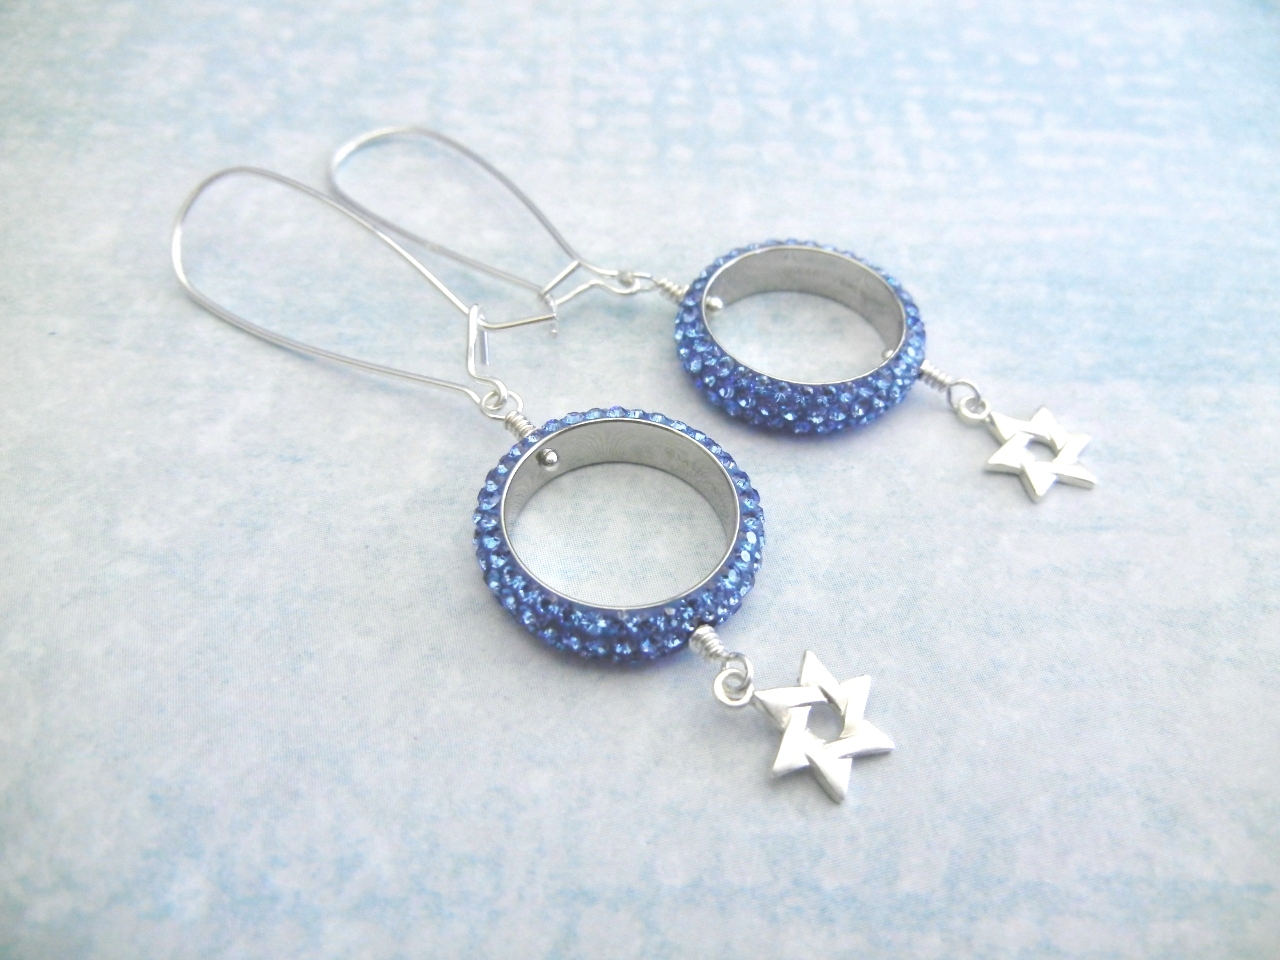
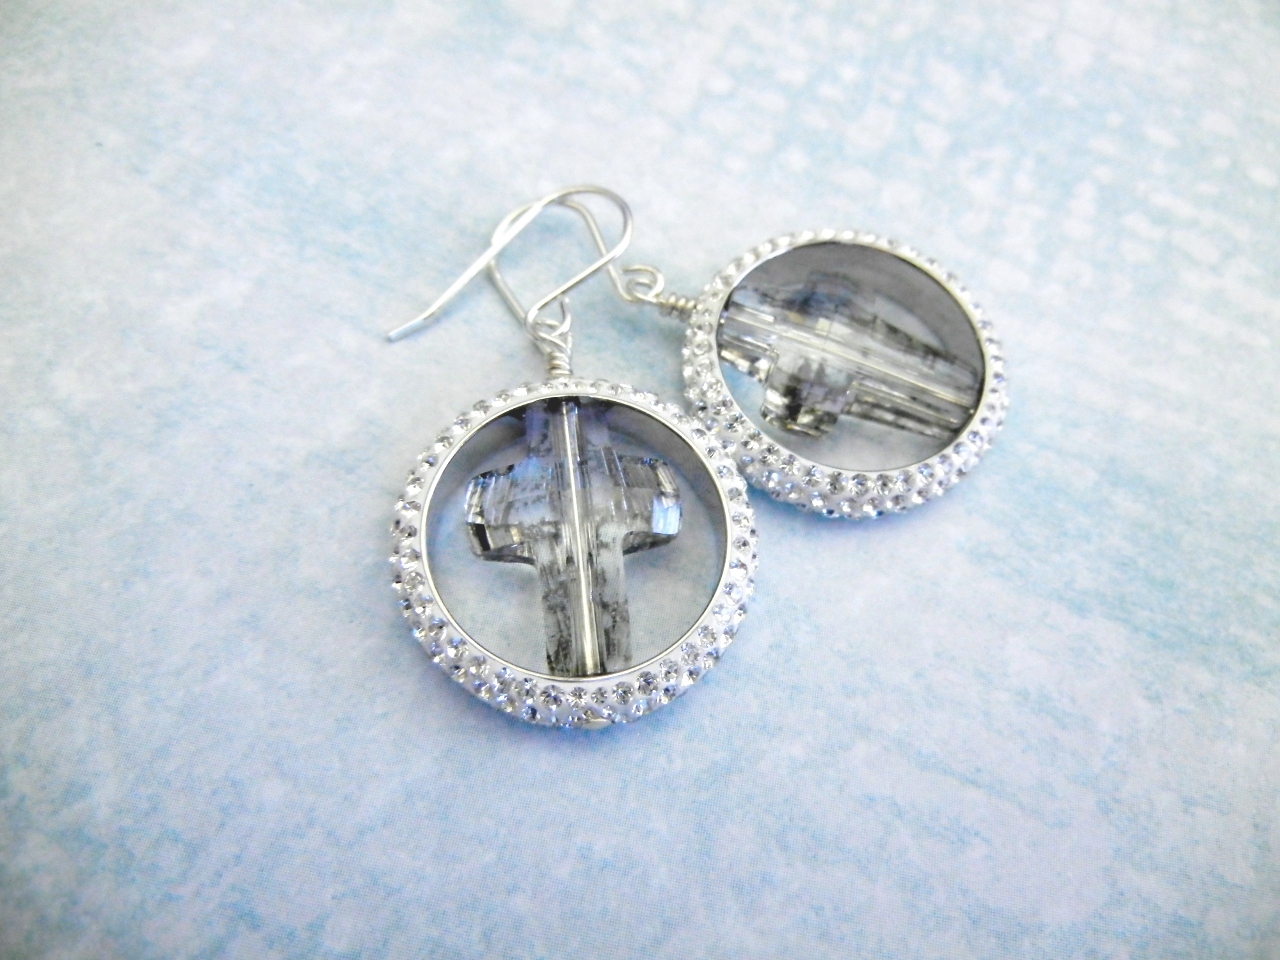
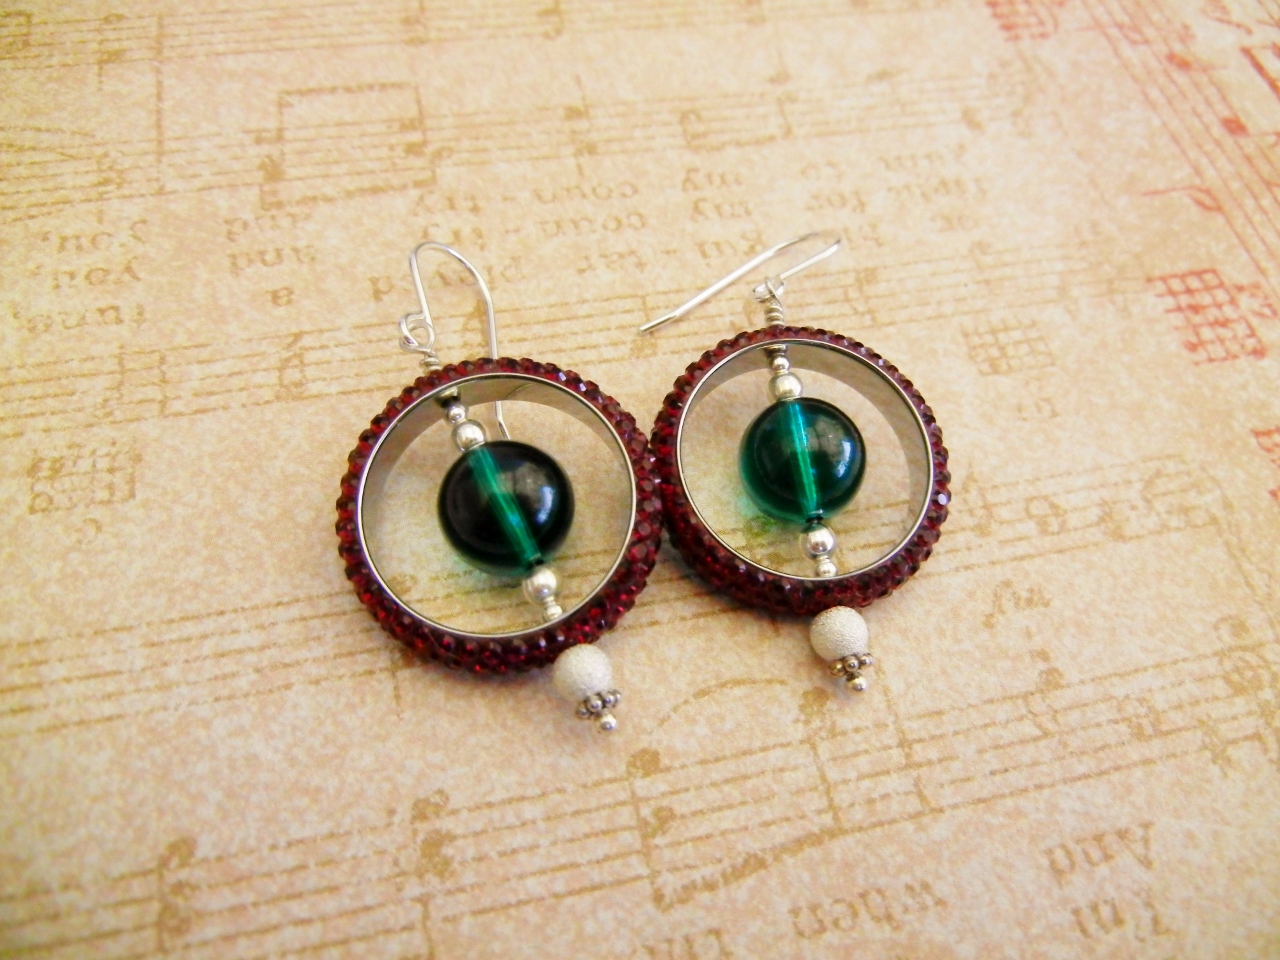
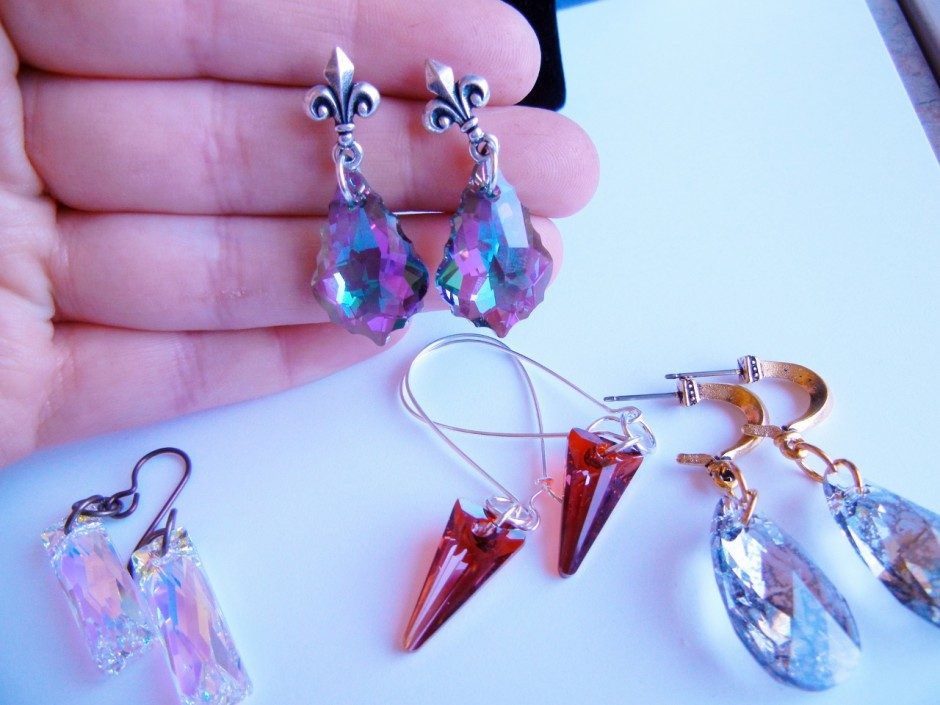
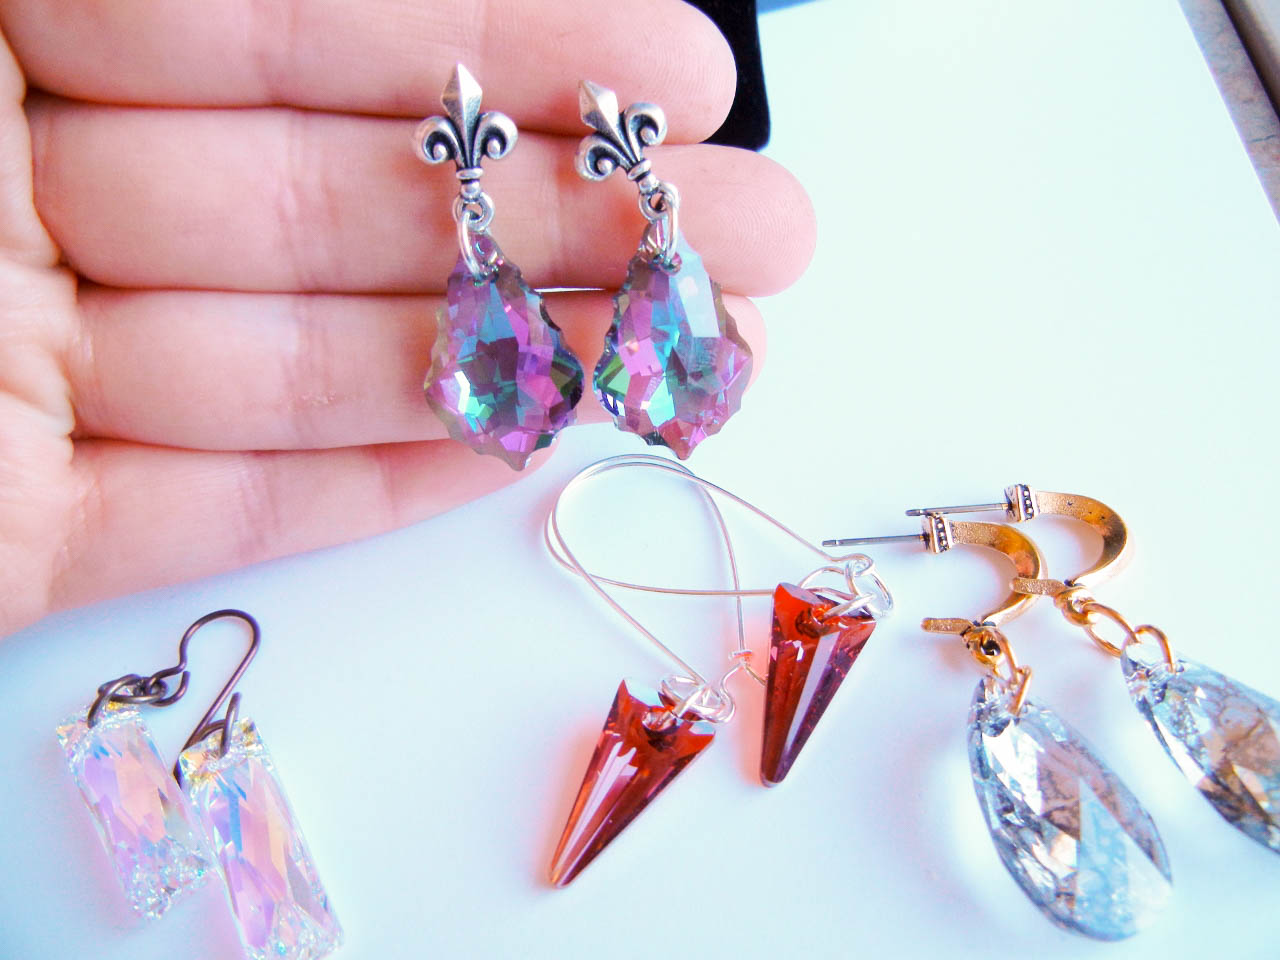
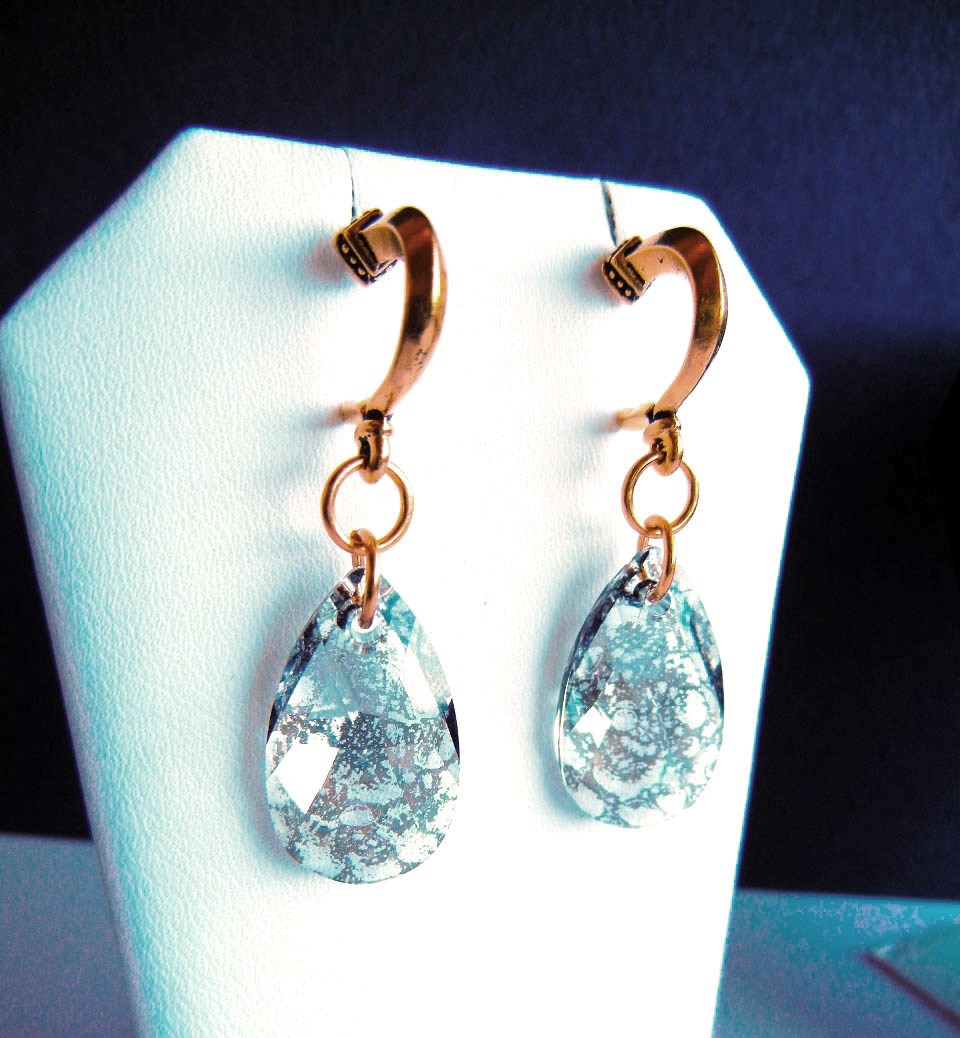
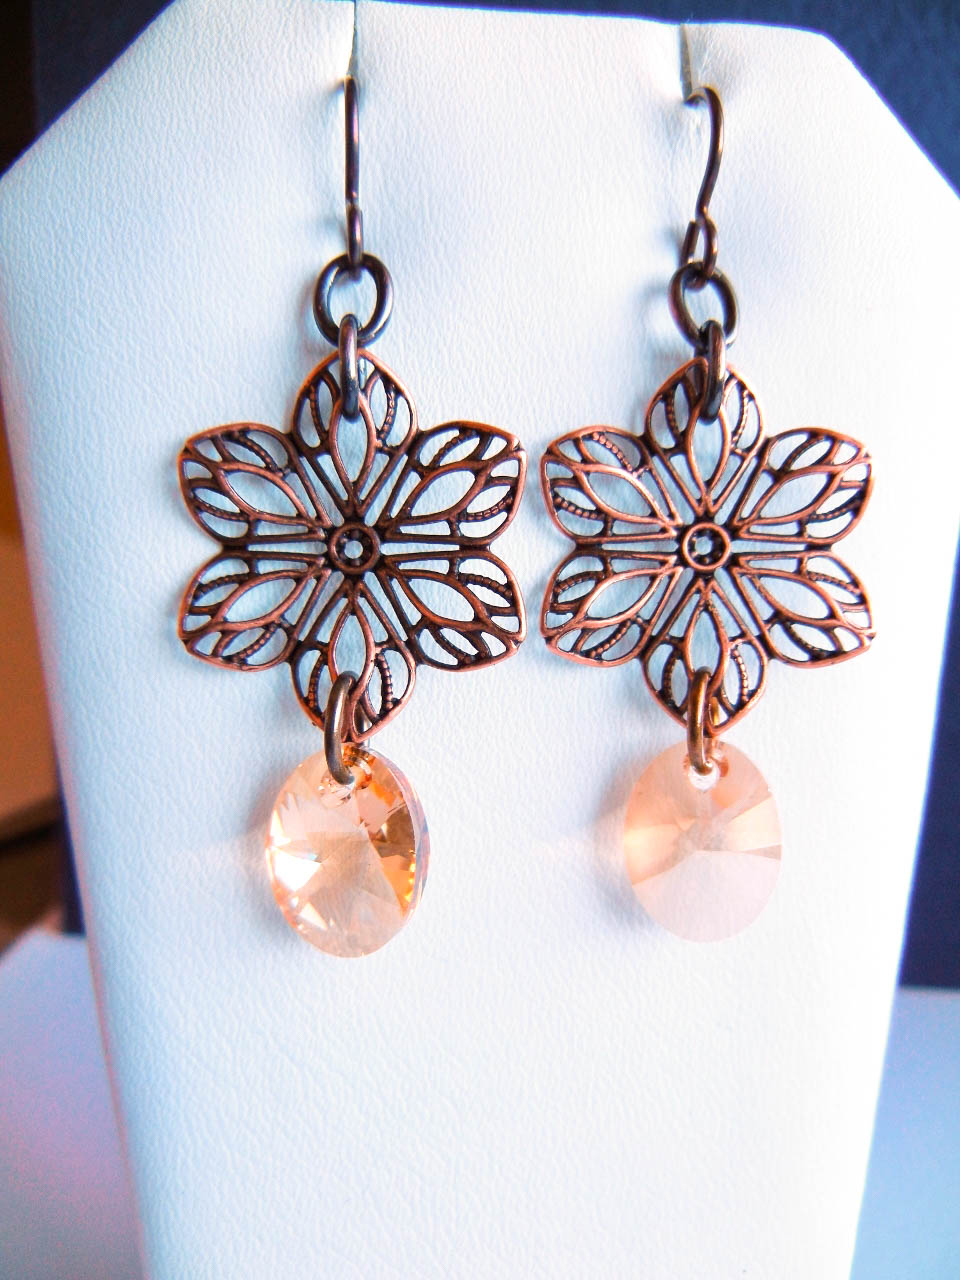
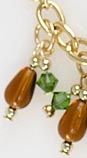
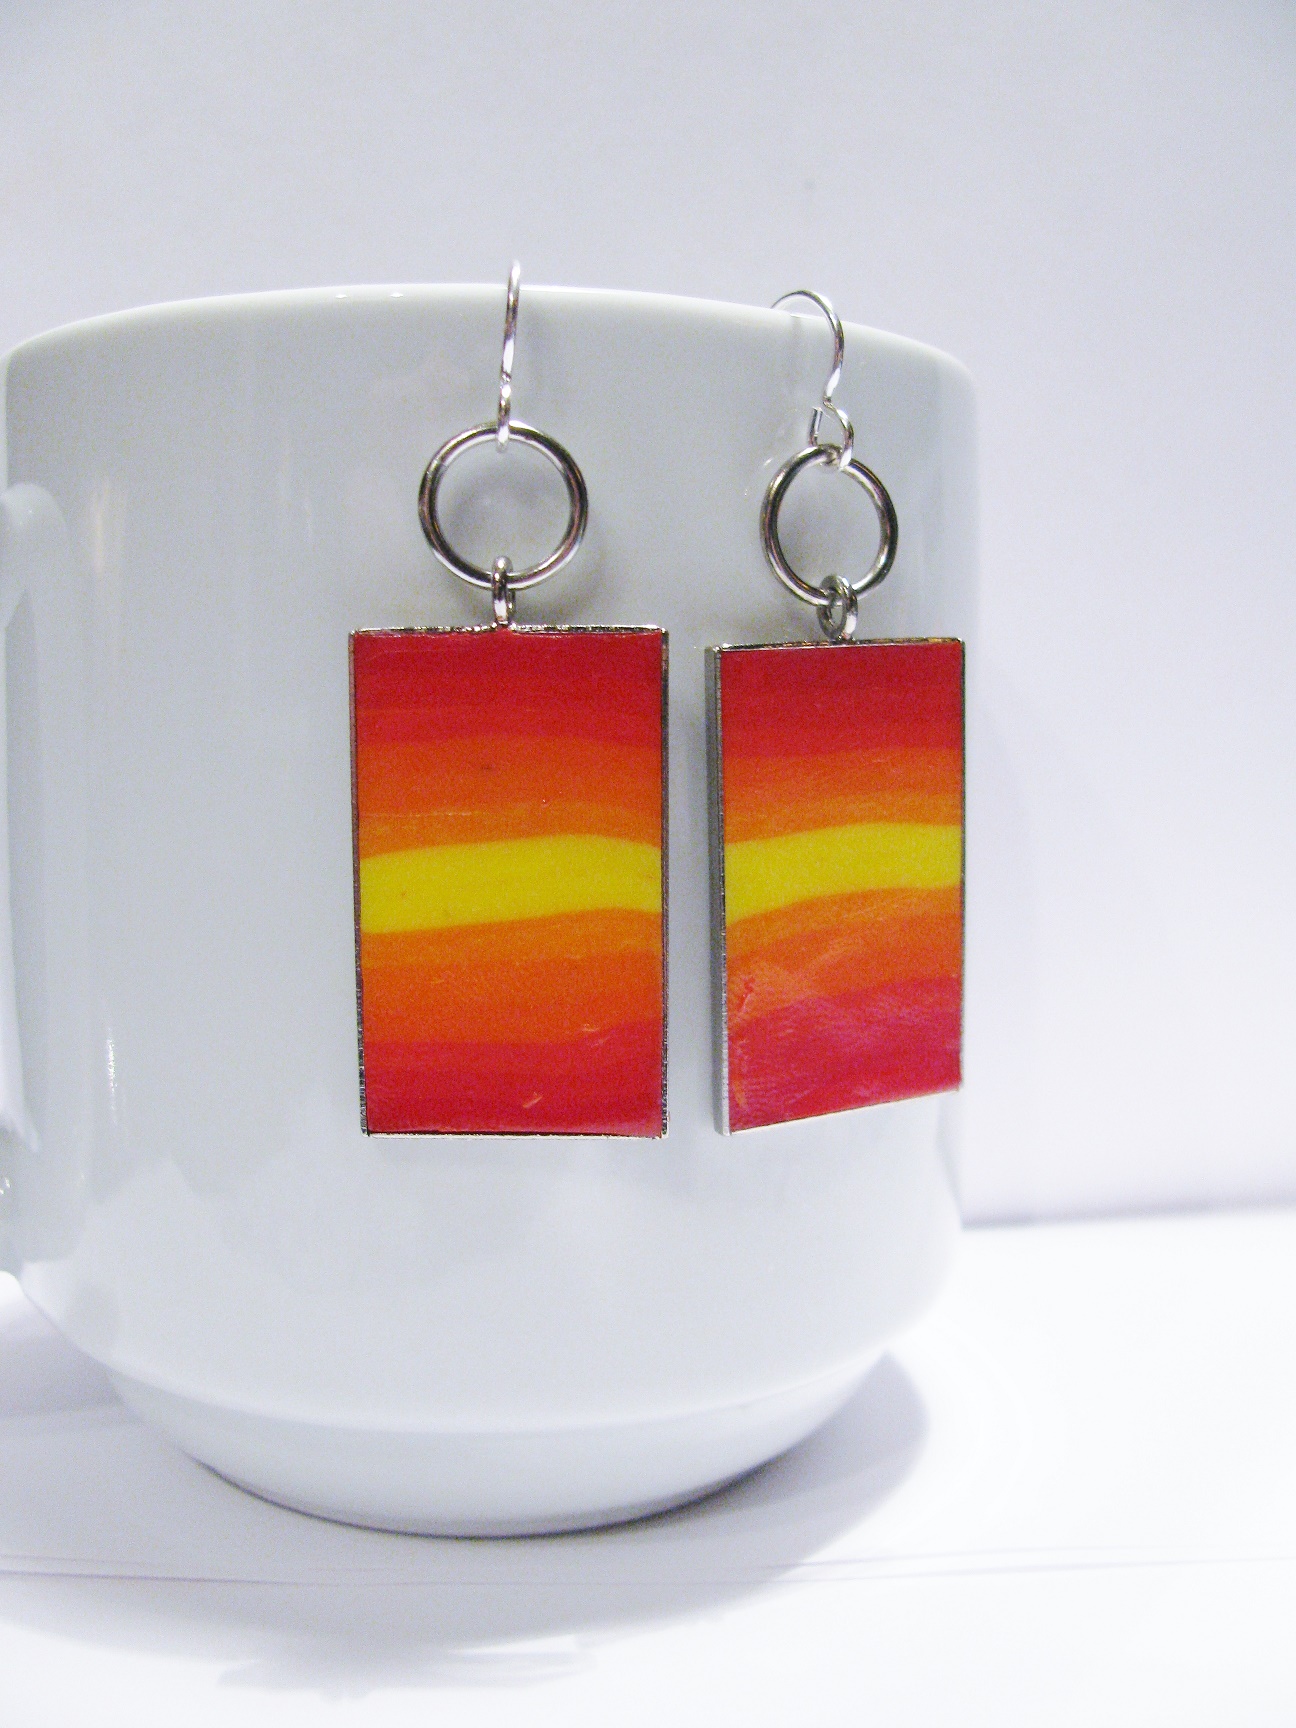
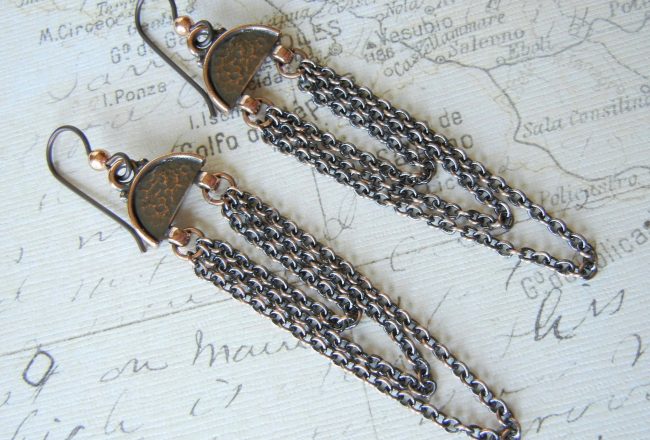
Matching Earrings? Why Not!

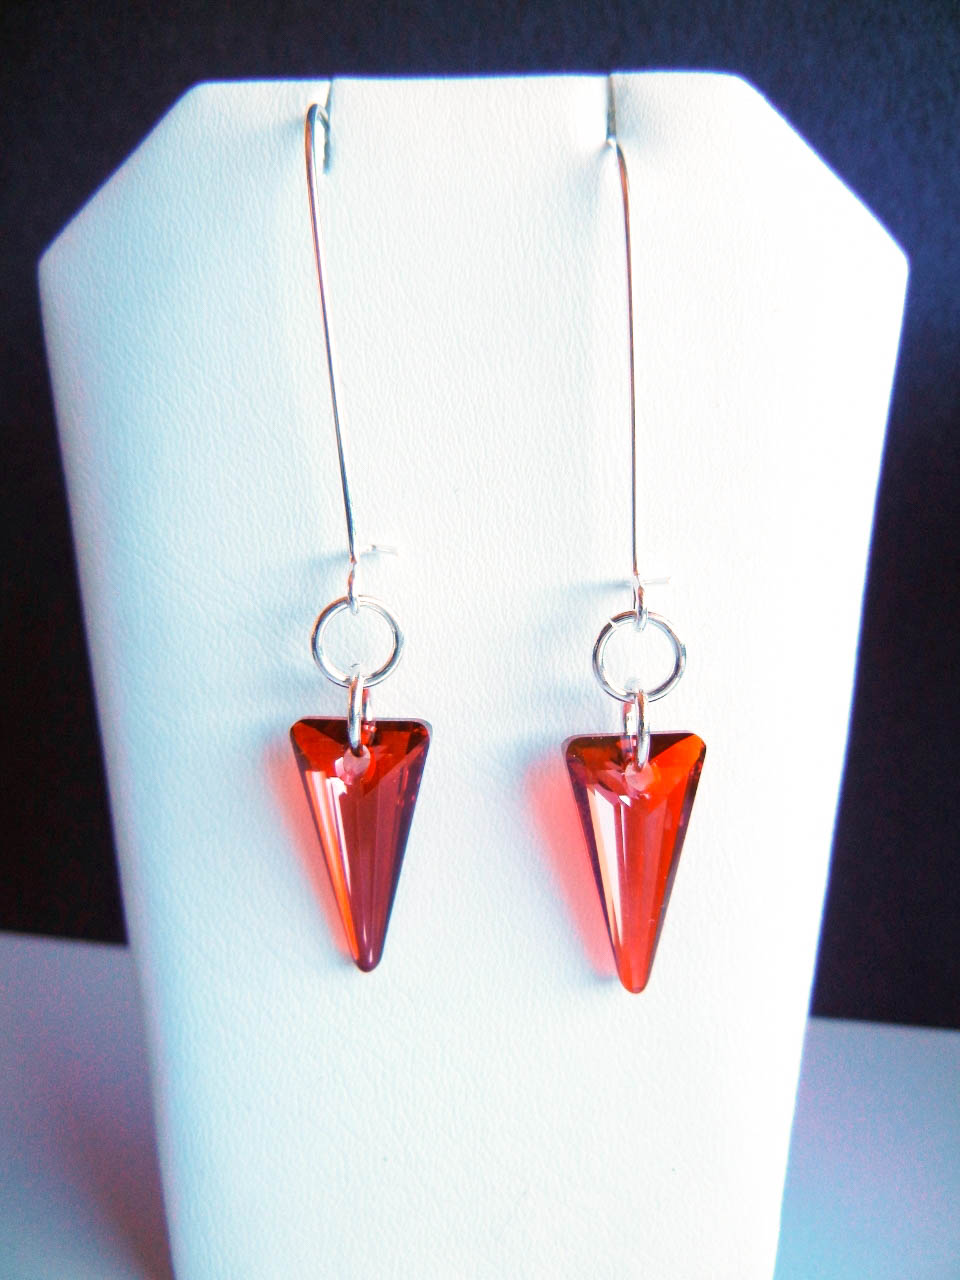
Light rose rivoli earrings on silver plated kidney wires
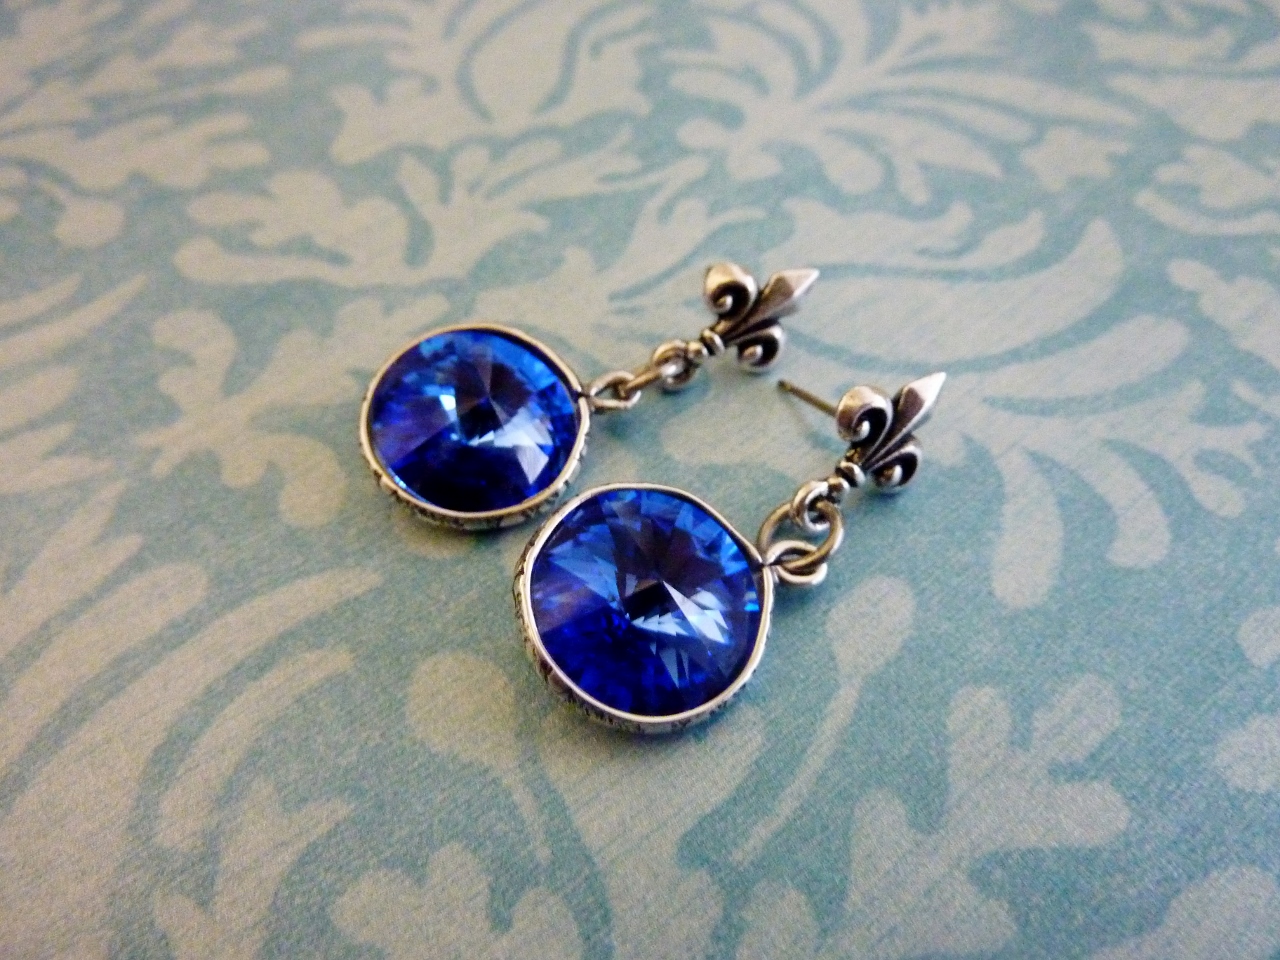
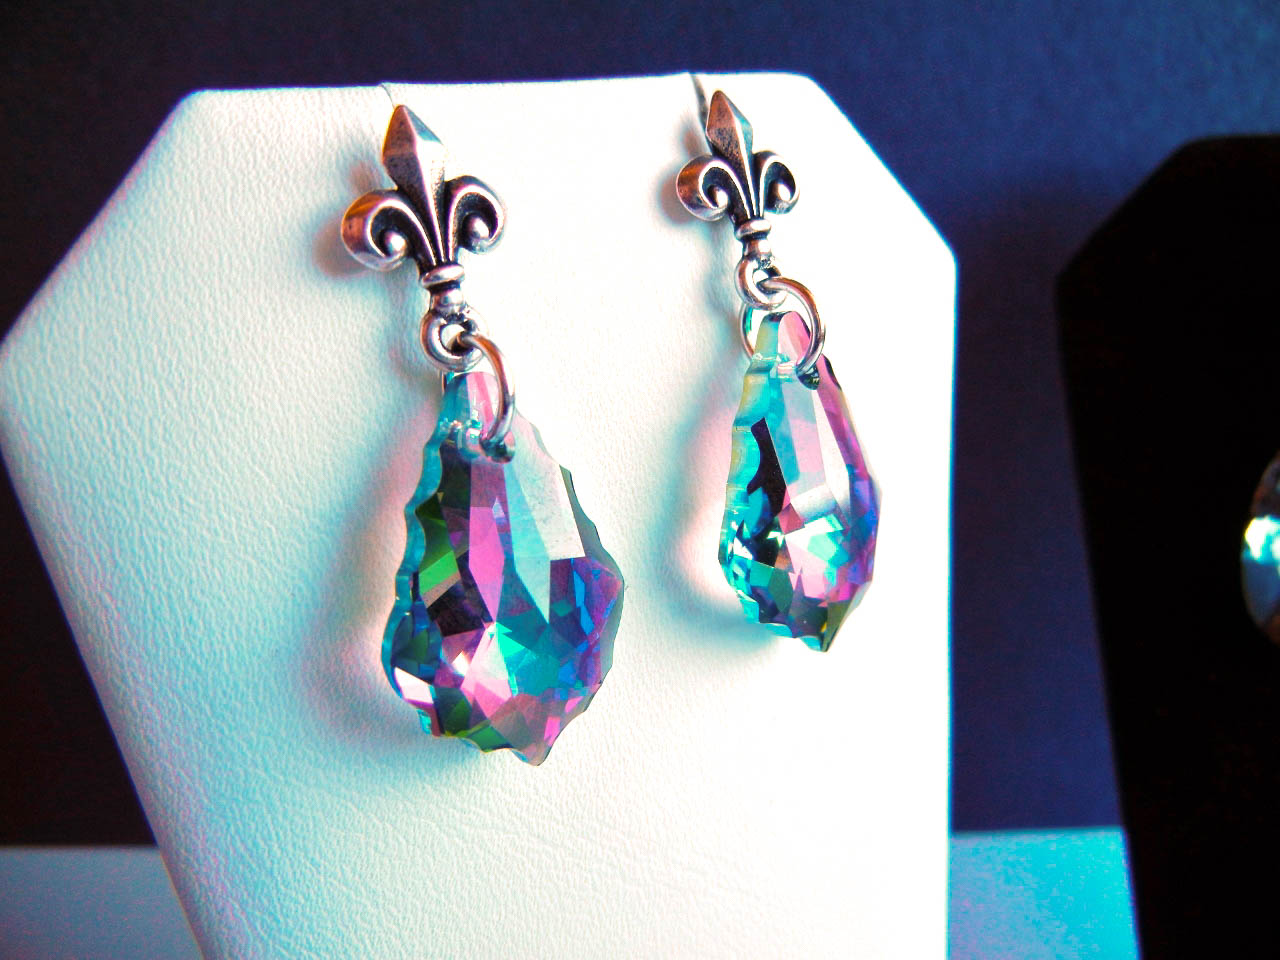
Sapphire rivoli earrings with TierraCast Fleur di Lis post.
I just love these necklaces so much! I especially love these rivoli bezels. They are super easy to use, inexpensive, and a beautiful way to frame the rivolis! Of course you can always make them into to simple matching earrings too! Just add your choice of earring wires! Total cost of the earrings, around $5! Total time to make them, about 2 minutes! Not bad! Well, I hope you can see the endless possibilities with rivoli crystals!
~Tiffany White