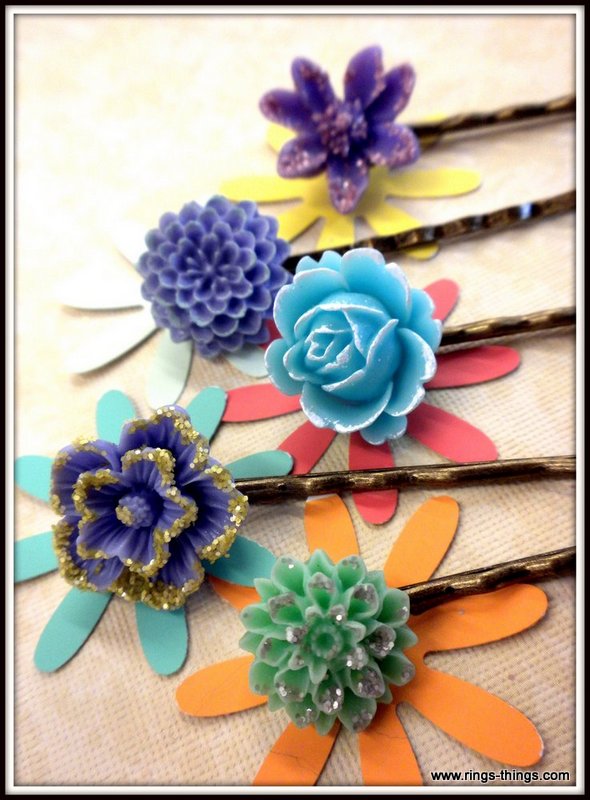
Cabochon flowers are a super easy way to add a splash of color to your life! With flat backs for easy gluing, they’re a cinch to add to any number of craft projects. This tutorial shows you how to embellish the flowers then add them to bobby pins to make sparkling DIY hair accessories. It’s a great project for kids, seniors, girly get-togethers and parties.
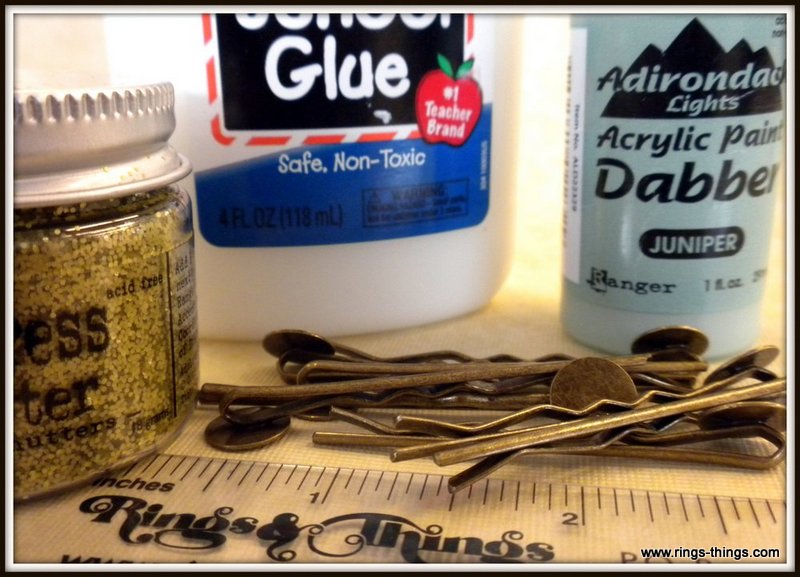
Only a few supplies are required:
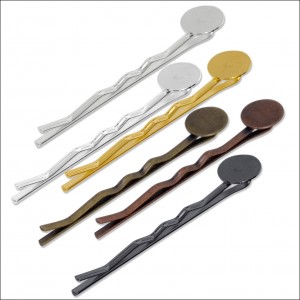
Flat Pad Bobby Pins
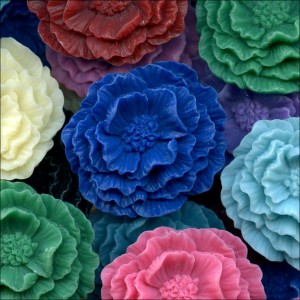
Flower Cabochons
Adhesive Dots
Paint Dabbers
Glitter!
White Glue Paint Brushes or Cotton Swabs for Glue
If desired, color the flower using paint dabbers. While the paint is still wet, dip the outer petals into glitter. If you’re not coloring your flower first, add a light layer of glue to the outer petals before dipping them in the glitter.

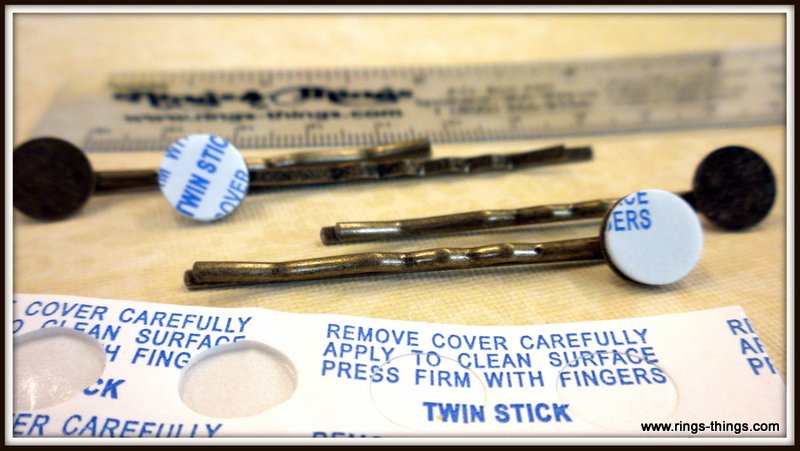
Apply the adhesive dot to the pad of the bobby pin.
Attached your embellished posie and you’re done!
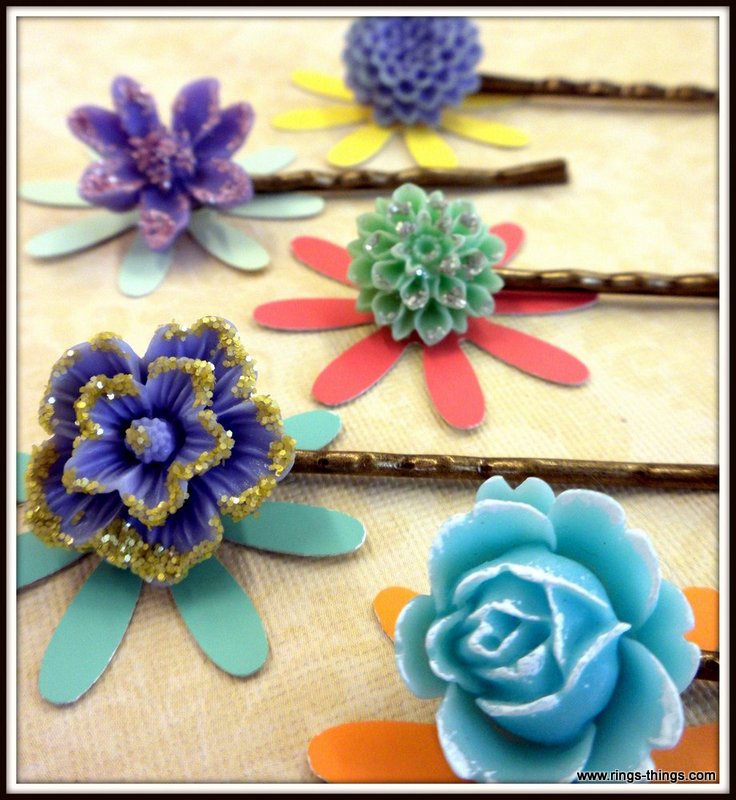
Have fun & sparkle on!
Did you know? …
You can buy the supplies to make this project now:
Click to Shop Resin Cabochon Flowers
Click to Shop Bobby Pins with Glue Pads

Click to Shop Adhesive Dots


, and clear acrylic sheet. Turn the handle to feed the layers through the BIGkick tool.")


.")