
I have been more and more drawn to Lariat style necklaces lately, and seeing lots of them pinned on pinterest. This inspired me to create several lariat necklace tutorials for the Rings & Things jewelry design gallery and to look to our other designer’s past contributions to this jewelry style.
What is a lariat necklace? It is an open-ended necklace with no clasp. It is fastened by threading one end of the necklace through the other. Lariat necklaces frequently have beads or tassels at the end, and are typically worn with the ends in front.
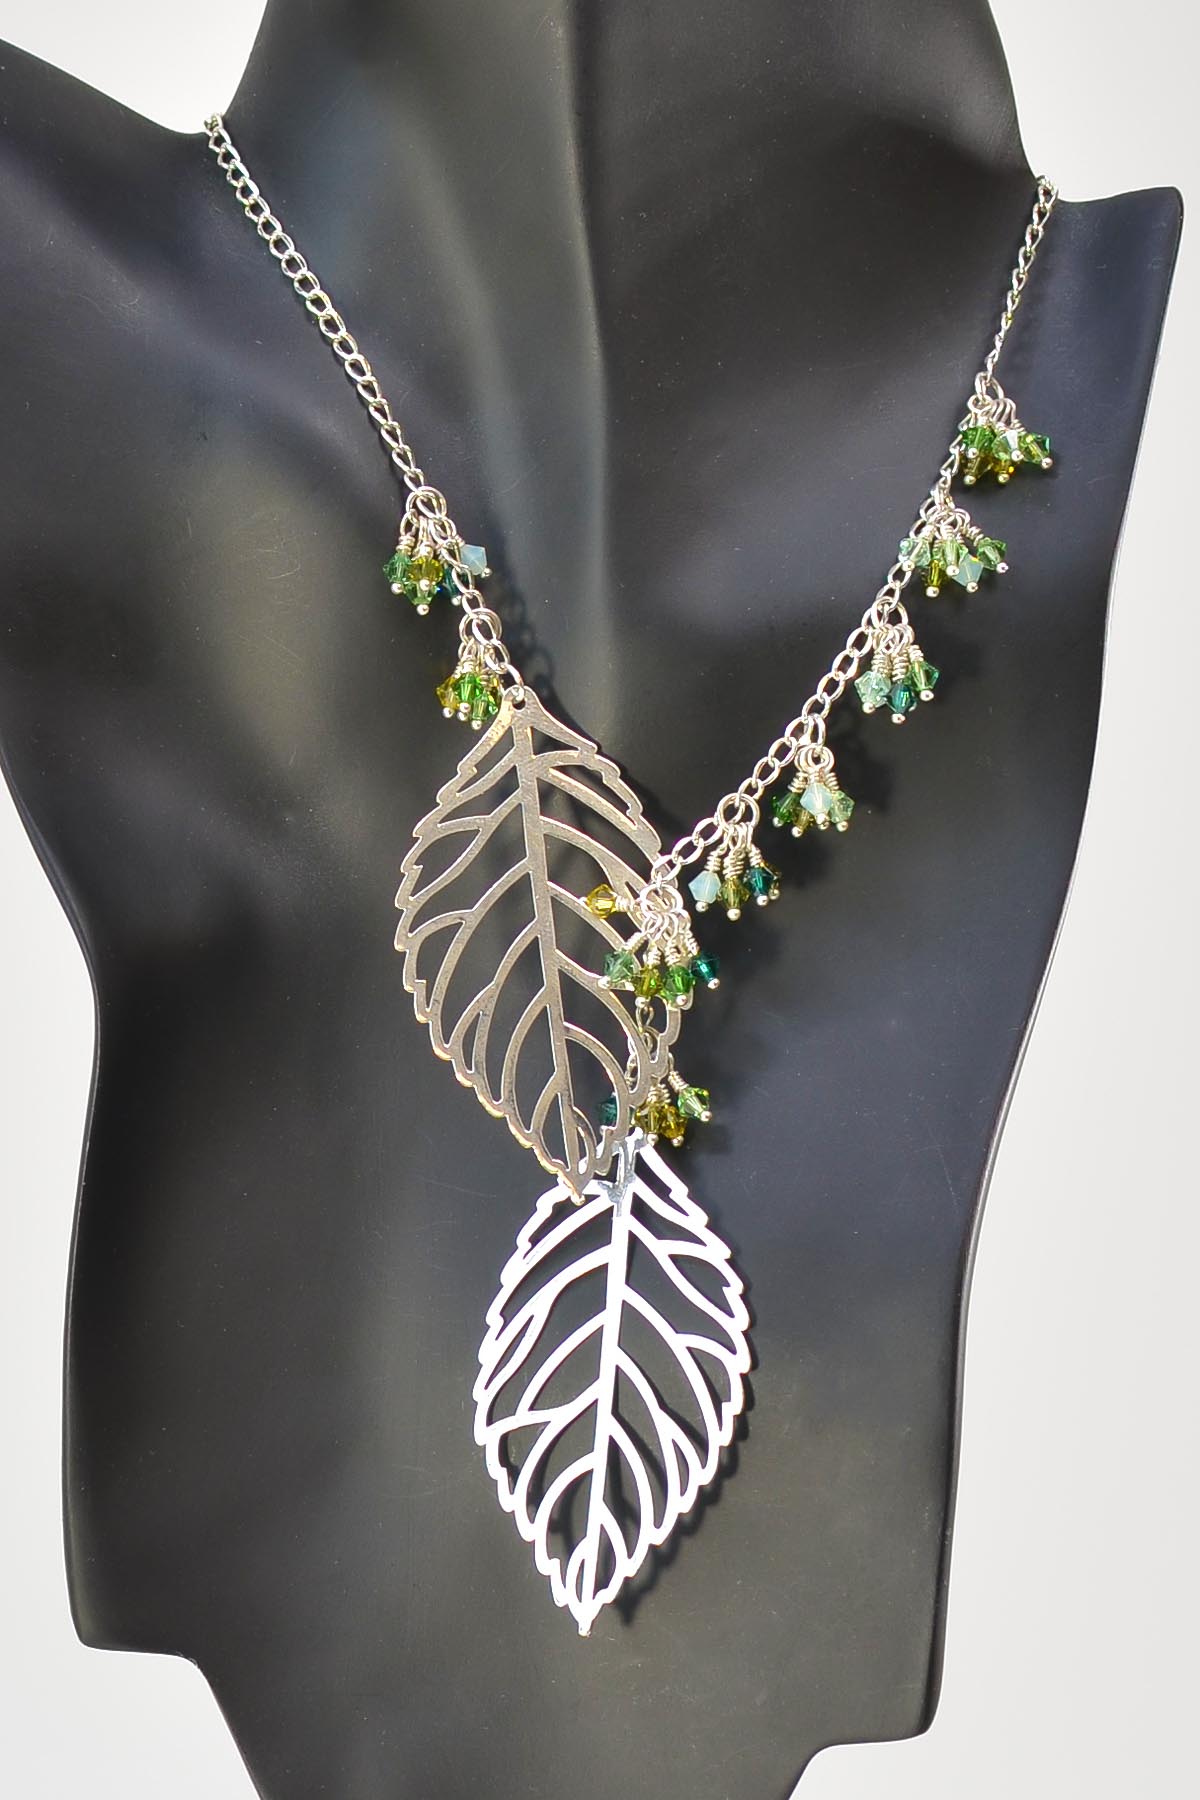
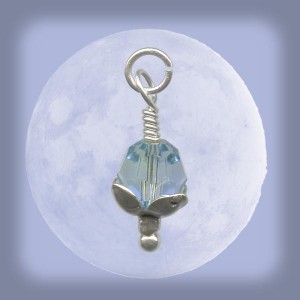
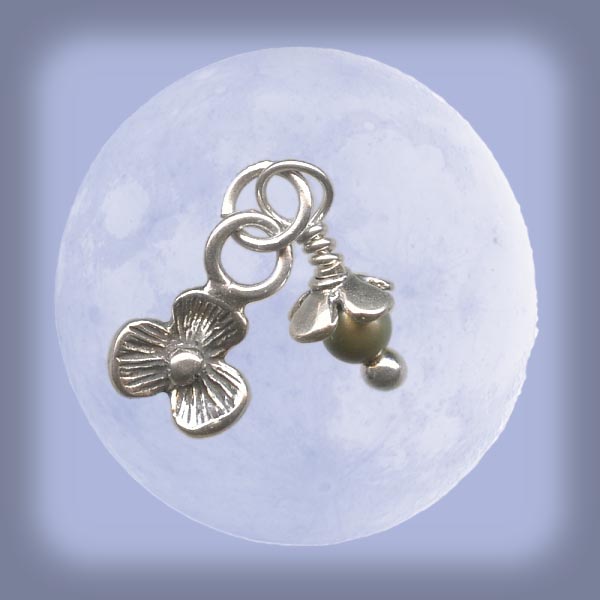
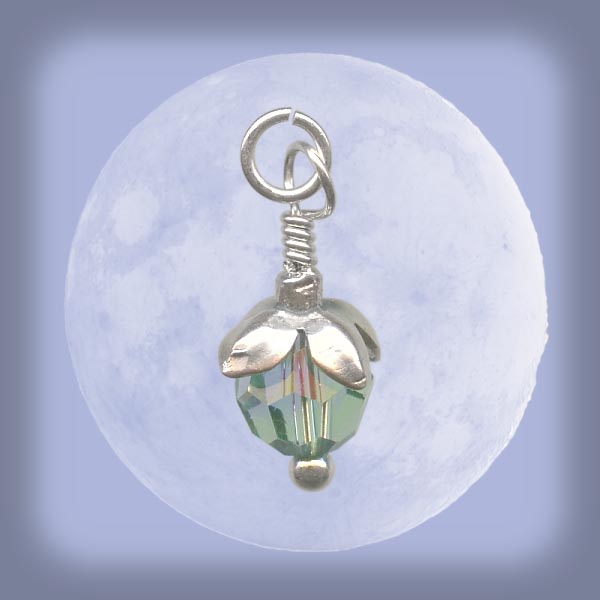
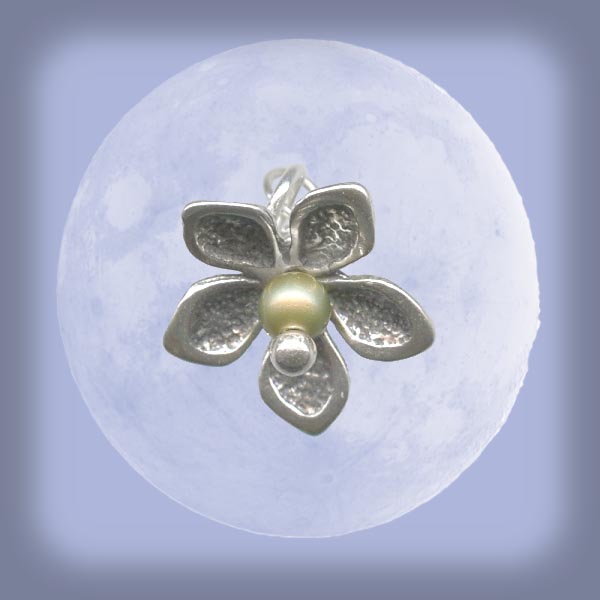
Foliage Lariat Necklace
The assymetrical Foliage necklace design is similar. Clusters of SWAROVSKI ELEMENTS xilion crystal bicones are spaced along the curb chain, and again the chain goes through one of the charms to lock the second charm in place, however, the spacing of the bead clusters limits the adjustment to the final length that can be done by the wearer.
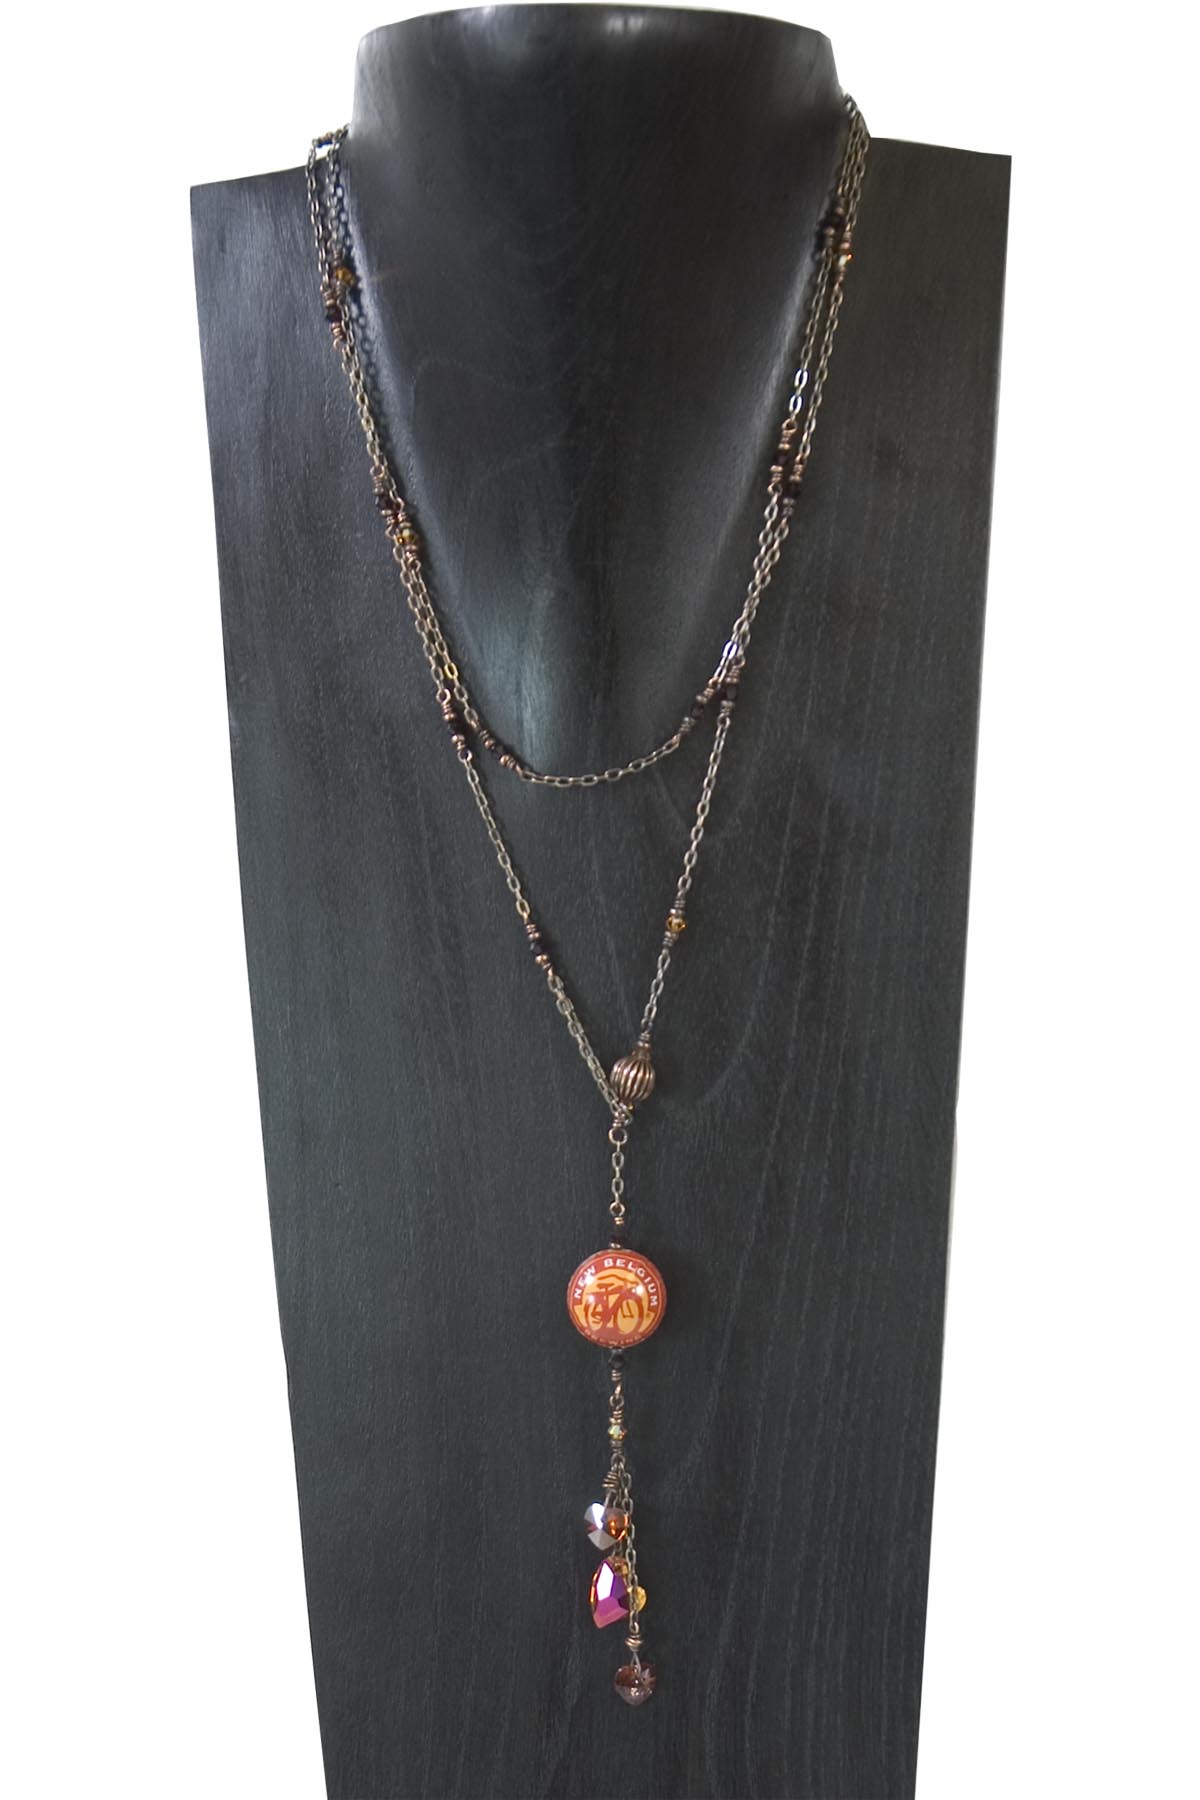
Tour de Belgium lariat
The Tour de Belgium long lariat design is designed to be worn doubled. A large fluted bead locks the charm dangles in place. Some adjustment to the final length can be made by varying the length of the doubled section of drawn flattened cable chain.
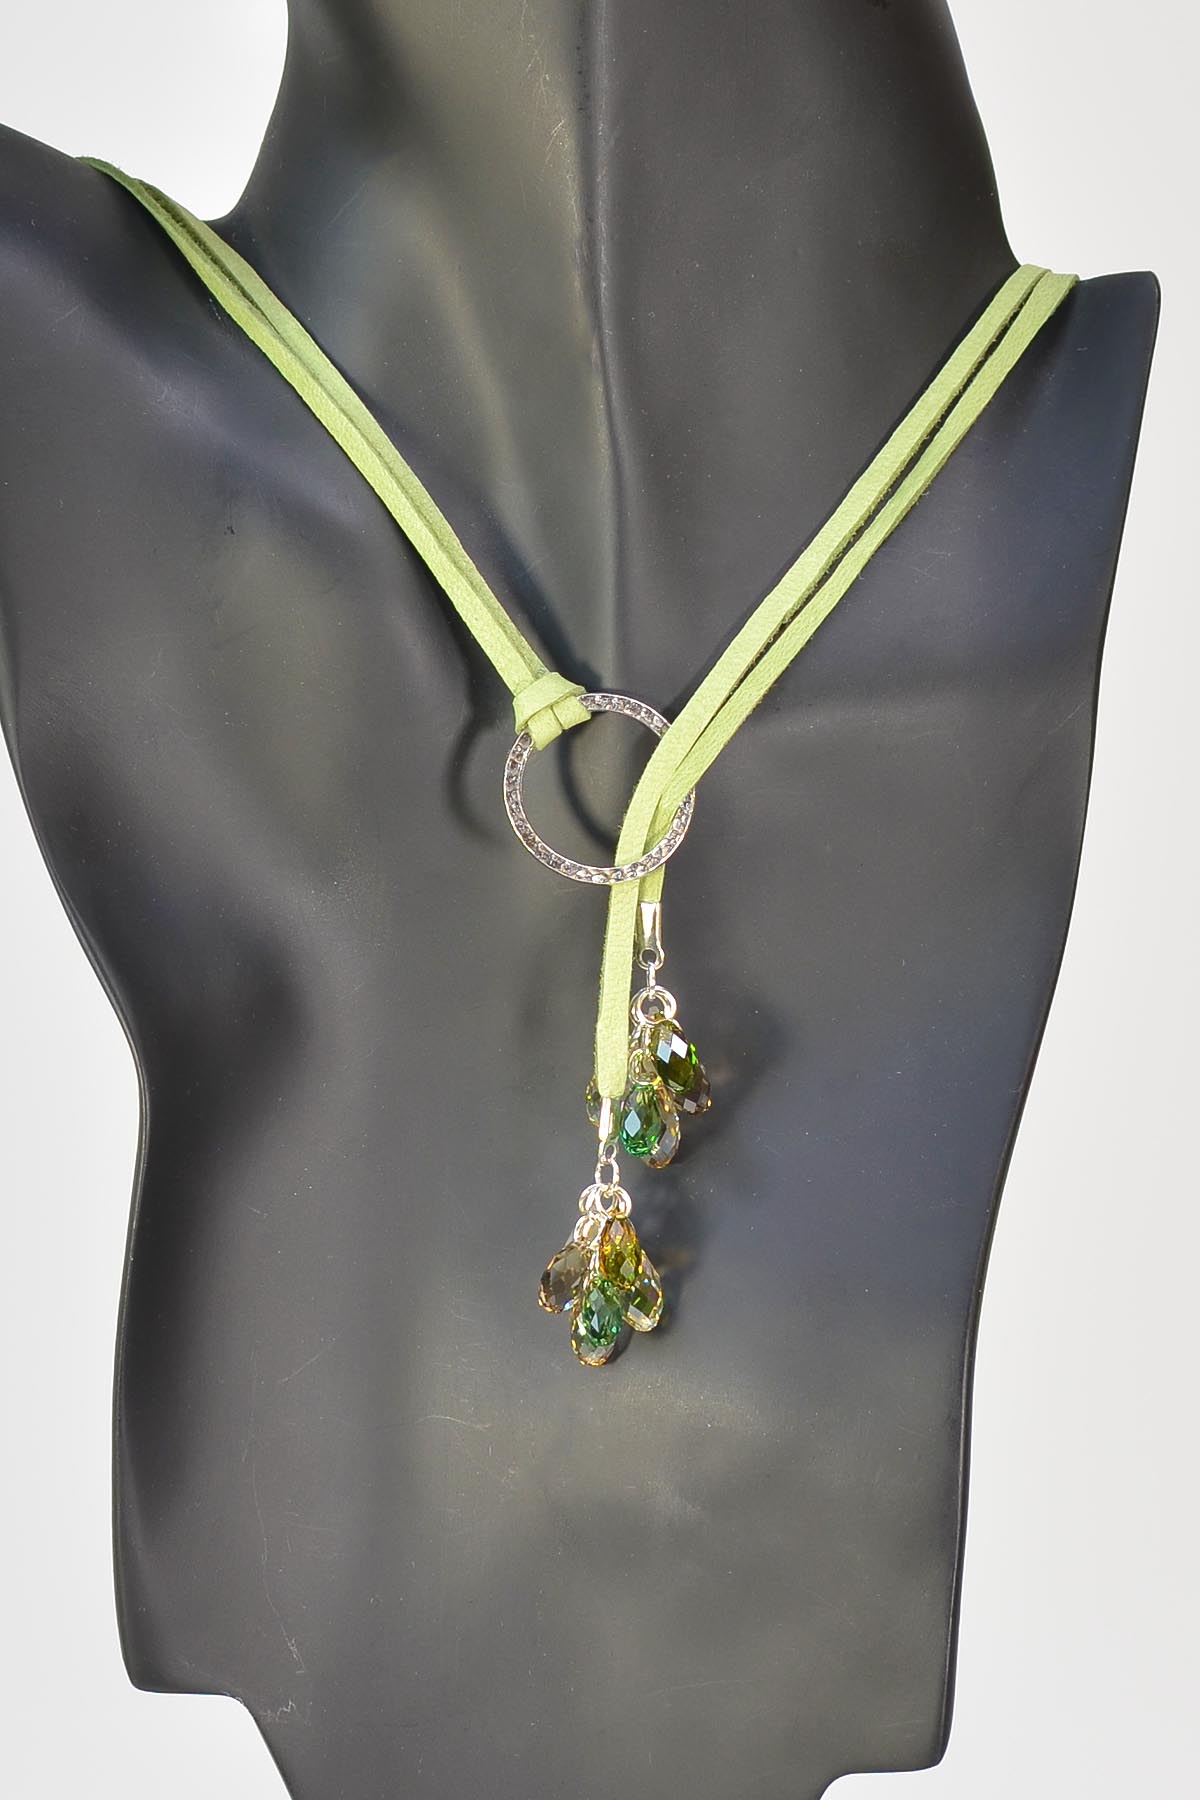
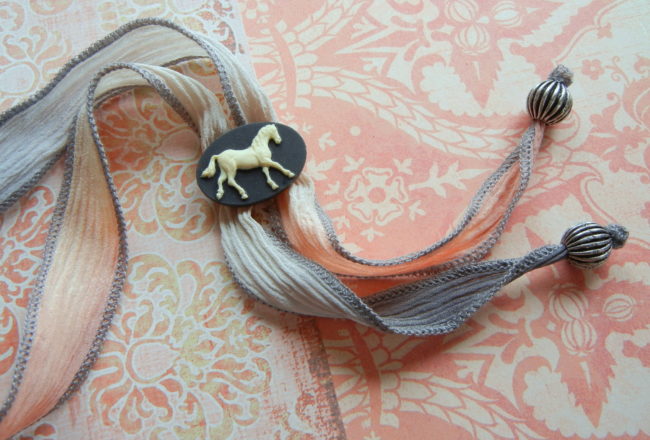
Giddy Up Suede Lariat
The Giddyup lariat is made on suede lace with SWAROVSKI ELEMENTS. The ring is tied just off center of the length of leather, and the crystal briolette dangles slip through the ring. The metal components of this true lariat style necklace are plated, to economize.
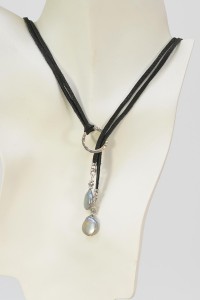
The Ladylike lariat design is also made with suede lace. This luxe necklace pairs sterling findings with freshwater pearls and sparkly glass. While the components are minimal, the design has impact.
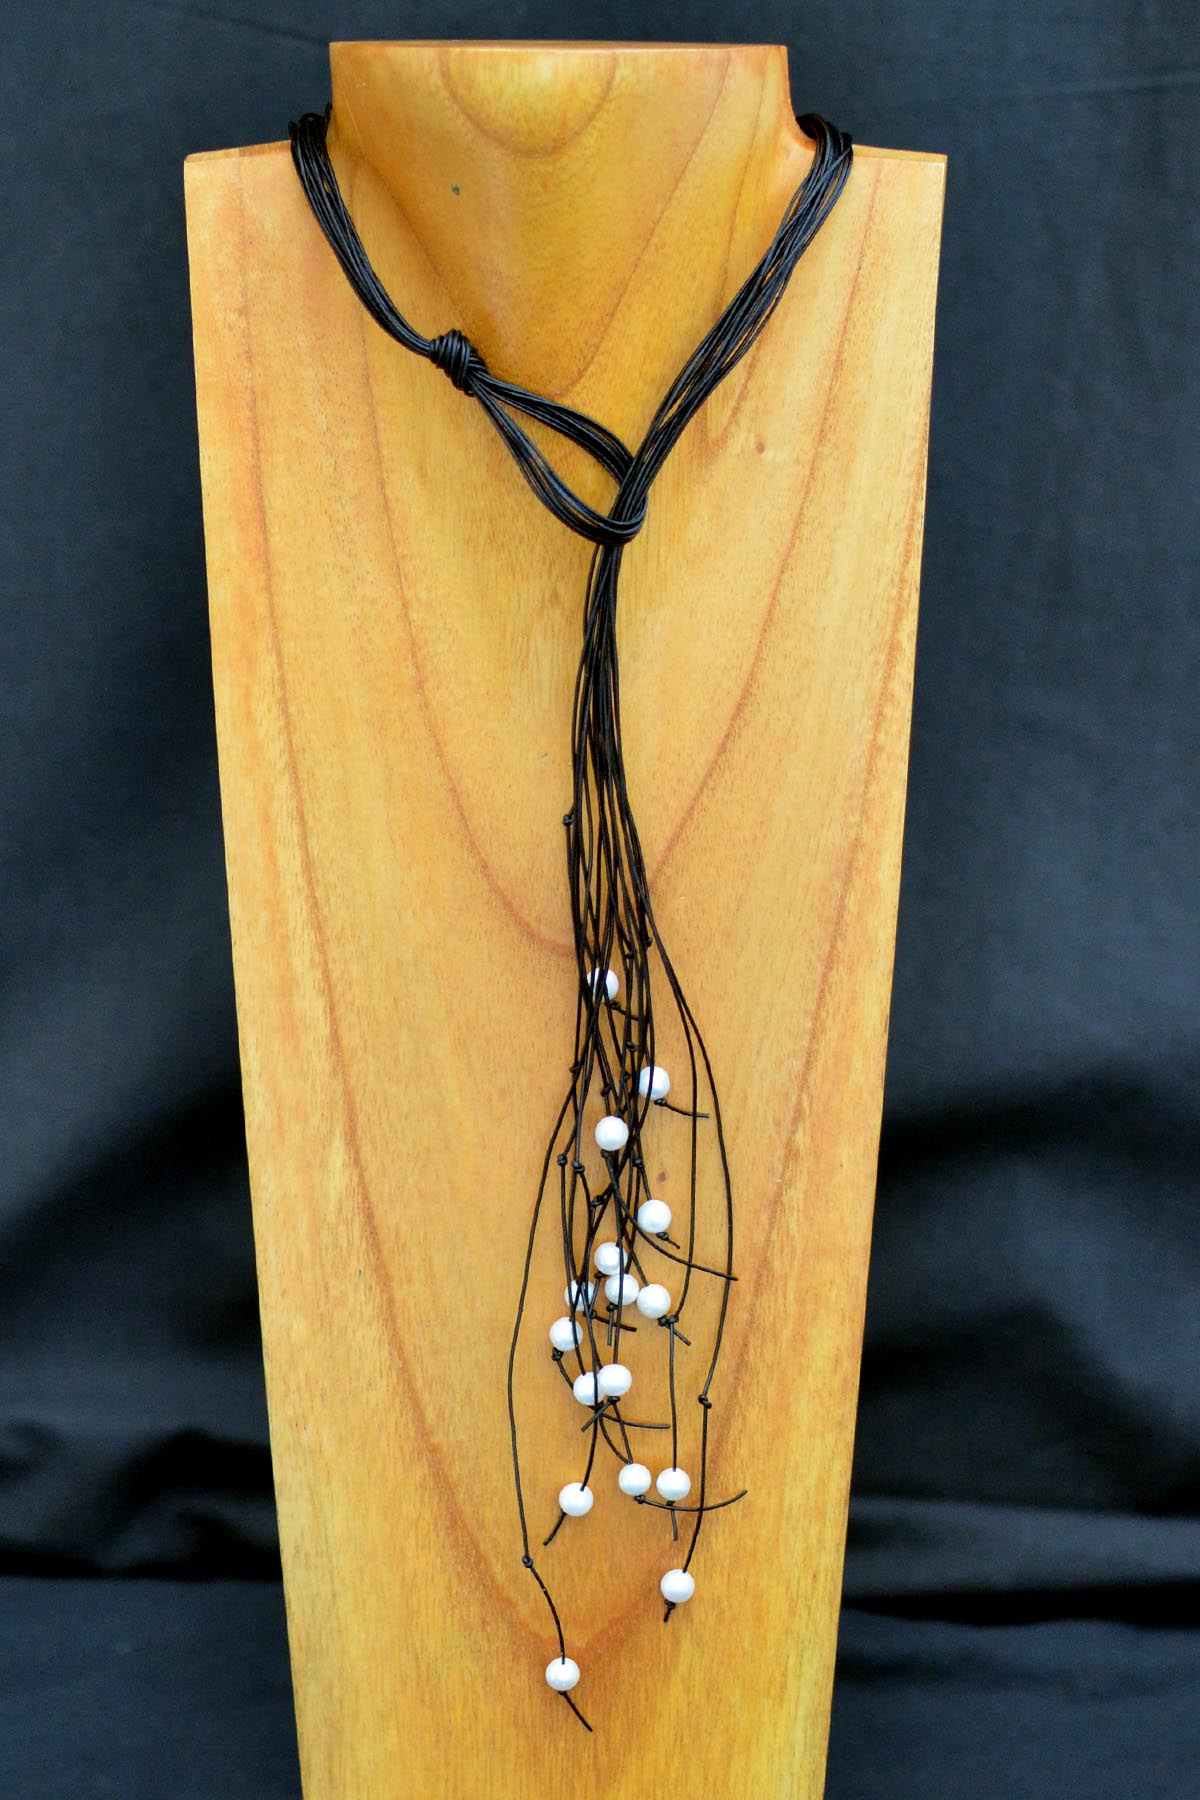
The Corralled Pearls necklace has no findings, and no metal. Thin leather cord, usually not strong enough for stringing, can transform into a bold design when many strands are gathered together. The use of a battery operated bead reamer allows the hole on these freshwater pearls to be made larger for stringing. Simple overhand knots create the loop (clasp) and also hold the pearls in place.
I hope you like this roundup of lariat designs. All of the components to make each of these designs are available right here at Rings & Things. Remember to check our design gallery for a variety of jewelry styles and jewelry design inspiration!
~ Rita


 to 1 part of hardener (part B).")


