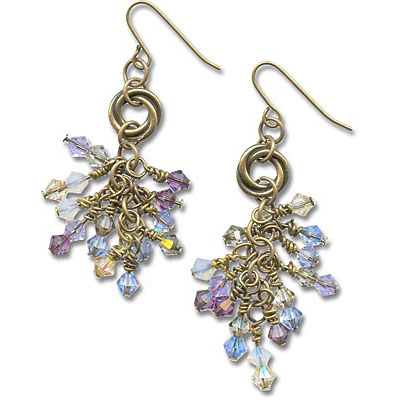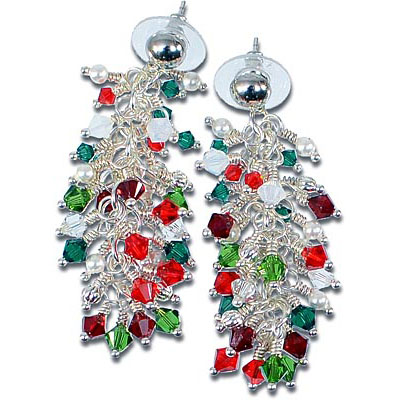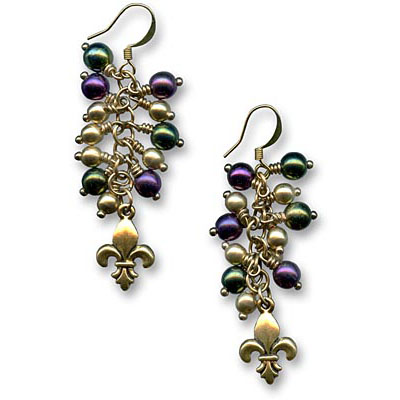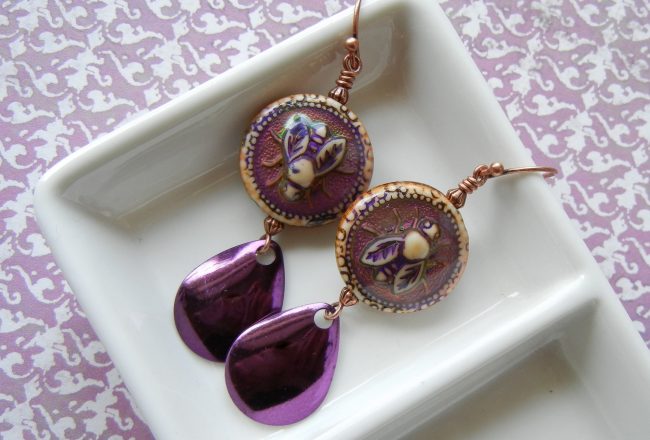
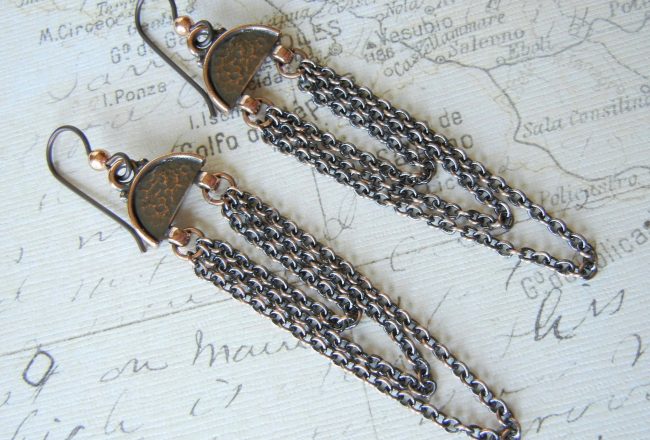

Earrings made using a Herringbone Wire-wrapping Technique
Wire-wrapping has become my newest jewelry making addiction! I am always browsing the internet and looking for new inspiration and techniques that I have yet to master. My latest accomplishment was learning how to create the oh so complicated looking herring bone wrap. I have admired this style of wire wrapping for years but was always too intimidated to attempt it. A couple of weeks ago, I decided it was time to learn it. And guess what? It was really pretty easy! Now I will pass my knowledge on to you, fellow bloggers and bead addicts, so you too can feel that sweet satisfaction that comes from creating something new and beautiful! (not to mention the compliments you are sure to receive by your coworkers!)
Continue Reading…