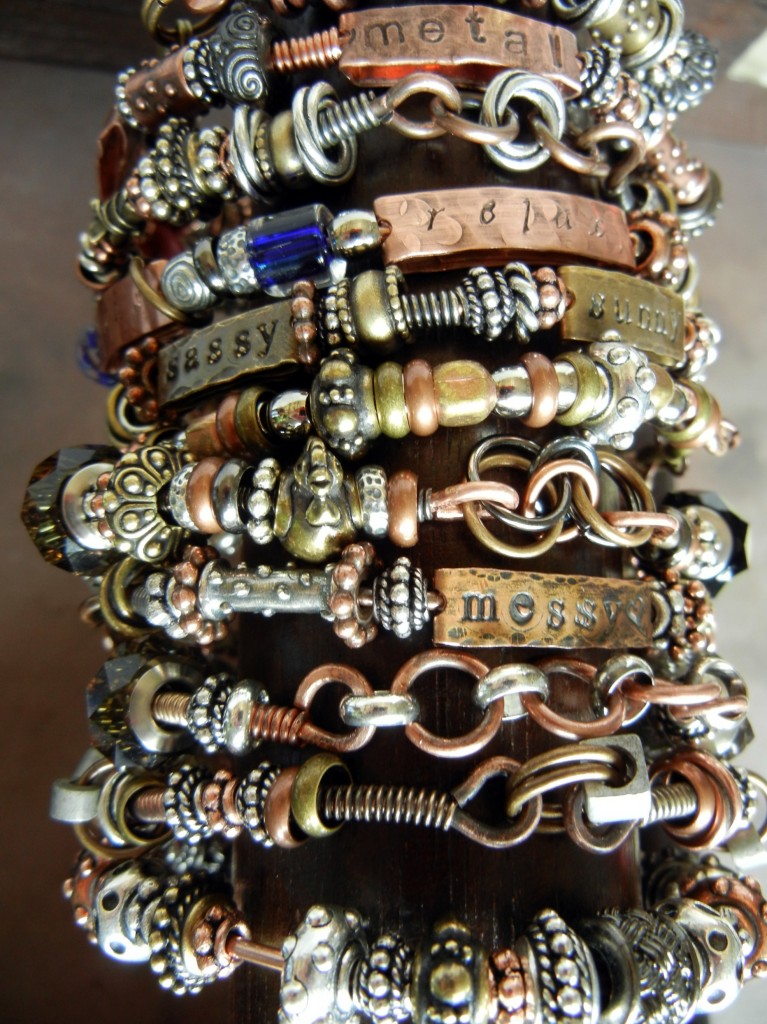
Copper and brass bracelet design challenge results

August 8, 2011

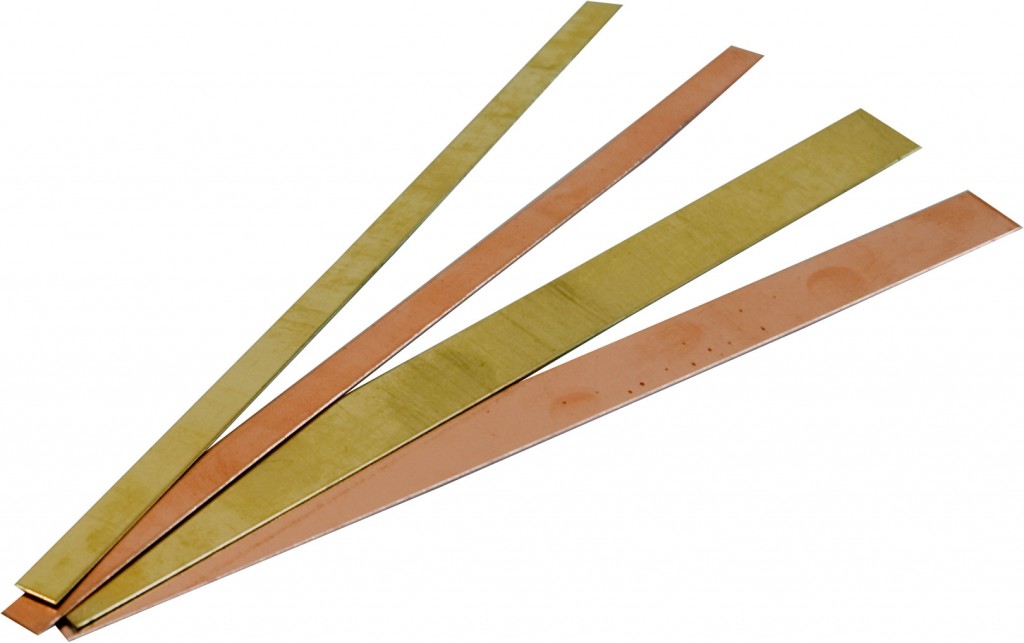
So simple, yet so fun! 6″ long, 1/4 and 1/2″ wide strips to make all kinds of jewelry with.

In July, we sent ten of our blog partners sample packs of our new 24-gauge metal bracelet strips. With summer in full swing, it isn’t surprising that not everyone completed projects (at least not yet) … but the WOW, those who did really brought their A-game!

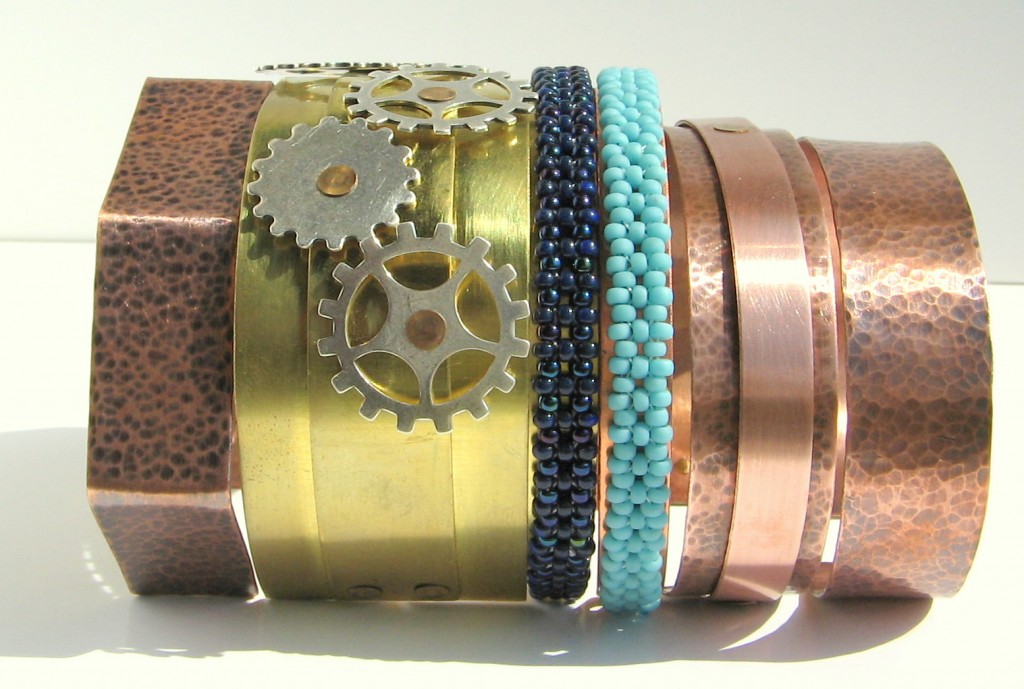
Textured, layered and beaded cuff bracelets by Helena.

Helena Fritz hammered, riveted and even bead-weaved her way to an armful of gorgeous bangle bracelets – her lovely blog has more photos. Helena specializes in beadwork, which makes her first attempt at metalwork even more impressive.

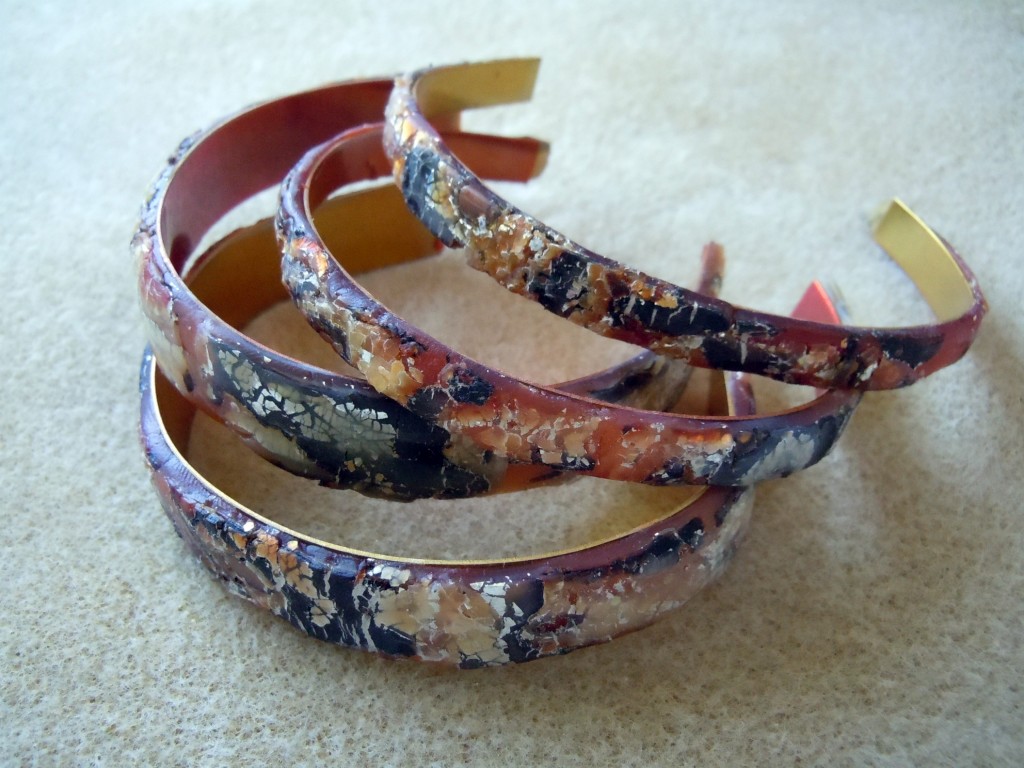
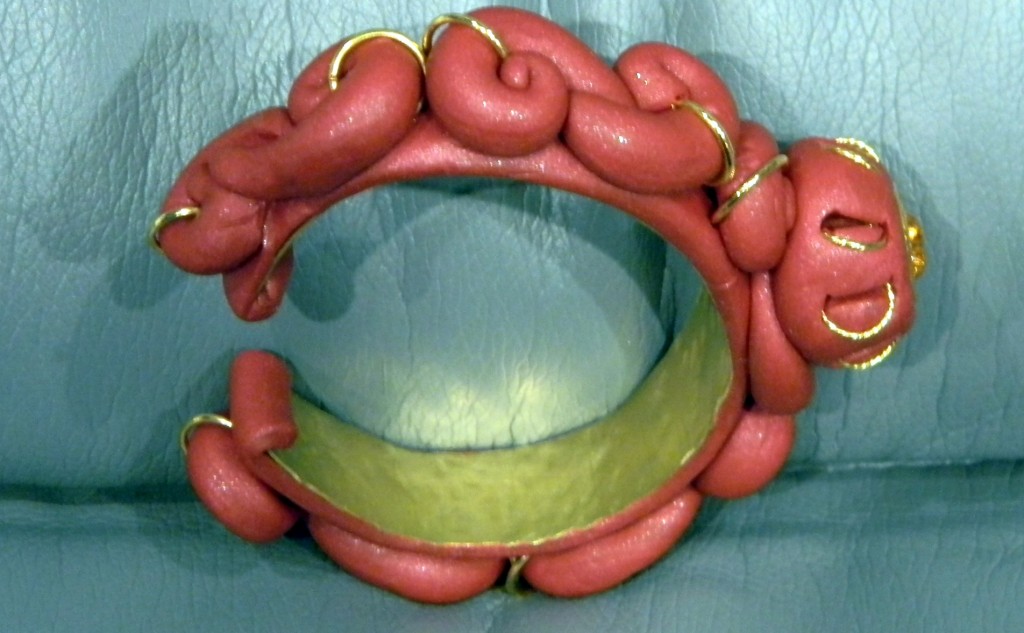
Carole shows her polymer prowess.

Carole Carlson stepped out of her comfort zone and into the world of polymer clay with these fun bracelets. She found that the copper was easier to work with than the brass, which makes sense since it is a softer metal. Check out her blog for more info.

Just one of the bright and bold bracelets Carolyn created.

Carolyn Fiene also used polymer clay, but she preferred the brass as a base. Even though it is harder to form, she felt is held its shape better. Link to her blog showing other designs that combine chain and bezel cups with polymer coming soon.

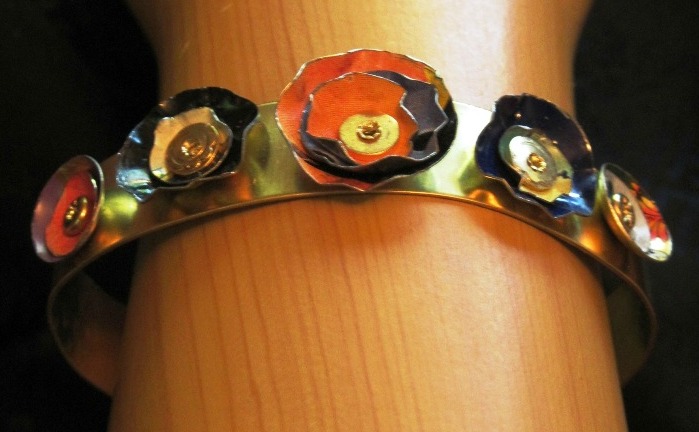
Layers of “ruffled” metal dress up Jan’s brass cuff.

Jan O’Banion made several great designs by layering different elements onto the bracelets. She used recycled tins to make flowers on the “Trashy Tinsel” bracelet above. Visit her blog to get a peek inside her creative world.

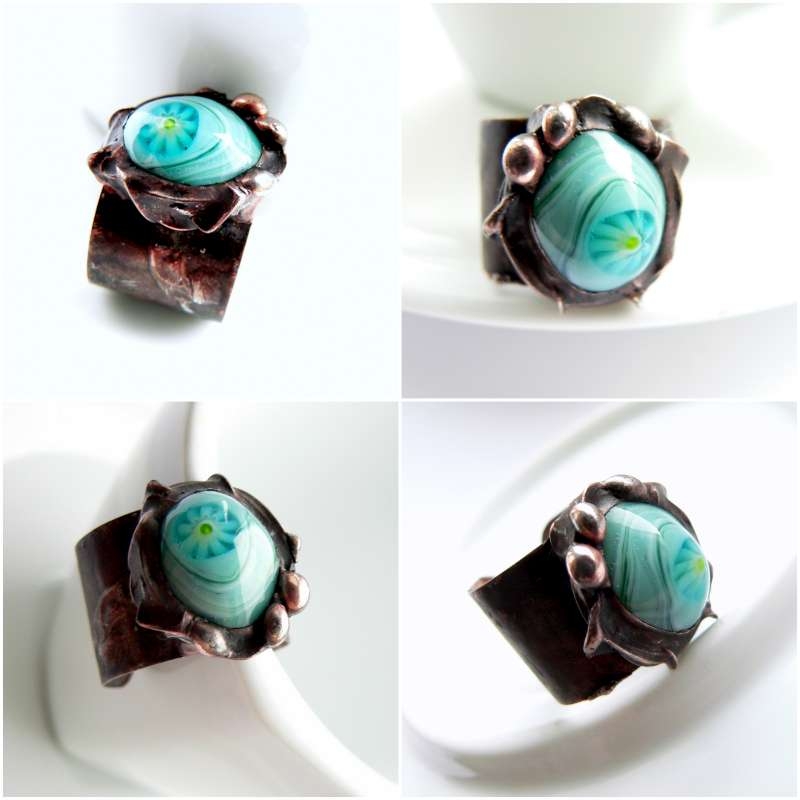
1/2″ wide copper forms the base of this lampwork glass ring by Lubica.

Lubica Vinicenko used the strips as the base of some truly elaborate rings. You can see more pictures at her blog.

As you can see, these metal “bracelet” strips are extremely versatile and fun to experiment with. Am I the only one surprised to see polymer clay and seed beads combined with sheet metal?
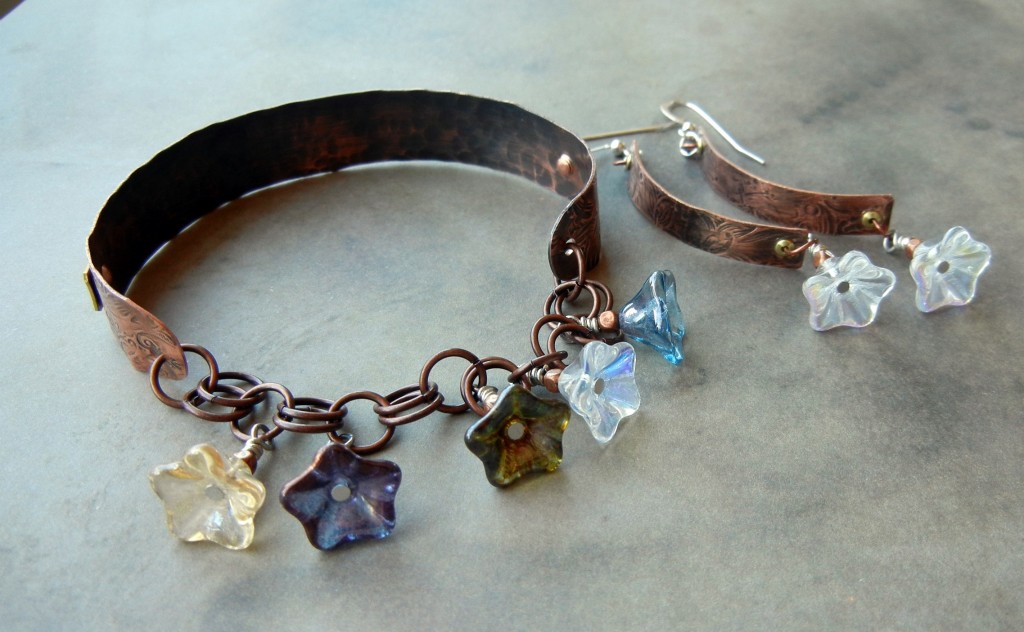
The back of my layered stamped bracelet. I curved short strips with my wood dapping set to make the matching earrings.

I’ve been having a blast stamping and texturing them. You can see the front of – and how I made – the “Earth Laughs in Flowers” bracelet in our design gallery. Texturing metal with
brass texture sheets is great stress relief, I must say!

Although July is already behind us, we’re always happy to see and share what you create. Be sure to send us some photos of what you make with these metal strips! ~ Cindy

PS – Molly Alexander posted her etching and mixed metal results to a photostream on Flickr – be sure to check them out!

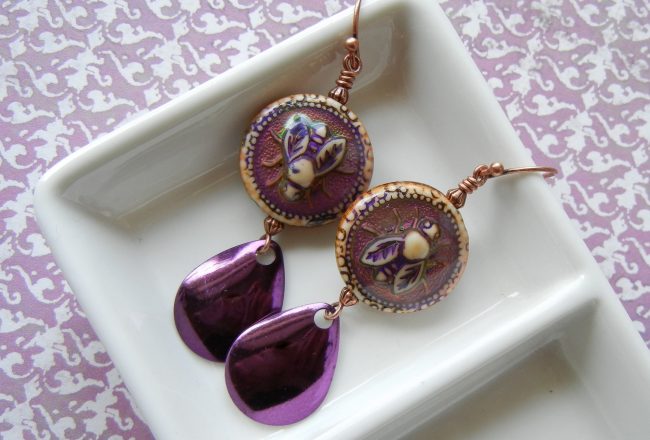
Resin + scrapbook paper = fun

August 2, 2011

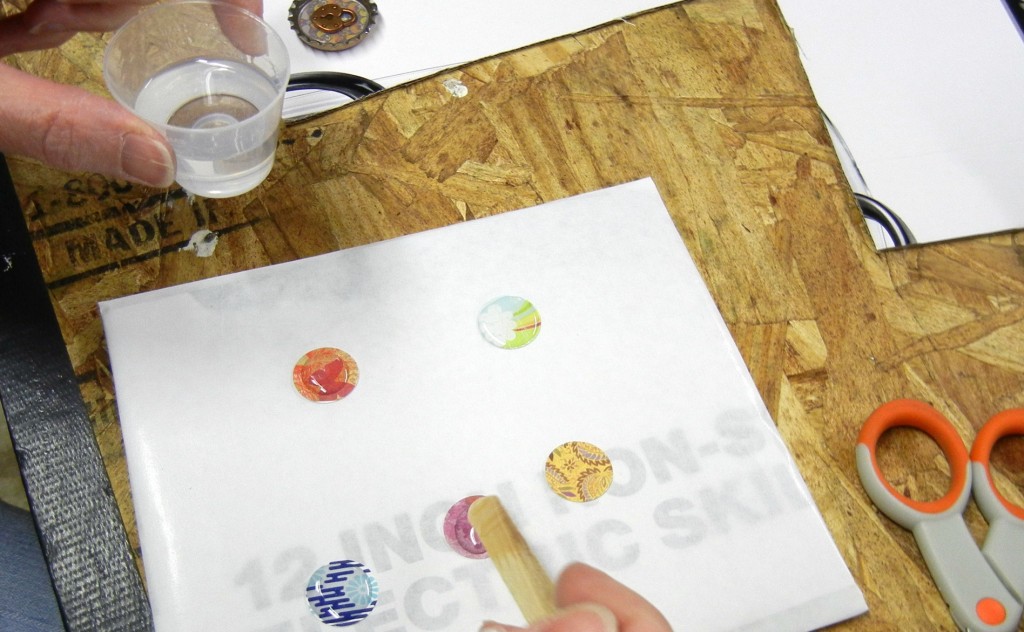
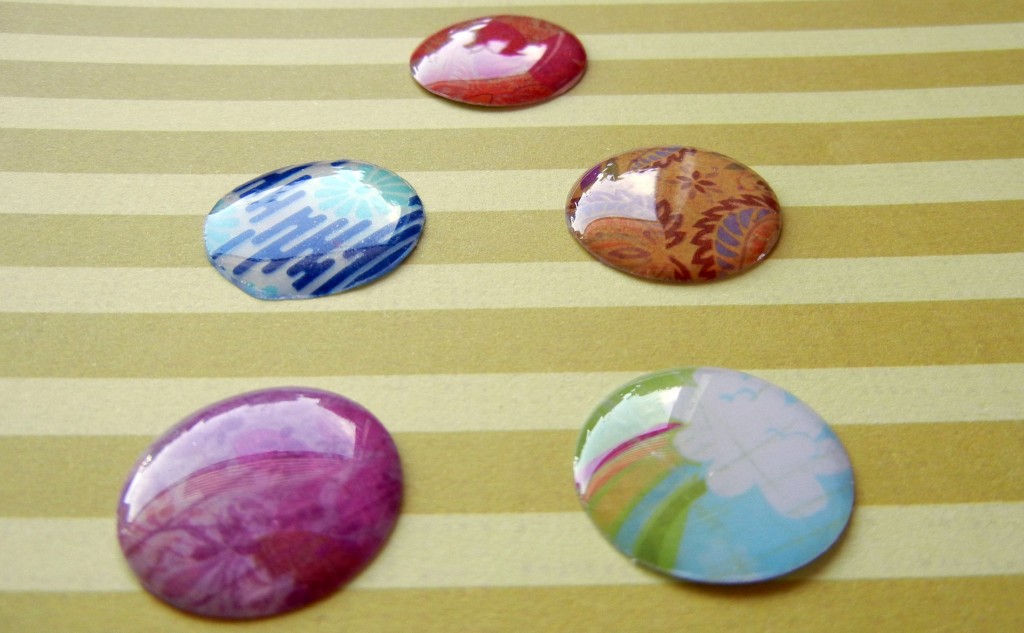
So, if you’ve been reading this blog you know we are very excited about SuperClear Resin for jewelry. As is usually the case, we had a bit leftover after filling some bezels, so we tried applying some to scrapbooking paper just to see what would happen. The results were great! With most epoxy resins, it is recommended that you coat your paper or images with Mod Podge, white glue or other sealer to prevent the resin from bleeding into the paper. However, we found that SuperClear resin worked just fine on uncoated paper. (We still recommend testing yours first! Each type of paper acts a little differently.)
SuperClear resin, when applied sparingly, has enough surface tension to stay domed on the paper.

In the picture above, Mollie is using a wooden craft stick to stir and dab the resin. It works ok. However, it is possible for the moisture content of the wood to have an adverse affect on the resin. We’ve now switched to these
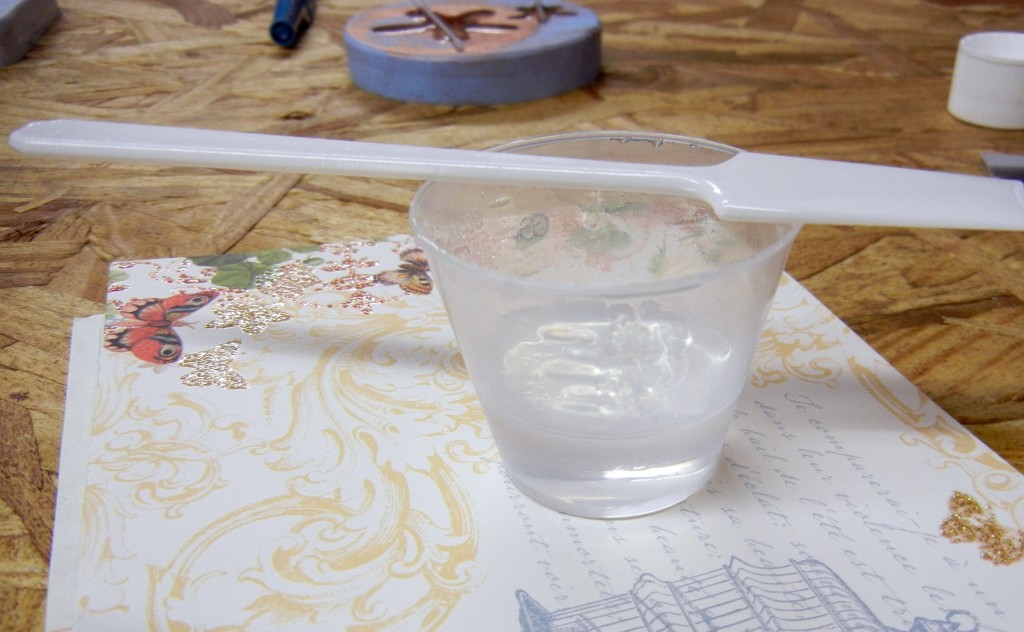
plastic paddles/spatulas, as recommended by Resin Obsession.

The dots were super shiny when they dried – and the colors didn’t bleed!

How do you turn resin-covered paper dots into wearable jewelry? Fortunately Mollie is a clever girl. Here are a couple of the options she came up with:

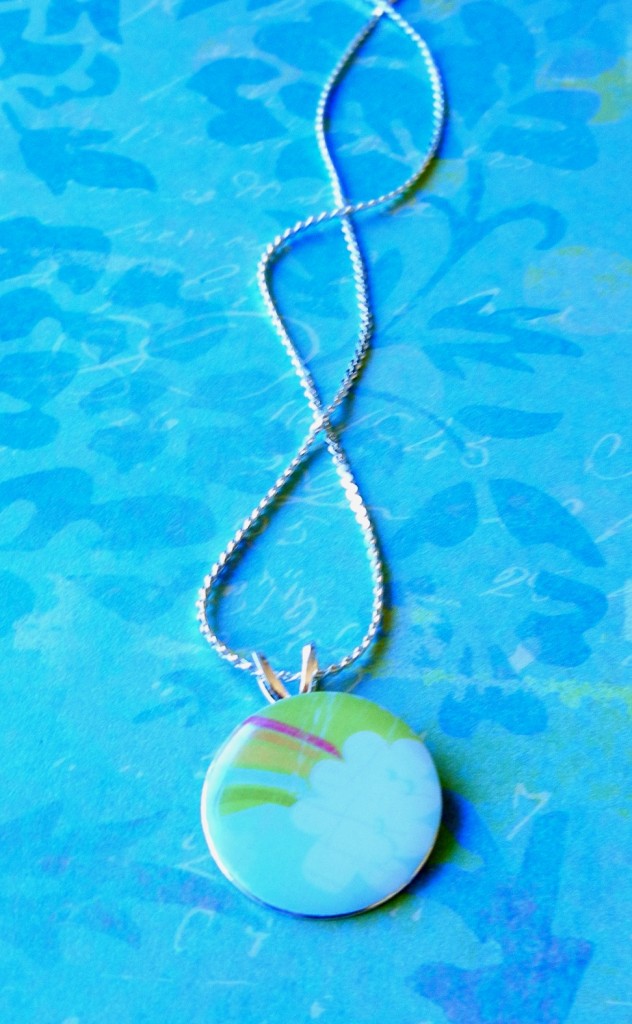
The dot fit perfectly on a round pendant finding with bail.

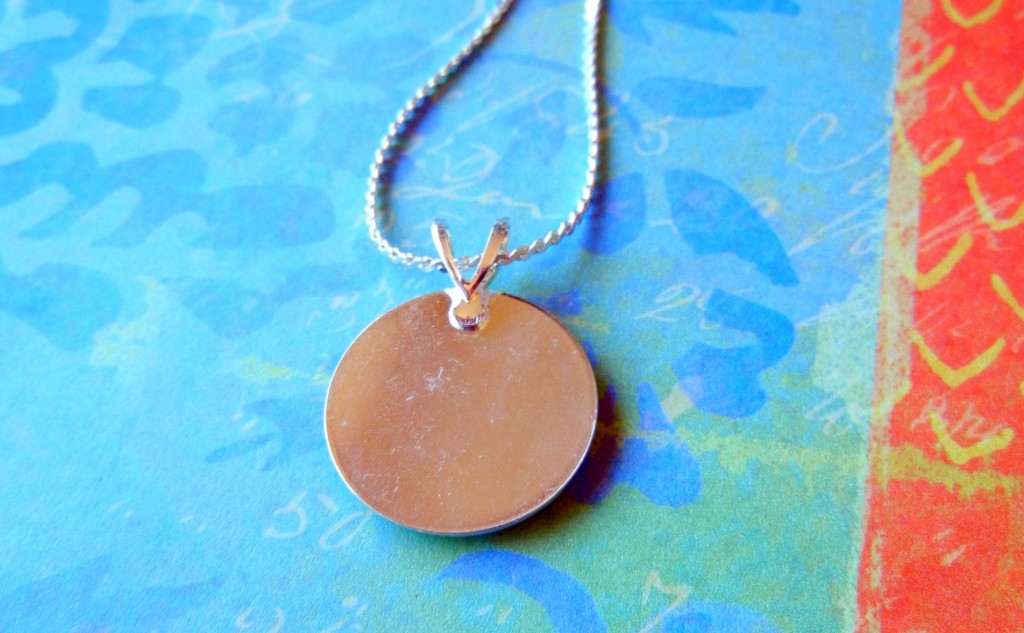
I especially like that the back of the piece is entirely covered with metal – it feels much more finished that way.

Since these gluable pendant findings already have bails attached, you can just slide them onto chains or ribbons and have complete necklaces for under $2 each!

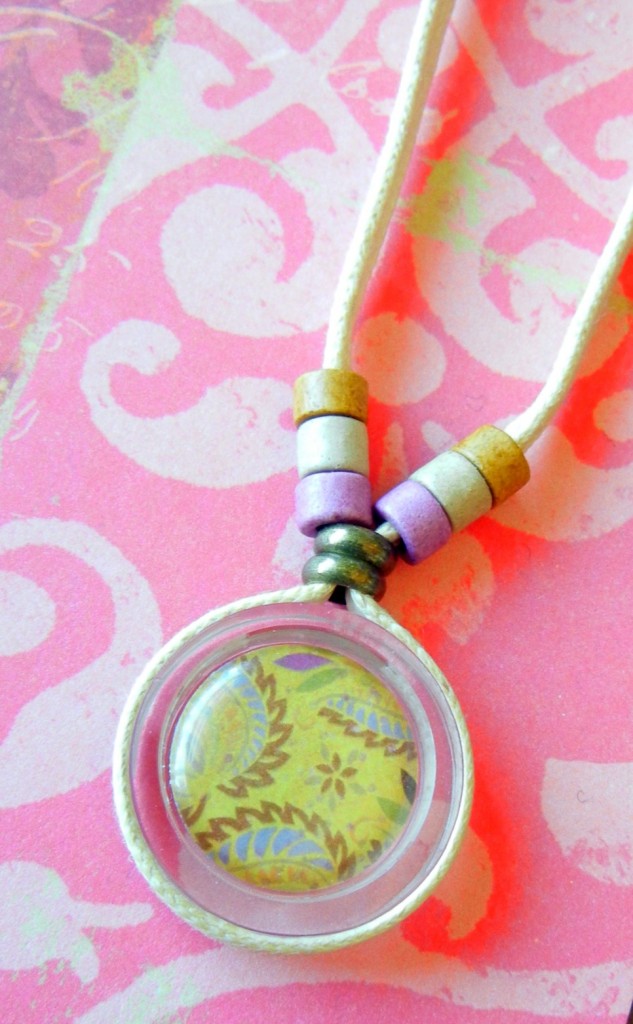
The resin dots also fit perfectly inside glass bezels.

Glass bezels are another unique option. If you plan ahead, you can make the pendant reversible! Since the bezels don’t have holes, Mollie wrapped hers with flat cotton cord and glued it in place.

Have you come up with interesting ways to combine resin with paper? We’d love to hear about it! ~Cindy

The easiest braided leather cuff bracelet ever

July 26, 2011

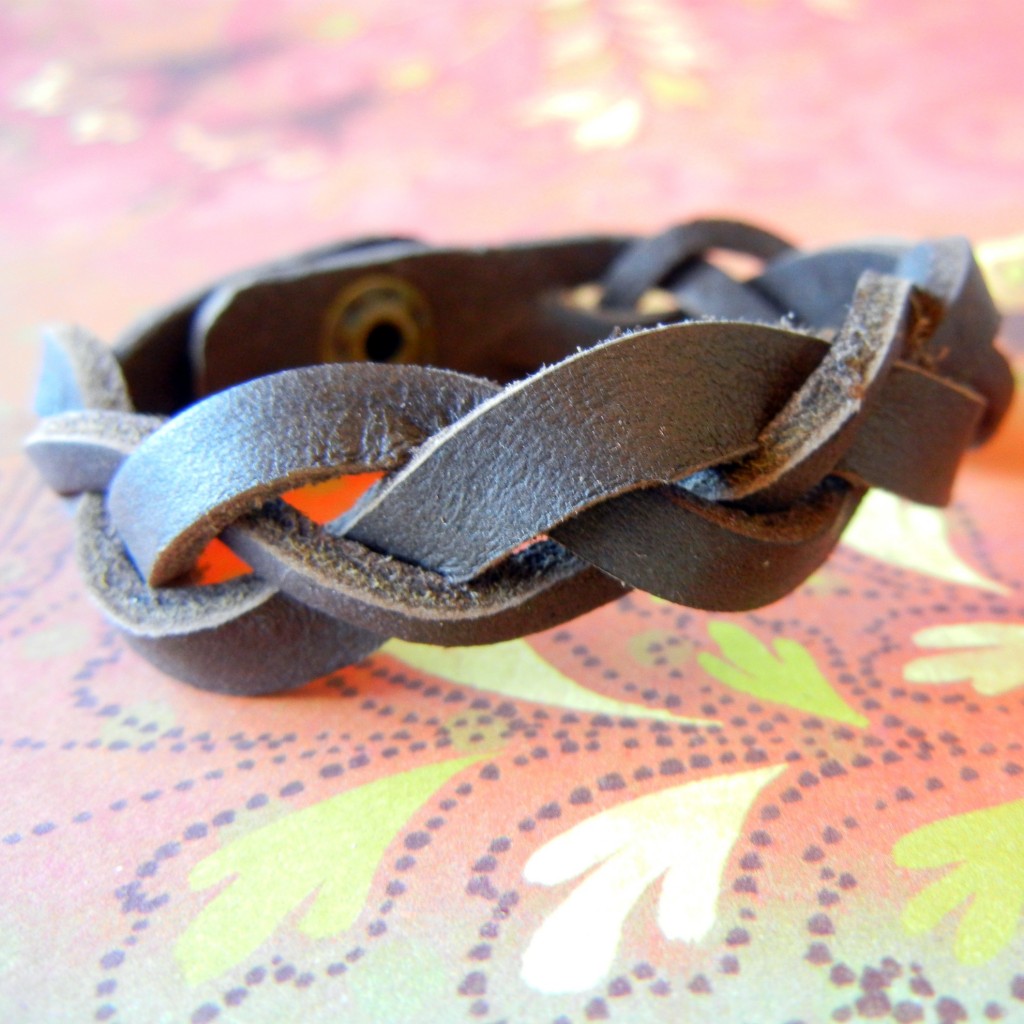
The magic braided cuff bracelet.

Hi bloglandia! I came across this great Magic Braided Leather tutorial today and immediately had to try it with our pre-made leather cuff bracelets. In less than 5 minutes I had a finished braided bracelet! Here’s how you can make your own:

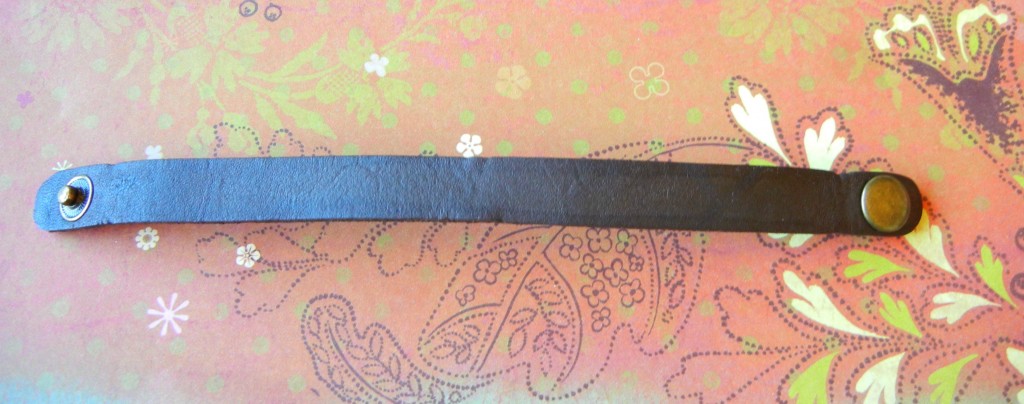
Plain bracelet: the “before” shot.

Supplies:

  1. Leather cuff bracelet (mine is 0.5″ wide, dark brown)
  2. Sharp hobby knife

How to:

  1. Cut two slits in the bracelet blank, so that there are three strips or “strands.” (My strands are woefully uneven…I thought holding a ruler down next to the blade would help me cut a straight line, but the opposite occurred. I had much better luck just free handing.)
  2. Braid the three strands together. The bottom will get all twisted and tangly. Just ignore that until you’ve braided halfway.
  3. Then, holding your braid securely, untangle the bottom section by feeding the bottom bracelet end up through the tangle: “reverse braiding” if you will. It only takes 2 or three “reverse” maneuvers to make the bracelet straighten out.
  4. Then…just continue braiding. Untwist the bottom as needed and like magic the whole piece is one continuous braid!

Ta da! The “magic” braid.

As it gets worn, the leather braid will flatten out and get smoother, but I’m pretty happy with it as it is! ~ Cindy

SuperClear Resin for jewelry is super exciting!

July 22, 2011

Links updated 8/2017

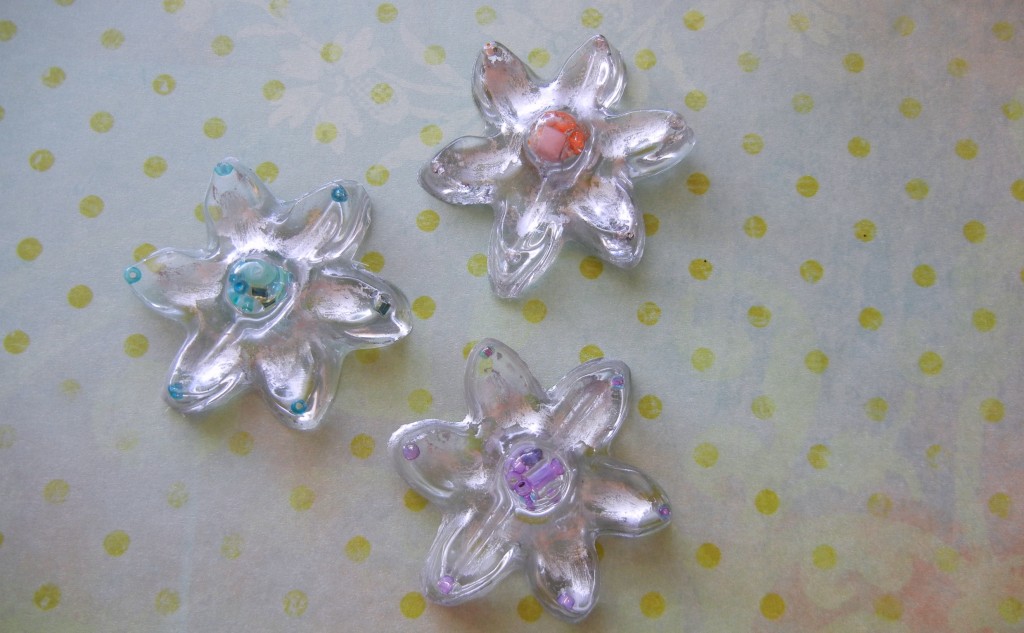
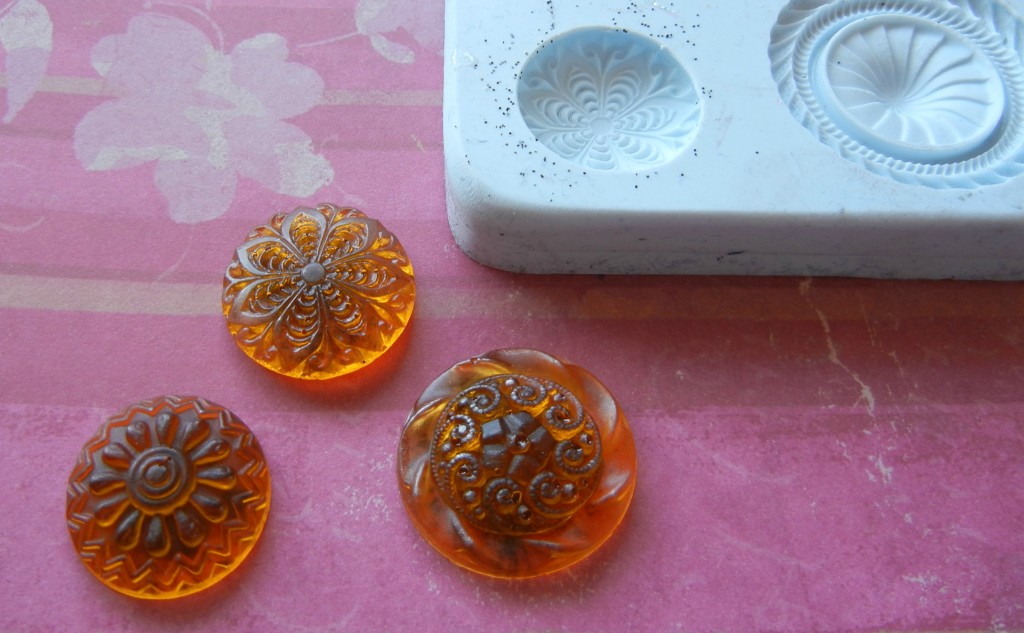
SuperClear Resin, molded with shiny Alumilite powder and seed bead mixes. I think I’ll turn these into bobby pins.

I have a love/hate relationship with epoxy resin. I love it when it works, and hate, hate, HATE it when it doesn’t. Through trial and more errors than I like to remember, I get good results almost always with EasyCast Resin. However, it isn’t exactly easy – the epoxy must be the right temperature. Air bubbles form and must be dealt with…then a few hours later more air bubbles might form. I’ve heard tragic stories of resin staying tacky forever rather than hardening like it should. All in all, working with resin is kind of stressful – especially if you’ve gone through a lot of expense or effort to craft special resin bezels.

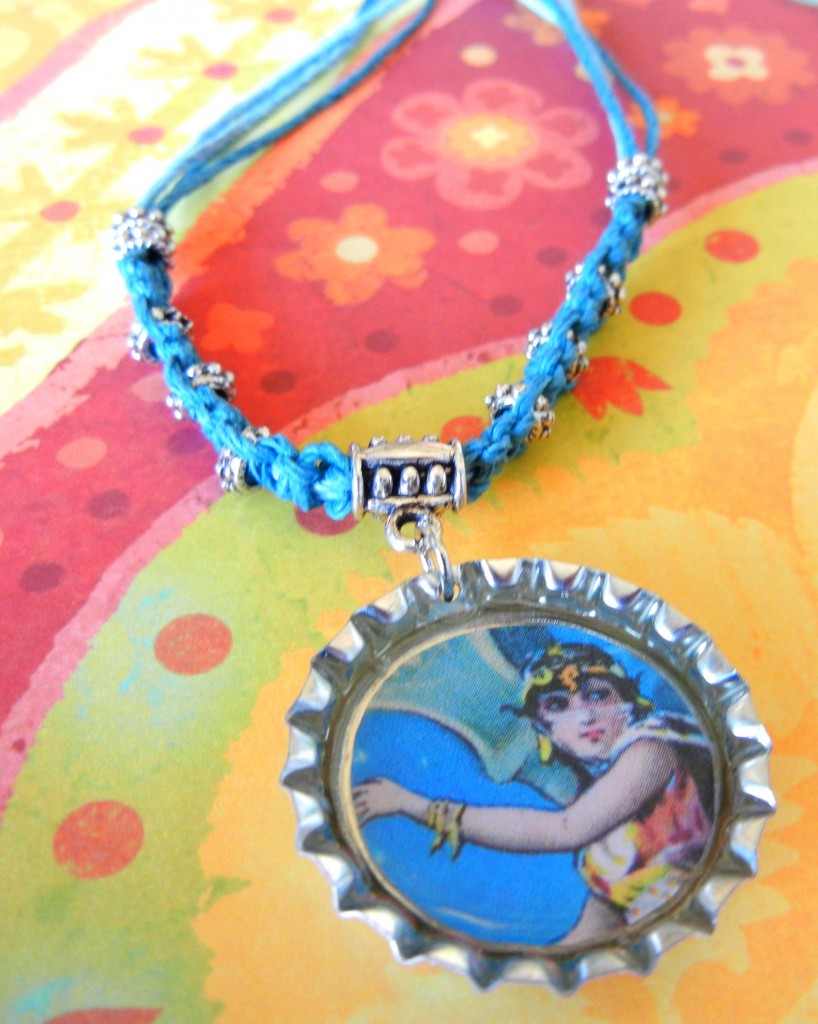
Super clear bottle cap pendant on a hand-knotted hemp cord – with no bubbles!

That’s why our design team is truly super excited about new SuperClear Resin by Resin Obsession. Cindy at Resin Obsession is just that – obsessed with resin. She specifically formulated SuperClear Resin to be easy to use for jewelry making:

SuperClear Resin forms very few bubbles.

*To dissipate bubbles in any jewelry resin, either blow through a straw (gently!) or wave a match (not too close or the resin might discolor) over the surface. The carbon dioxide is what pops the bubbles.

SuperClear Resin cures quickly: 6-8 hours at room temp or in just one hour at 150 degrees F!

*EasyCast takes 24 hours to fully cure. I always check mine a couple of hours after I’ve poured to make sure air bubbles haven’t multiplied behind my back. With SuperClear, there were hardly any bubbles from the beginning, and no new ones formed later.

SuperClear Resin mixes in a 2:1 ratio. Just fold the 2 components together for 2 minutes, let it “rest” for 5 minutes and then pour.

SuperClear Resin is super clear.

*I love accurate advertising.

SuperClear Resin is a good value.

*It is slightly more expensive than EasyCast, but less expensive than other clear jewelry resins. When you consider the time you’ll save, SuperClear Resin’s price looks even better.

SuperClear resin can be tinted with dyes too!

And finally, the best news of all for our international customers… SuperClear Resin can be shipped internationally! *Yay!!!!

One last thing: SuperClear Resin is compatible with all of our opaque and translucent resin dyes, metallic Alumilite powders, resin molds and related resin products.

~Cindy

How to finish a multi-strand necklace with bullet ends

July 19, 2011

Hello, bloglandia! As promised, here are the instructions for finishing a multiple-strand piece of jewelry (like the braided hemp necklace I made with the Kumihimo disk last week) using glue-on bullet ends.

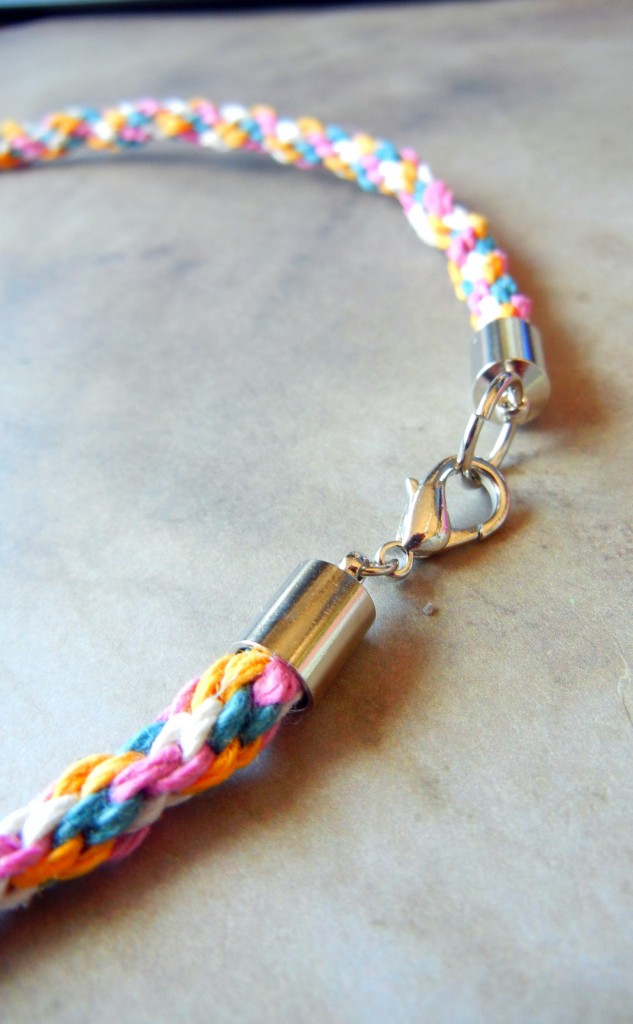
Cord End Caps are much less bulky than knots on multistrand designs.

A bullet end is a jewelry finding that hides cord ends and makes a clean transition to a clasp. Bullet ends are also called end caps, barrel caps, and a variety of other creative names. Just make sure the caps you are using have loops on the ends and that they are wide enough to accommodate your cording. (I used these.)

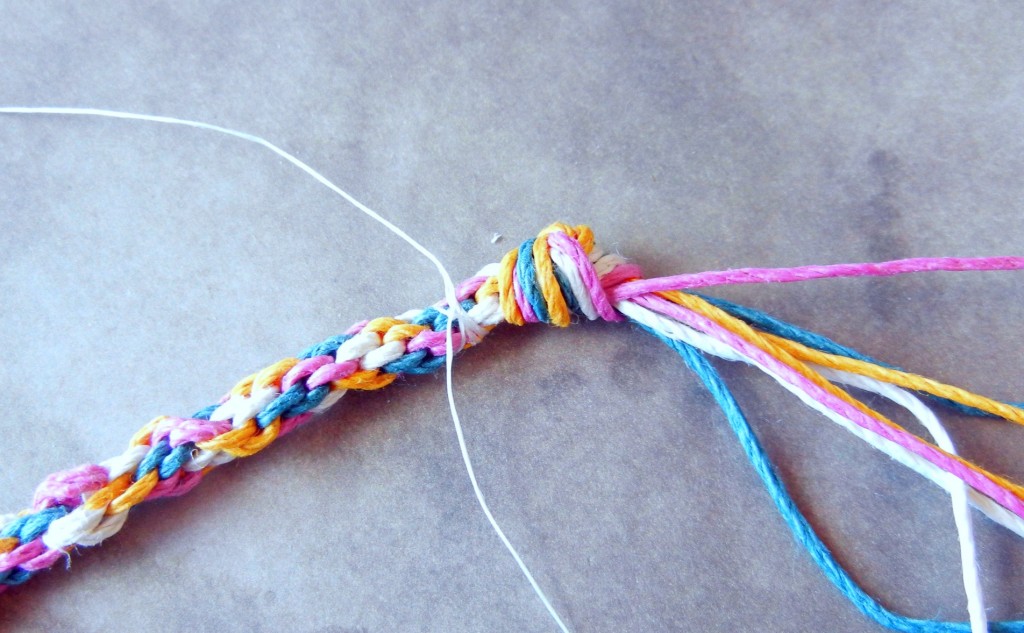
  1. Tie an overhand knot at the end of your piece.
  2. Take a piece of thread and wrap it tightly around the end several times (this is also called “whipping”). Tie a double knot to secure, and trim the thread ends.
  3. Cut the braid between the thread and the knotted end.
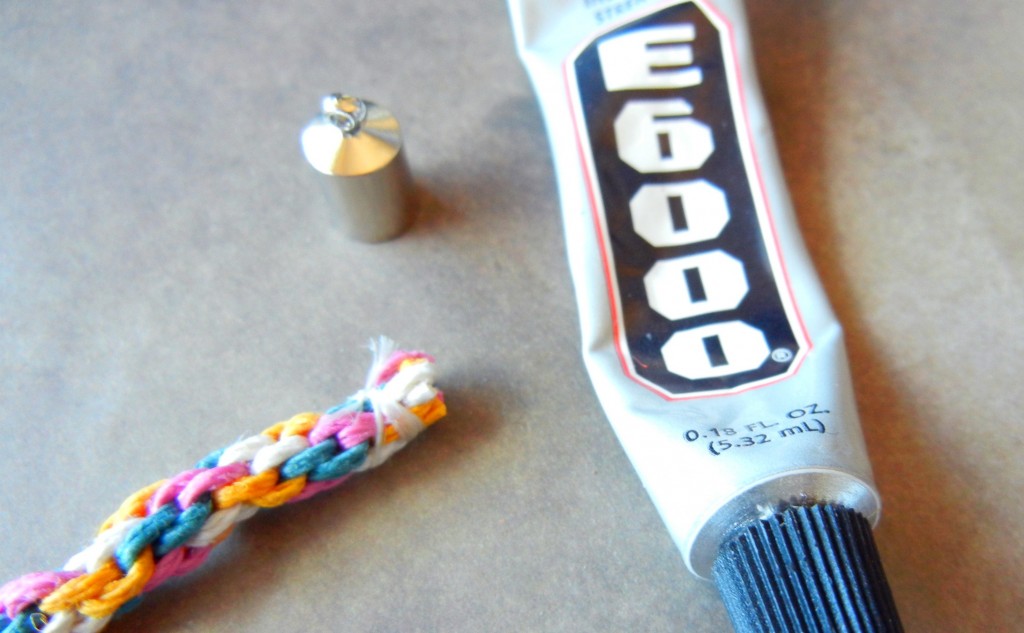
  4. Fill the bullet end about half way with glue and insert the cord. Make sure that it goes in as far as it can, and that the thread whipping is covered by the bullet end. Clean up any oozing glue immediately.
  5. Use jump rings to attach a clasp.

Make sure to let the glue cure fully before wearing. (For E-6000, this means 24 hours. ) The glue will be dry long before then, but to be safe, let it cure all the way.

E-6000 is one of my favorite glues because it holds up nearly as well as a 2-part epoxy, but you don’t have to measure and mix. Whatever glue you use, just make sure that is is compatible with both metal and fibers. Although instant gratification is tempting, super glue (cyanoacrylate glue) is a bad choice for this project because it can’t fill the gaps between the cord and the metal very well.

That is all there is to it! This technique works equally well with leather, ribbon, rattail and other types of cord. ~ Cindy

Make hemp friendship bracelets and more with a Kumihimo braiding disk

July 15, 2011

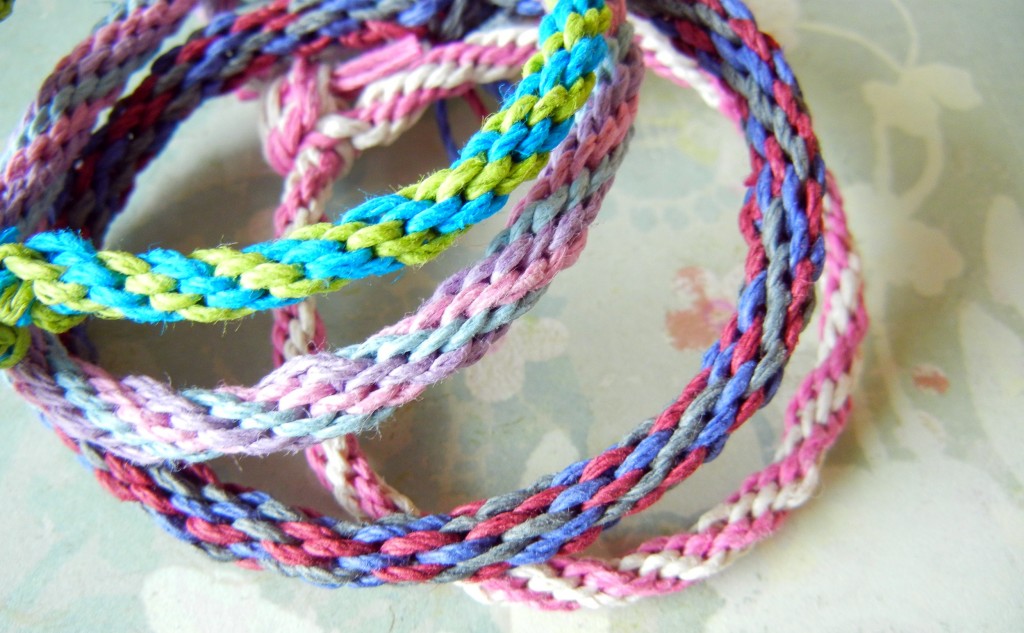
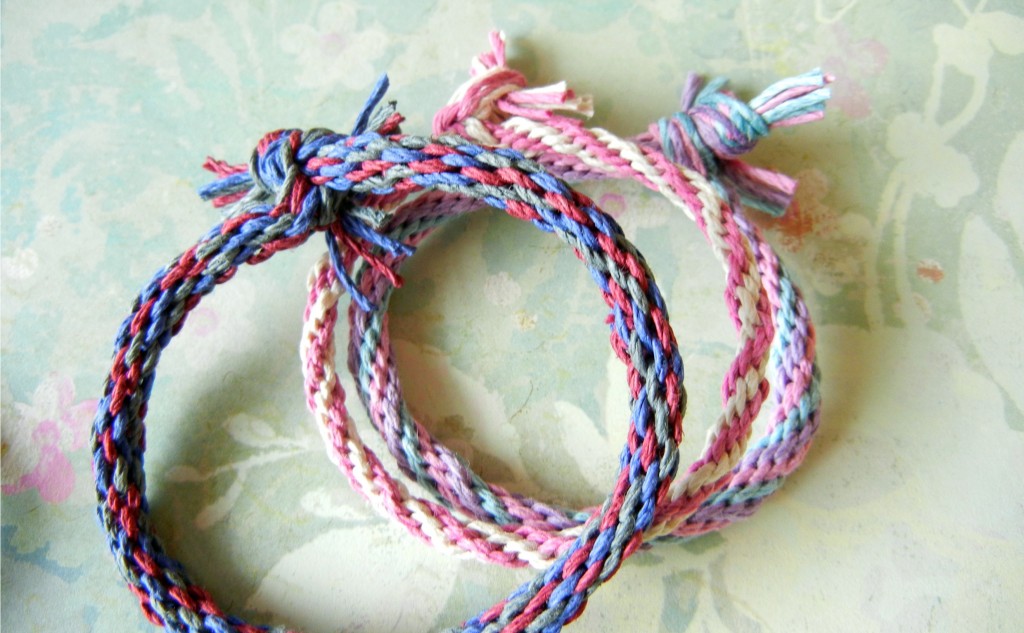
Colorful hemp bracelets are fun for kids of all ages to make … by “all ages” I mean 8 to oh, 80.

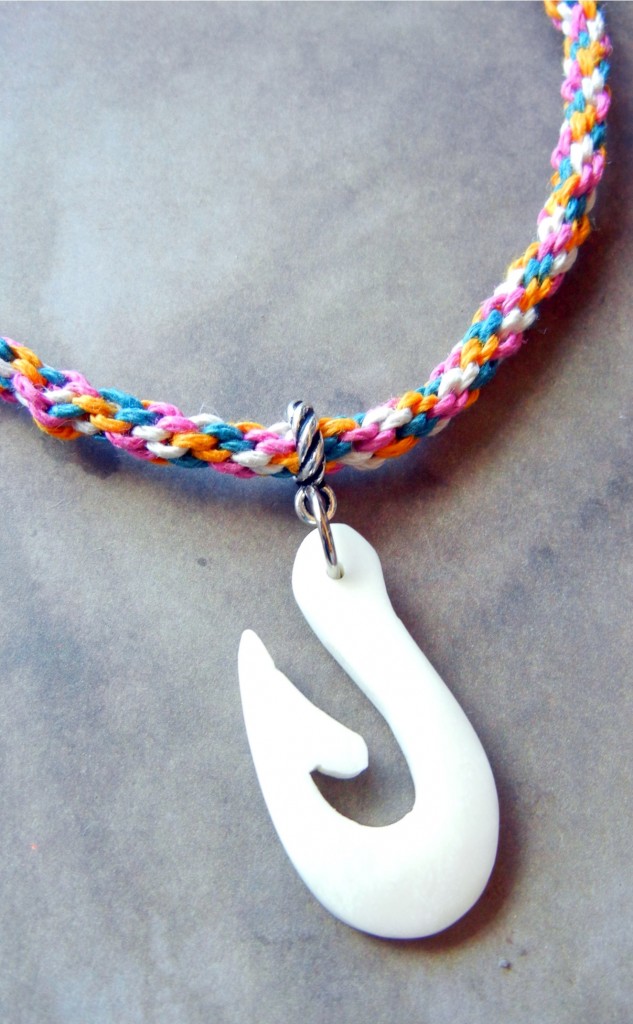
I’ve been intrigued by Kumihimo braiding disks for a while now. Kumihimo (a Japanese form of braid making) is an easy way to make intricate multiple strand braids. Braiding bracelets is the perfect summer-time activity, as anyone who has been to summer camp can attest.

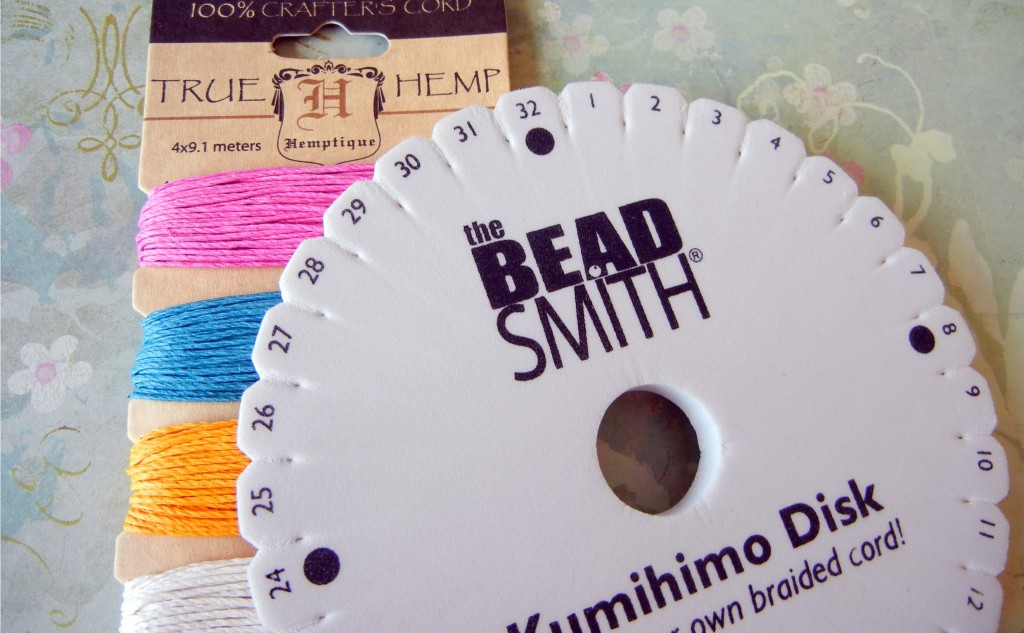
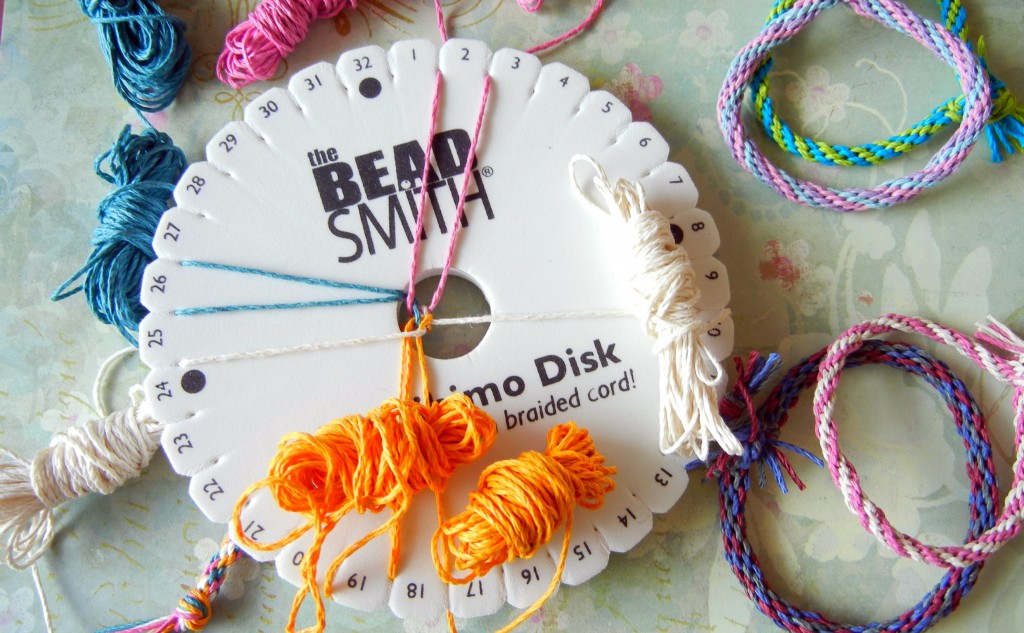
I used the “Spring” Hemptique assortment and round Kumihimo disk. Any type of thread or cord could be used. There is also a square disk available to make flat braids.

Most Kumihimo braids use 8 or 16 warps (each warp could be made up of multiple strands). I decided to try the 8-warp braid first. Since I was using 4 colors of hemp cord, I divided each color into two equal lengths and knotted them all together at one end (just a basic overhand knot). A basic rule of thumb is to have 3″ of each cord for each 1″ of braid length. If you are mixing different types of cord I would suggest estimating a bit higher.

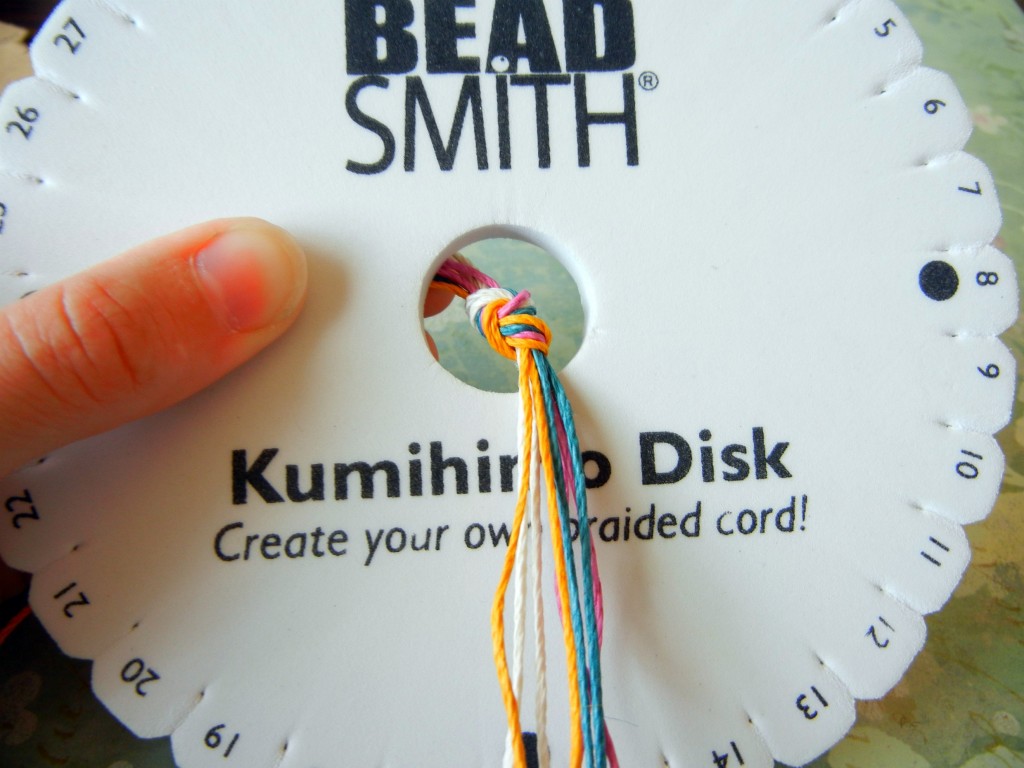
Feed the knotted end through the center of the disk to get started.

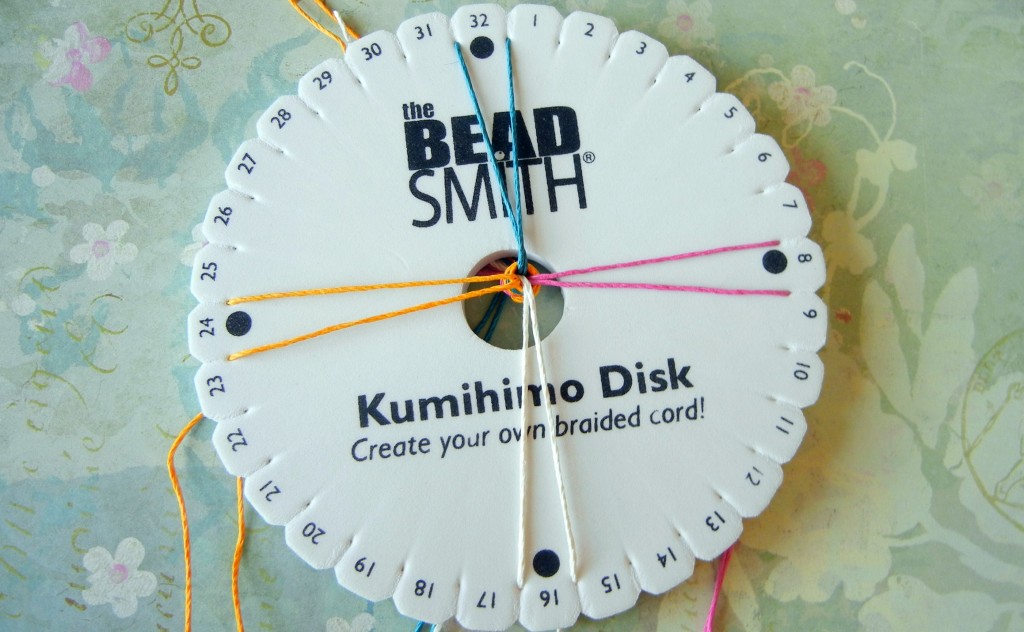
Place one cord (or “warp”) next to each of the four dots on the board.

And start braiding! Bottom left cord goes to top left. Then top right cord goes to bottom right.

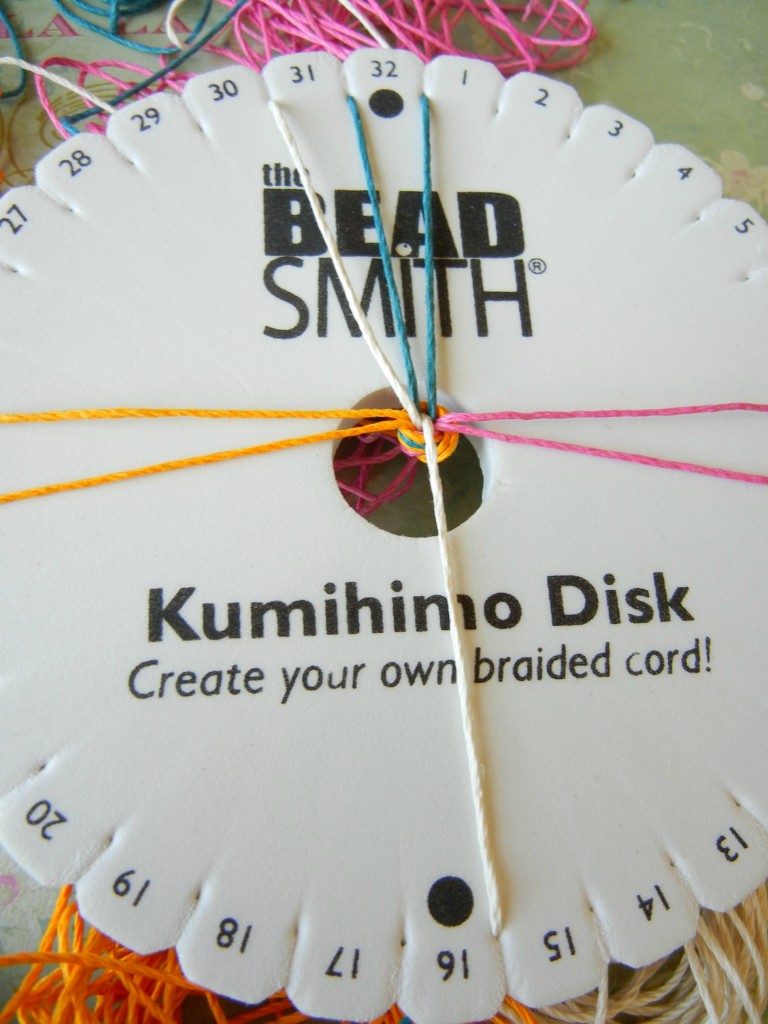
Now, the instructions told me to rotate the board 90 degrees so that I was always working from top to bottom, but I found it much easier to hold the board in one position and just apply the pattern. As long as you don’t cross the warps (ex. taking a left strand from the bottom and placing it on the upper right) it is really hard to mess this up. You’ll probably do it slightly differently than I did. What is really important is to keep your cords bundled into “no-tangle bobbins” – NOT all loose and tangly like in the photo above.

Keep the cord bundled up tightly to save yourself a headache.

The braid travels around the disk as you work, but you don’t need to pay attention to the numbers. And that’s all there is to it! For a project that requires no tools and no counting, the results are impressive! For a traditional friendship bracelet like the ones Jaci made, simply knot the ends together, preferably on your BFF’s wrist, so that it must be worn until it disintegrates.

Just tie a knot and trim the ends when you’ve braided a long enough piece.

I got on a roll, so I kept going and made my braid into a necklace. In the next blog I will show you how to finish braids like these, or any type of cord, really, with glue-on bullet ends. Have a great weekend! ~ Cindy

www.rings-things.com

How to pick the best metal hole punching tool for jewelry

July 12, 2011

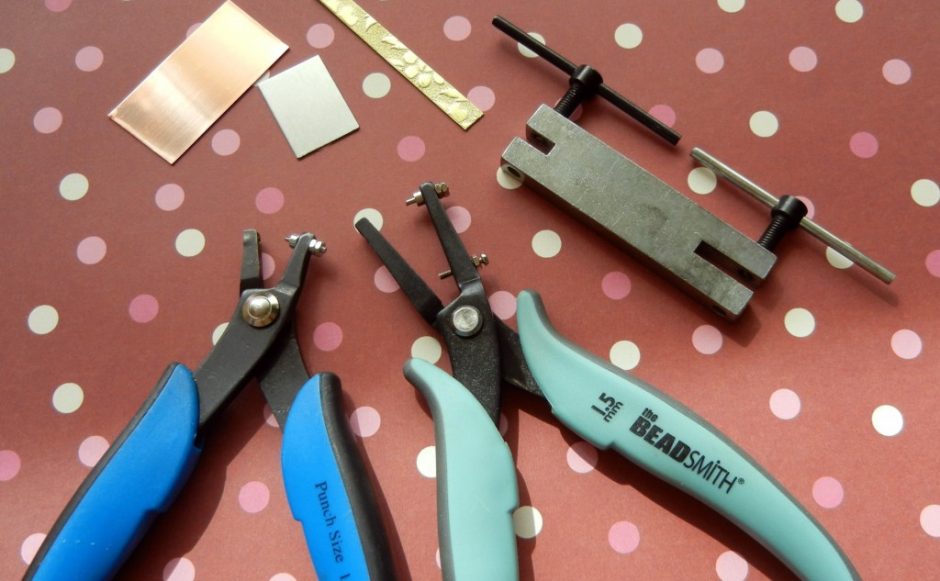
A new hole punching plier just crossed my desk, and honestly, I was a bit taken aback. We already carry several hole punch pliers, as well as a screw-action metal punch, so why did we need another one? Hopefully this blog will answer that question and help you decide which tool is right for you.

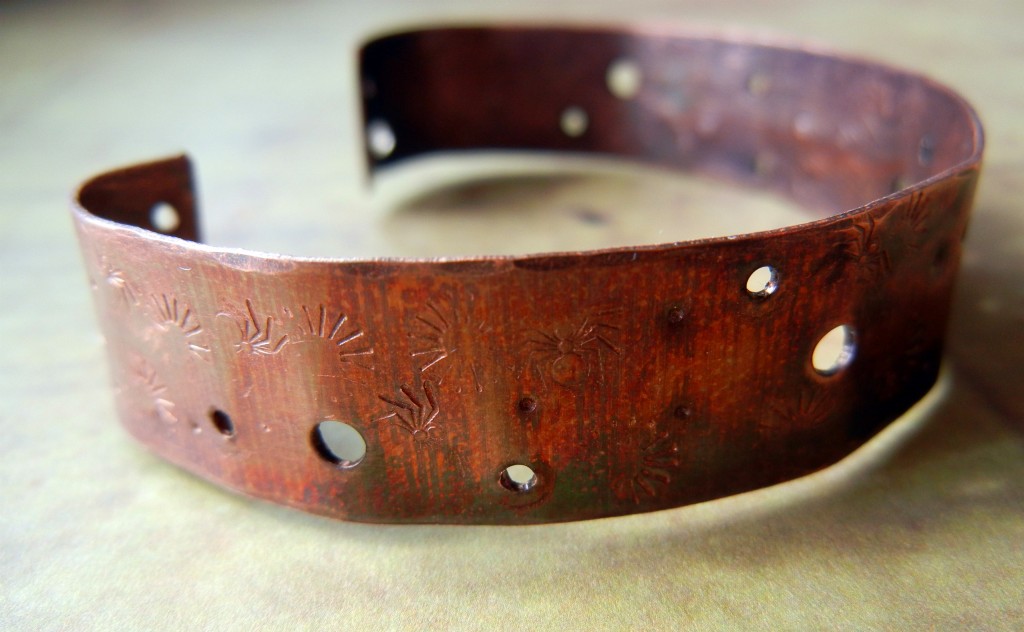
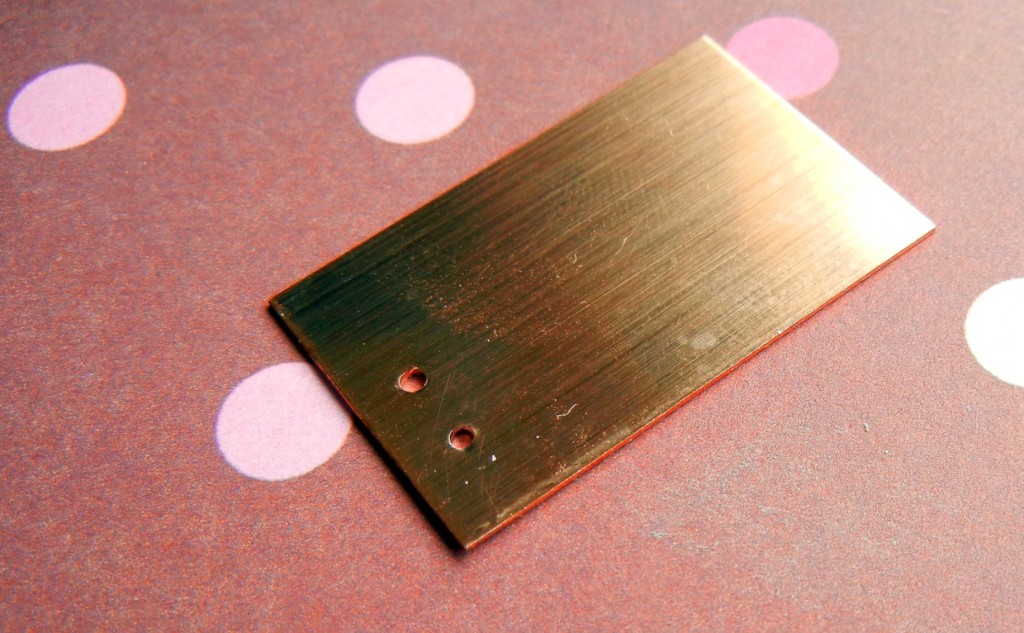
Sometimes holes can be more about form than function!

It wasn’t that long ago (maybe 2-3 years?) that it was really hard to find a simple hand tool to punch clean holes in metal. Luckily we now have several options. Here are the main factors to consider when choosing the best punch for your needs:

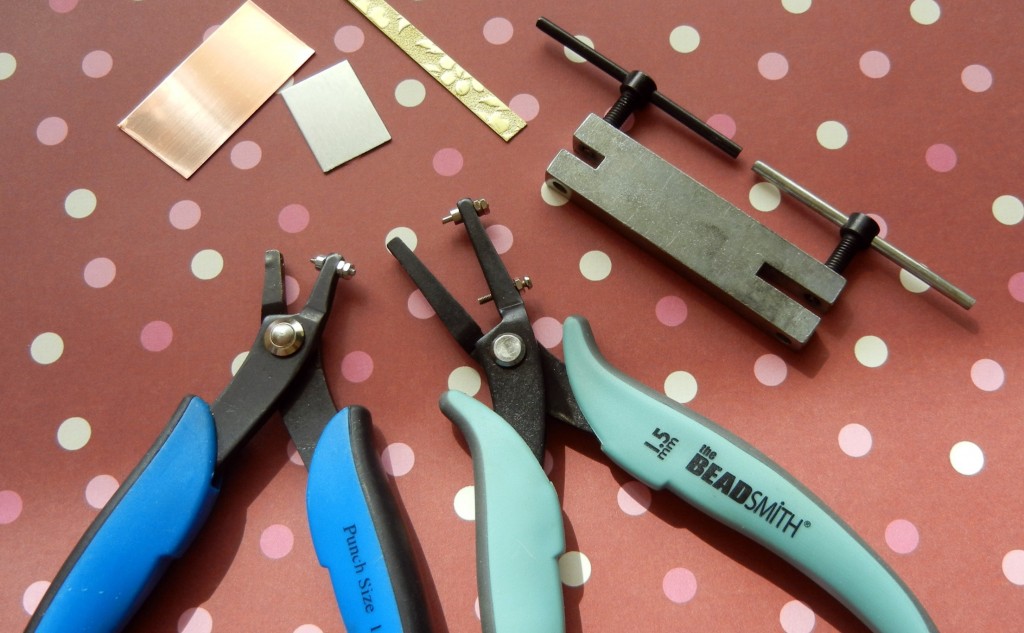
  1. Hole size/shape – what size wire and/or jump rings need to fit? The smallest (1.25mm) fits regular jump rings just fine, but there have been times where I’ve needed a slightly bigger hole.
  2. Gauge – how thick of a piece of metal can you punch? All of the tools are designed for soft metal (such as sterling silver, copper, brass and aluminum). They can also be used on steel bottle caps, but doing so will wear out the punches more quickly. Remember, the bigger the gauge number, the thinner the metal (ex. 24 gauge is thinner than 20 gauge).
  3. Reach – how far from the edge of the piece you can punch a hole? It’s not really an issue if you are punching holes near the edge (most common), but if you plan to say, wire-wrap a stone onto the middle of a large metal sheet for a pendant, you might need to punch holes far from the edge.

Just look at those clean holes – and no power tools required!

EuroPunch pliers are available in 1.25mm and 1.8mm round, plus 1.5mm square and 1×1.7mm oval. Each pair of EuroPunch pliers reach about 0.5″ from the edge of your piece, and can punch through soft metal up to 18 gauge.

The BeadSmith punching pliers make 1.5mm round holes up to 3/4″ from the edge in soft metals up to 20 gauge.

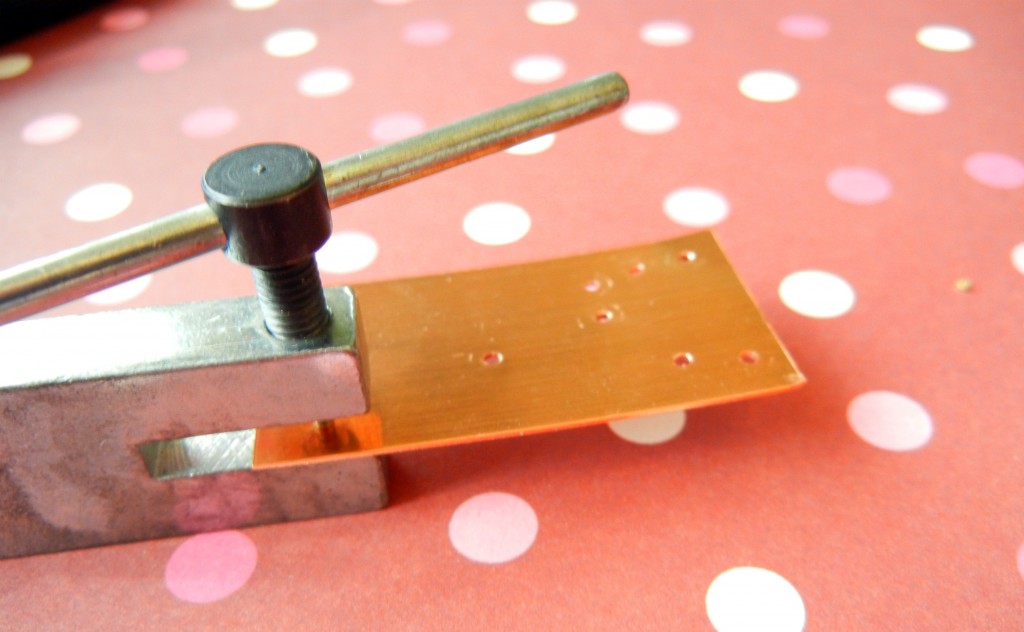
Turn it to the right to punch the hole….turn it back to the left to release it. Easy!

The screw-action tool punches both 1.6mm (1/16″) and 2.3mm (3/32″) round holes, so it is really two tools in one. It is rated for soft metals up to 24 gauge. (We’ve successfully punched through pennies, which are close to 14 gauge, with this tool, but doing so will wear out the punch more quickly (just replace the punch, not the whole tool!). The screw-action tool reaches just a bit further than half an inch.

Speaking of replacing the punch…here is how you know it is time: the punch won’t quite punch all the way, leaving a little sharp piece you need to file off. You can buy replacement punches for any of the hole punch tools for just a few bucks.

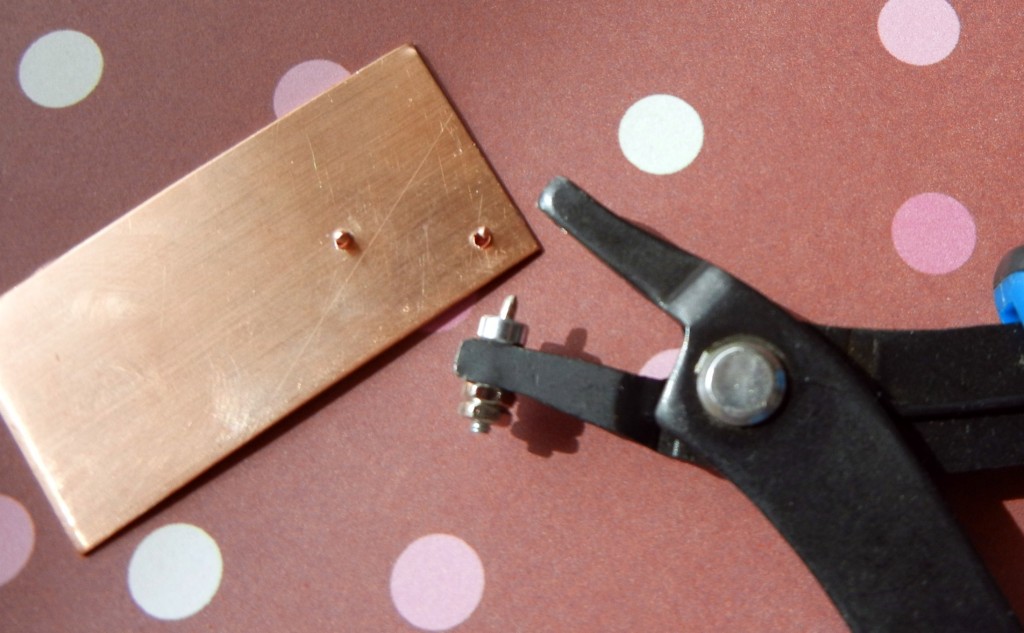
Ragged holes like these means it is time to change the punch on your tool.

It honestly doesn’t take much pressure to punch a hole with any of these tools, but if you have difficulty squeezing firmly, the screw-action tool might be the best choice. I think the pliers are a little quicker to use, though. The BeadSmith punch pliers also feature a “gauge guard” – a screw that you can adjust to keep the pliers from punching too deeply and marring the surface around the hole. It is a nifty feature, but one you have to remember to use! If you forget to adjust the gauge guard, you will probably mar your metal a bit from time to time.

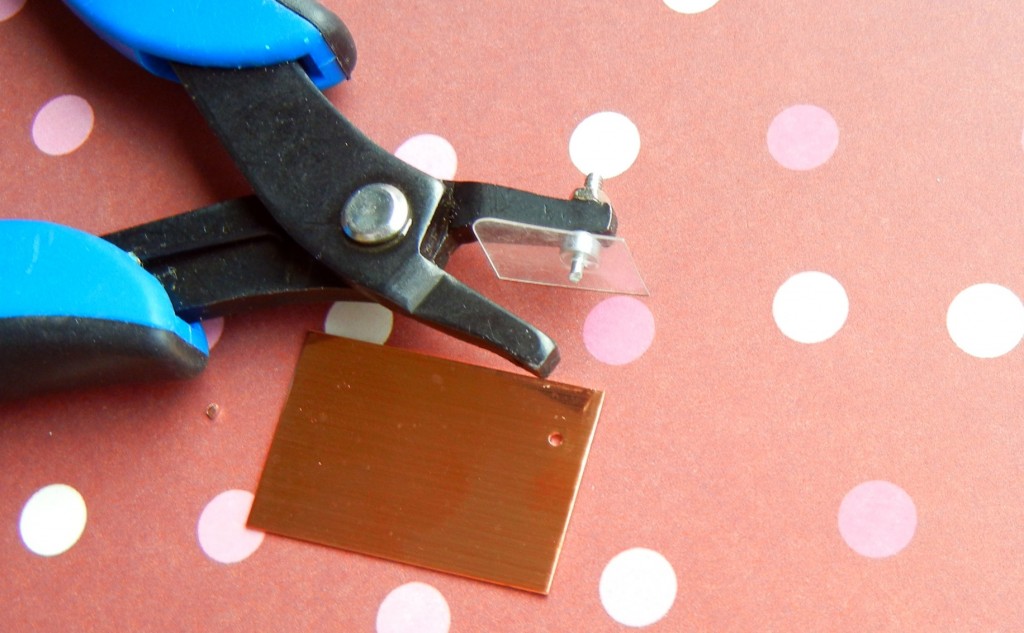
A thin piece of plastic prevents the pliers from leaving a mark around the hole.

BUT – here is a tip to keep your metal pristine no matter which hole punch you use:
Cut a little piece of plastic from the package the tool comes in, and punch through it. Then leave that little scrap on the punch (See image above). It effectively cushions your metal from the punch and removes all worry of marring your metal. If you forget, just buff the mark with some steel wool and it should disappear quite easily.

Happy punching! ~ Cindy

2018 Editor’s note: Links in the comments below have all been updated! (some of them broke when we upgraded our website)

Silver filled jewelry: what exactly is it?

July 6, 2011
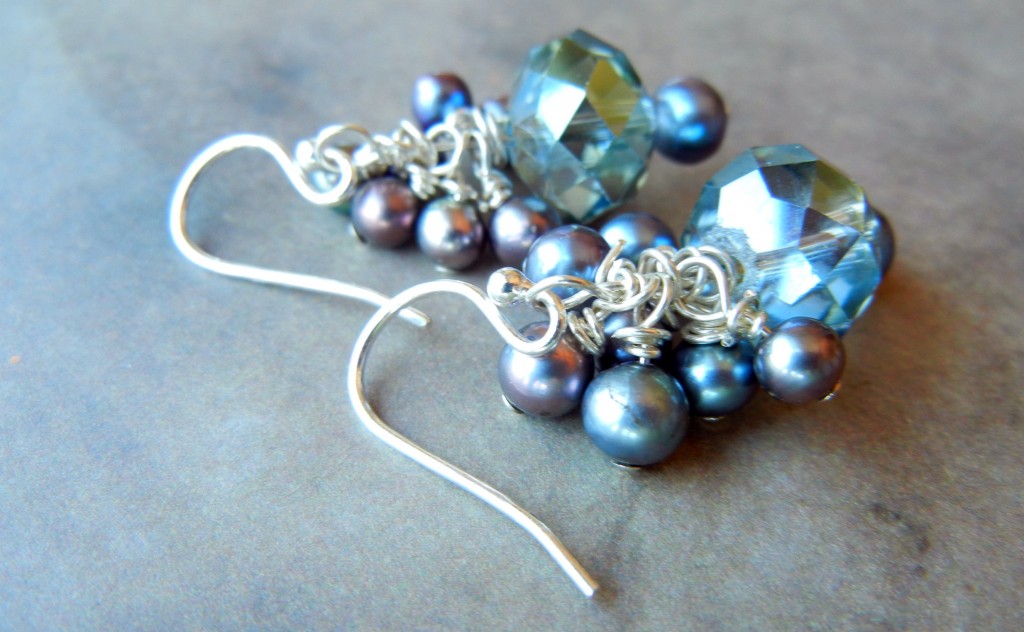
silver filled earrings

Earrings made with silver filled head pins and ear wires.

If you use sterling silver in your jewelry, you have felt the pain of rising silver prices. Although the market always fluctuates up and down a tad unpredictably, it feels like it has only gone UP lately. Because it has!

Many jewelry designers have been forced to switch materials or to use less sterling silver in their designs to compensate for the increased costs. However, the quality and look of sterling are popular for good reason. Hence the rise of affordable new silver filled wire, beads and jewelry findings on the market!

Continue Reading…

How to make copper bangle bracelets with large hole beads

July 1, 2011
stamped metal bracelet

One of Sondra’s bracelets from Bead & Button 2011.

Hello, bloglandia! Our sales manager, Sondra, was fortunate enough to attend Tracy Stanley’s “Bangles with a Message” class at Bead & Button last month. We’ve been oohing and ahhing over her wristful of chunky metal, so yesterday we got together and made some of our own bracelets.

For a sturdy yet slightly flexible bracelet base, we used 14 gauge copper wire. Start with about 10-11″ of wire. Simply form a large loop on one end with round nose pliers and hammer slightly. Slide on lots of large hole beads: 14 gauge wire is about 1.63mm, so your beads need to have holes that are at least 1.7mm big. Anything marketed as a Pandora or European-style bead will easily fit.

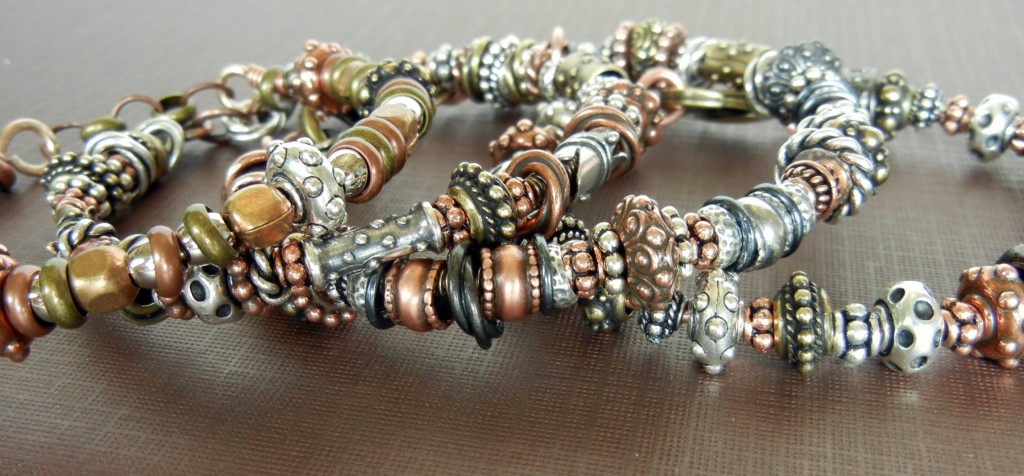
bangle bracelets made from copper wire

Mixed-metal mania bracelets are fun to wear en masse!

We mostly used metal, but trade beads and gemstones look great too. TierraCast has some especially nice large hole metal beads. You can also add coils of wire as decoration beneath floating beads, or as stoppers between beads. Shape the wire into a bracelet shape around your wrist and finish with another loop.

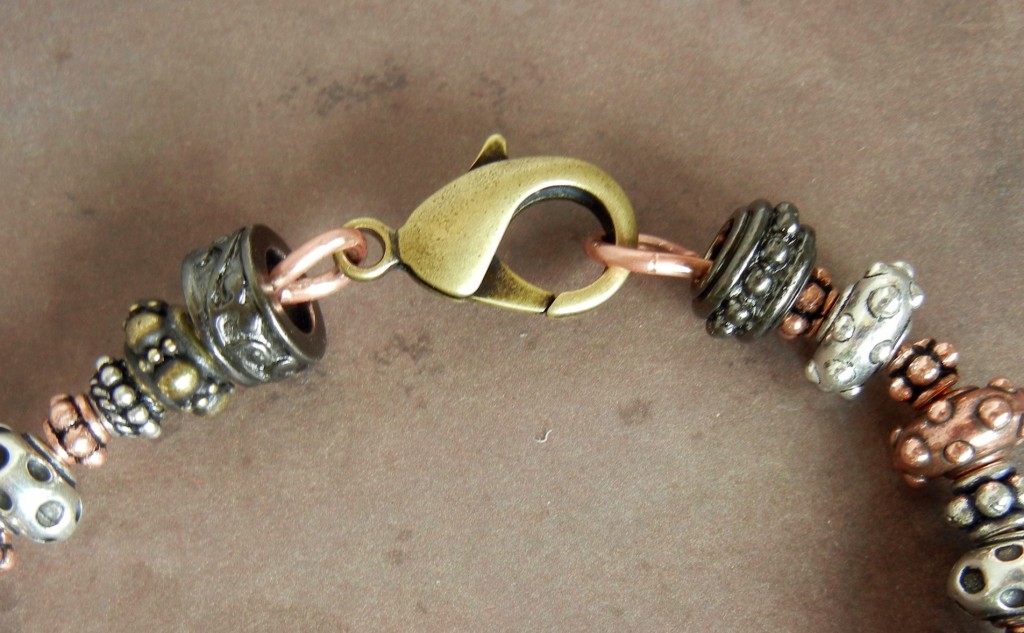
You can connect the two end loops together directly, connect them with jump rings or add a jewelry clasp. It is better to err on the small side, since a too-small bracelet can be extended with a jump ring or two, while a too-large bracelet will just go flying off your wrist!

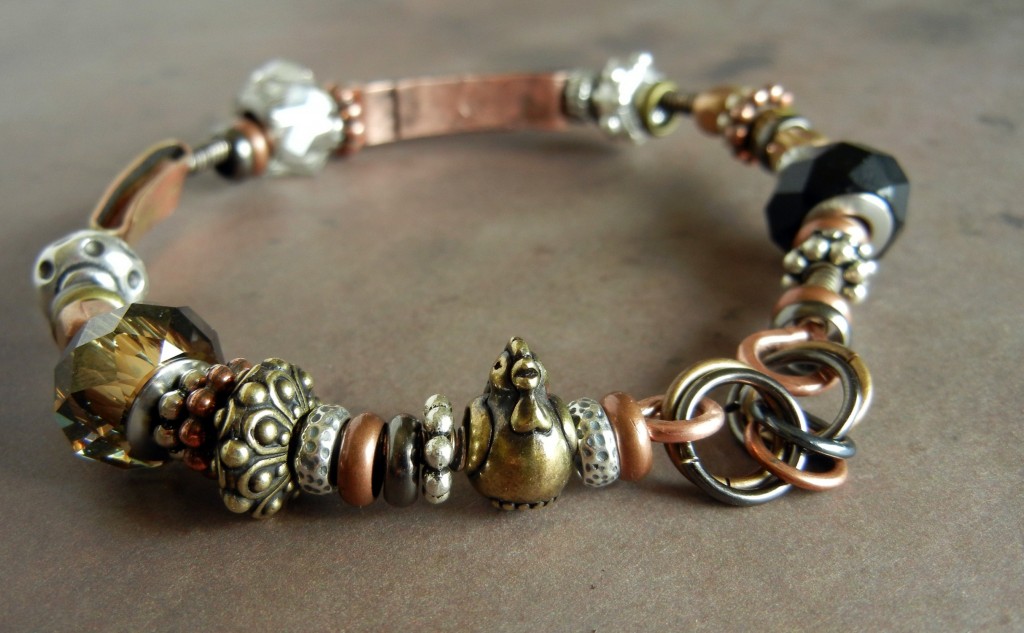
Lindsey used a few jump rings to make her bangle fit her wrist – and a rooster to make it fit her personality!

A giant lobster clasp is easy to open/close.

A couple of other bracelet-making tips:

  • Patina your wire, decorative coils and other components before assembling your bracelet.
  • Be sure to file down any sharp wire points or metal edges.
  • Have a whole bunch of beads ready, because once you start, you’ll want to make a bunch!

Metal, metal and more metal!

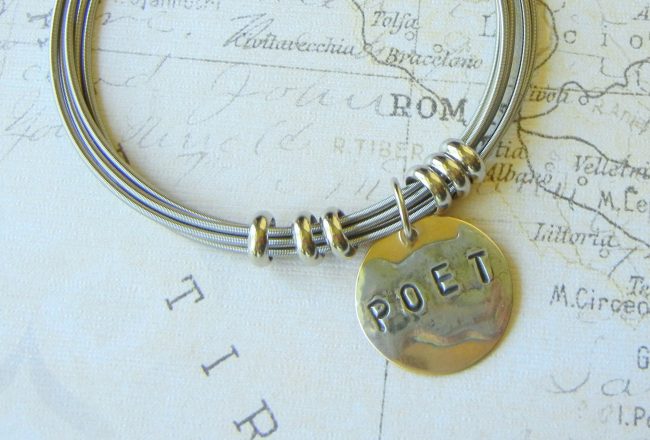
Check out Tracy’s teaching schedule if you’re interested in learning how she makes stamped word charms to fit on bangles. Our new brass and copper strips will save you a lot of sawing and cutting time!

~Cindy